Showing posts with label Mystic Forest. Show all posts

Thursday, September 19, 2013

You can never have too many...

Fill in the blank:
You can never have too many ____________.

Chocolate desserts?
Shoes?
Baby quilt patterns?

While we'd love to send a box of chocolates or some new Jimmy Choos your way, we're in the fabric business, so we'll stick to what we know, so baby quilt pattern it is! 


We love showing off quilts made from our fabrics here on the blog, and this one has an added bonus--it's a free pattern, courtesy of Quilt Trends magazine. Designers Sue Harvey and Sandy Boobar of Pine Tree Country Quilts created this sweet baby or child's quilt using Mystic Forest. 
"Hopscotch" designed by Pine Tree Country Quilts

They chose the monkey print, as the main fabric, but you can use elephant or bear prints and change the palette as you like. 


Find the free pattern for the "Hopscotch" quilt here.
See the entire Mystic Forest collection here.
Find the kit for the "Hopscotch" quilt here.
See Quilt Trends magazine here.


Like Mystic Forest?
Check out some other projects made with these adorable children's prints.


Our spring Quilt Market booth photos


Friday, August 30, 2013

Playing with PUL

Today Rebecca of Our Busy Little Bunch is sharing an easy tutorial using Mystic Forest PUL (55% Polyester Knit / 45% Polyurethane Laminate). We love this fabric--it's a waterproof knit--and we love having a tutorial to share with you using it. This type of fabric is popping up in your local quilt shop, but not everyone knows what to use it for. Rebecca's sandwich and snack bag tutorial is a great project to get you started!


Sandwich and Snack Bags Tutorial


Hi, it's Rebecca! Today I have a quick tutorial for reusable sandwich and snack bags.  The fabric used is PUL (waterproof knit) from the Mystic Forest line.  They have a selection of polka-dots to choose from:

 You will need:
  • PUL fabric - It's 56" wide, so 1/2 yard will make four sandwich bags (make sure fabric is prewashed - wash with cold or warm water, and tumble dry on low or hang to dry).
  • 1/2" or 3/4" sew-on velcro (not the fusible kind) - 6" piece for each sandwich bag, and 3" piece for each snack bag.


First, cut your fabric: 
- for sandwich bags, cut 8" x 28"
- for snack bags, cut 5.5" x 26"

The pattern is the same for both sandwich and snack bags--they're just sized slightly differently. Fold fabric in half, short ends matching, wrong sides together.  Using a 1/4" seam allowance, sew each long edge (using a walking foot on your sewing machine makes sewing with PUL a breeze).  

Turn right-side out and push out corners (I found assembly line worked best for this).

Using a pressing cloth or scrap piece of cotton, lightly iron the two long edges.  They will not go completely flat, but it will make a big difference.

Fold in unsewn short edge of bag about a half inch, and lightly press that with a pressing cloth as well.

Topstitch this short end closed, close to edge.

Sew hook (sticky) side of velcro next to topstitched edge, centered.  Sew loop side of velcro on opposite side of bag close to other top edge.

Fold bag so that you can see both pieces of velcro, positioning bottom edge 1.5" below top edge (as shown).  Topstitch sides of bag close to edge so it forms a pouch.

You're done!  These are wipeable, machine washable, and will look great in your lunchbox!

Hop on over to my blog Our Busy Little Bunch for a fantastic sponsored giveaway from Fabri-Quilt!

Monday, August 5, 2013

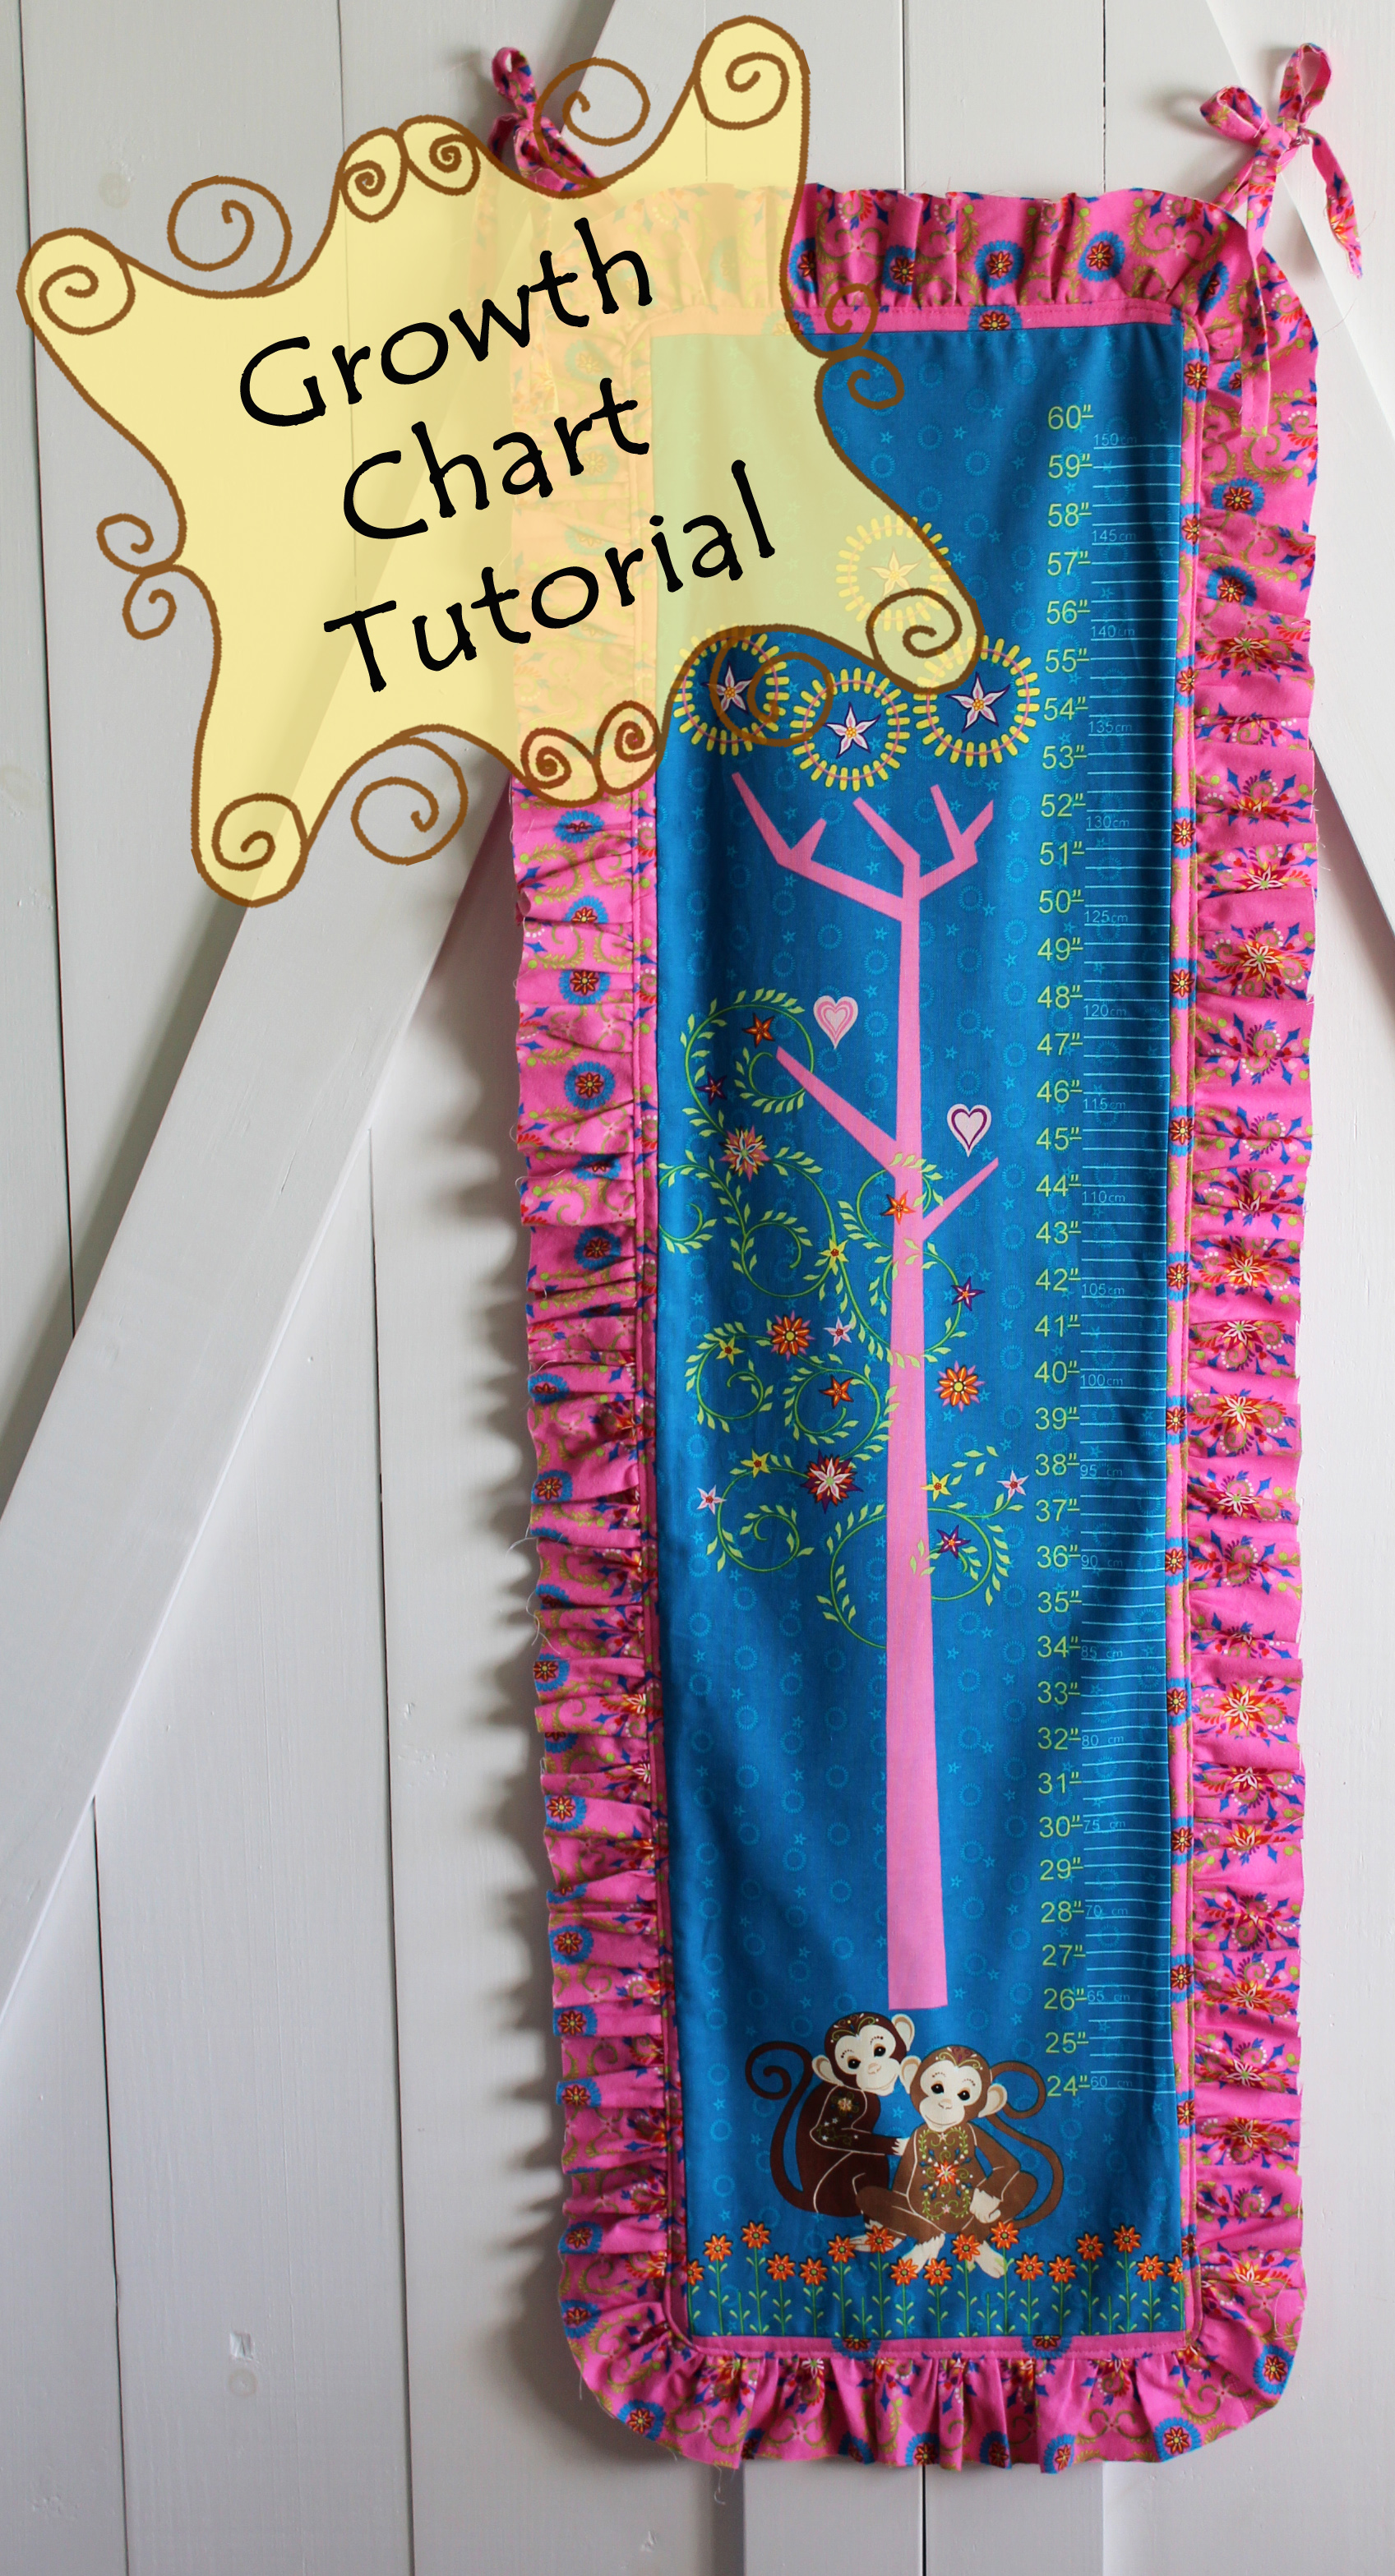
Blogging Design Ring Tutorial: Ruffled Edge Growth Chart

Happy Monday, all! Today we're back with a ruffled growth chart tutorial from Christina at 2 little hooligans. Check out her project and then pop over to her blog to see how you can enter to win the fabric to make this growth chart AND a kit for a lap-size quilt!


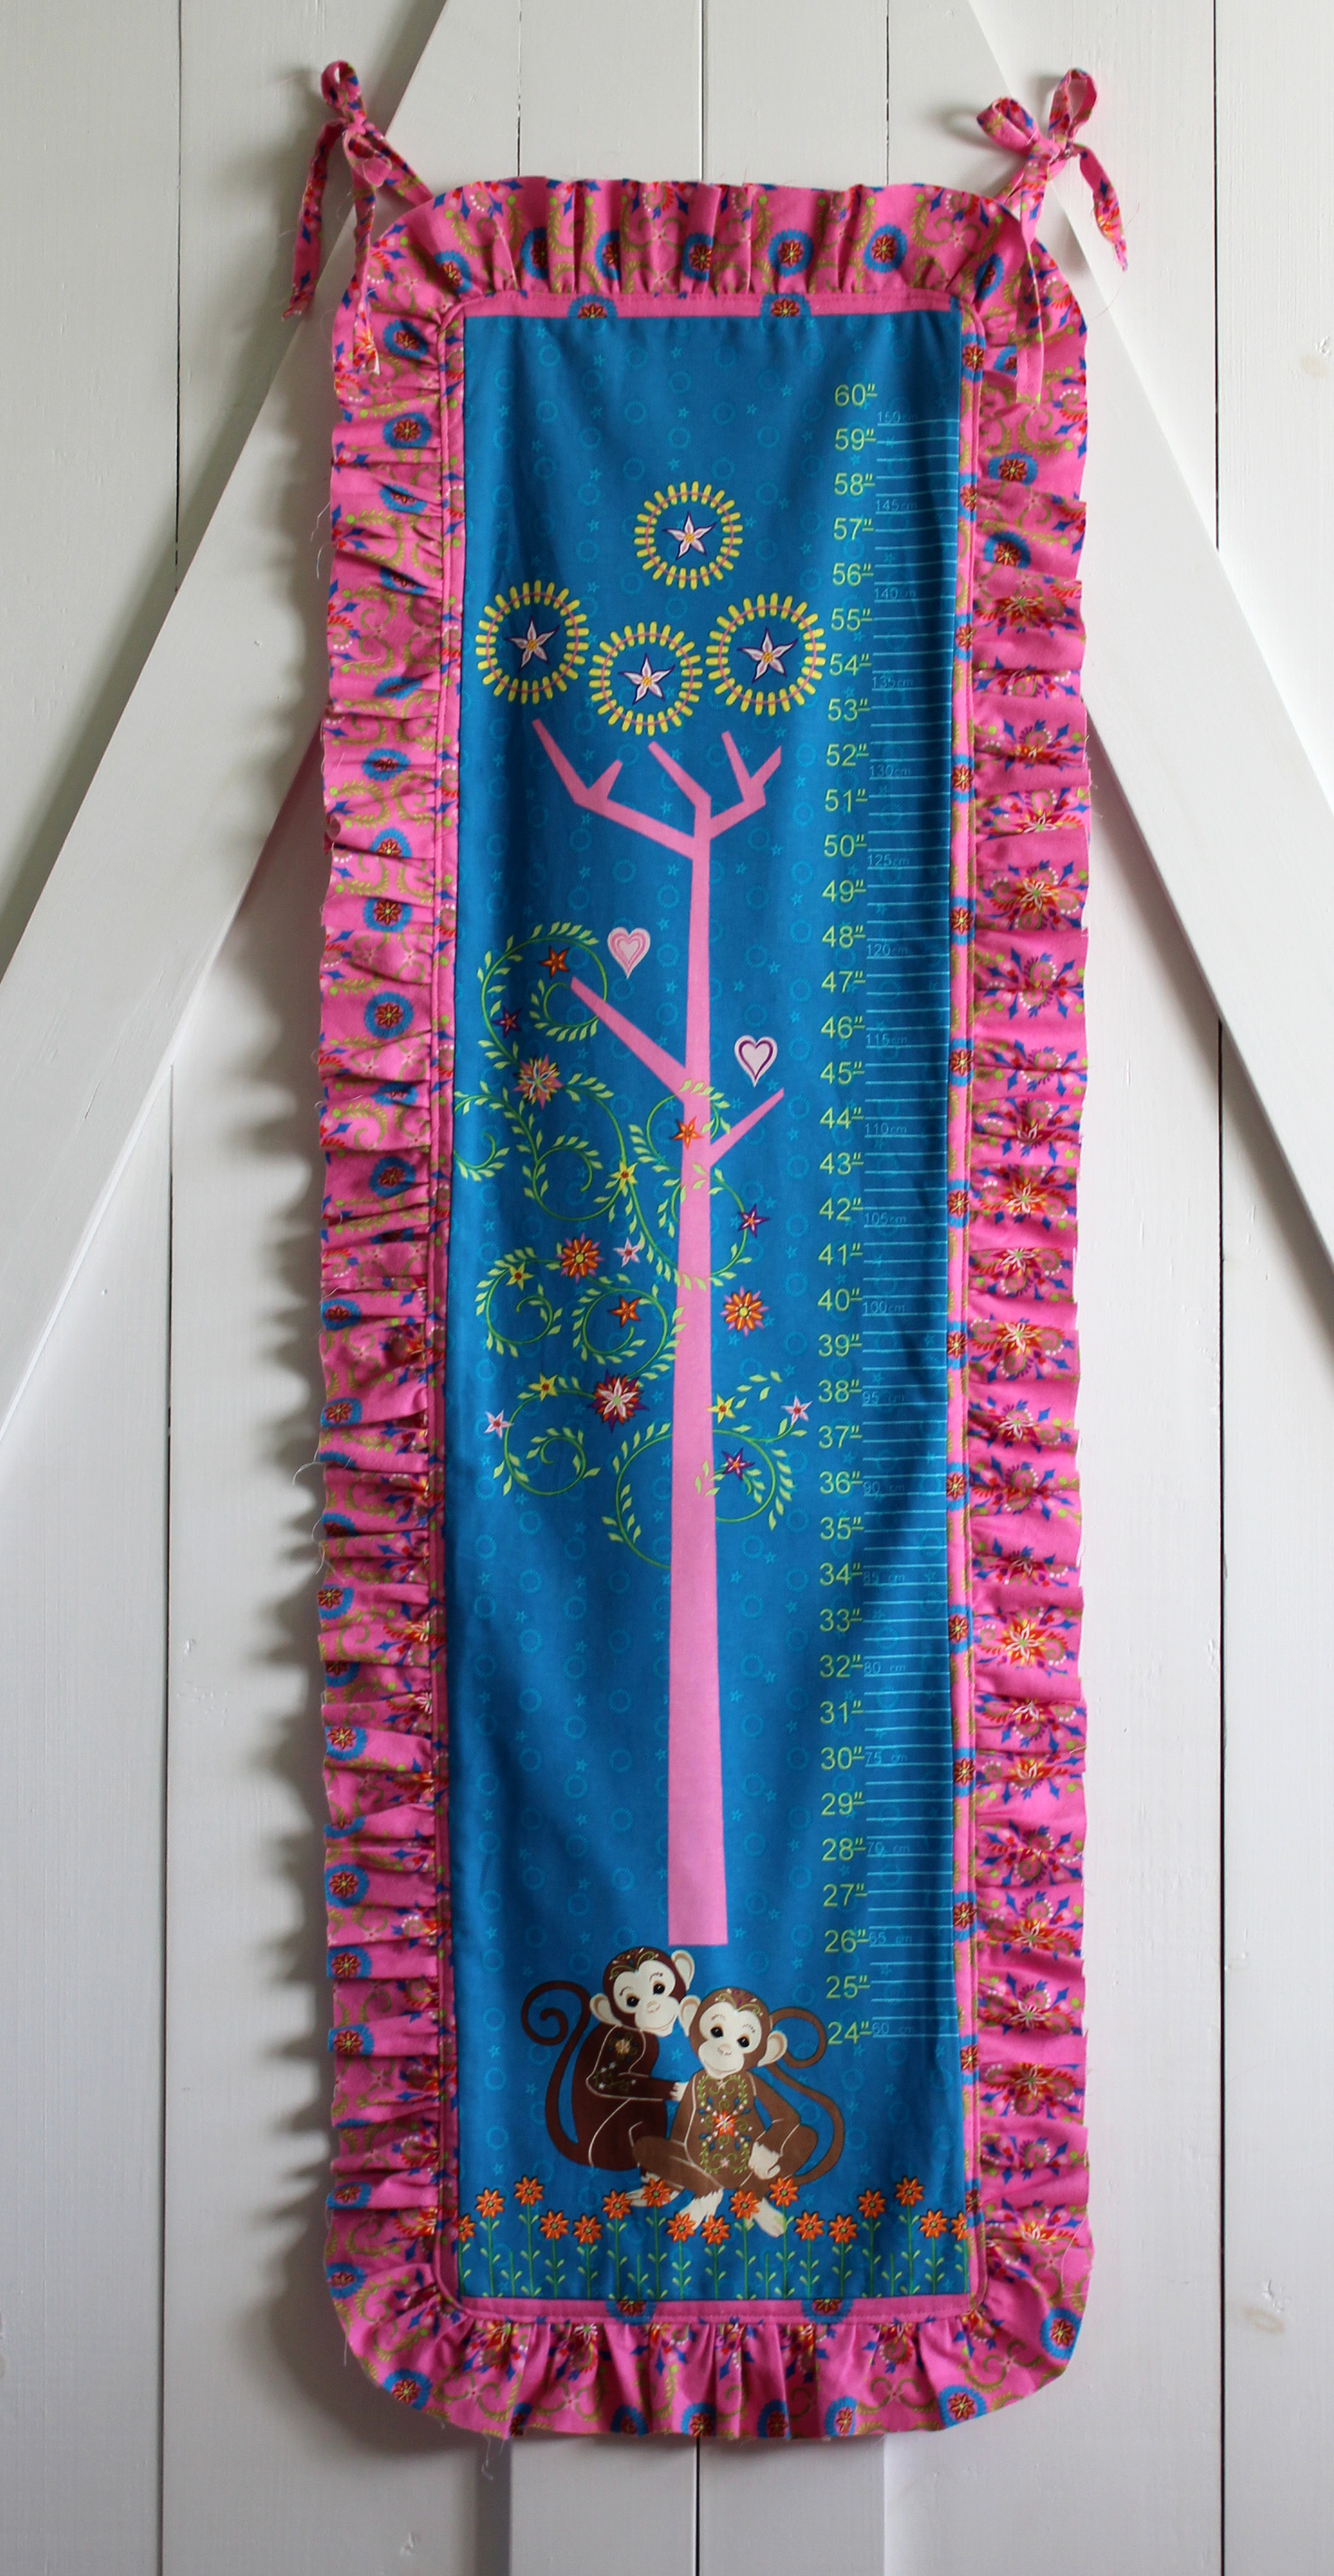
Hi, I'm Christina from 2 little hooligans and I am back again with another tutorial for the Blogging Design Ring. Today I am going to share a tutorial for making a growth chart using Fabri-Quilt's Mystic Forest collection.

growth chart 010

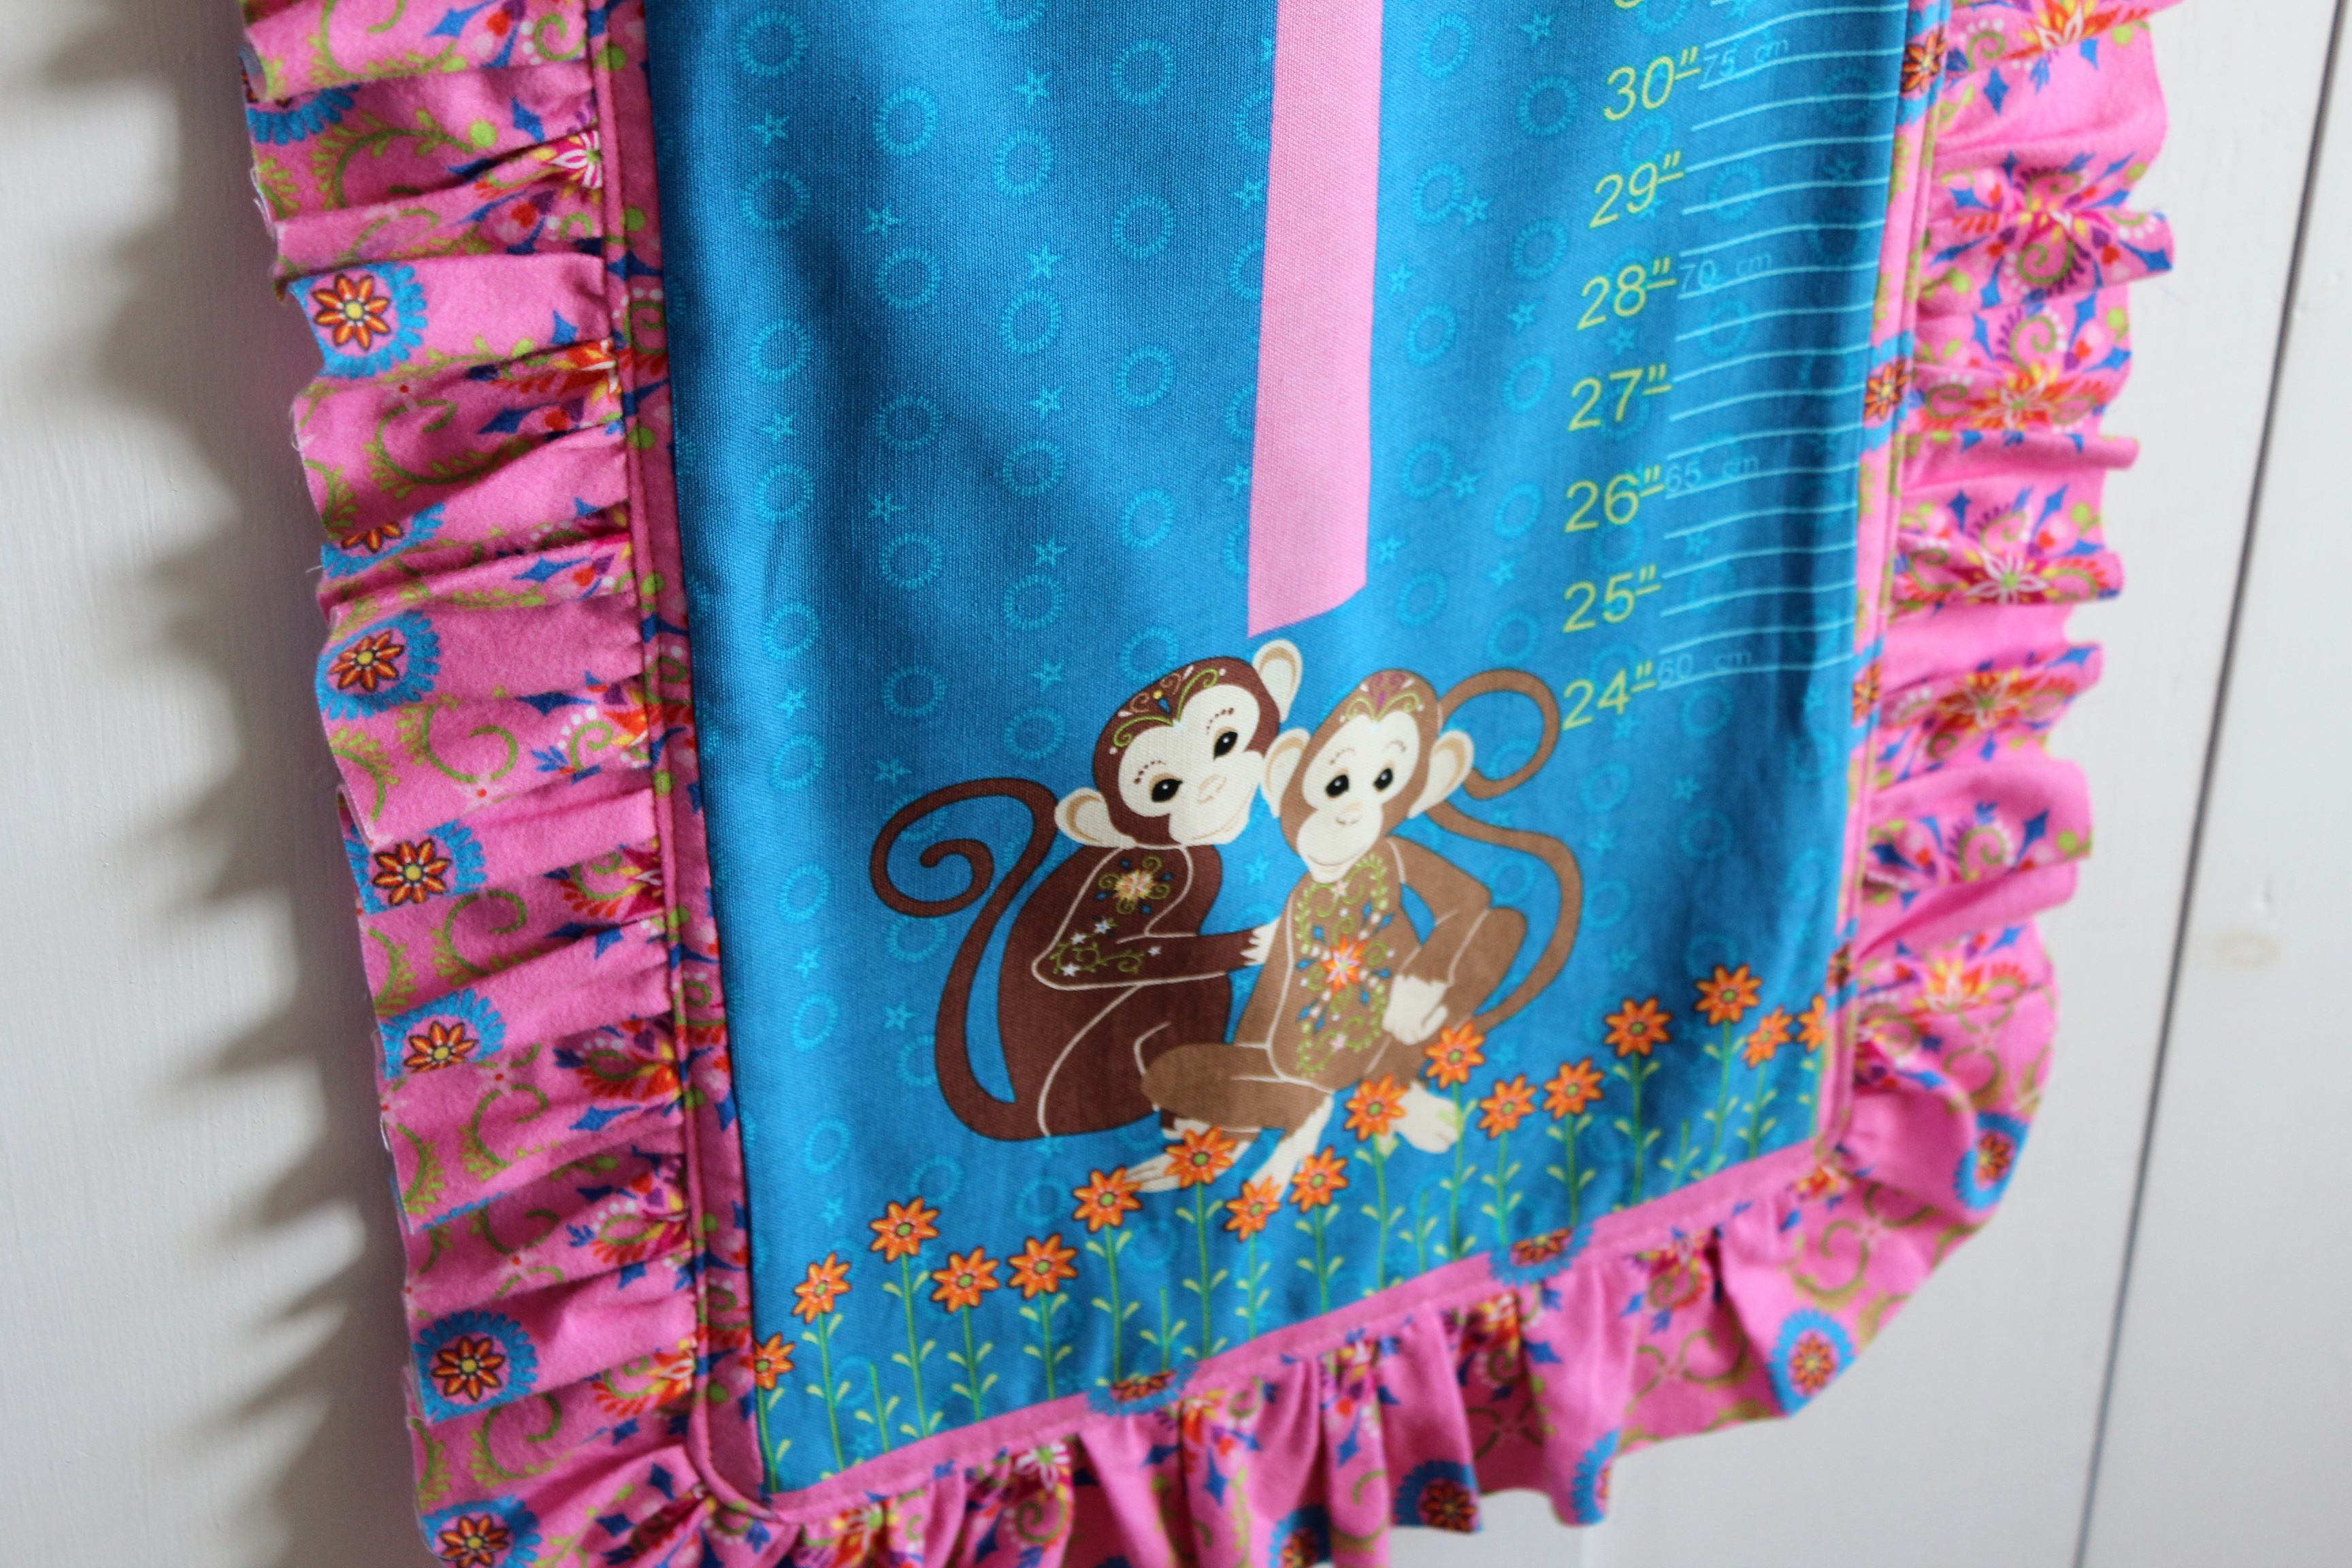
I was given the following fabrics to work with, all of which are from the Mystic Forest collection. As you can see I was given four other fabrics that never made it into the final growth chart. I changed the design of this growth chart so many times and what I ended up with was a very simple design. The monkey growth chart panel is just so cute that I wanted to leave that as the main focus instead of taking away from it at all.
july 047


Materials Needed:
*One growth chart panel from Fabri-Quilt's Mystic Forest
*2 yards of a coordinating fabric for the ruffle and the background

july 048

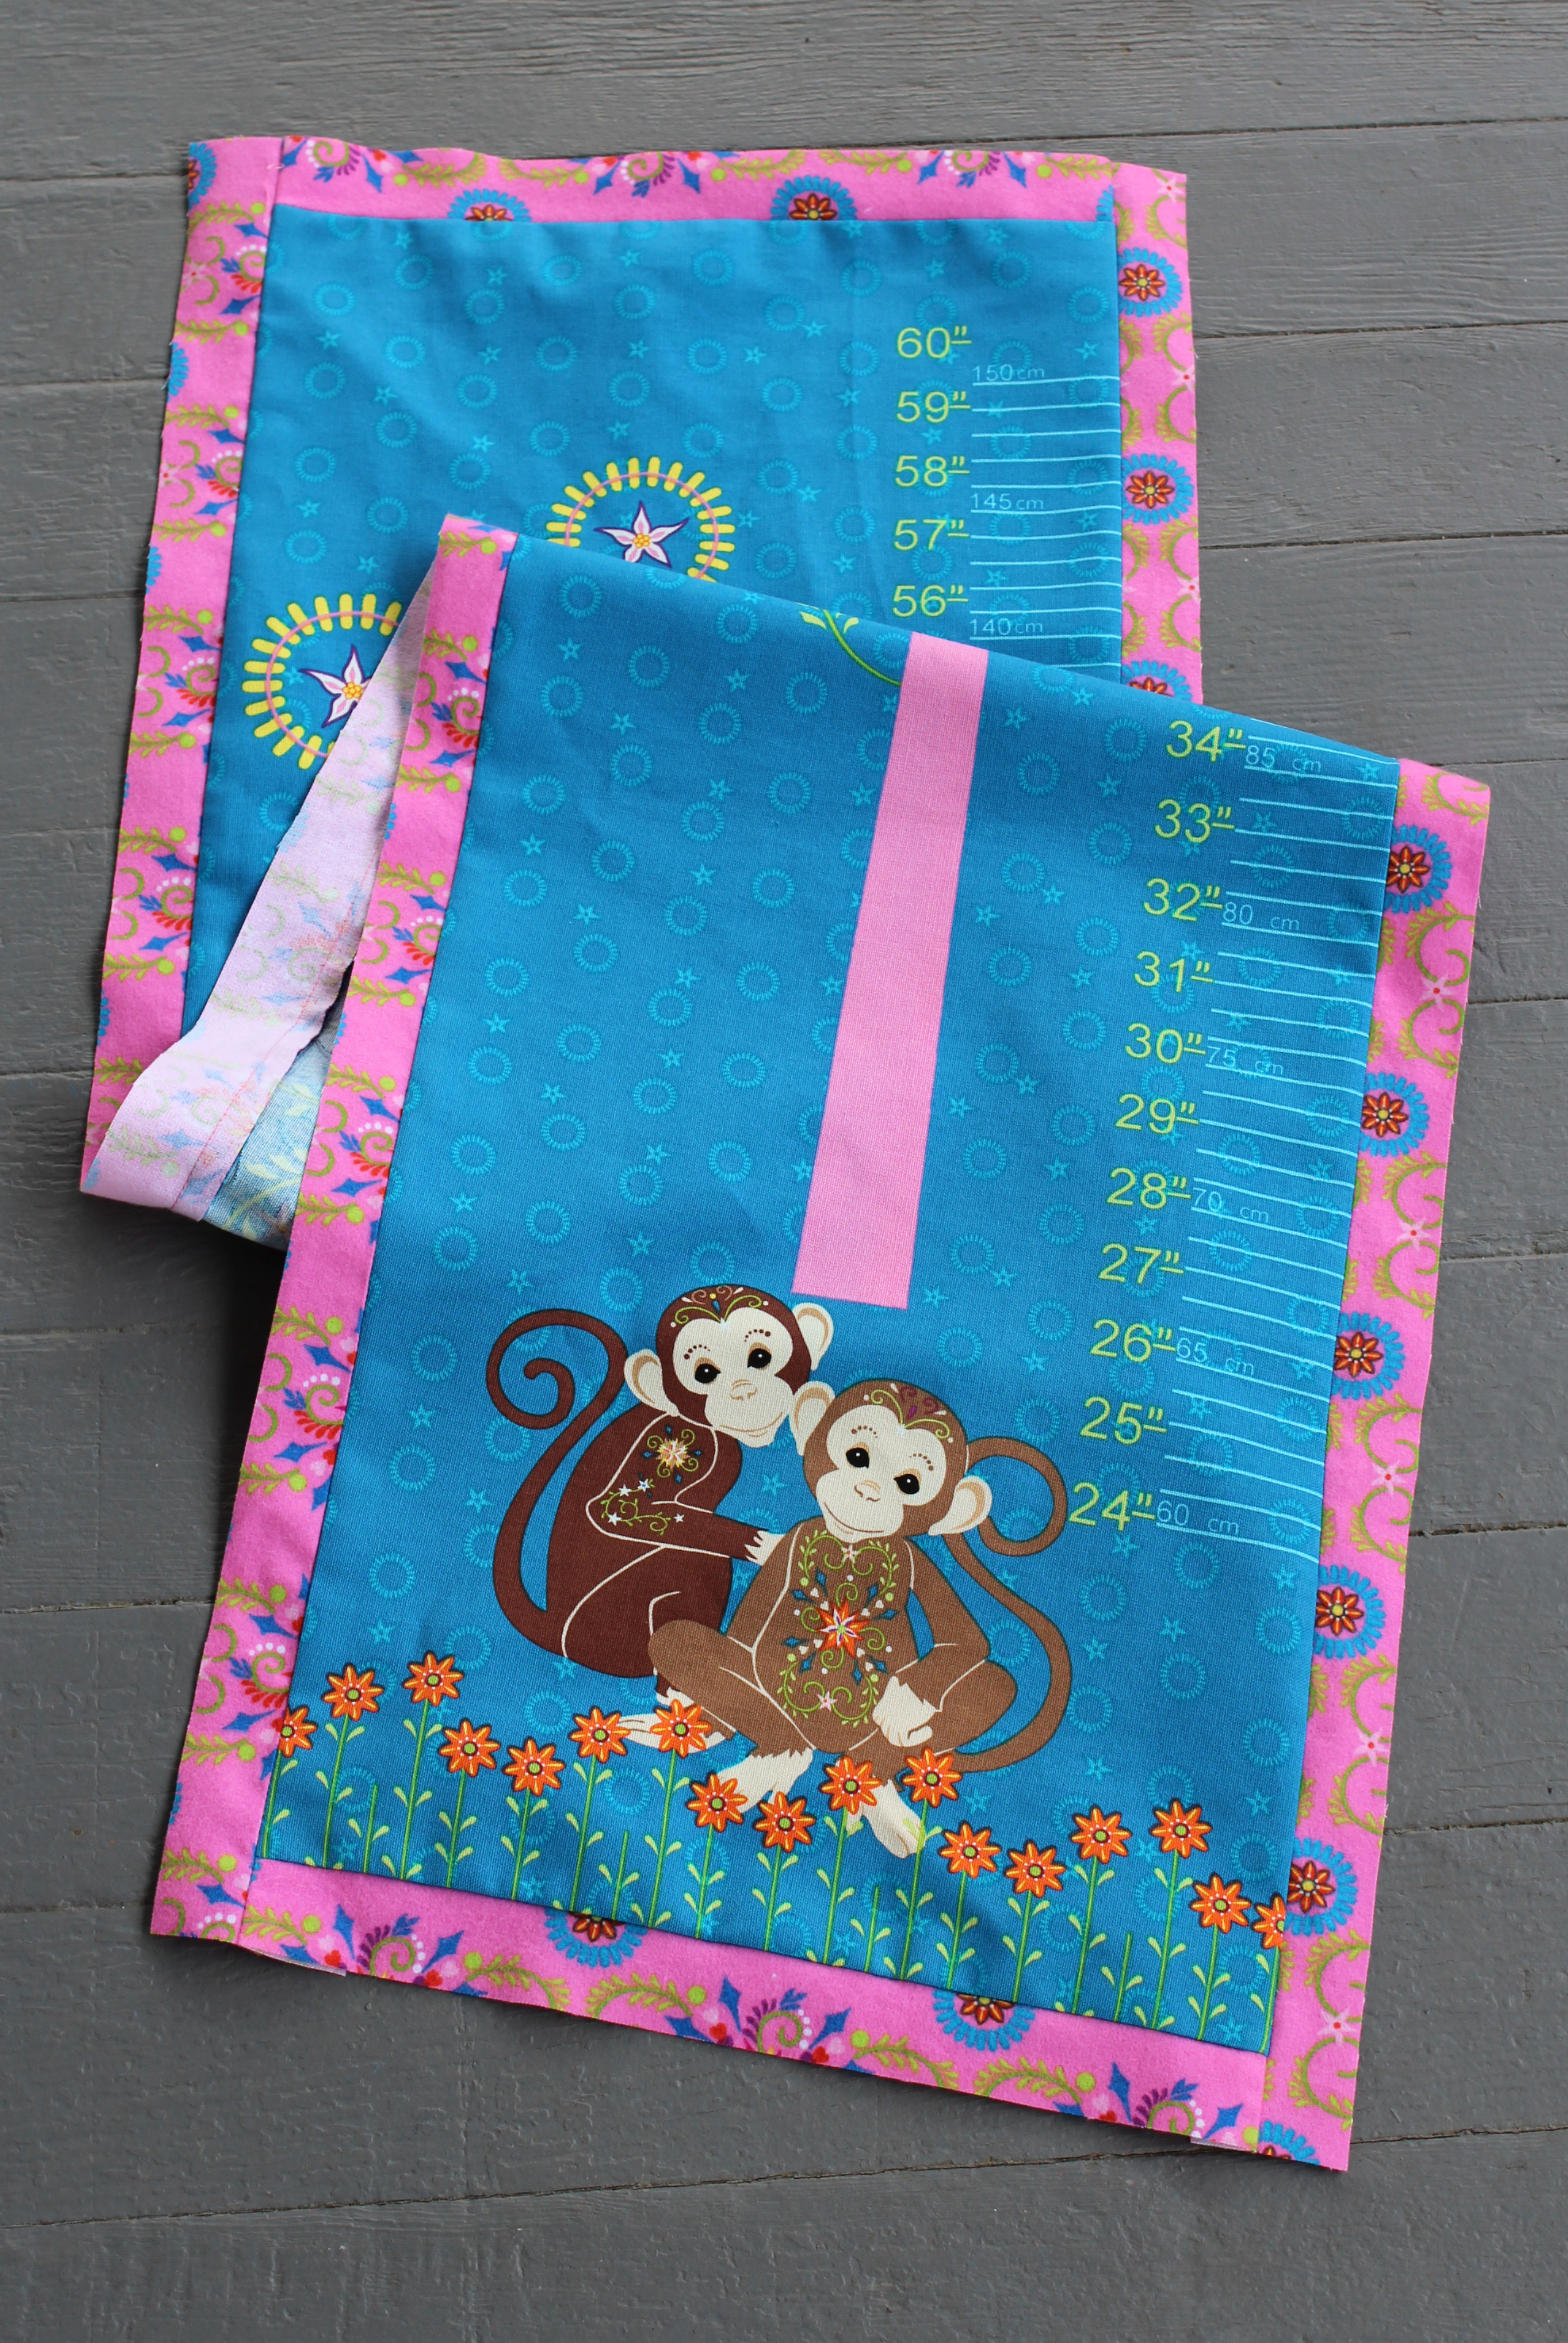
Start by cutting some strips for a border that will go around the panel. I cut my strips 1-1/2" wide by the length of the total area around the panel. july 049

With right sides together sew the strips onto the panel. I started by sewing on the top and bottom pieces and then sewed on the sides.
  july 051

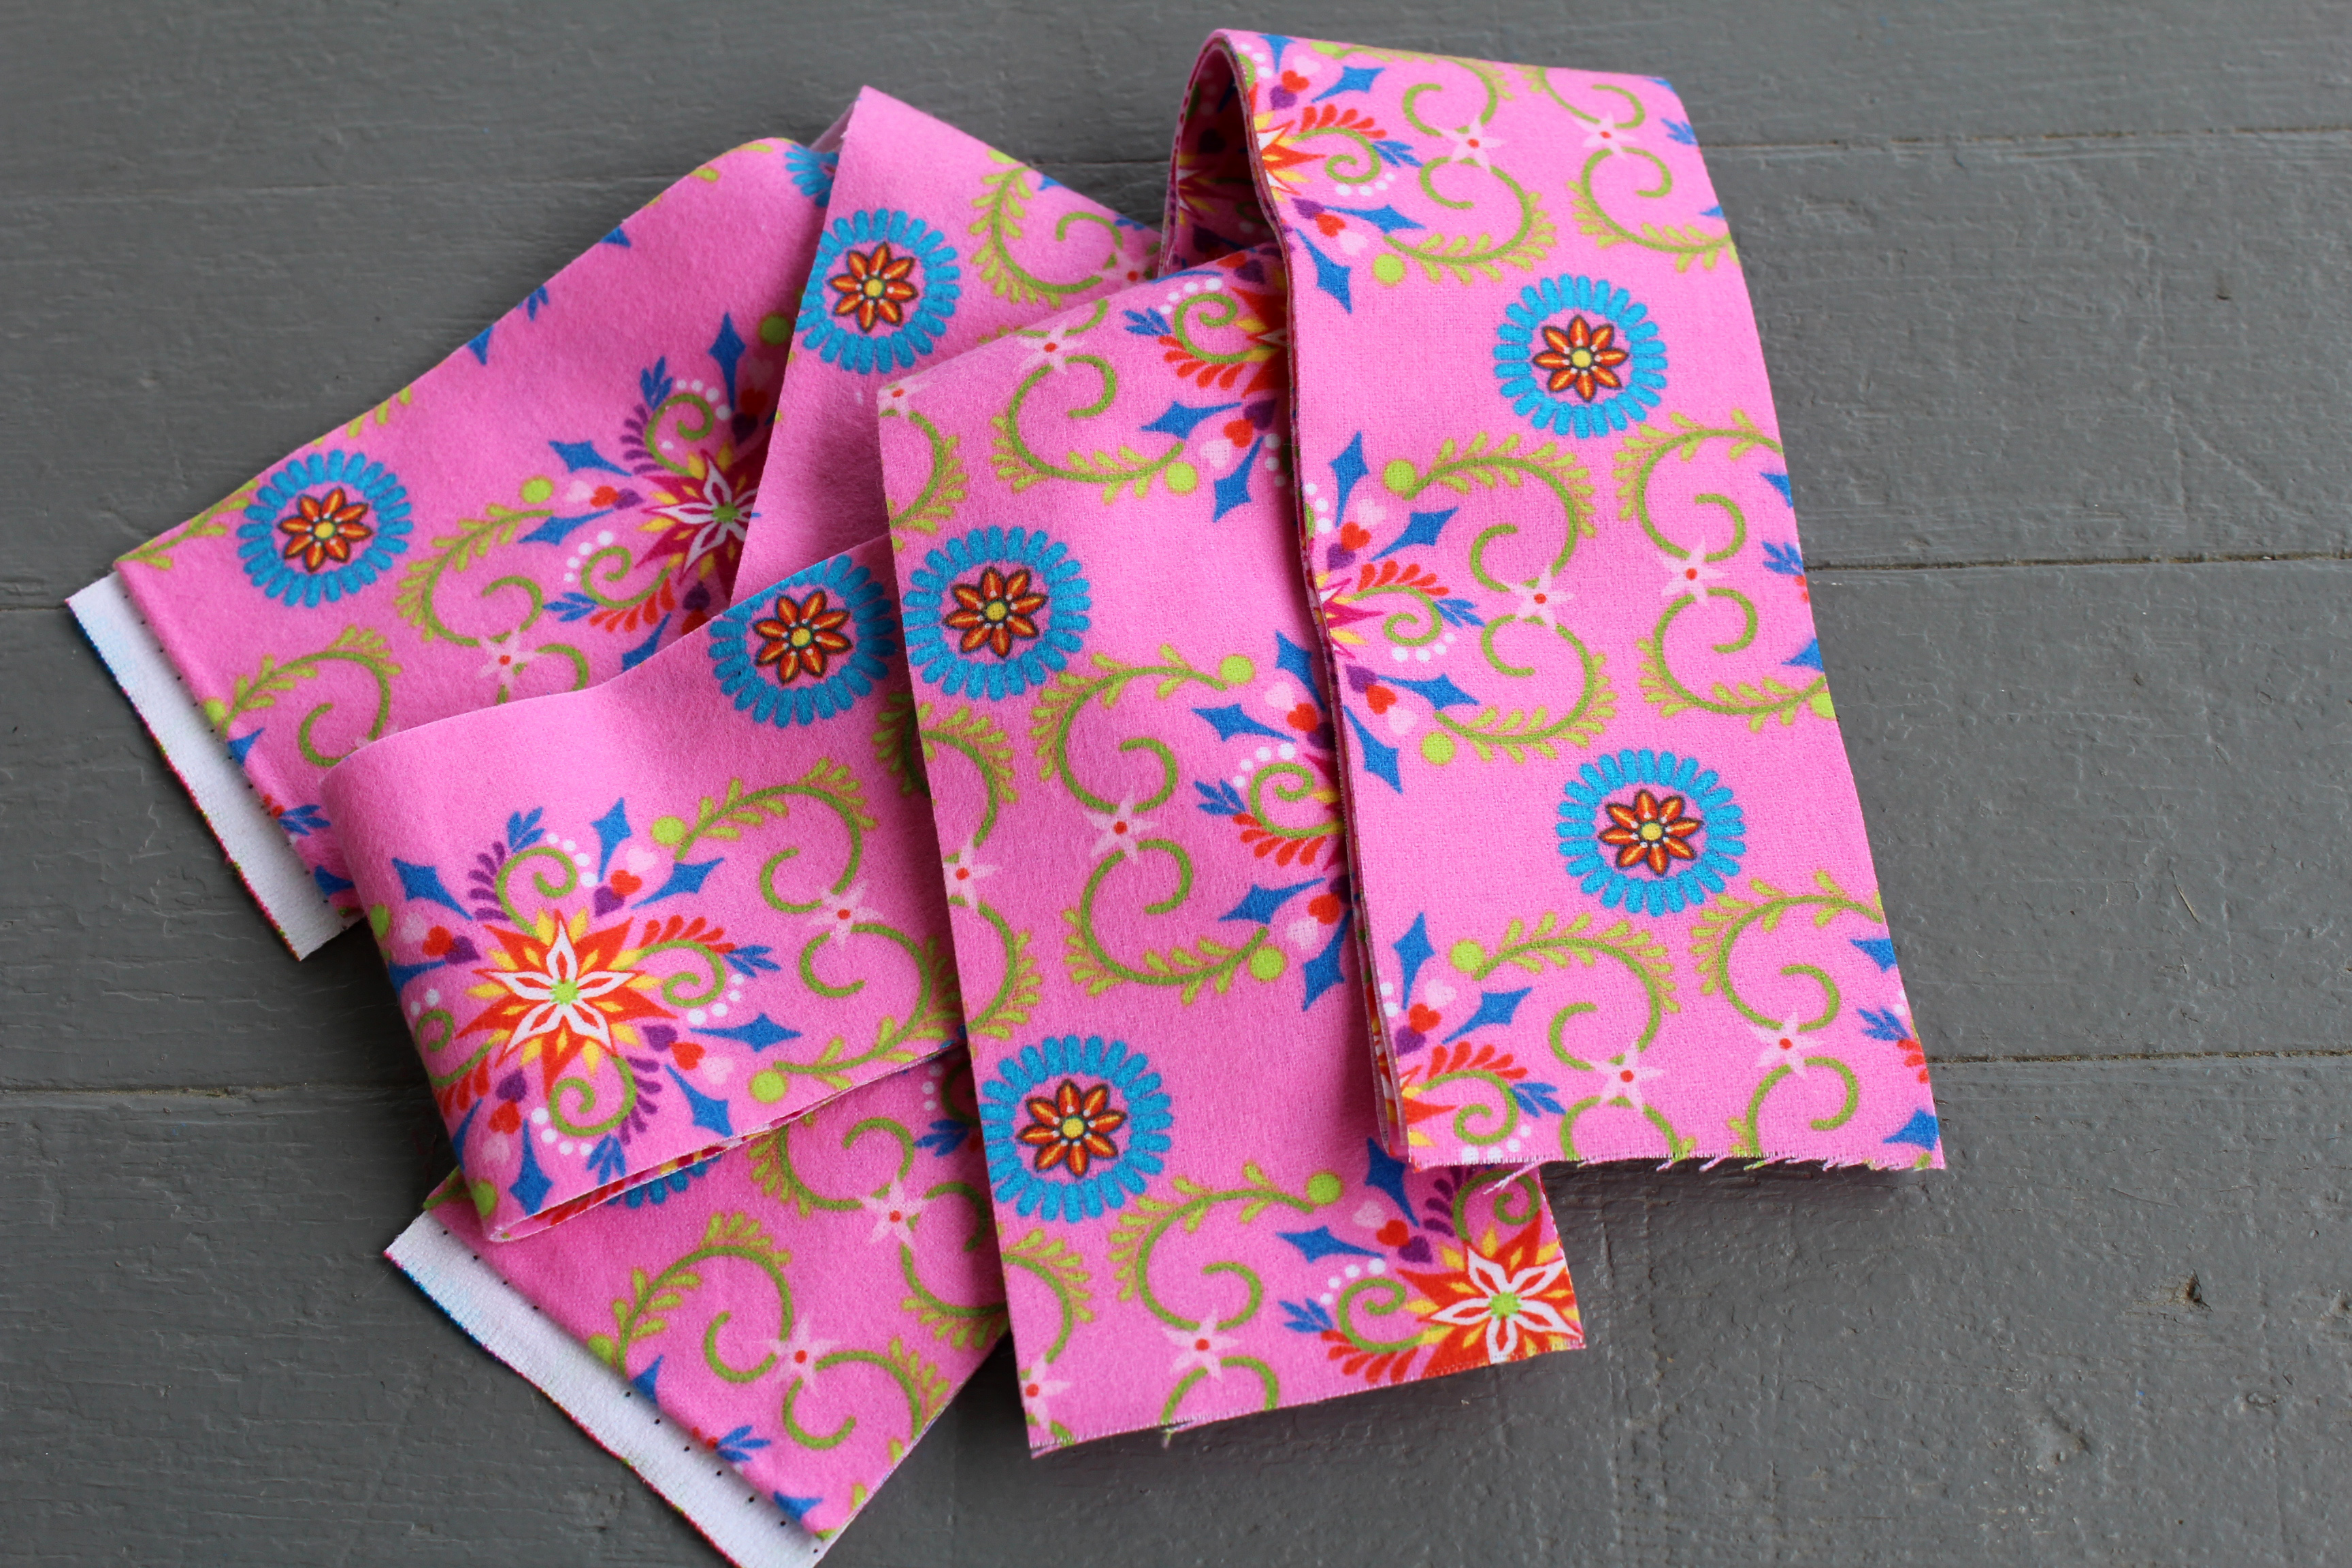
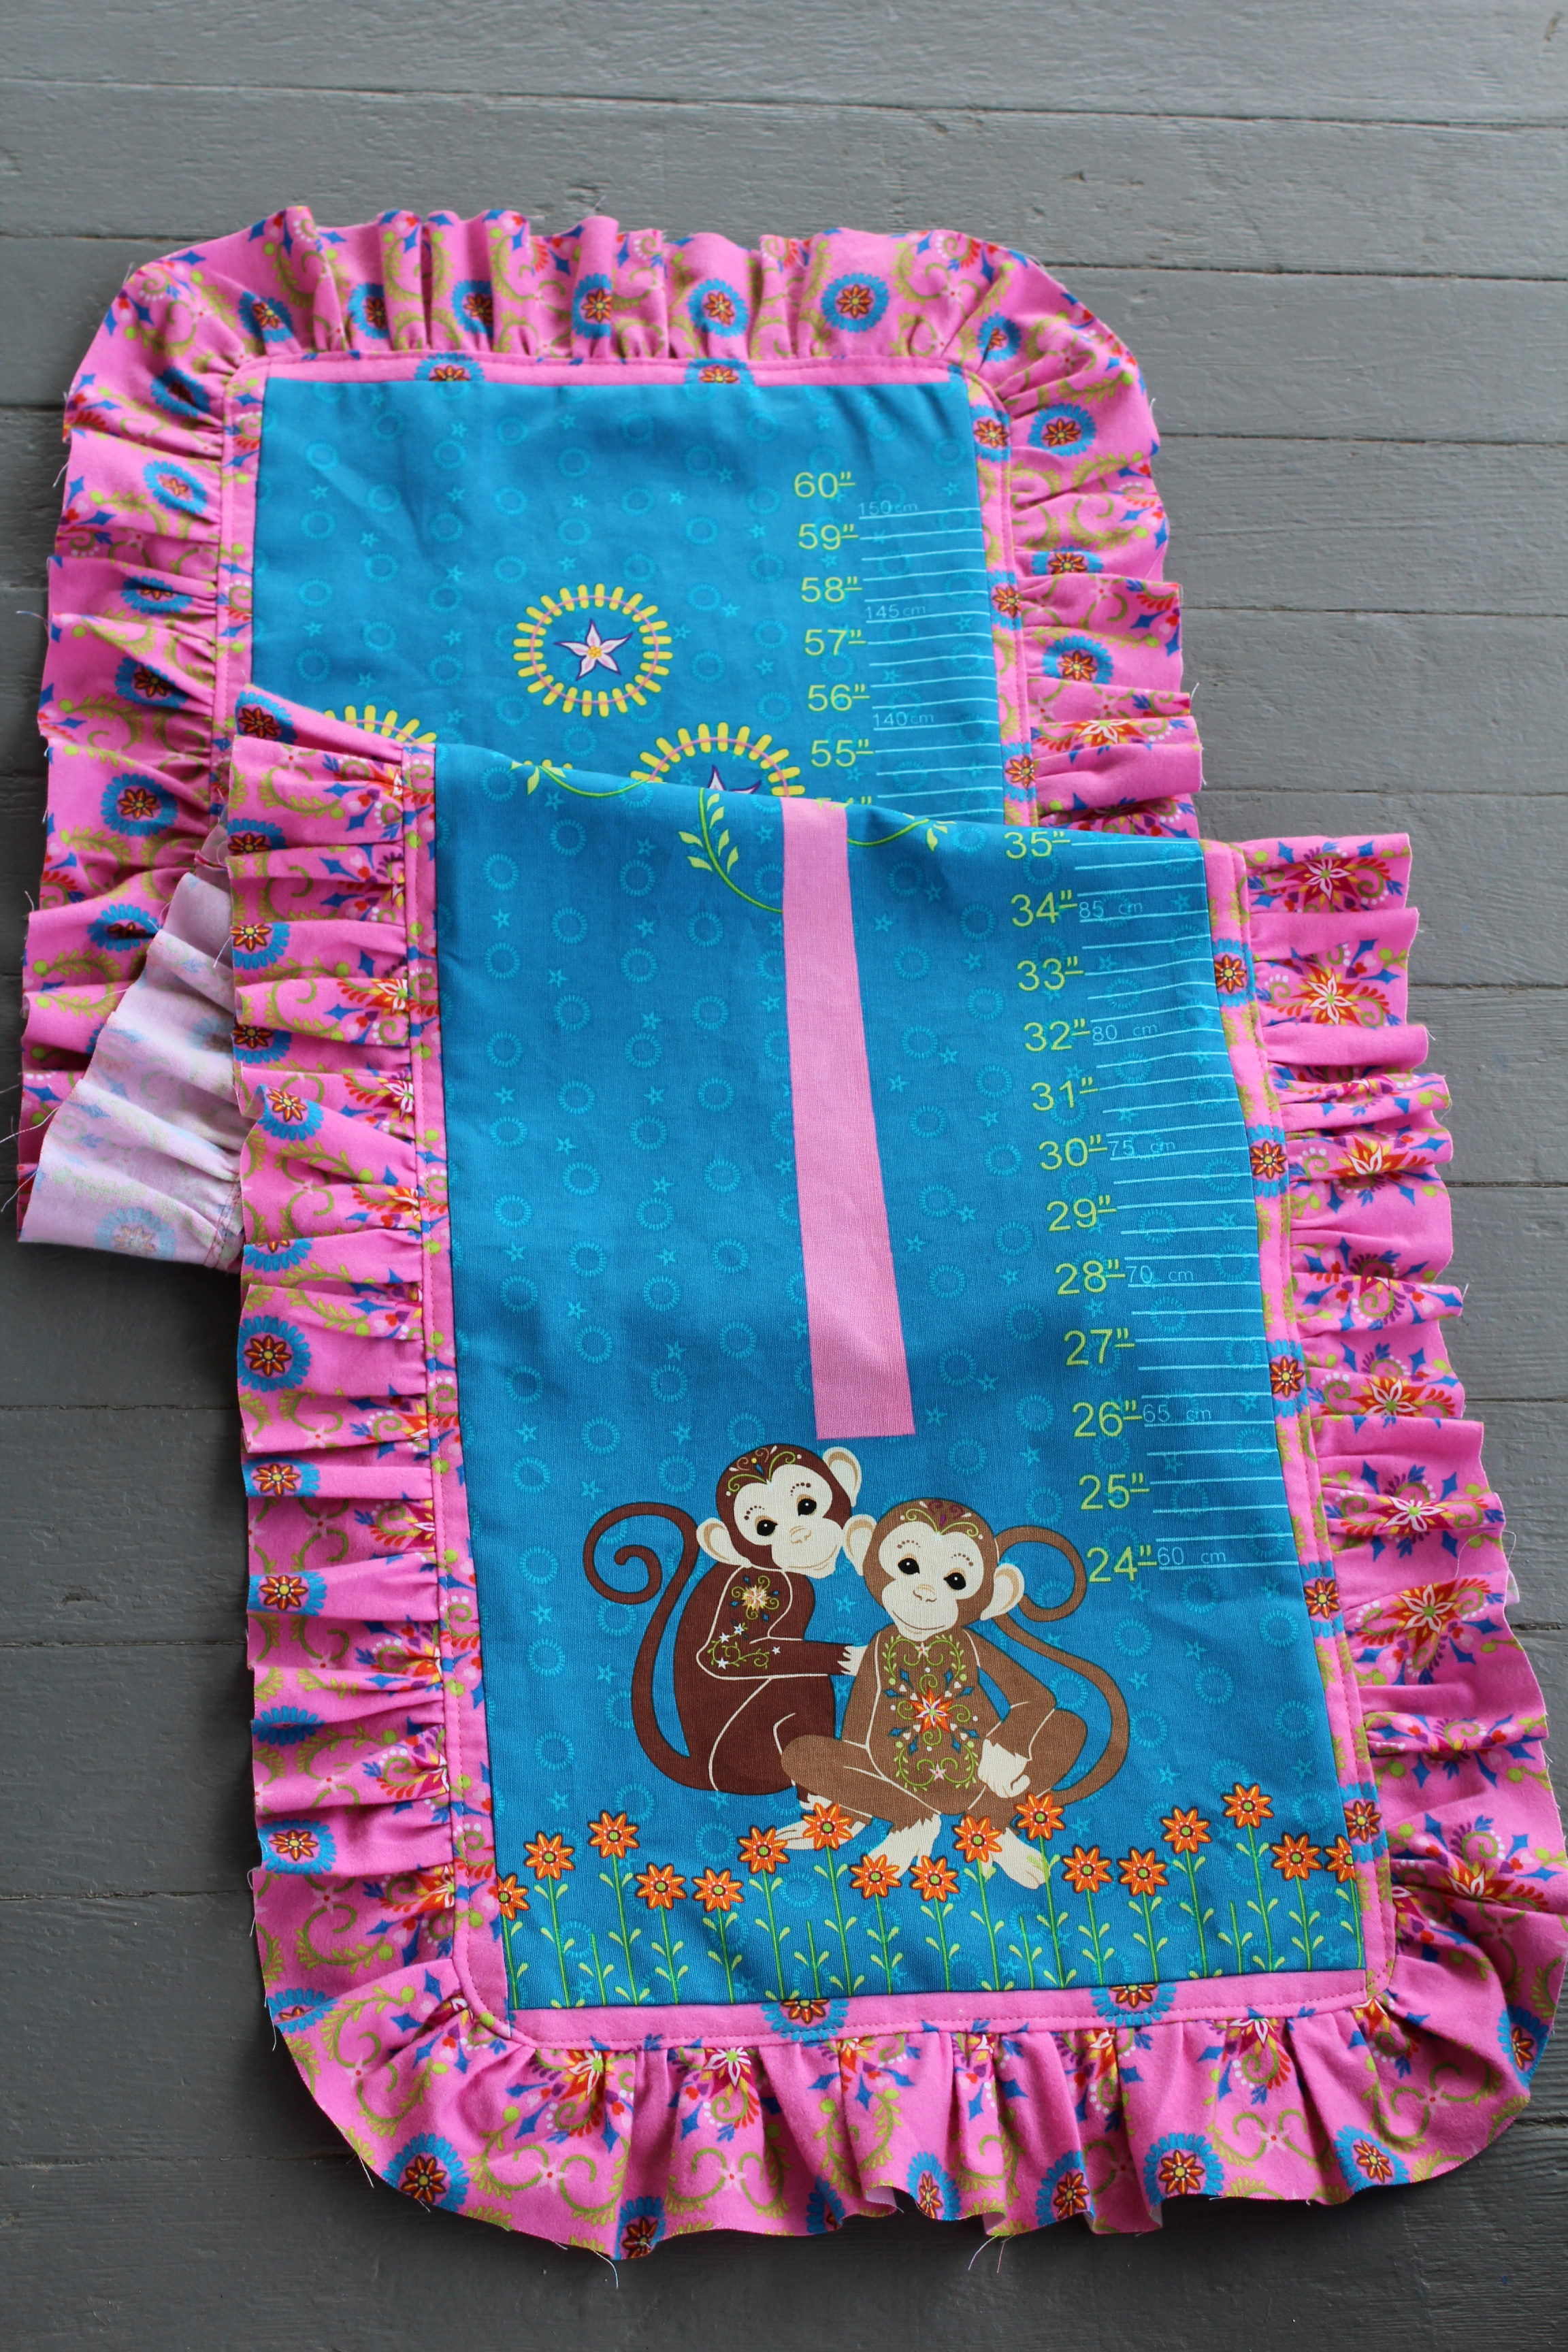
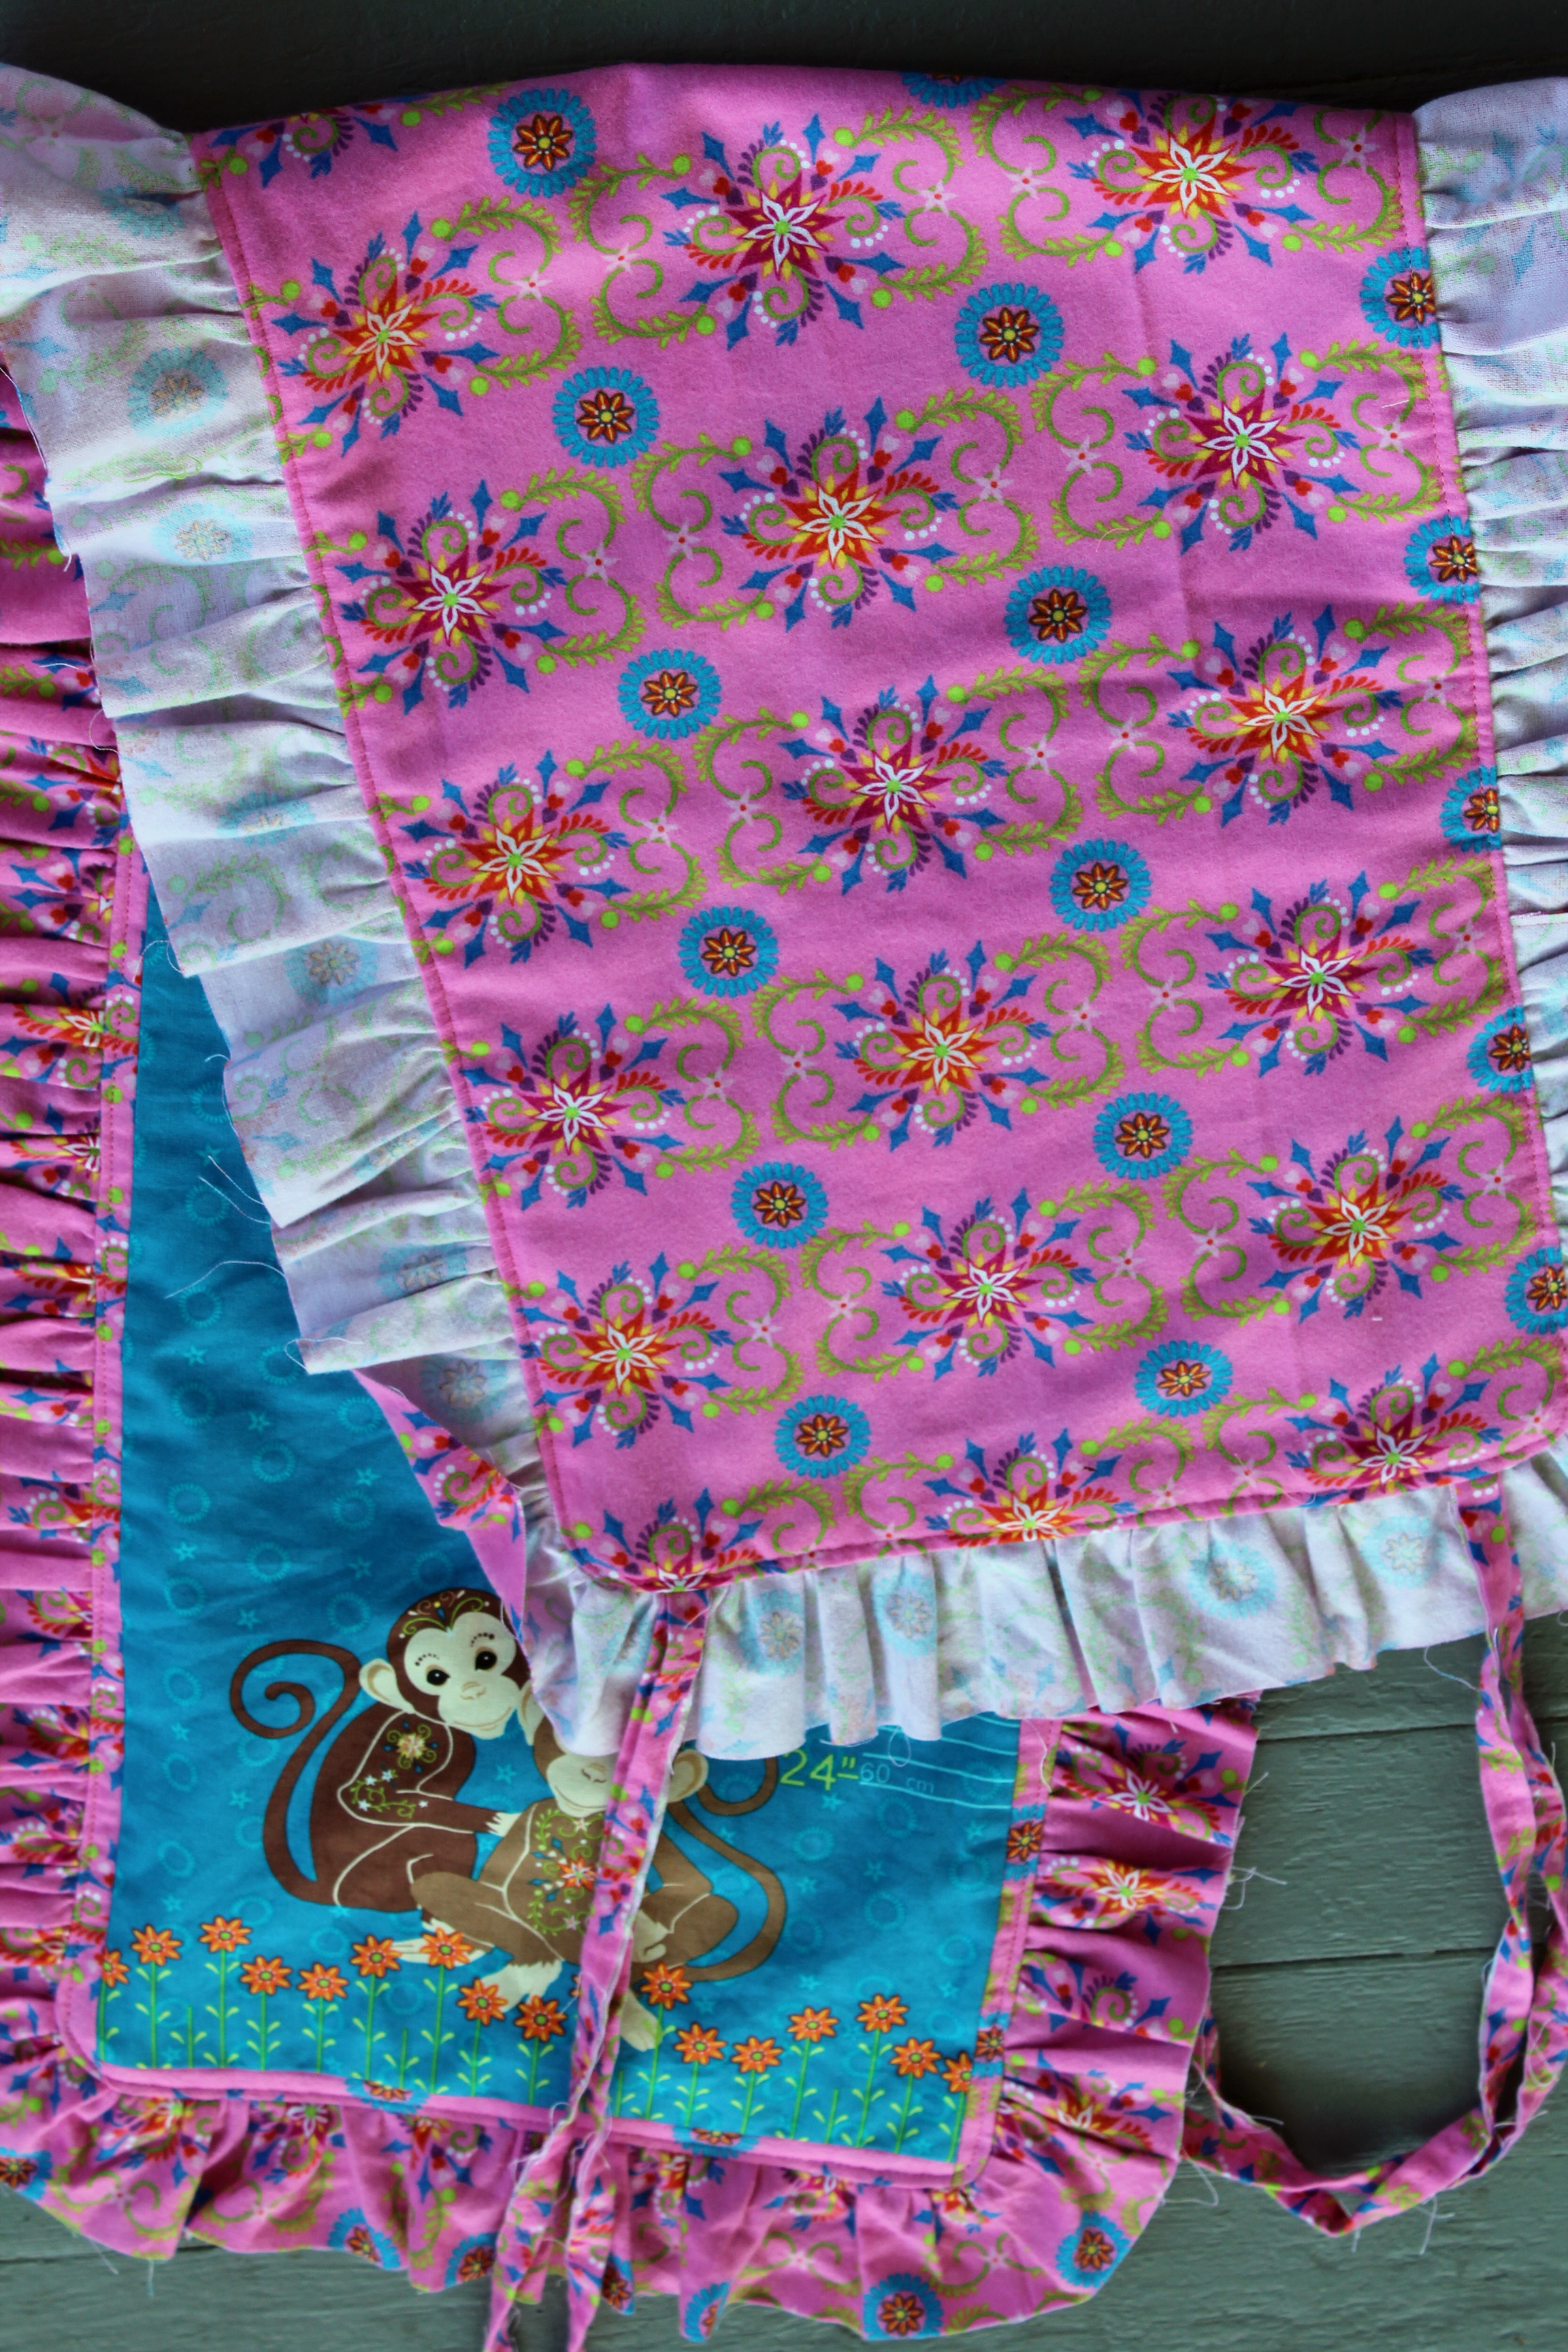
Next, cut some strips of fabric that are 2-1/2" wide by a length that is almost two times the total area around the panel. Sew the strips together on the ends to make one big strip. Now ruffle the strip. As you can see, I chose to leave the edges of my ruffle raw and scrappy. You may not want a raw edge. If that is the case, cut your strip twice as wide and fold in half with right sides out before ruffling. 
july 053

Now you are going to attach your ruffled piece to panel piece. Pin the ruffled strip to the outer edge of the panel with right sides together. Sew all around edge. Press flat.
  july 054
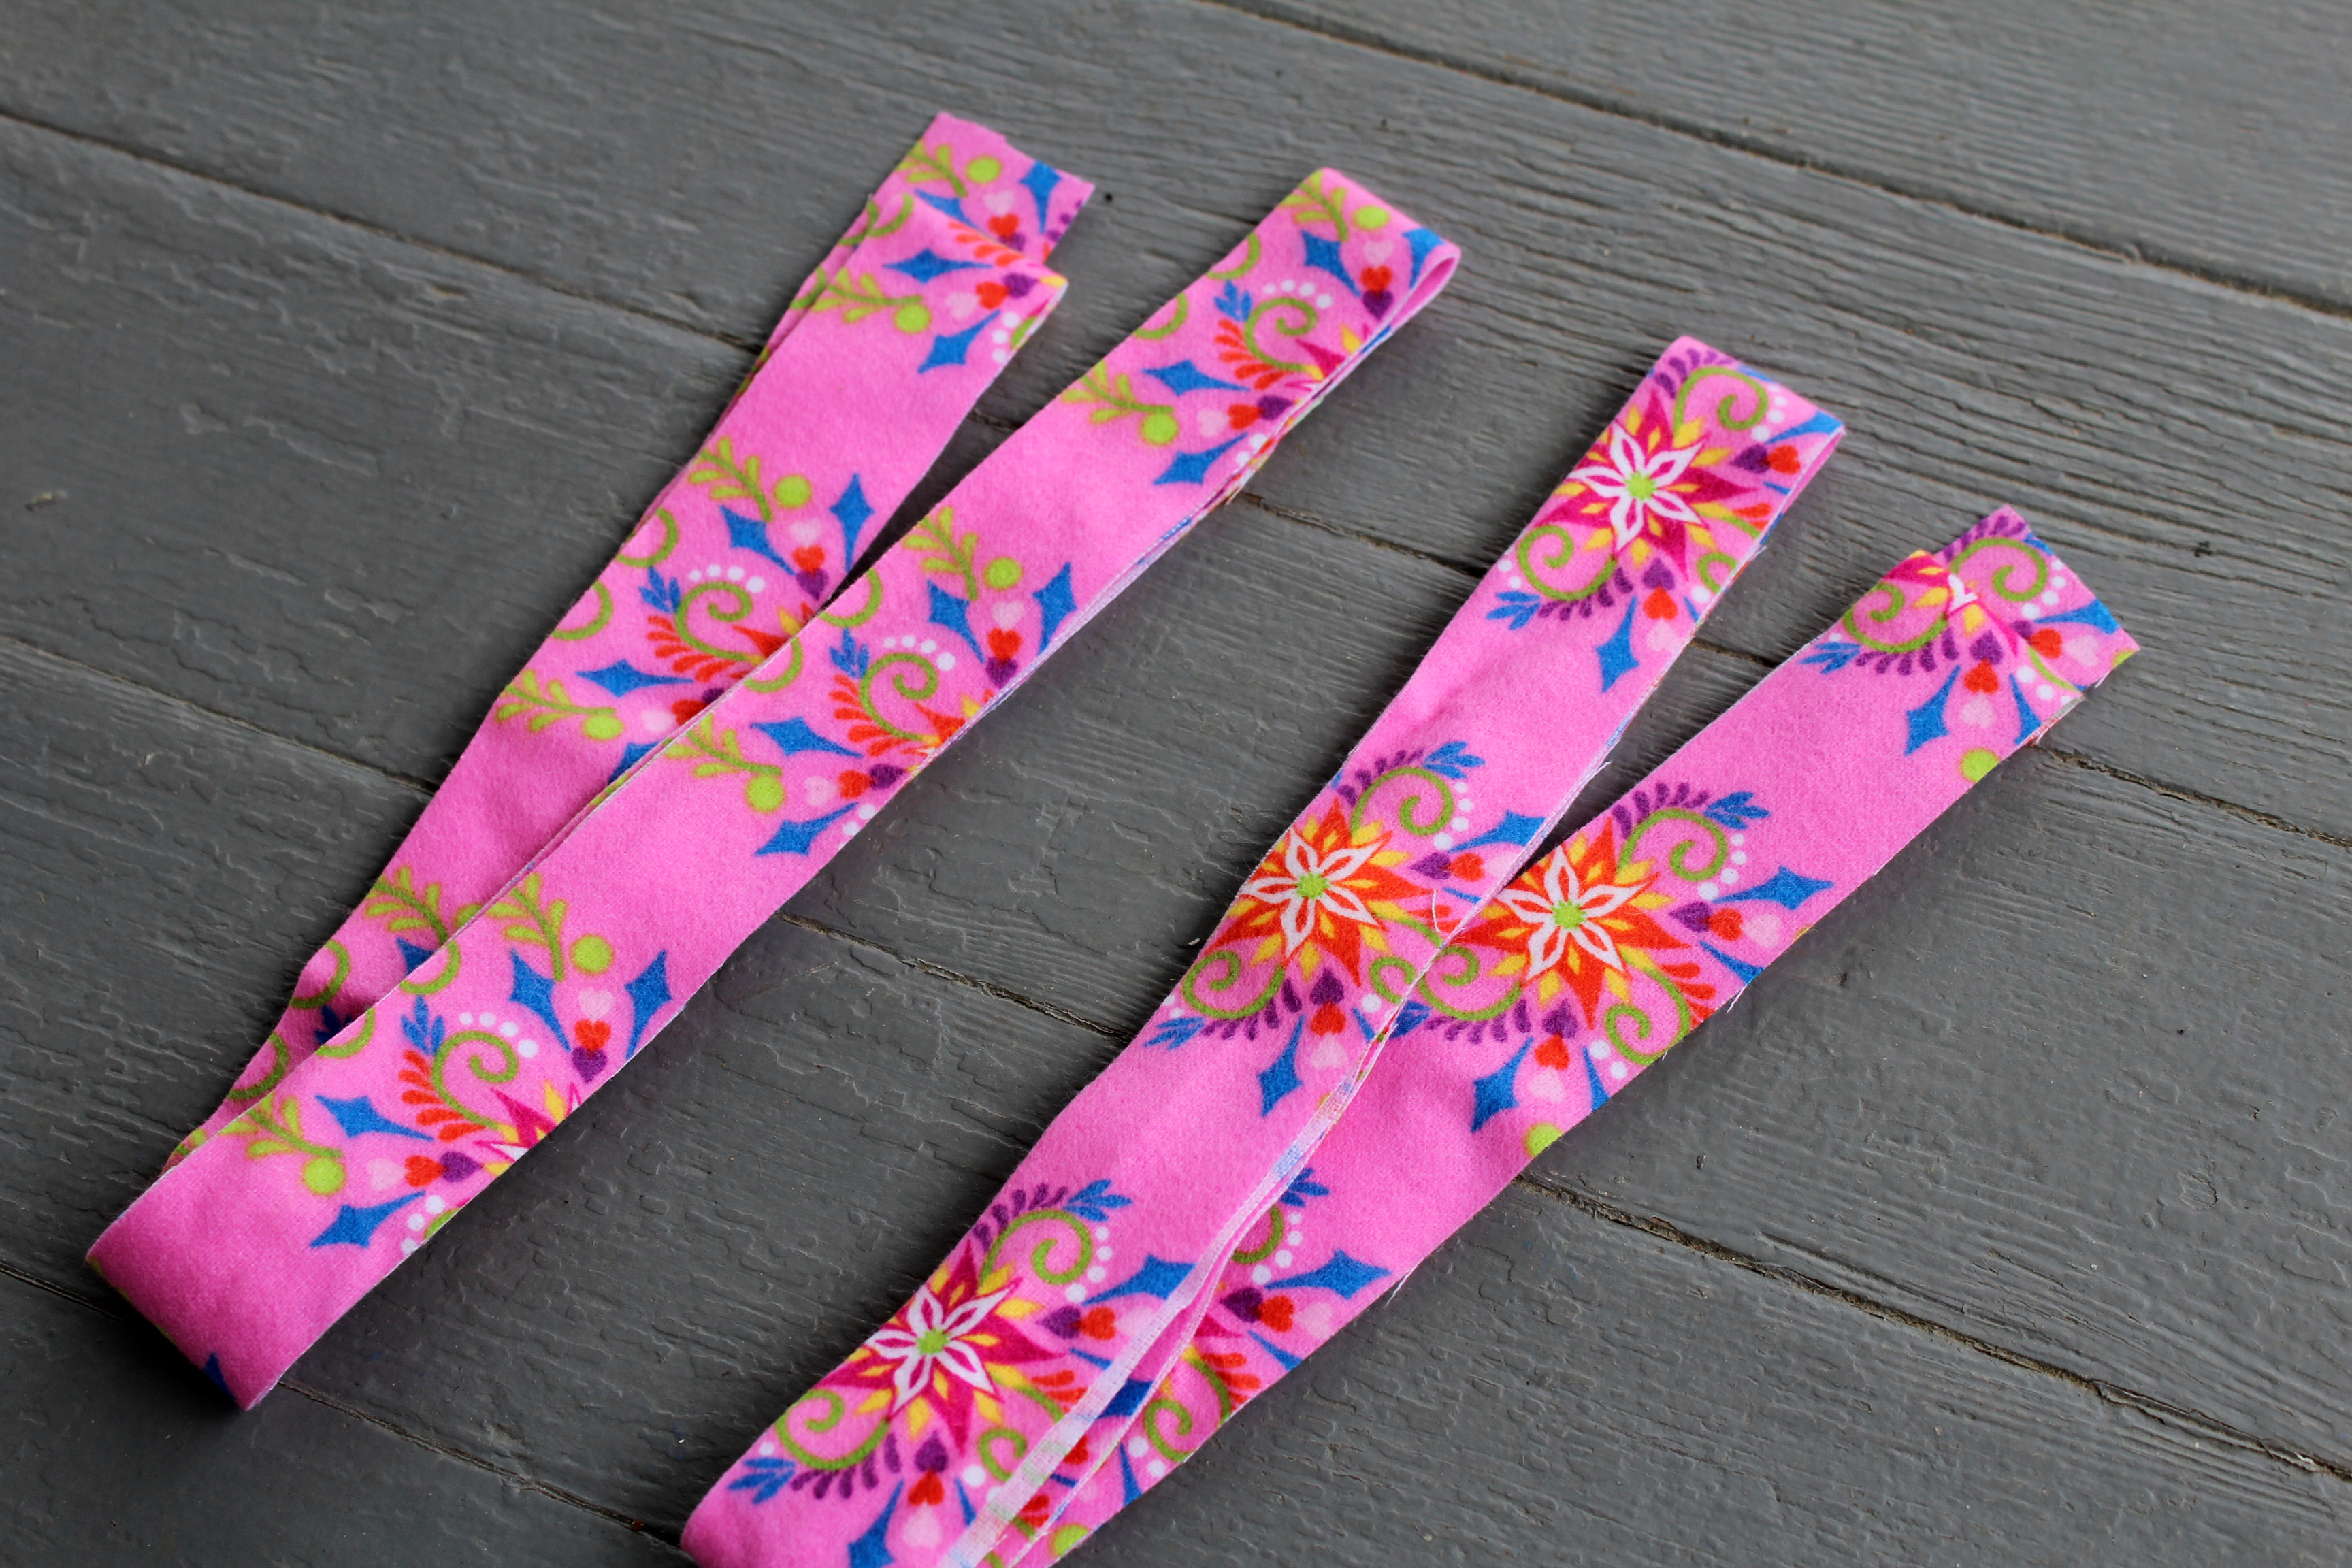
Now you are going to make some ties. These will be used for hanging the growth chart. I chose to make my strips with the raw edges exposed to match the raw edges around the ruffles. Again, it is your choice on how you make the ties and how long you want the ties to be.
growth chart 001

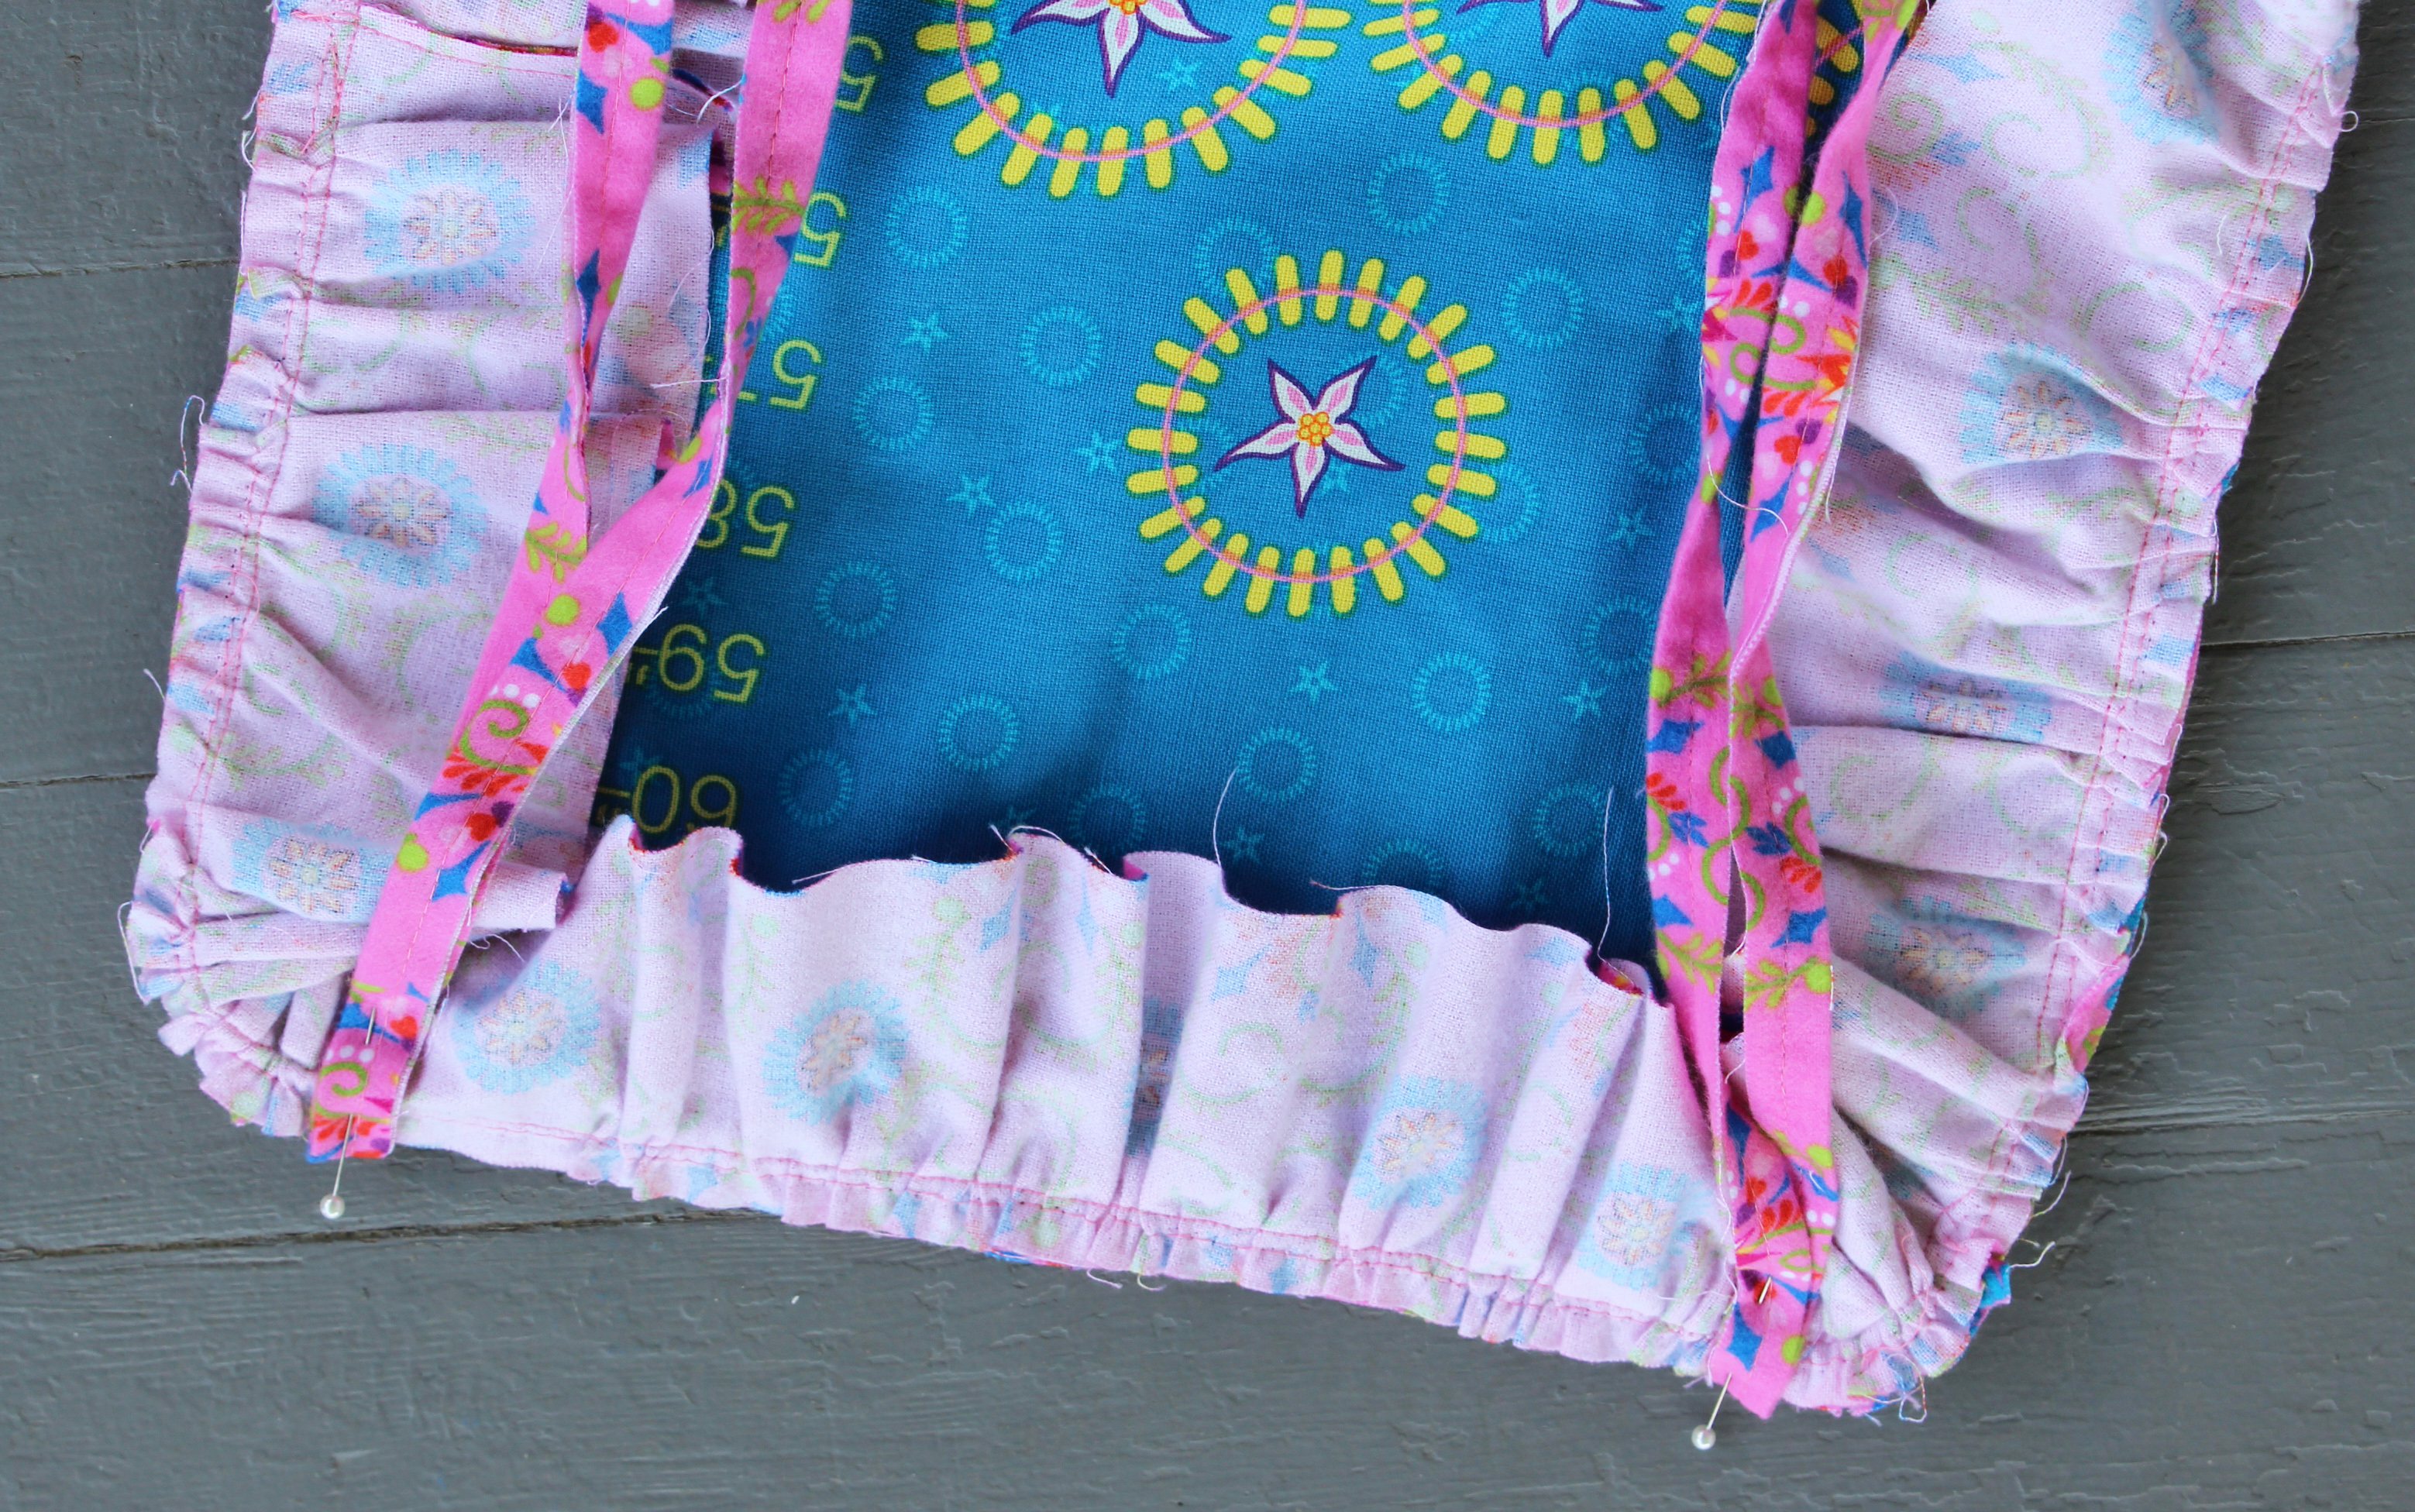
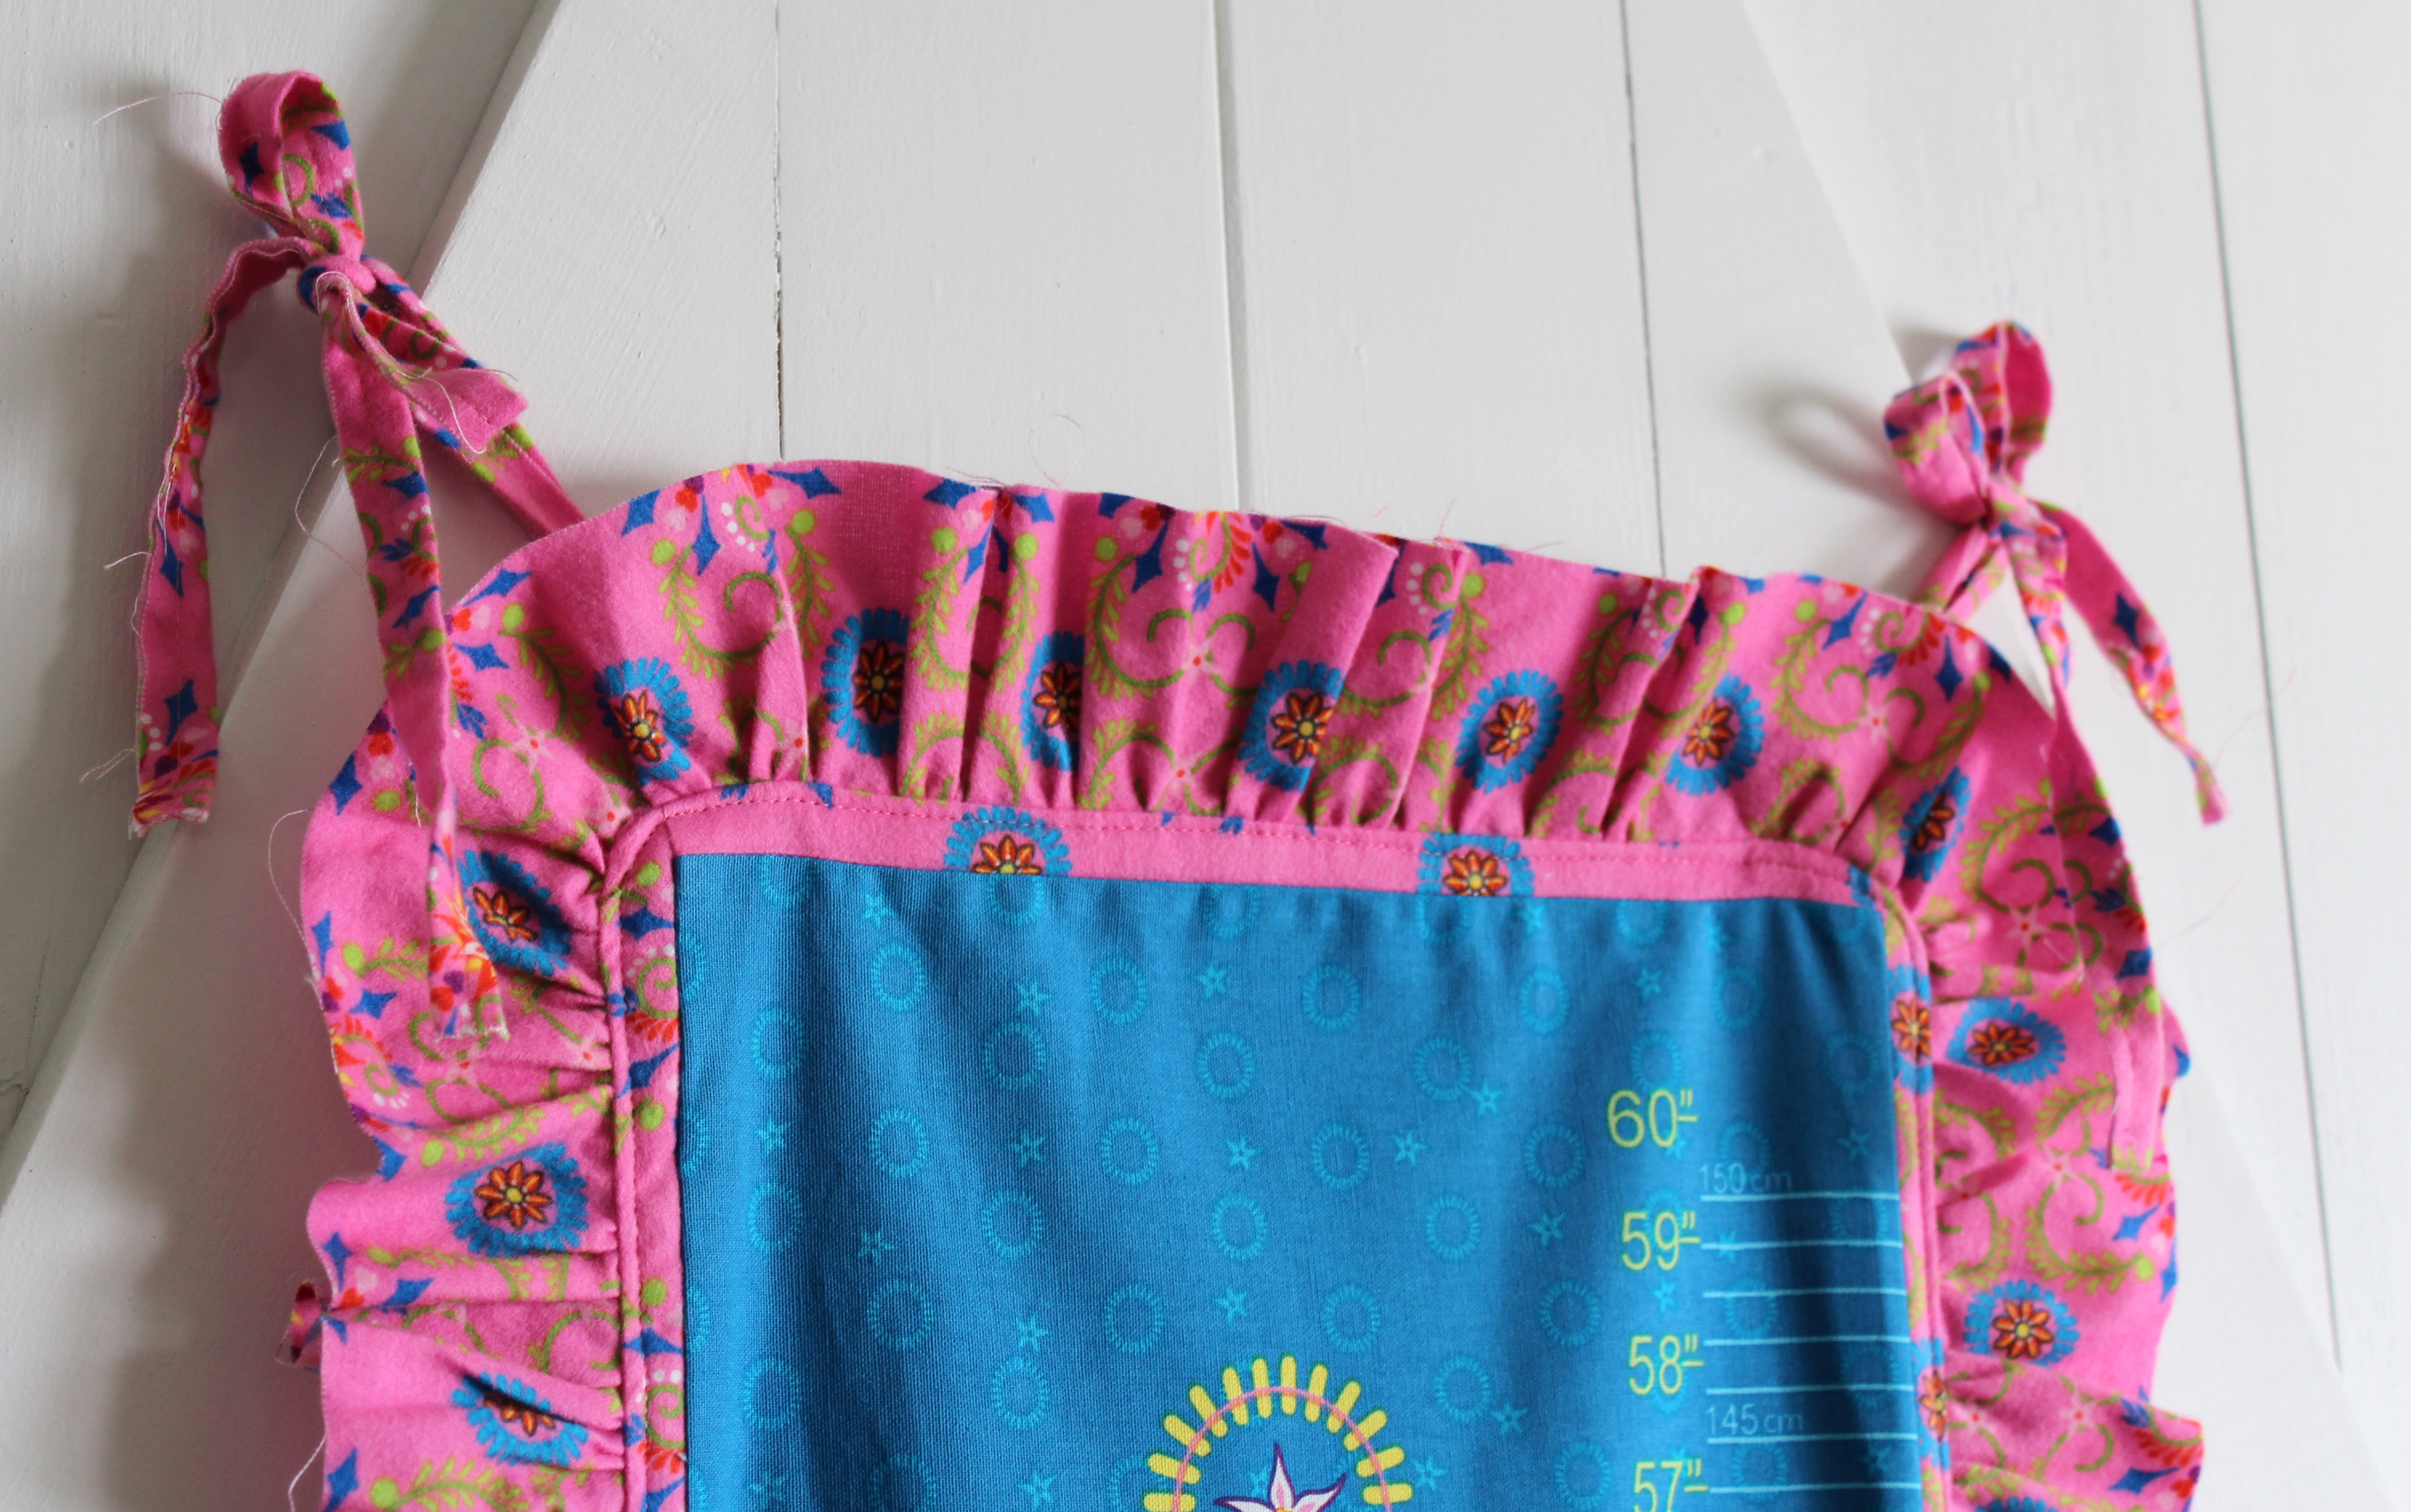
Once you have the ties made pin them in place at the desired location at the top of the growth chart. I placed mine about 1-1/2" in from the edge and I made them long enough so that I could tie them in a bow at the top. Sew ties in place.
  growth chart 004

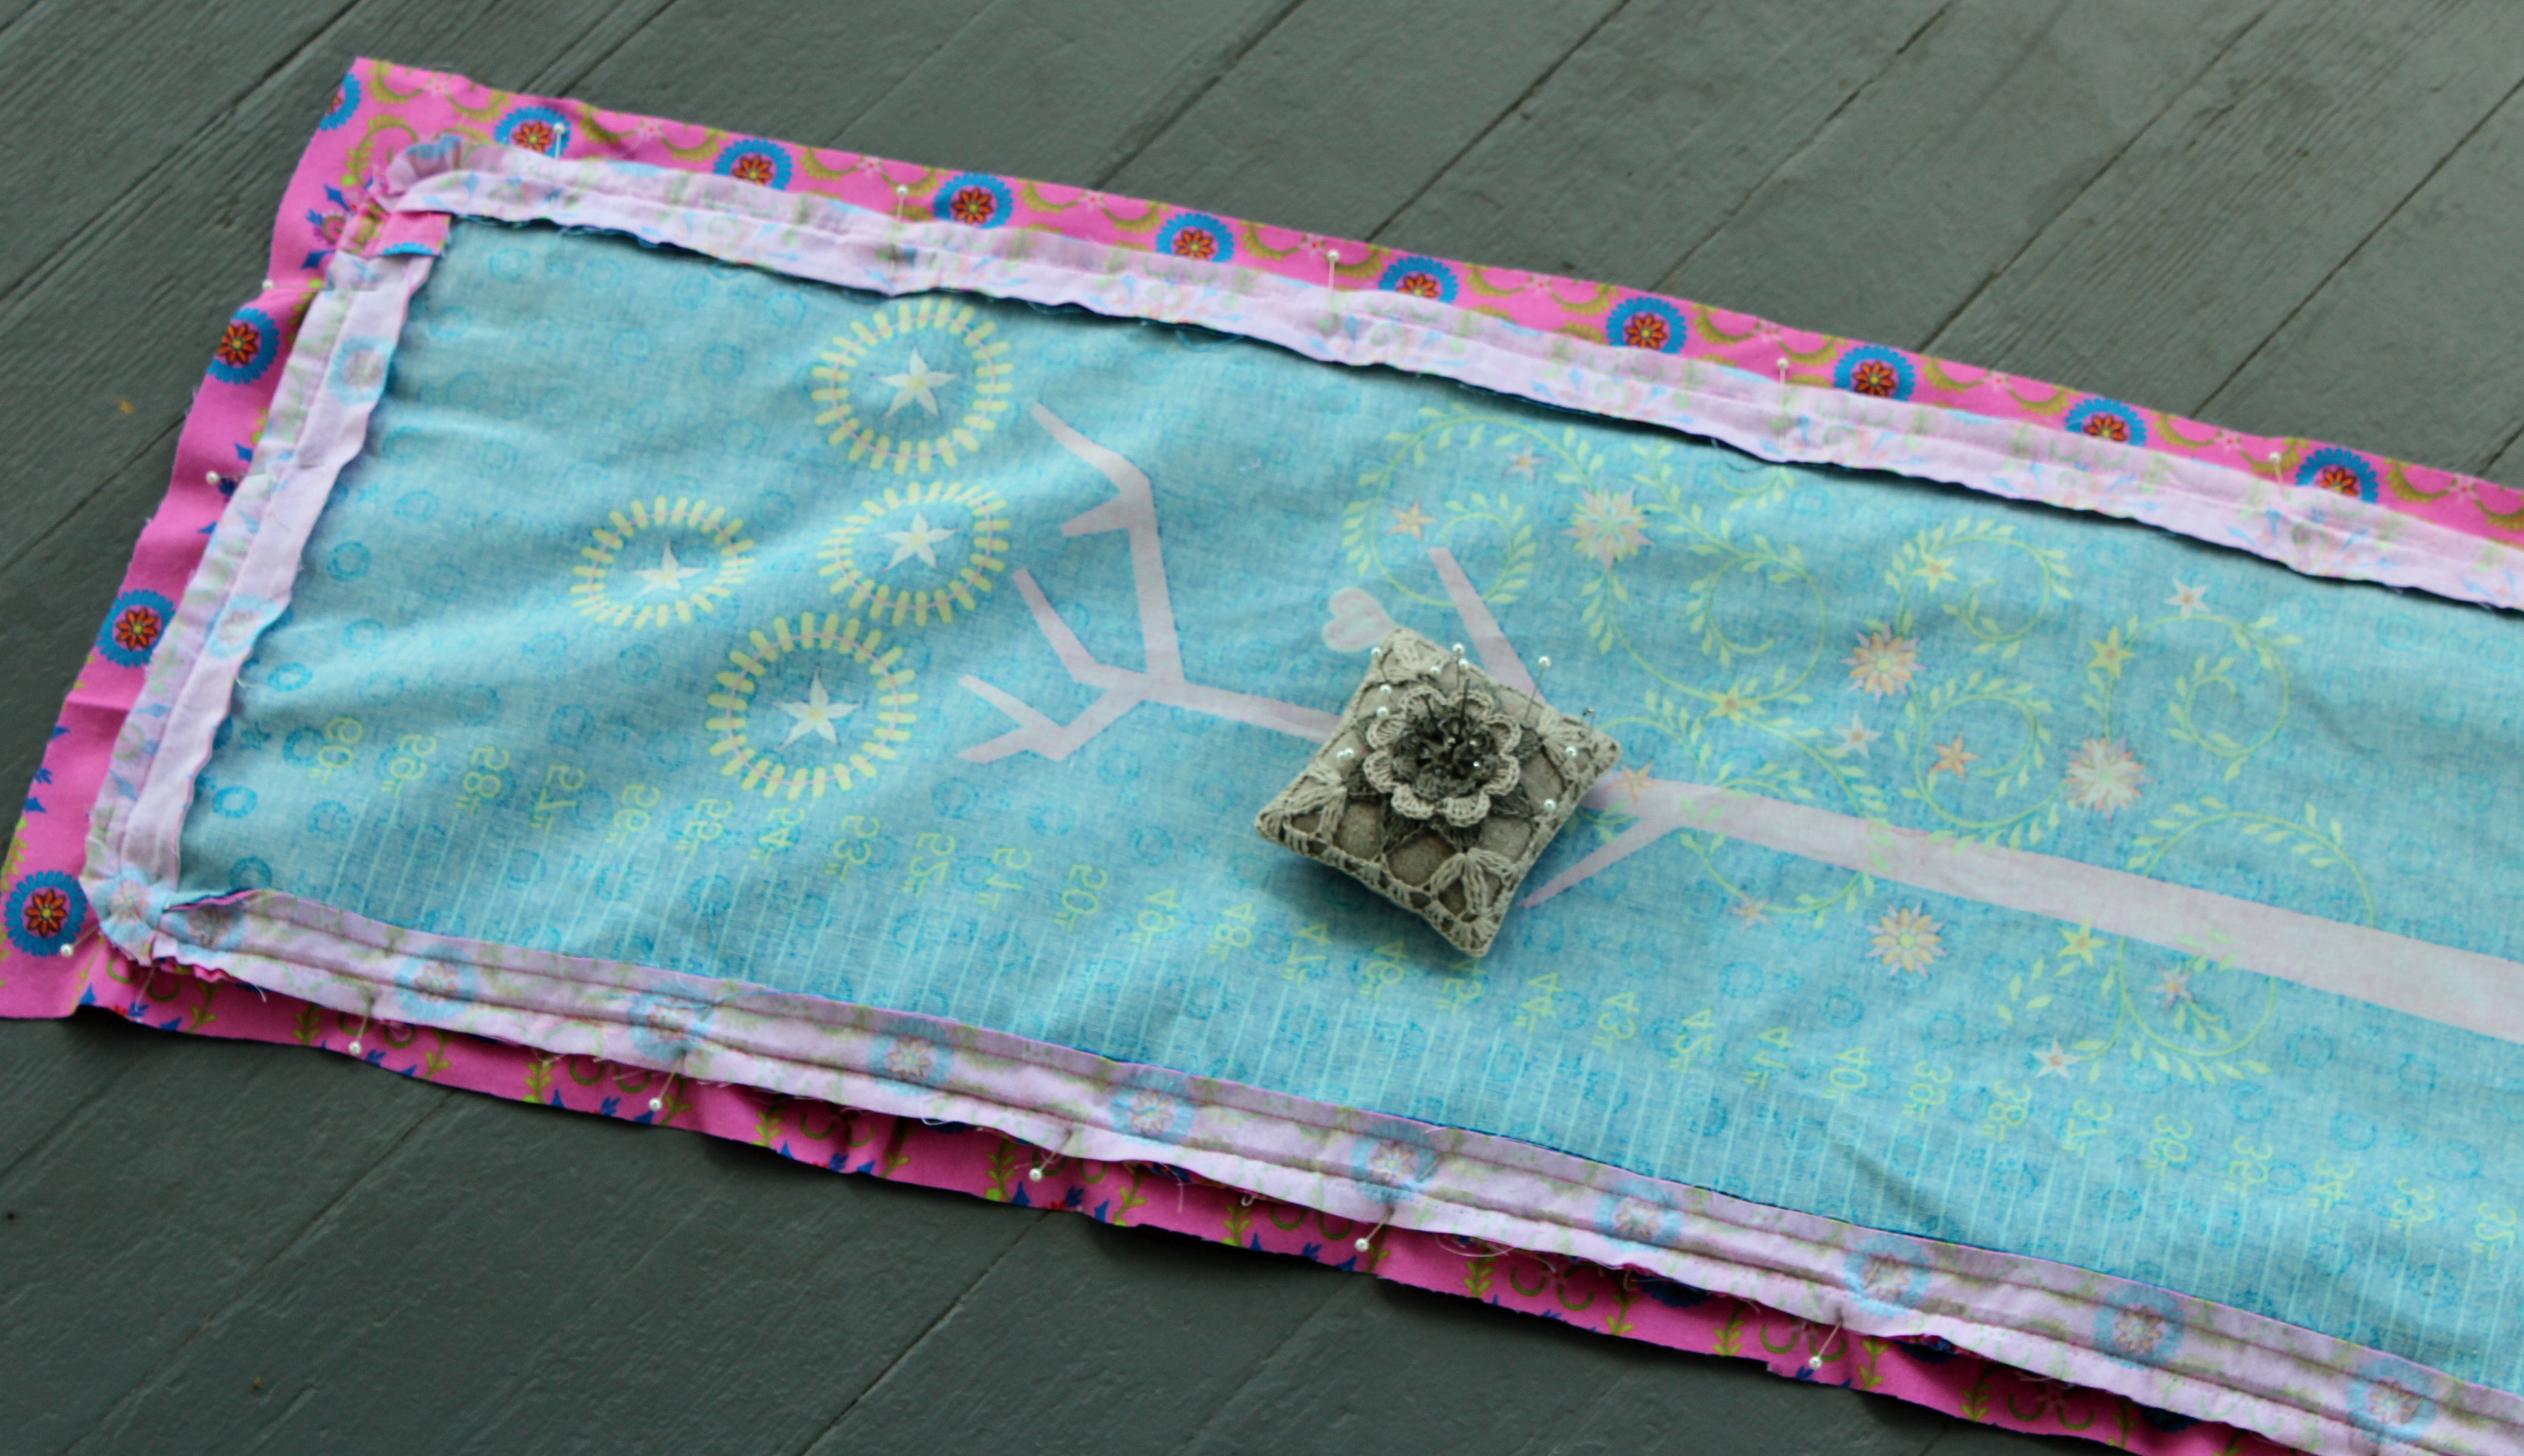
Now lay the growth chart on top of the backing fabric with right sides together. Pin in place. Sew all around edges while leaving a 3" opening for turning right side out. Make sure that your ties are tucked in.
growth chart 007

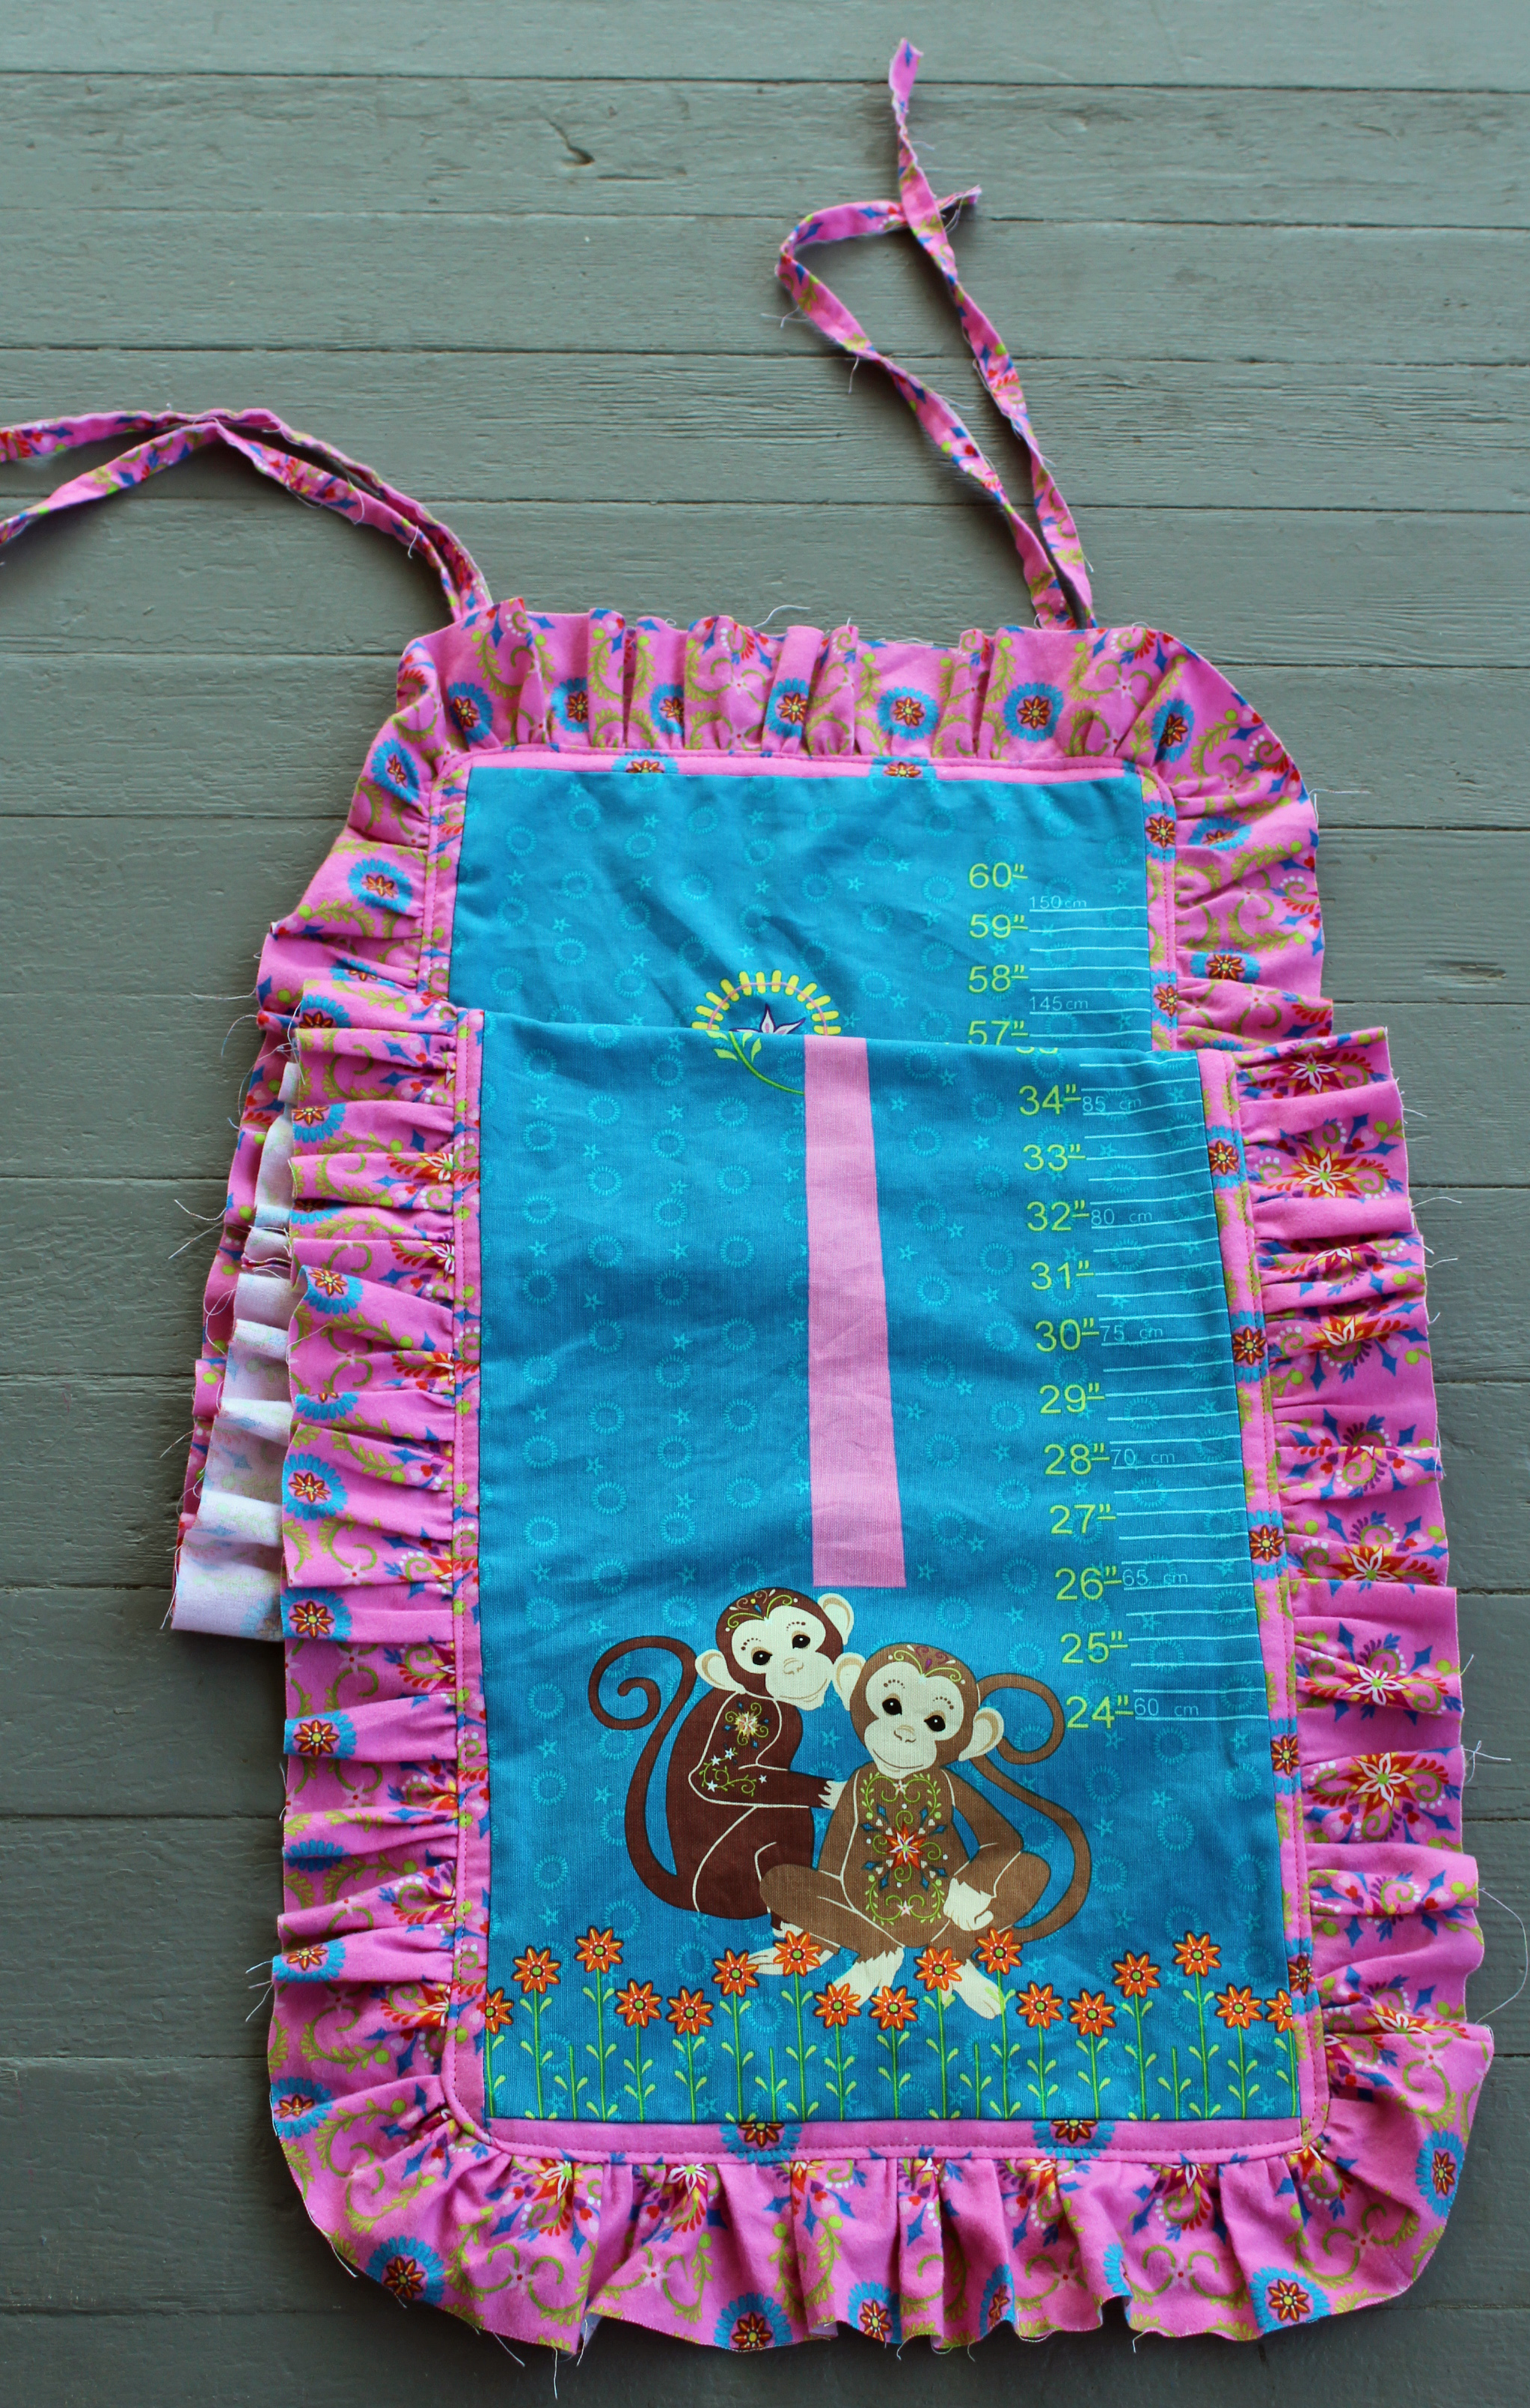
Turn right side out through the opening. Press flat and top stitch all around the edge right before where the ruffle attaches onto the panel.
growth chart 008 growth chart 009

Now find the perfect spot to hang it! The kiddos are loving this growth chart and measuring themselves daily with it.

  growth chart 006 growth chart 007 growth chart 008

Thanks, Christina! Don't forget to visit Christina's blog to see how to enter the giveaway for TWO different prizes:
1) the fabric to make the growth chart featured in Christina's tutorial (you choose the color you'd like from the options below)
2) the fabric to make this quilt, Traffic Jam by Jessica Toye, offered as a free pattern on our website. (again, you choose the colorway you'd like--see the entire Mystic Forest collection here.)


Thursday, June 20, 2013

10 Irresistible Baby Ideas

It's no secret that half the cuteness of baby clothes and accessories comes from the fabric choice. A mother of a toddler herself, Jessica Toye of Two Hens Cluckin' transformed yards of our favorite childrens' fabric, Mystic Forest, into sweet little baby gift ideas. We're sharing our ten favorite here; you can see more on Jessica's blog.

1. Reversible Bucket Hat: What baby wouldn't look adorable in this?!
Pattern: Reversible Bucket Hat by Oliver + S

2. Cutest baby shoes ever! Need we say more? 
Pattern: Simplicity 2491-C 

3. Mr. Businessman bib: the perfect complement to onesies printed with ties.
Pattern: Mr. Businessman on Little Man Bibs! by Vanilla House Designs

4. Kimono with elephants on parade! Love that lime green trim.
Pattern: Oh, Kimono from Sweet Booties!: And Blankets, Bonnets, Bibs & More by ValerieVan Arsdale Shrader  

 5. Summery Flower Girl Dress
Pattern: Flowergirl Dress from Weekend Sewing by Heather Ross 

6. Easy appliqued shirts. Fusible web, fussy-cut fabric, an iron, and a sewing machine. 


7. Cloth diaper covers made from PUL (Polyurethane laminate). So cute for baby bottoms!
Pattern: Diaper Cover from Cloth Diapers Made Easy by Babyville Boutique


8. Easy Baby Blanket: monkey border stripe on the front, coordinating Minkee on the back. 
Pattern: Fuzzy Wuzzy from Sweet Booties!: And Blankets, Bonnets, Bibs & More by ValerieVan Arsdale Shrader 

 9. Sweet monkey bib: perfect for a fussy-cut print
Pattern: Baby Bibs 3 by the Little Quilt Company

10. Sweet ruffled sundress (with matching bloomers!)


11. (Okay, so we couldn't choose just 10!) Little Boy's Romper
Pattern: Austin Lee Coverall & Romper by Fishsticks Designs
Be sure to head over to Jessica's blog to see the other sweet baby items she stitched, and stop by our website to see the entire Mystic Forest collection!

Thursday, May 23, 2013

It started with an elephant...

Designing the booth for Quilt Market is one of the really fun parts of the job. 

Last week, we offered a sneak peek at one of our new fabric lines debuting at Market, Mystic Forest, and some of the decorations for the booth that it inspired. Today, we'll give you the whole booth tour.

The booth featured Mystic Forest in its three different colorways/themes:
  • Elephants in orange, magenta, pink and lime
  • Monkeys in blue, pink, purple and lime
  • Bears in blue, yellow, orange and lime
As well as some fun quilts and projects featuring Marblehead Global Brights and Pleasing Pastels.

Now on to your tour!

The front of the booth, with a cool purple tree growing circular Marblehead "leaves," and plenty of projects made from the bear colorway of Mystic Forest. Do you recognize Jessica Toye's Sunset Boulevard Marblehead quilt hanging from a branch? 

A closer look--check out that beehive! We love the huge flower floor pillow too.

On to the elephant corner:

"Pinwheels and Pachyderms" designed by Sue Harvey and Sandy Boobar of Pine Tree Country Quilts, accompanied by a coordinated painted elephant.  


"Elephant Parade," also by Sue and Sandy

  Don't you love how these fabrics look in children's clothes and accessories?

Two quilts from the monkey colorway:


"Block Party Chenille" by Judy Hansen
We'll have more on this quilt later in the year...mod chenille...

Did you have (or make) a yo-yo clown when you were a child? We had a few Marblehead Global Brights yo-yo figures in the booth.

And there's our booth! Please leave a comment if you have a question about any of the patterns you see in these photos. You'll definitely be seeing some of them again, and we'll let you know where and when!