
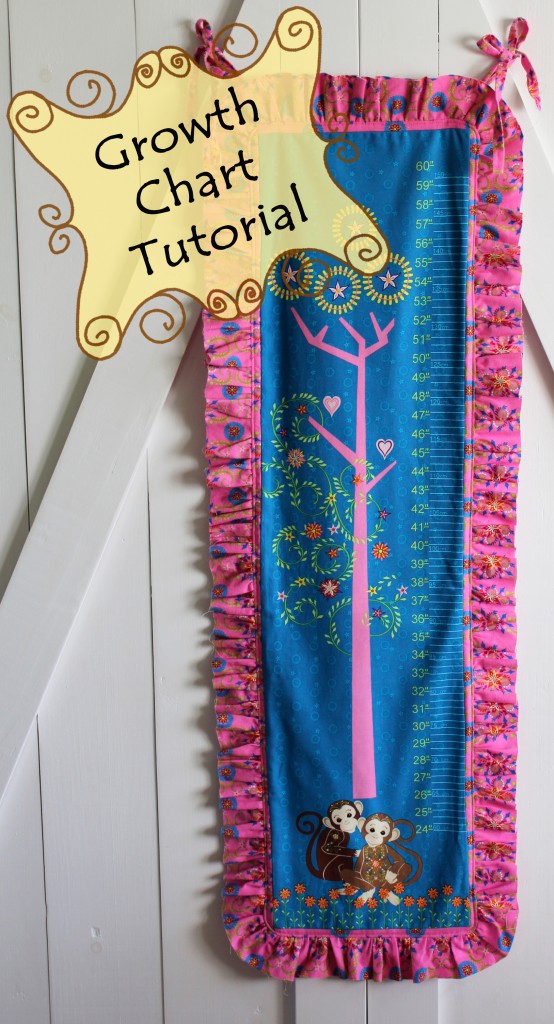
Happy Monday, all! Today we're back with a ruffled growth chart tutorial from Christina at 2 little hooligans. Check out her project and then pop over to her blog to see how you can enter to win the fabric to make this growth chart AND a kit for a lap-size quilt!

Hi, I'm Christina from 2 little hooligans and I am back again with another tutorial for the Blogging Design Ring. Today I am going to share a tutorial for making a growth chart using Fabri-Quilt's Mystic Forest collection.
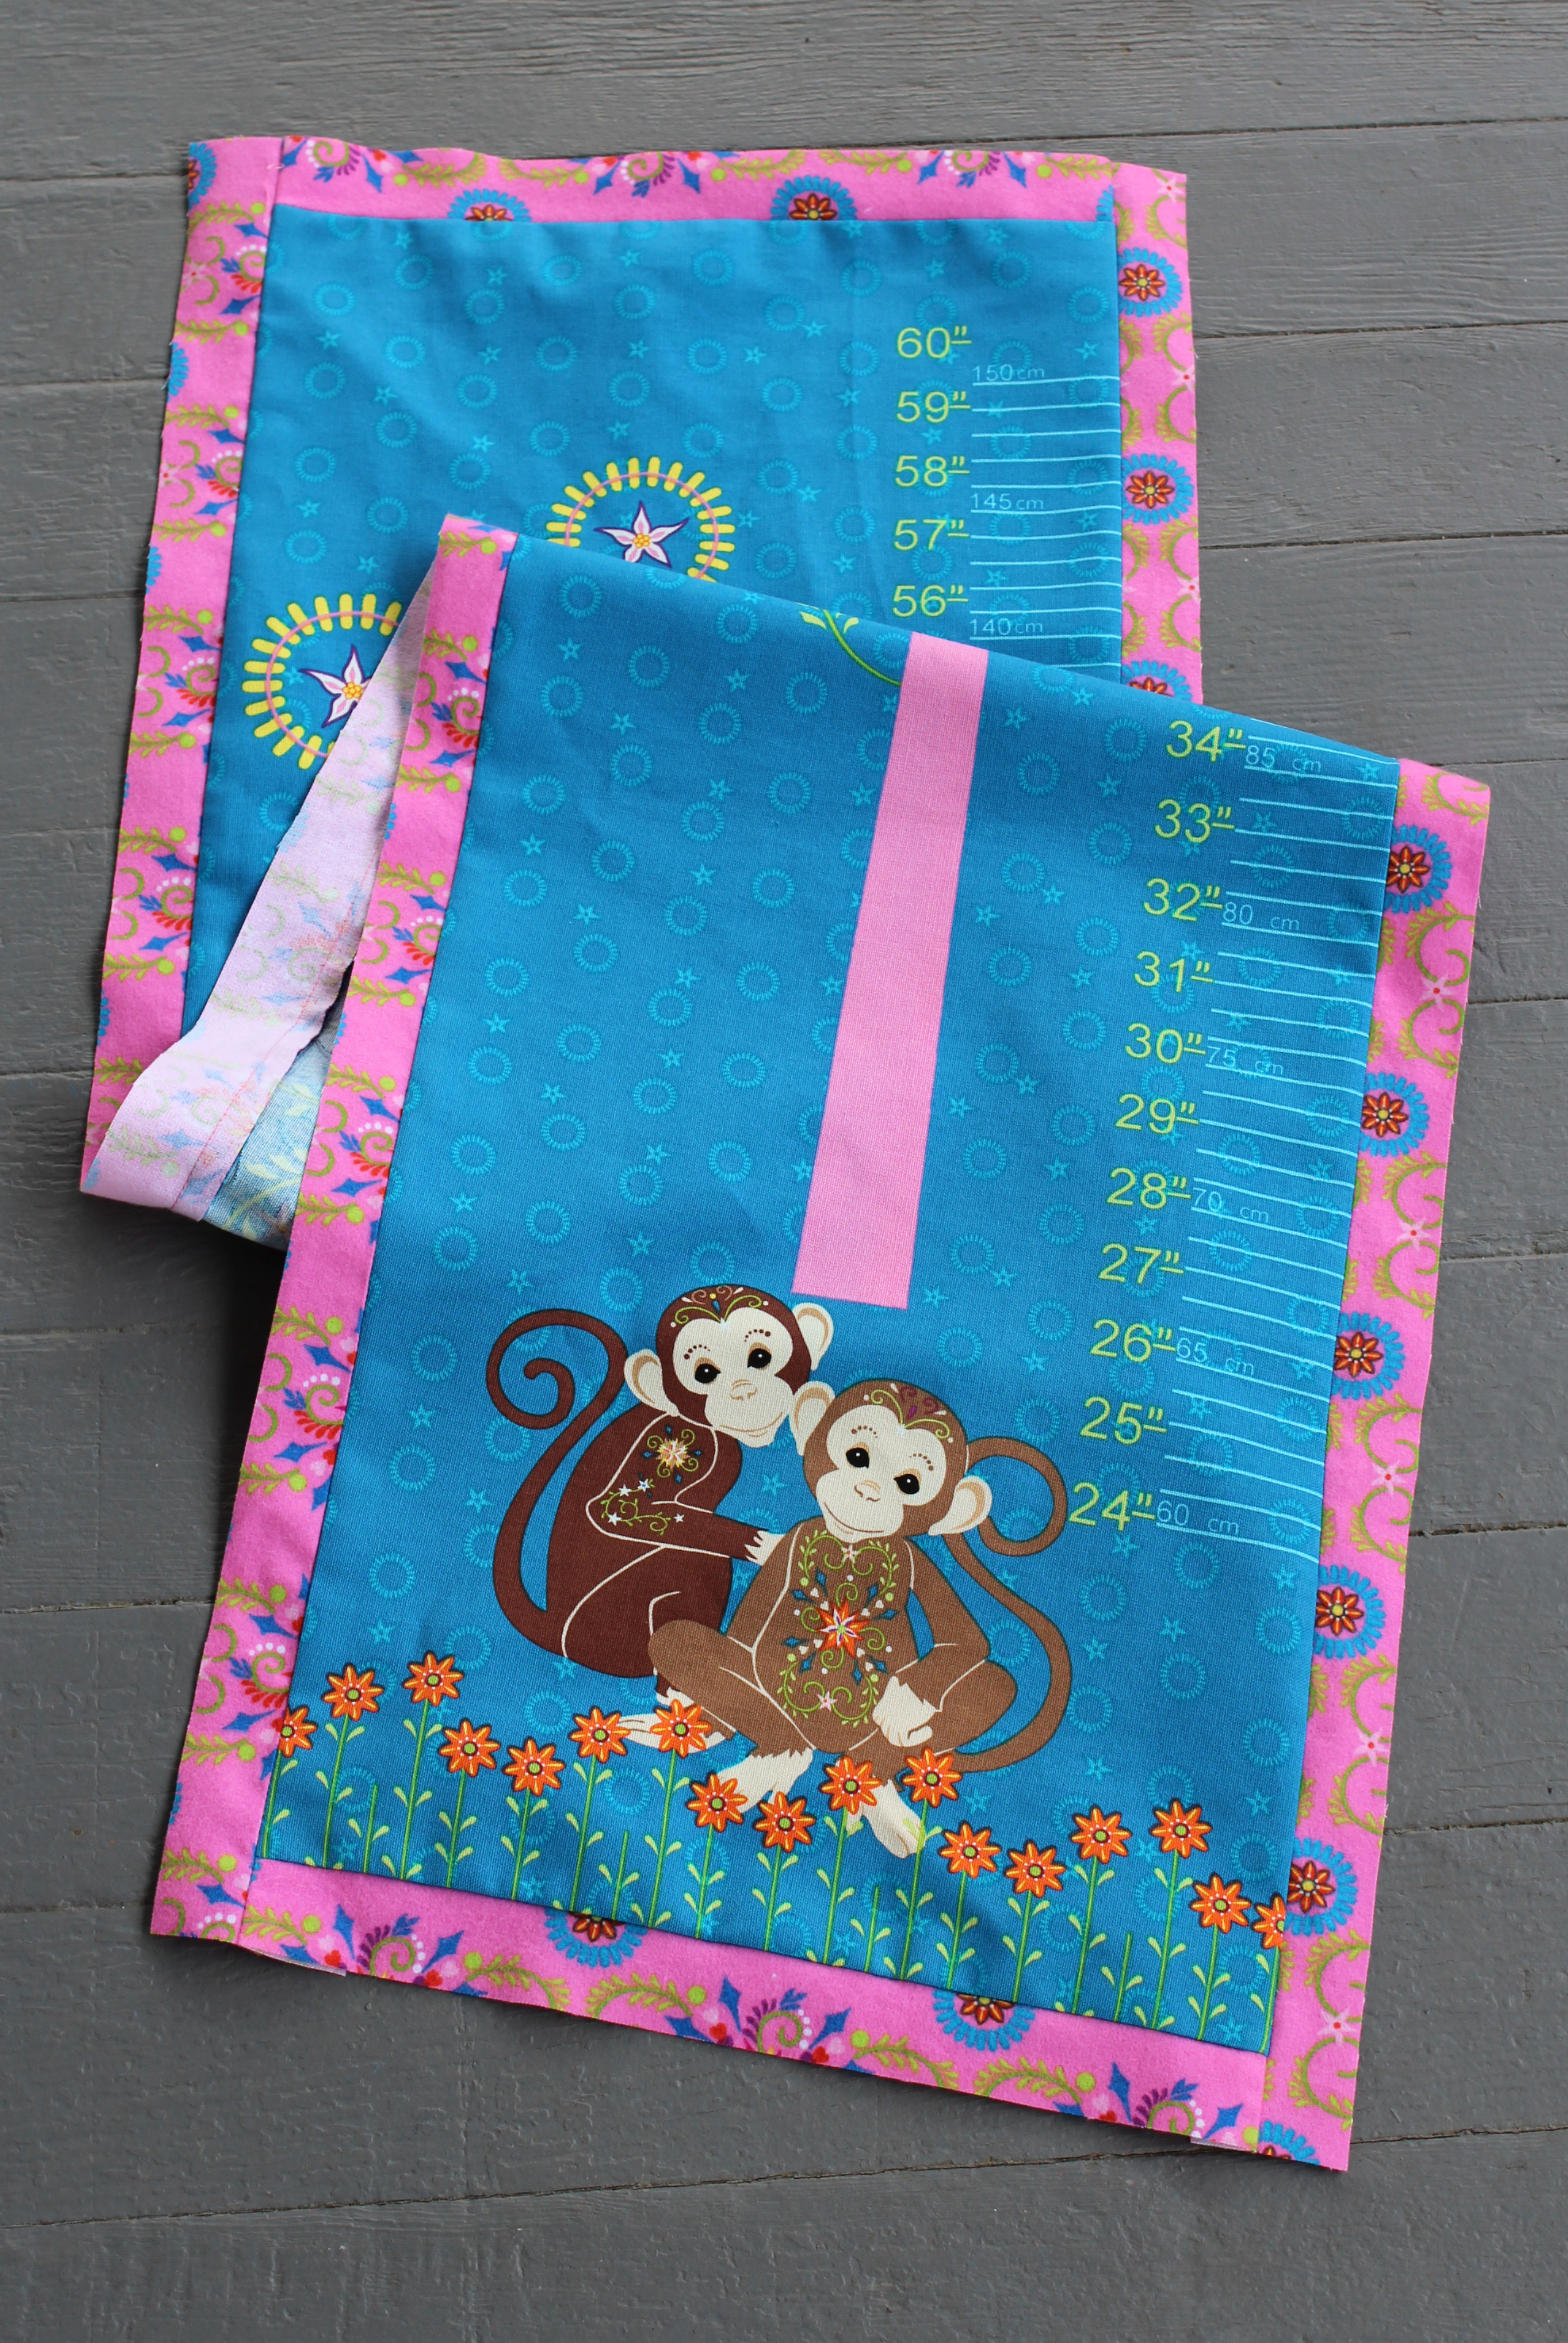
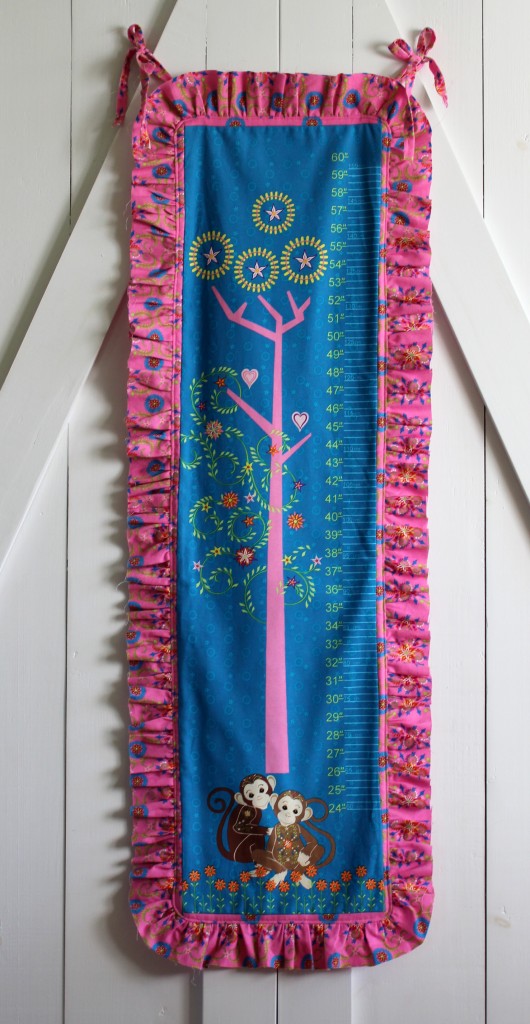
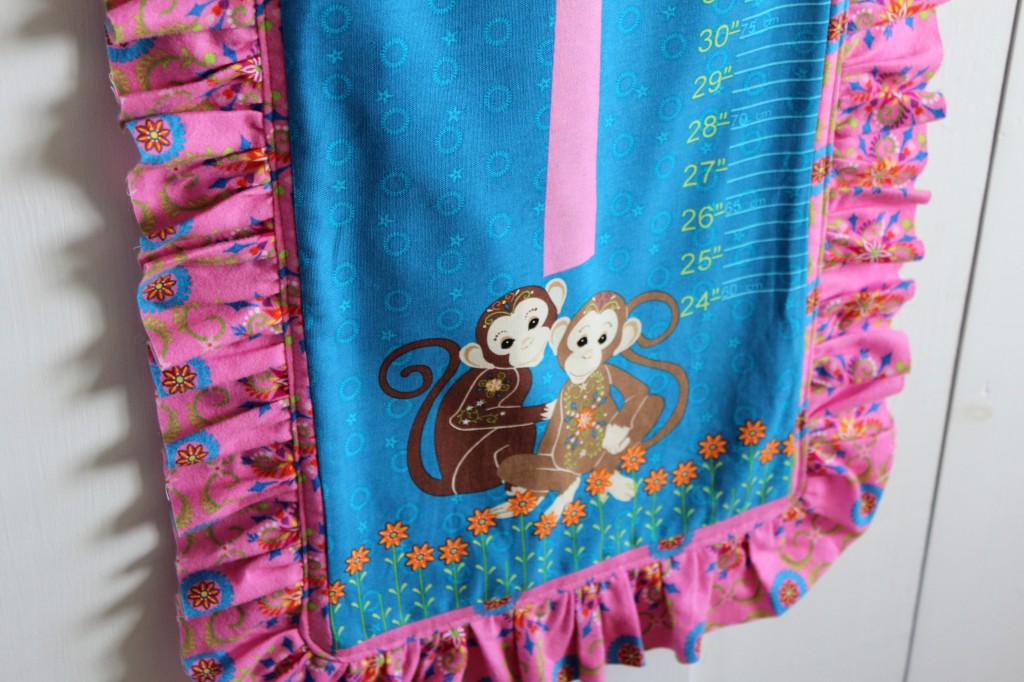
I was given the following fabrics to work with, all of which are from the Mystic Forest collection. As you can see I was given four other fabrics that never made it into the final growth chart. I changed the design of this growth chart so many times and what I ended up with was a very simple design. The monkey growth chart panel is just so cute that I wanted to leave that as the main focus instead of taking away from it at all.
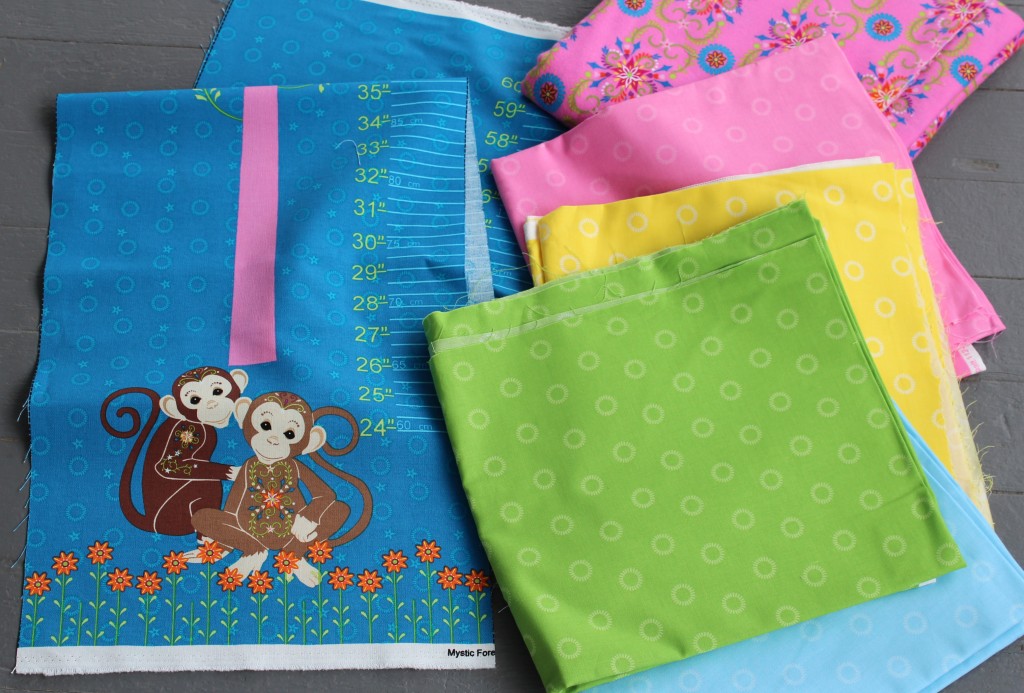
I was given the following fabrics to work with, all of which are from the Mystic Forest collection. As you can see I was given four other fabrics that never made it into the final growth chart. I changed the design of this growth chart so many times and what I ended up with was a very simple design. The monkey growth chart panel is just so cute that I wanted to leave that as the main focus instead of taking away from it at all.
*2 yards of a coordinating fabric for the ruffle and the background

Start by cutting some strips for a border that will go around the panel. I cut my strips 1-1/2" wide by the length of the total area around the panel.
With right sides together sew the strips onto the panel. I started by sewing on the top and bottom pieces and then sewed on the sides.
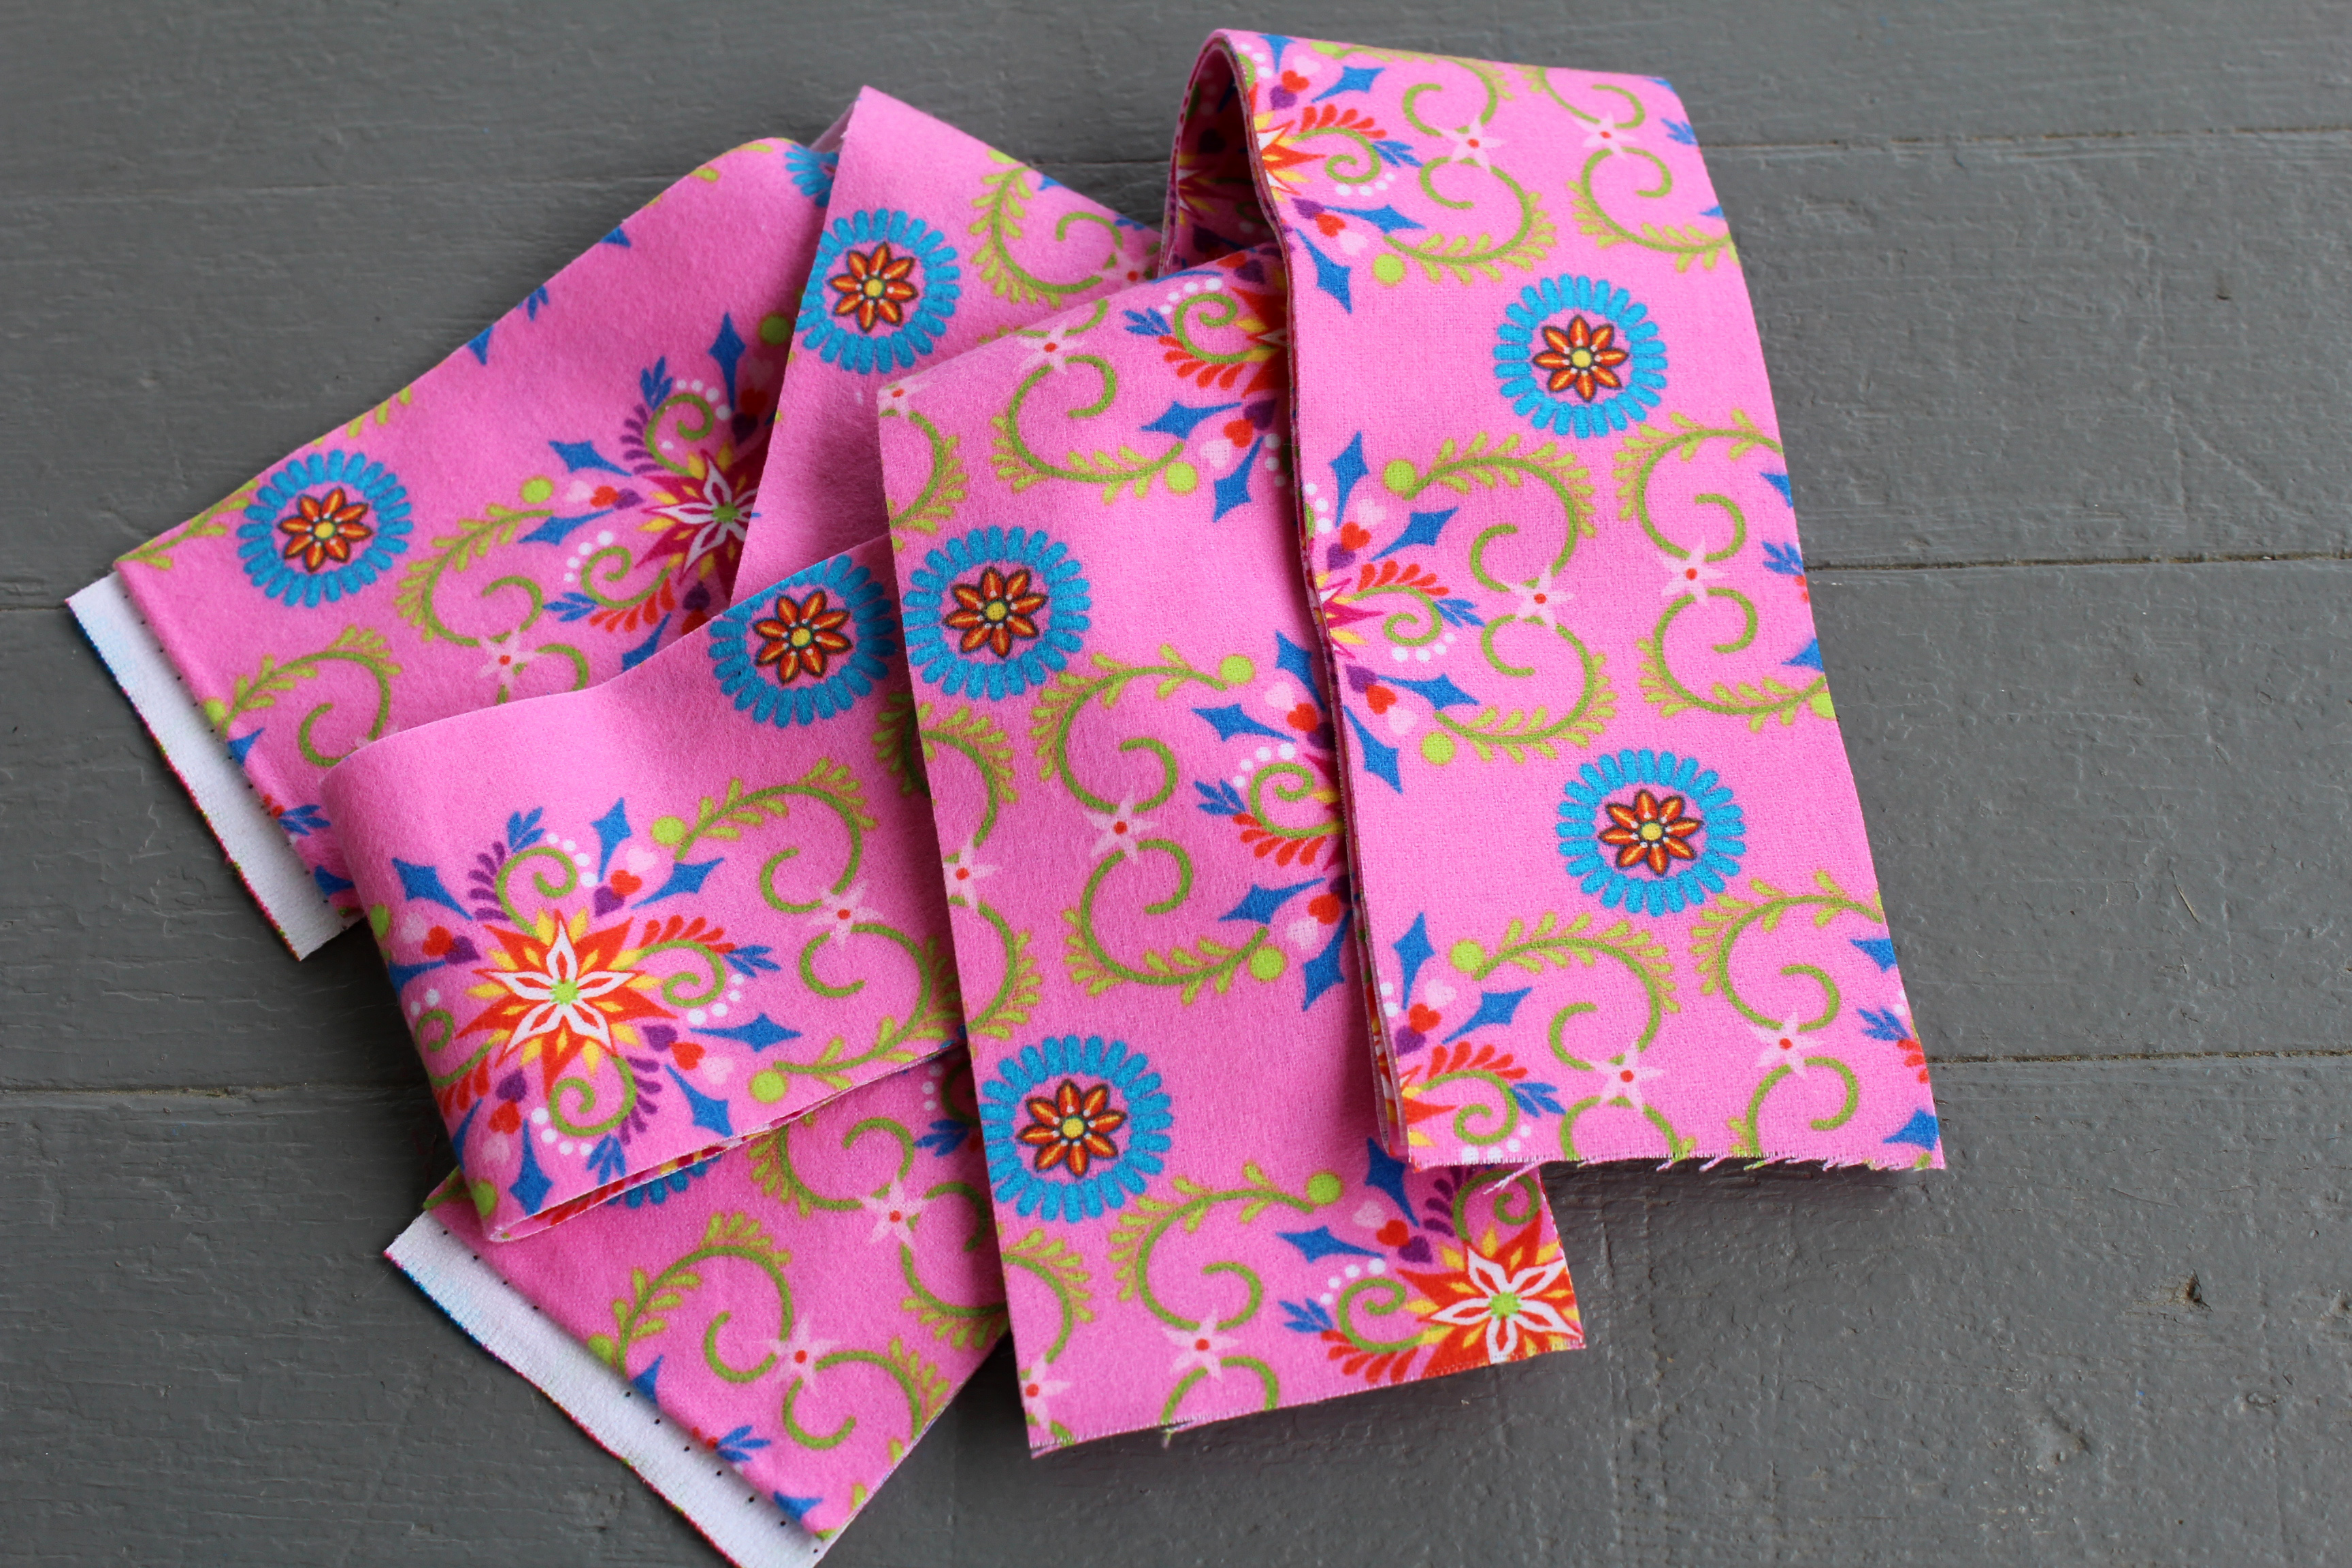
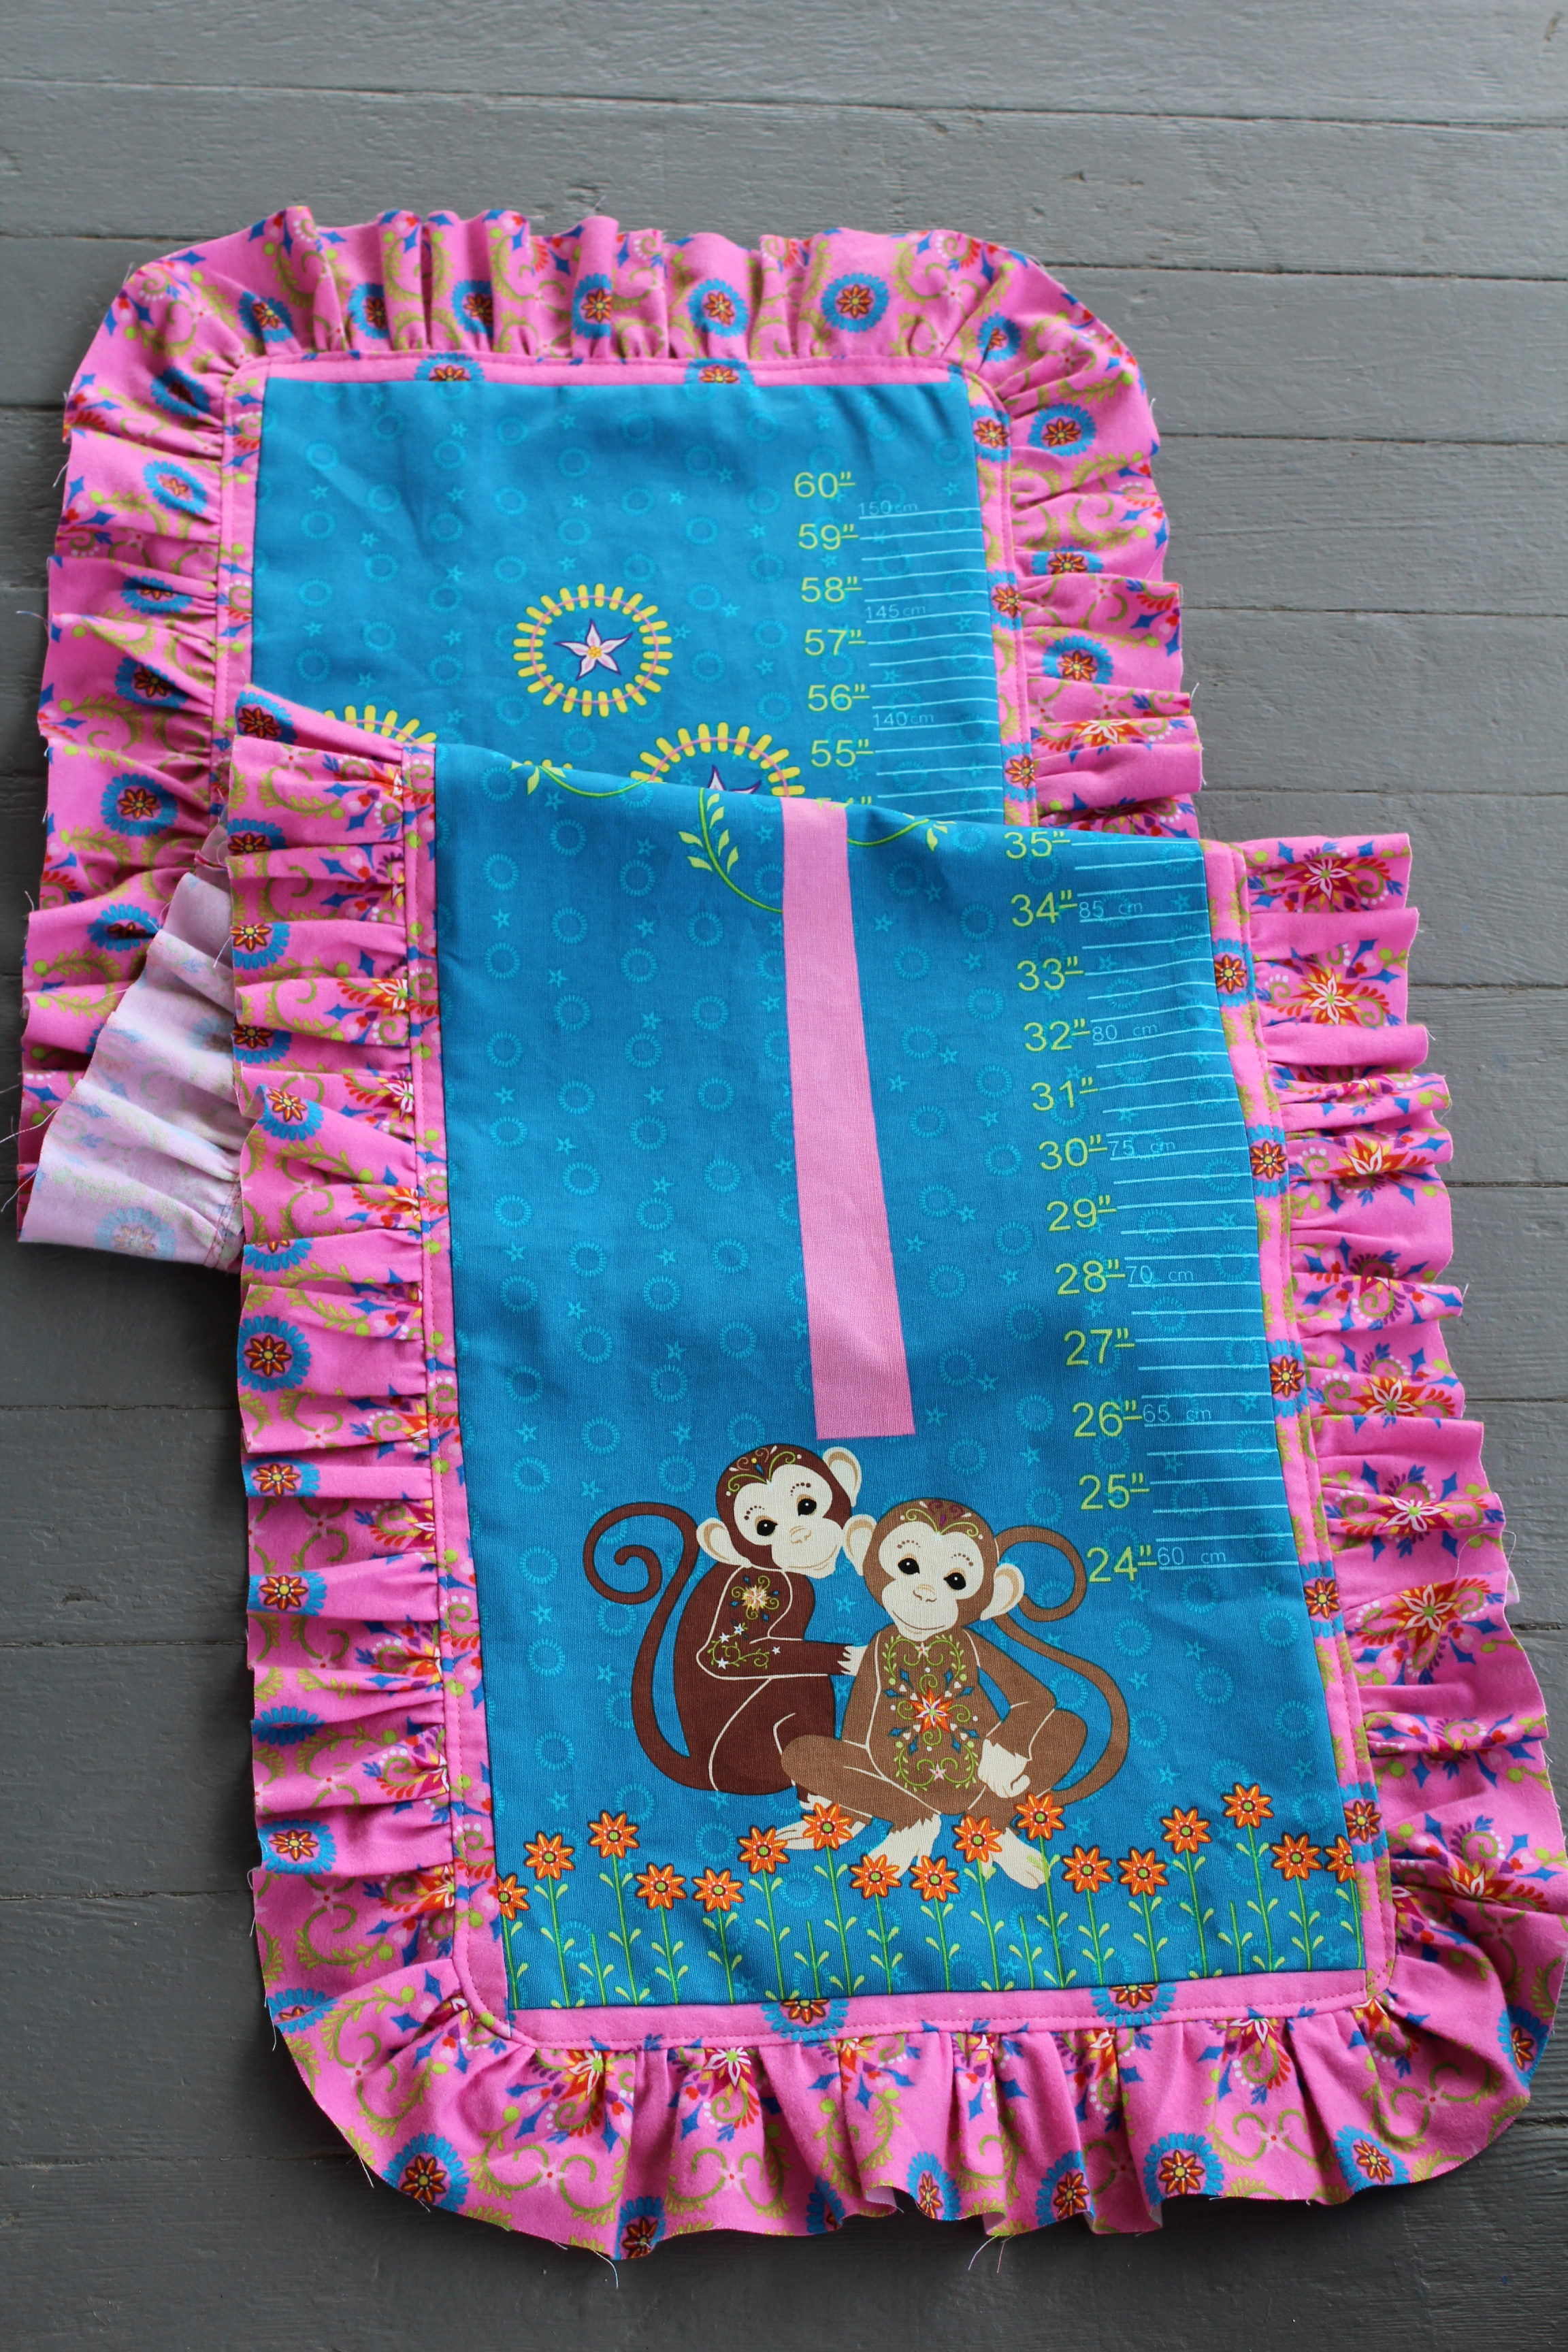
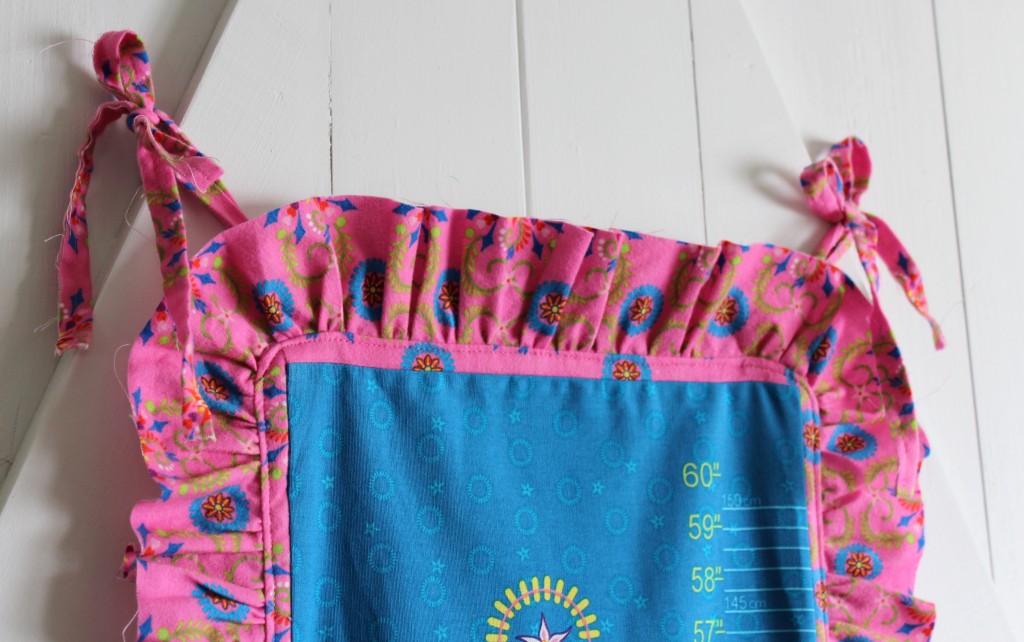
Next, cut some strips of fabric that are 2-1/2" wide by a length that is almost two times the total area around the panel. Sew the strips together on the ends to make one big strip. Now ruffle the strip. As you can see, I chose to leave the edges of my ruffle raw and scrappy. You may not want a raw edge. If that is the case, cut your strip twice as wide and fold in half with right sides out before ruffling.

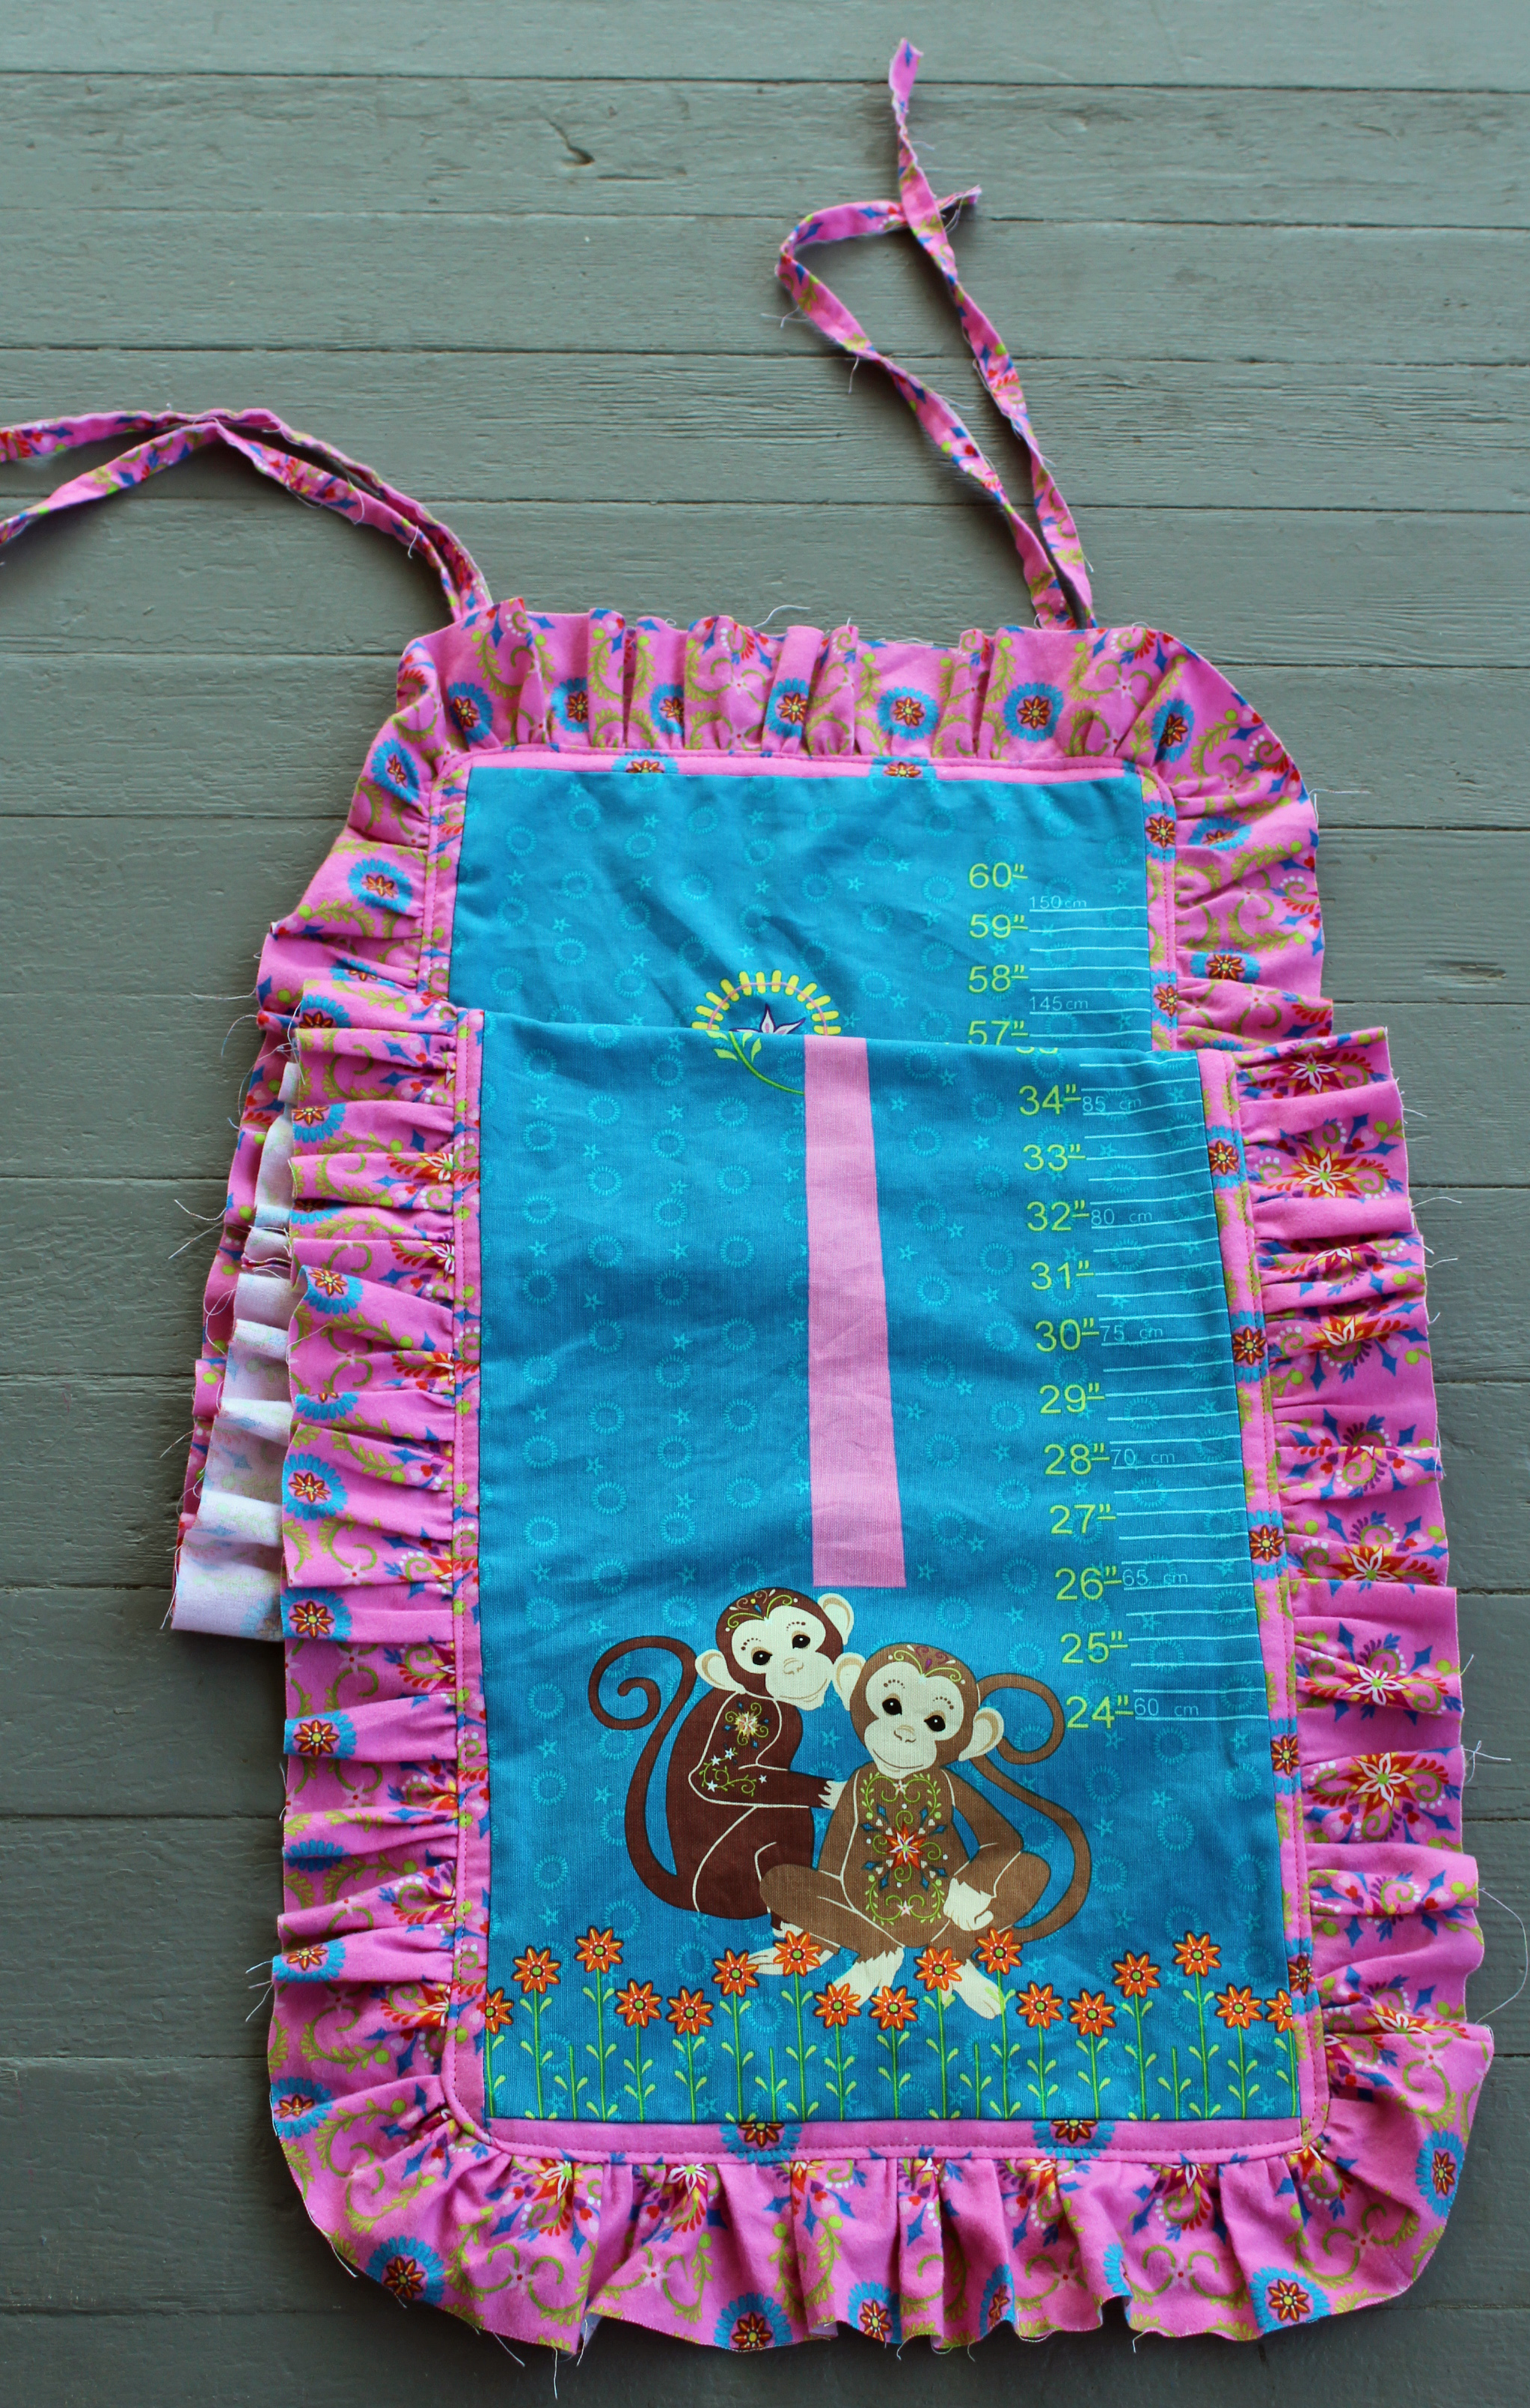
Now you are going to attach your ruffled piece to panel piece. Pin the ruffled strip to the outer edge of the panel with right sides together. Sew all around edge. Press flat.
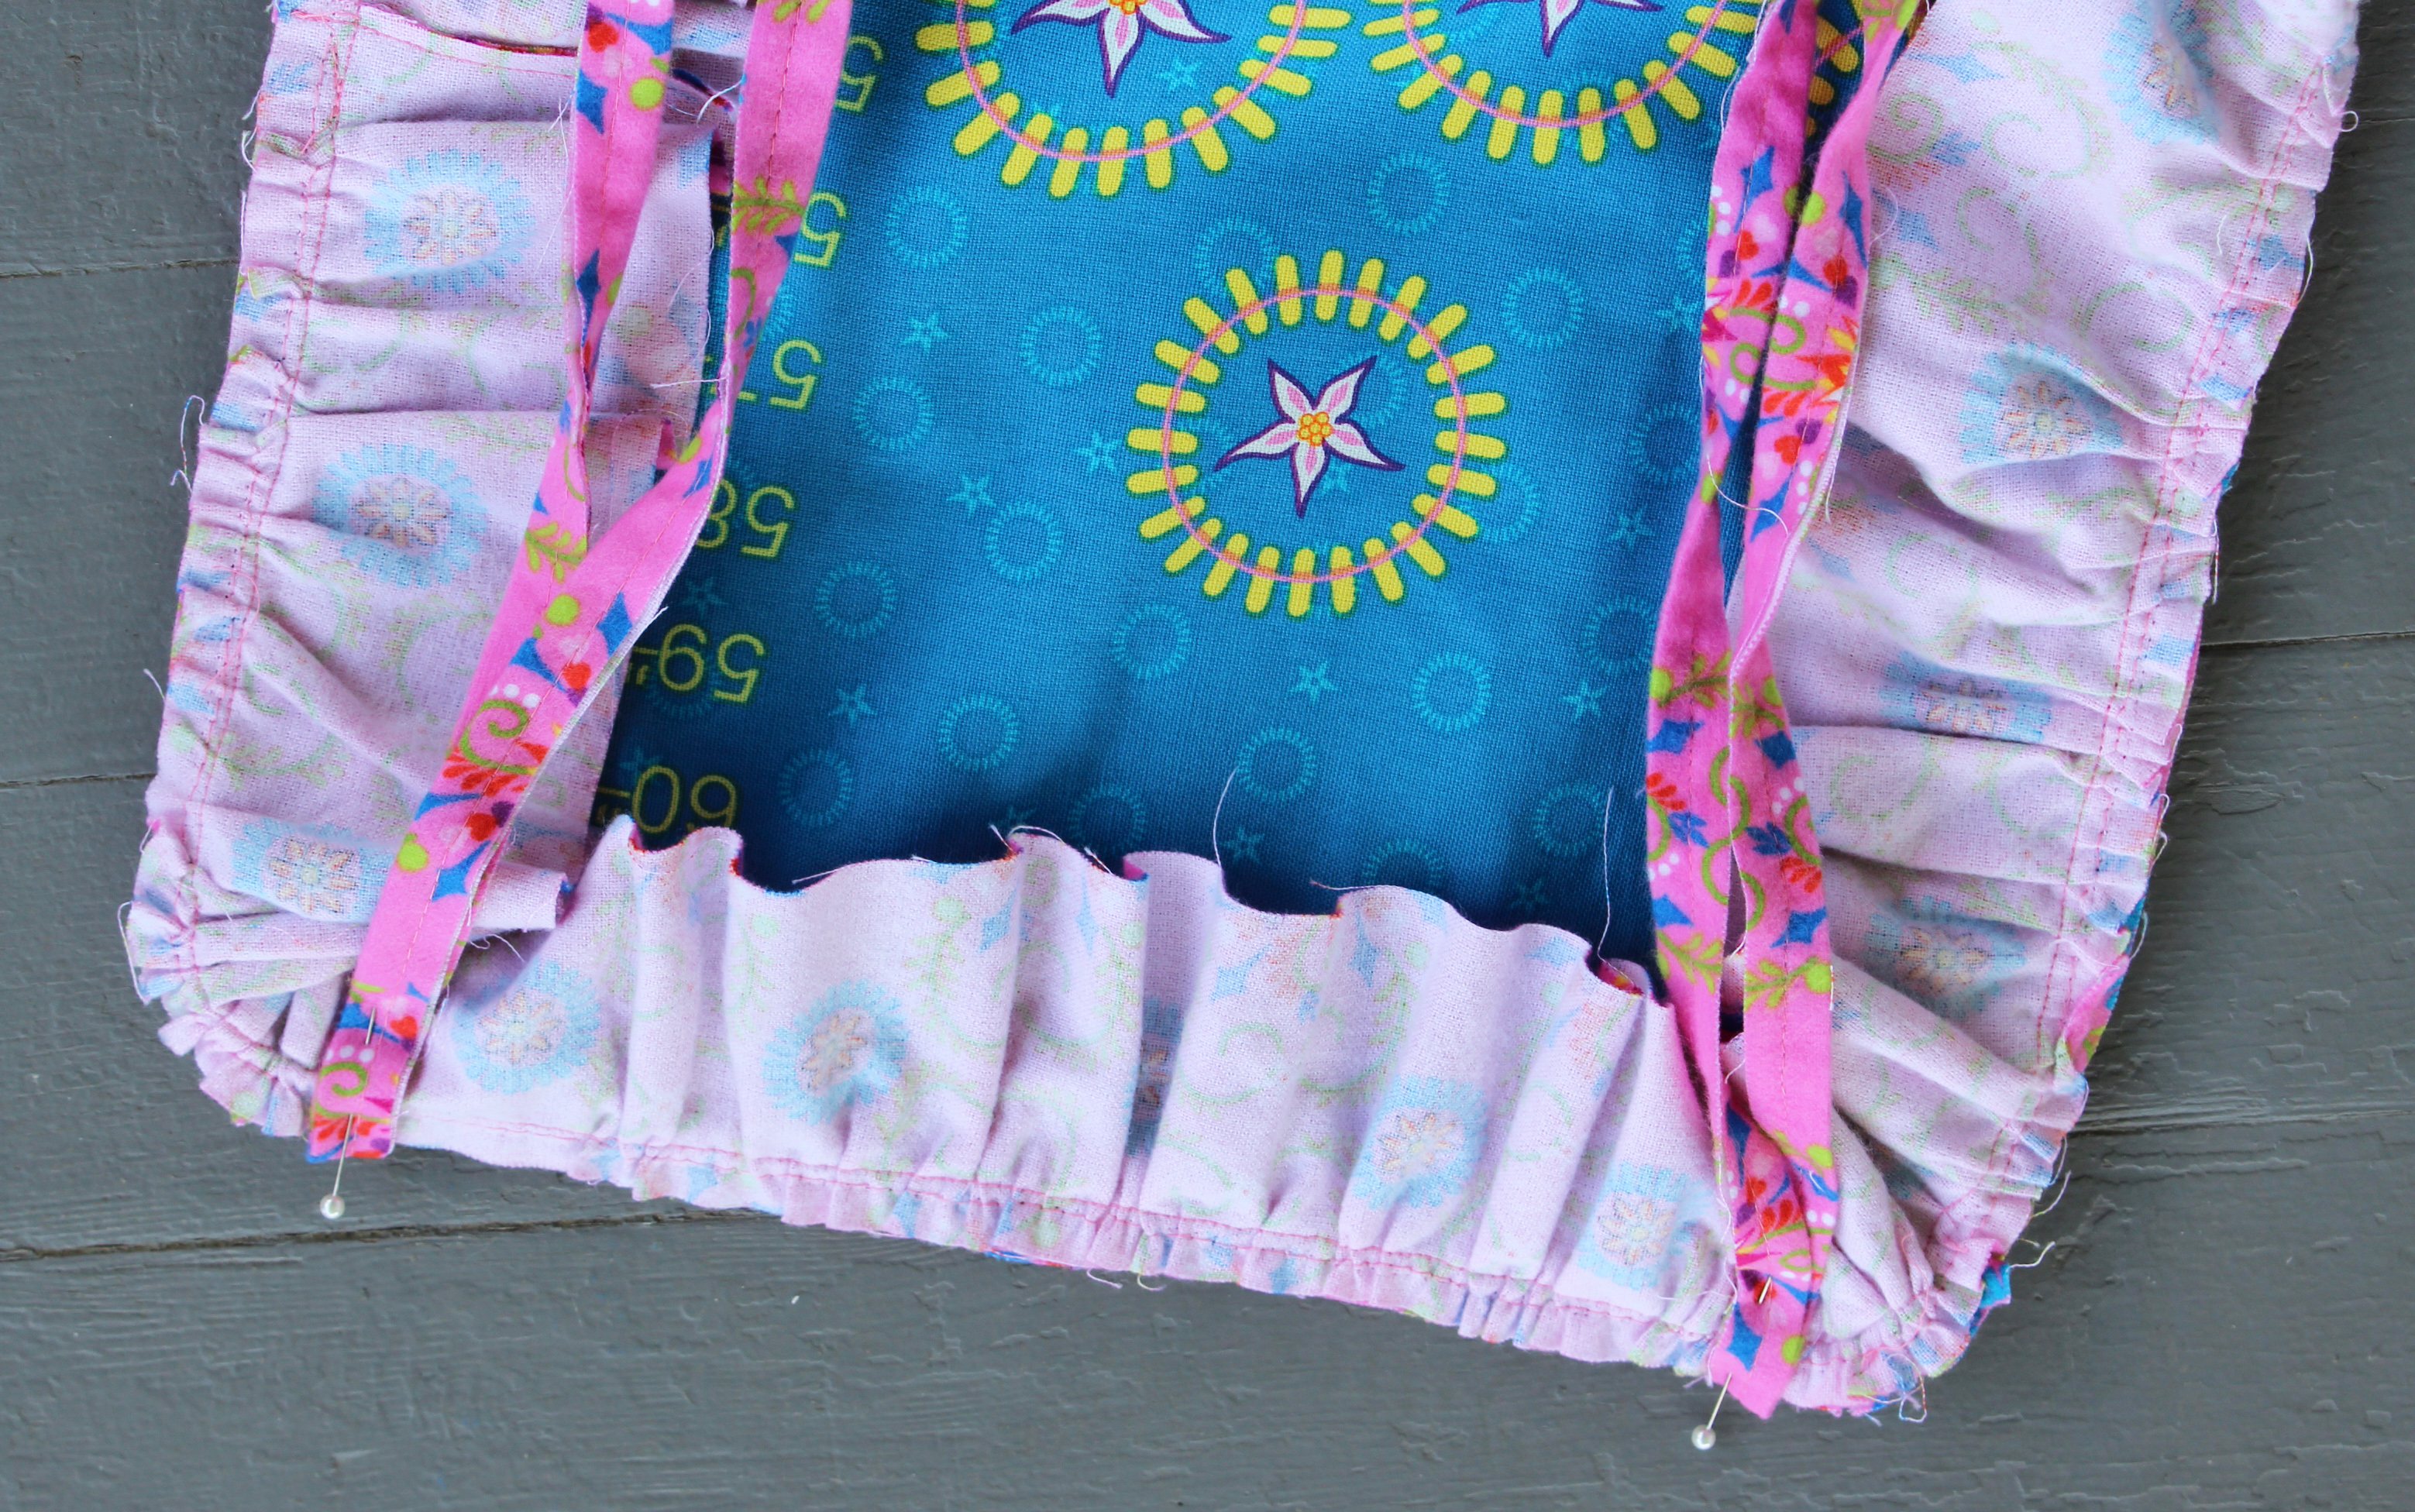
Now you are going to make some ties. These will be used for hanging the growth chart. I chose to make my strips with the raw edges exposed to match the raw edges around the ruffles. Again, it is your choice on how you make the ties and how long you want the ties to be.

Once you have the ties made pin them in place at the desired location at the top of the growth chart. I placed mine about 1-1/2" in from the edge and I made them long enough so that I could tie them in a bow at the top. Sew ties in place.
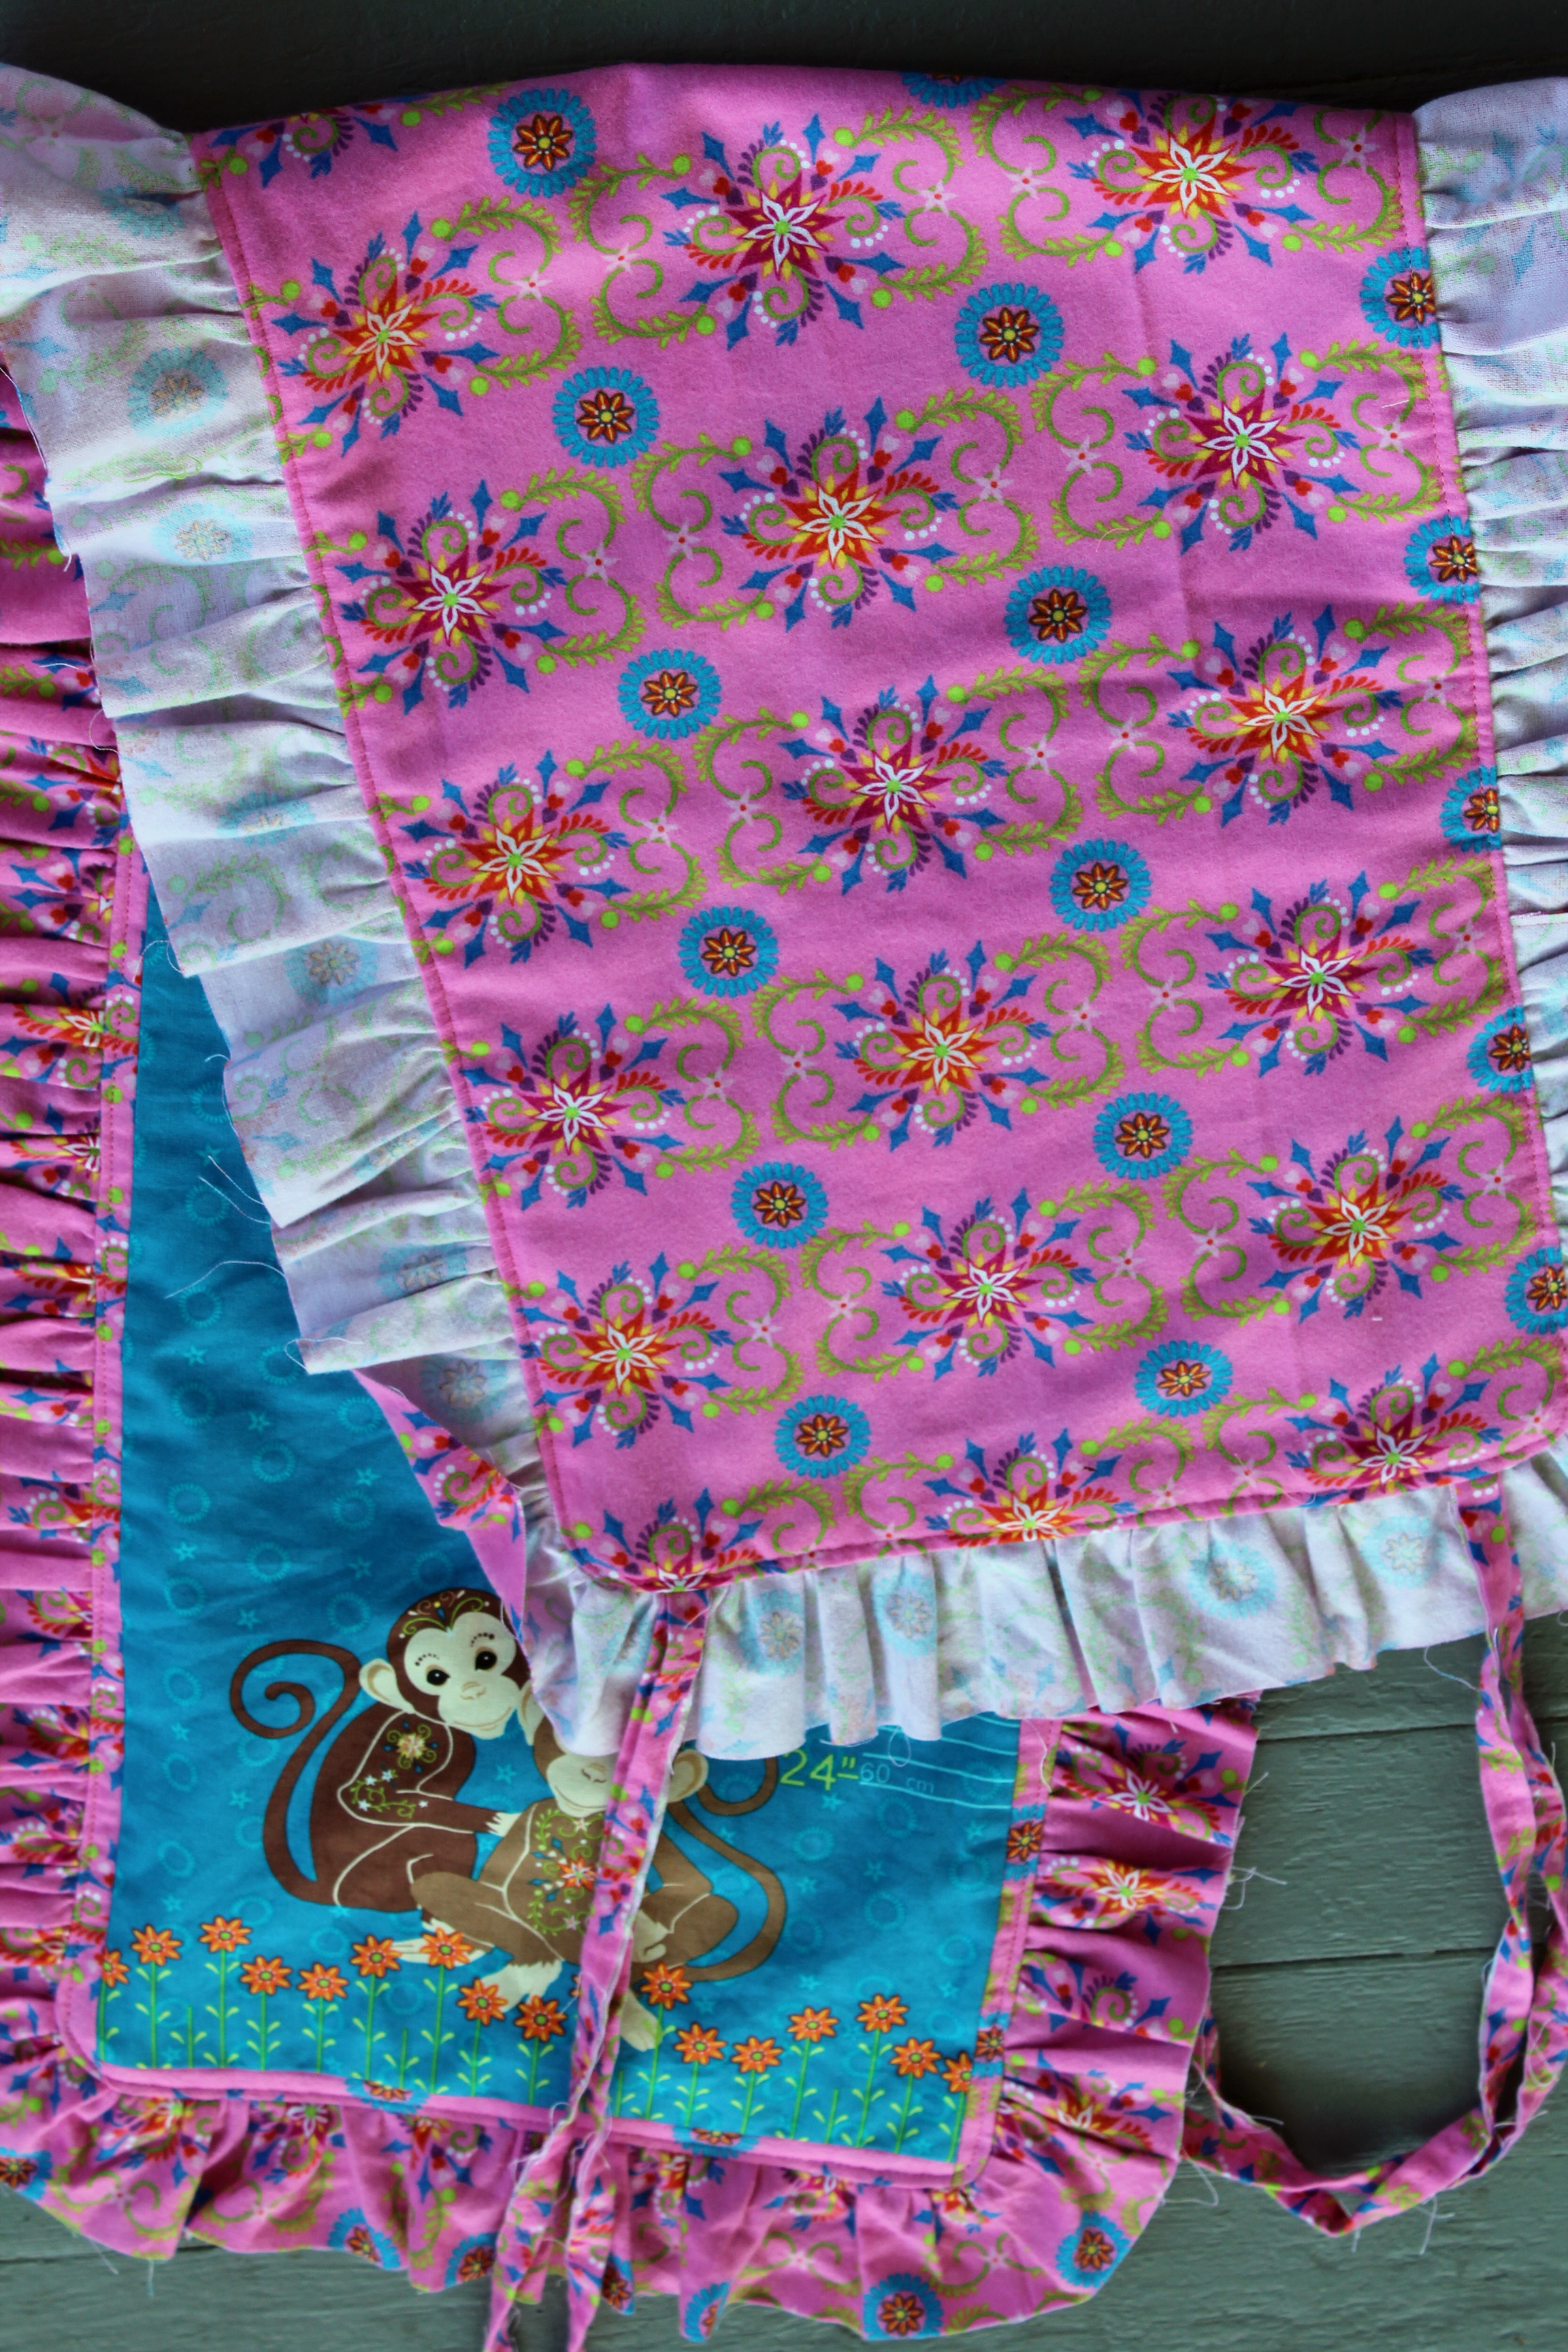
Now lay the growth chart on top of the backing fabric with right sides together. Pin in place. Sew all around edges while leaving a 3" opening for turning right side out. Make sure that your ties are tucked in.
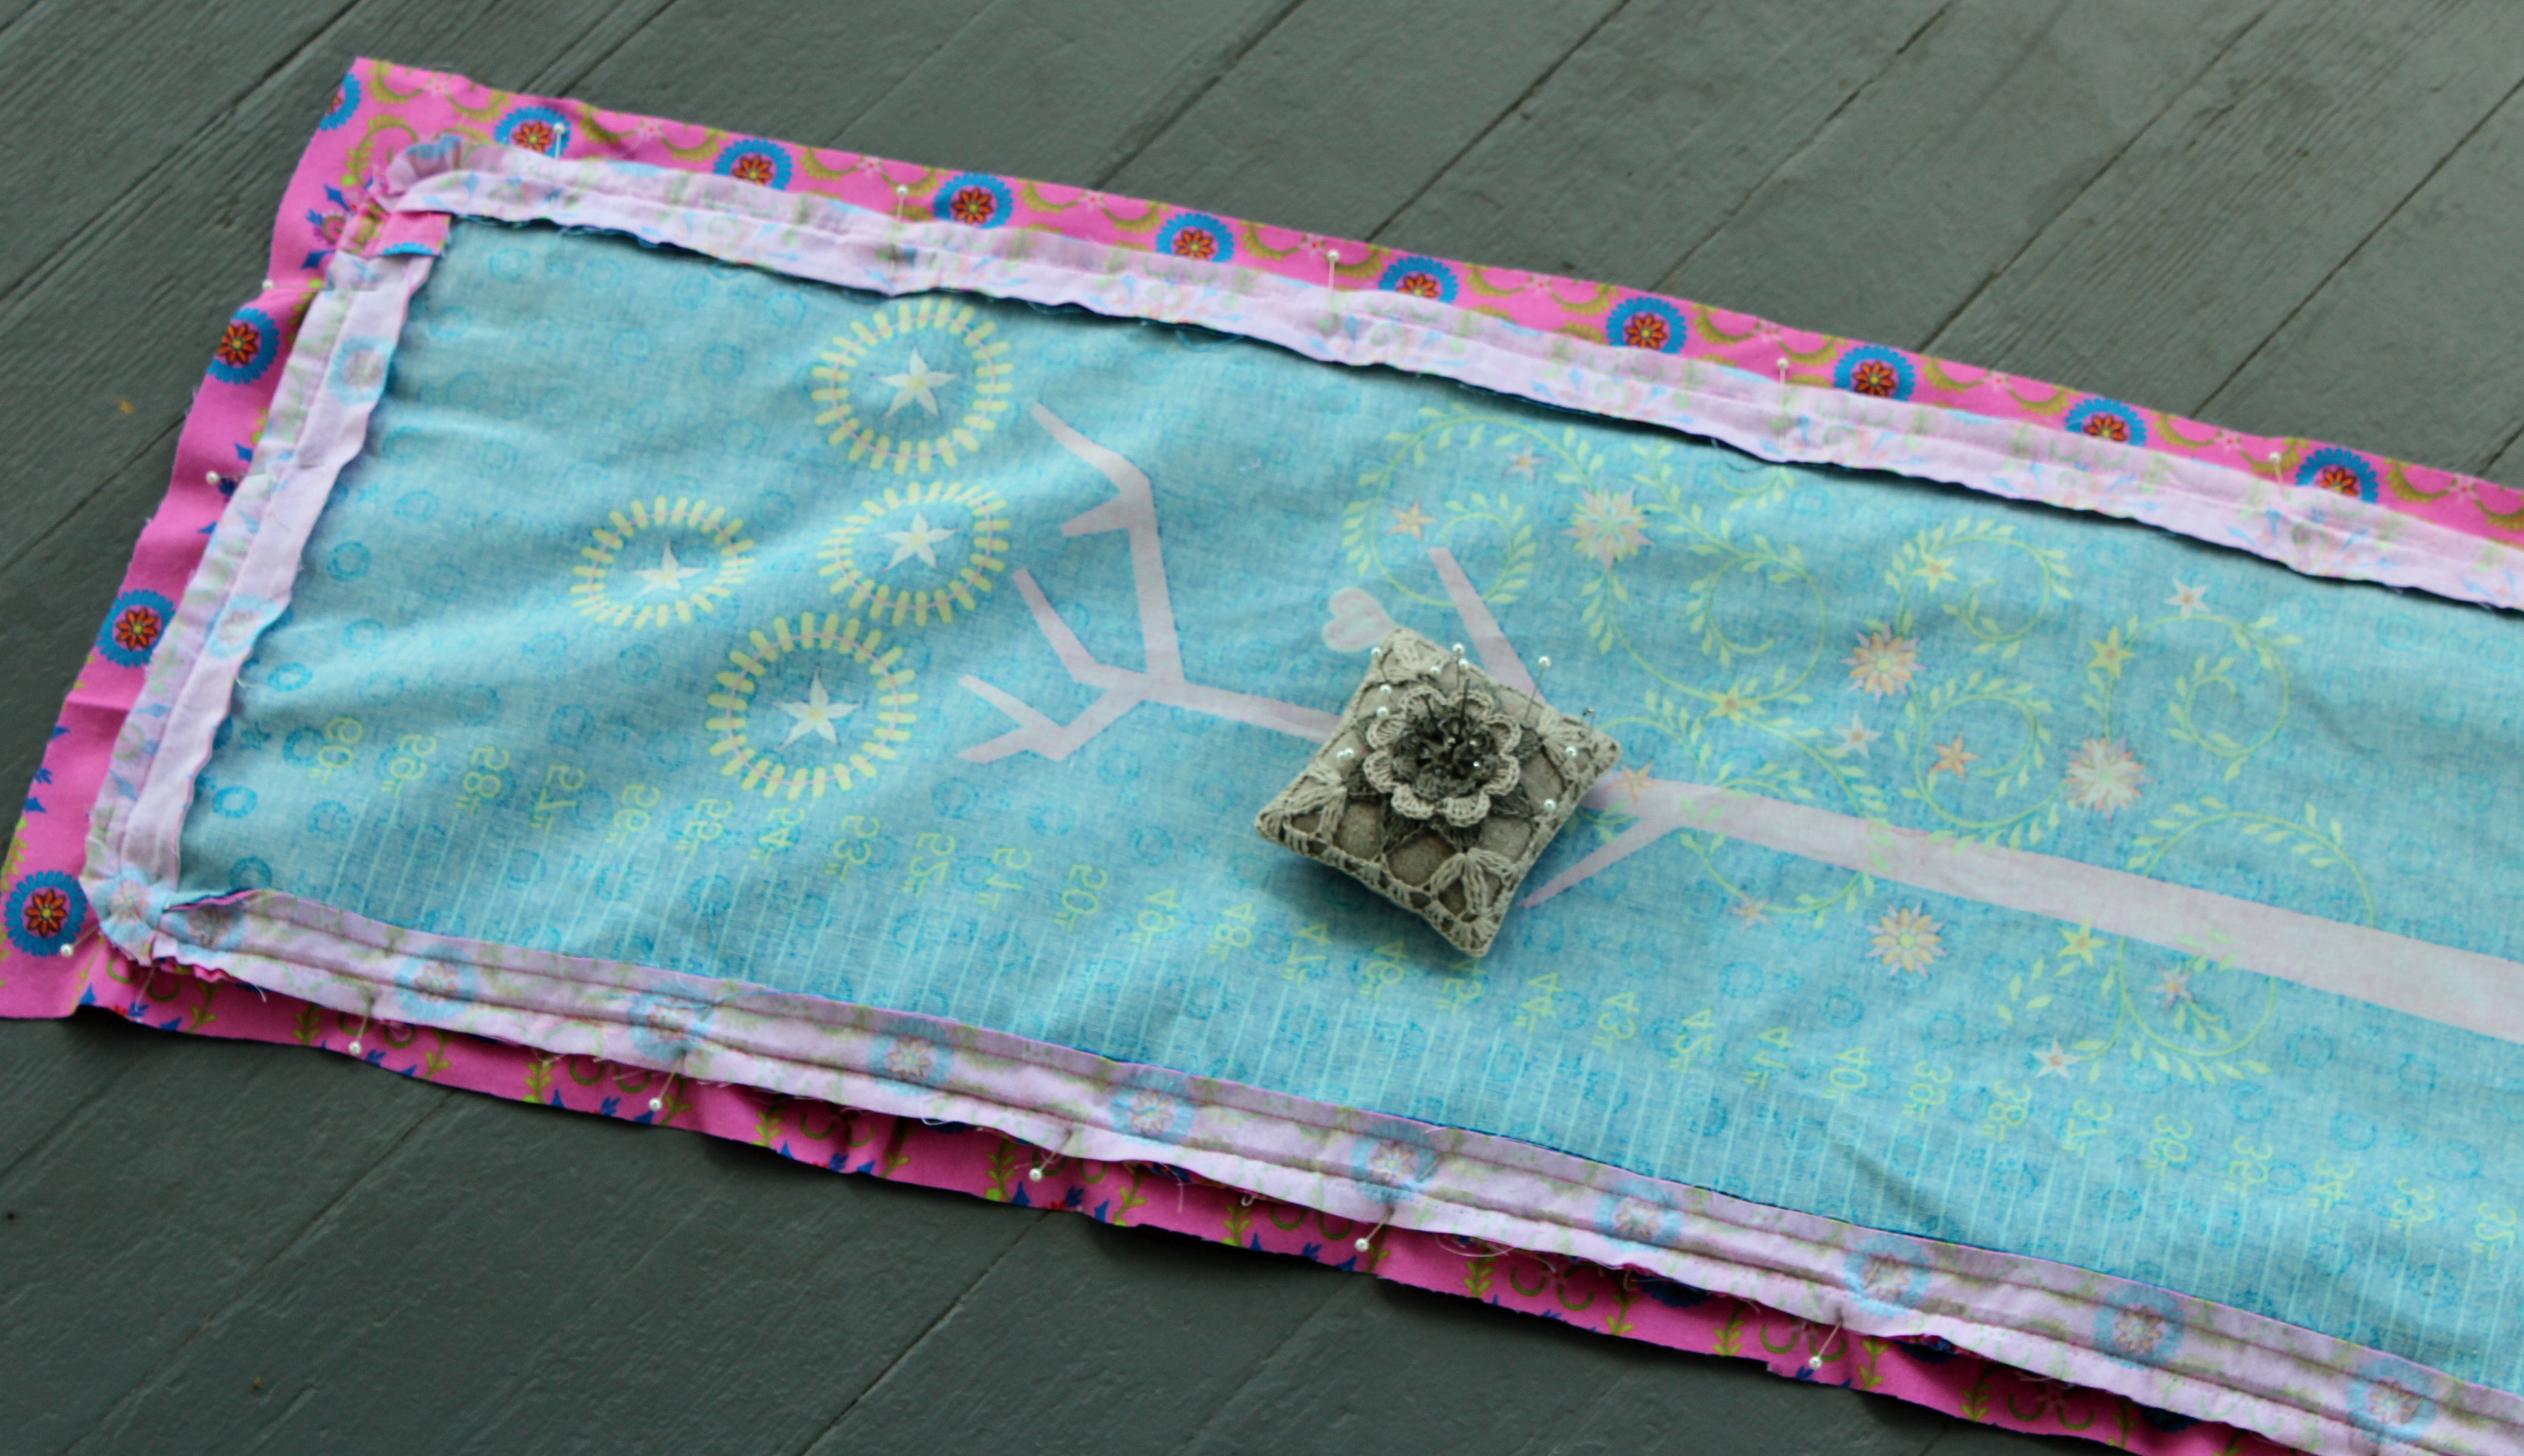
Turn right side out through the opening. Press flat and top stitch all around the edge right before where the ruffle attaches onto the panel.
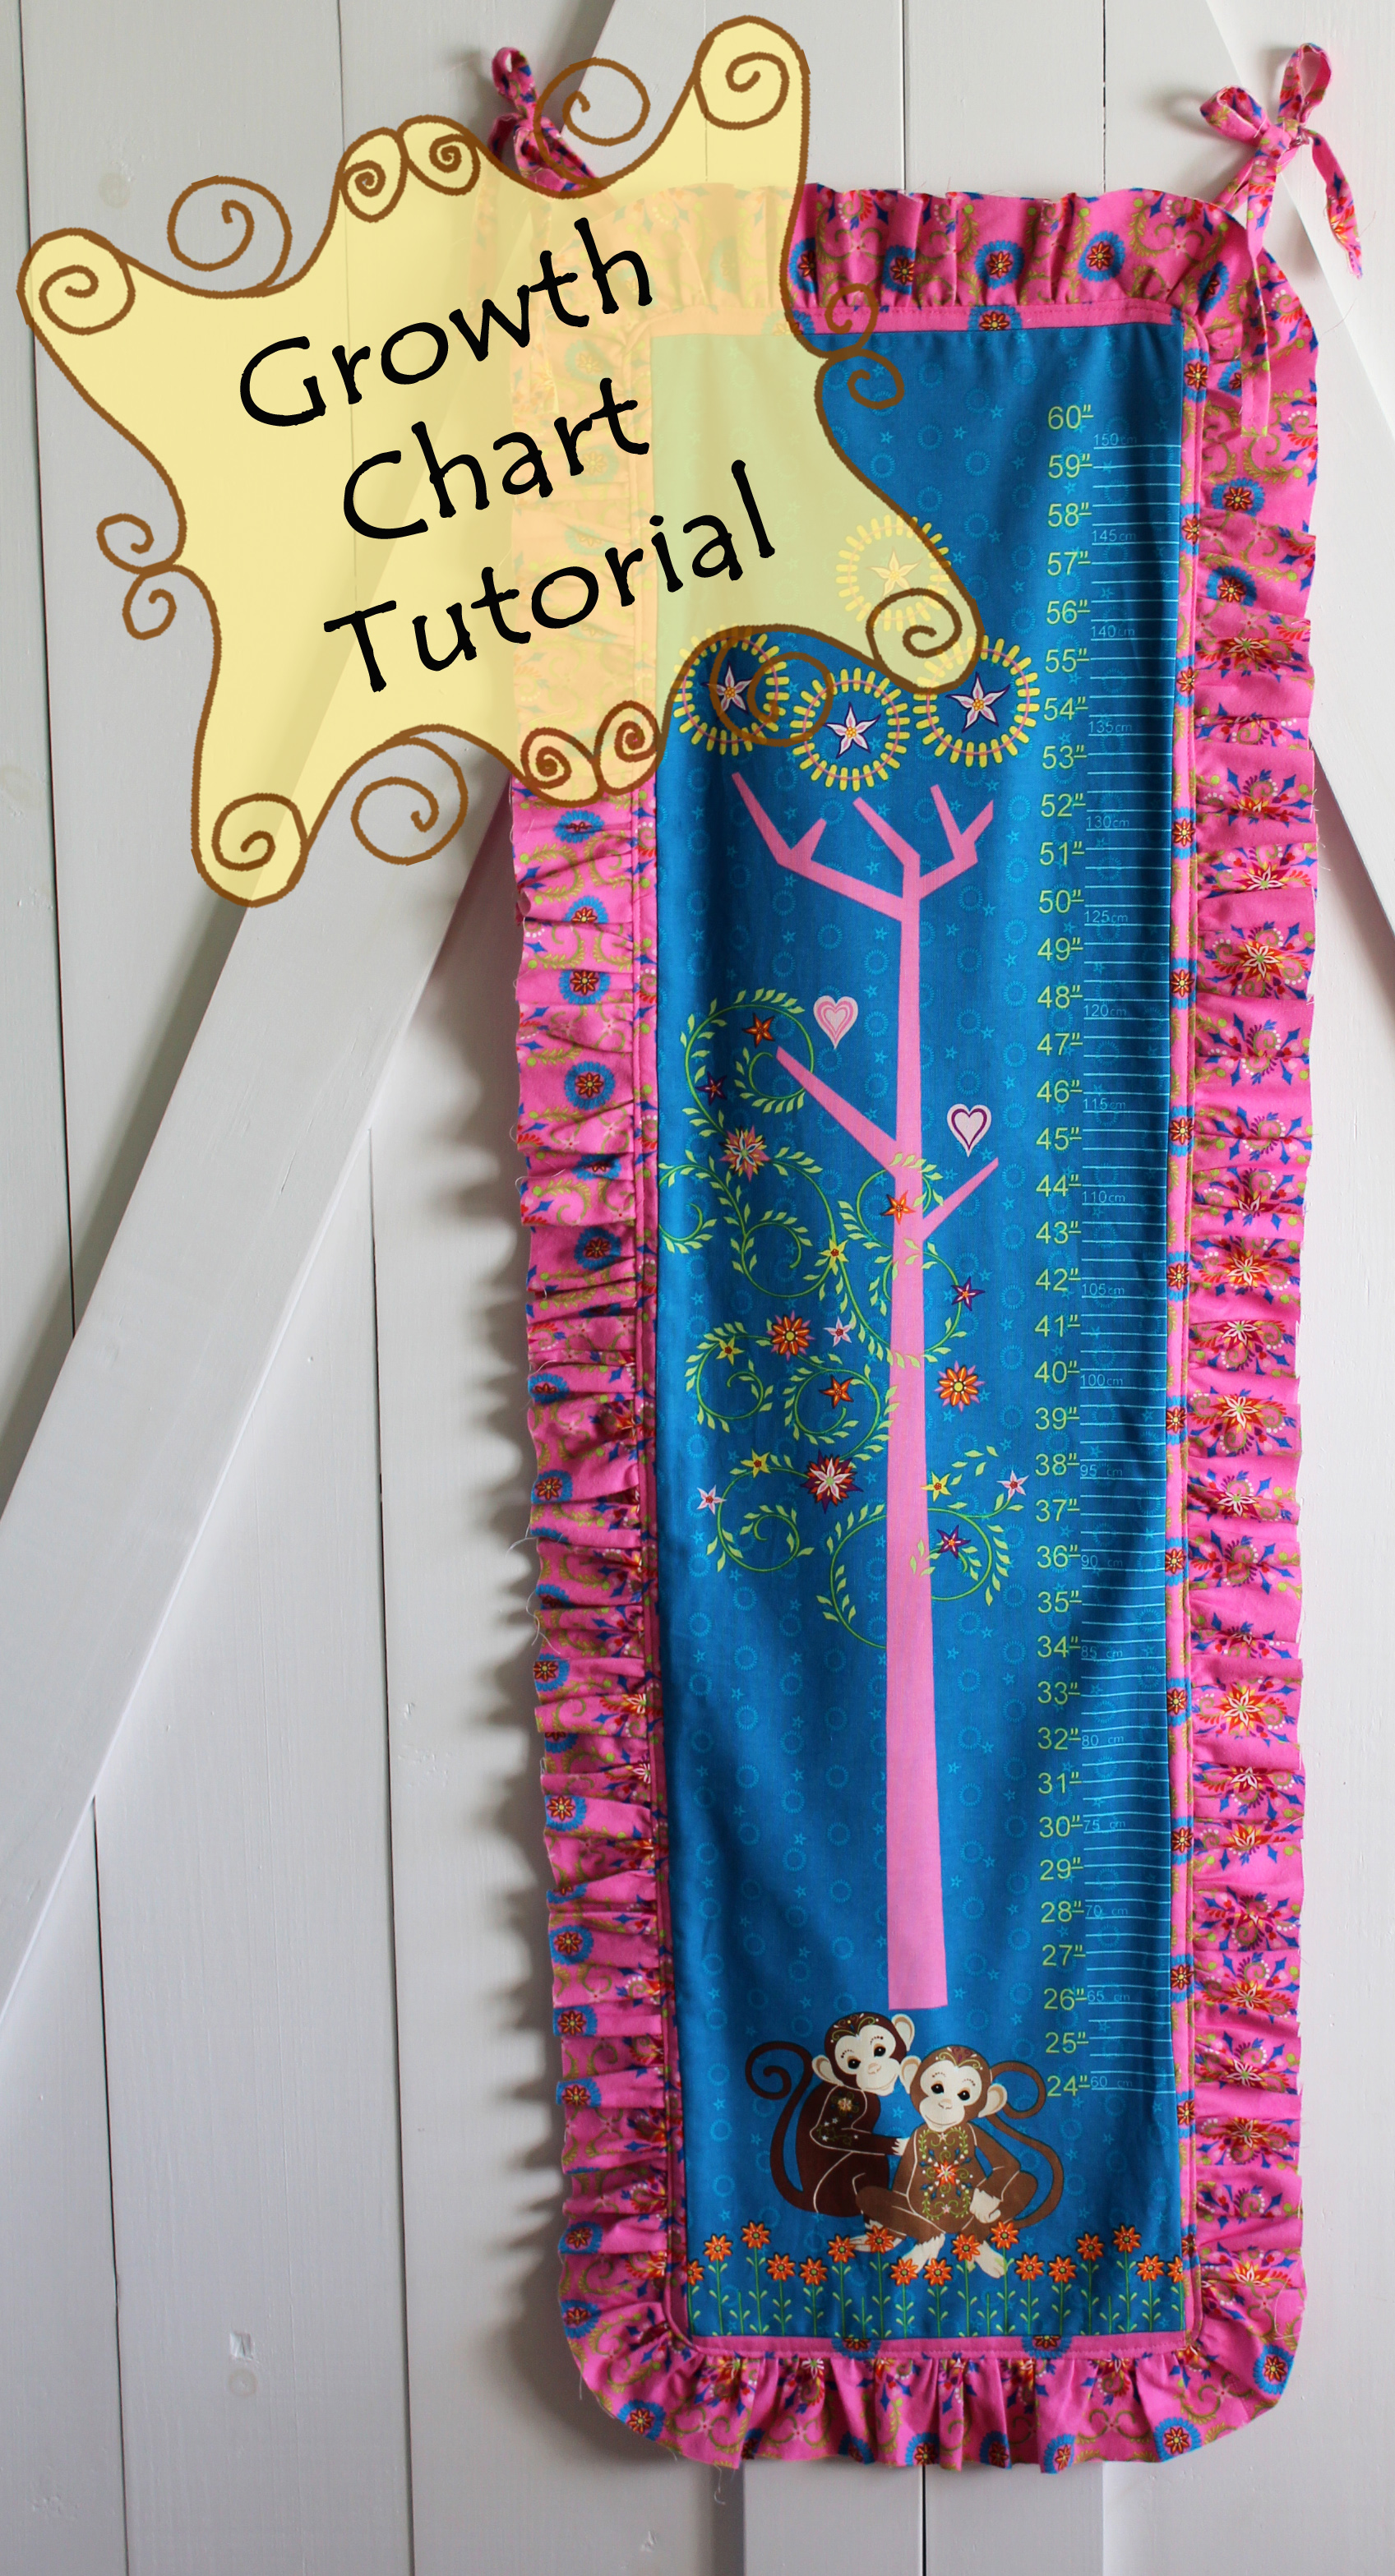
Now find the perfect spot to hang it! The kiddos are loving this growth chart and measuring themselves daily with it.
Thanks, Christina! Don't forget to visit Christina's blog to see how to enter the giveaway for TWO different prizes:
1) the fabric to make the growth chart featured in Christina's tutorial (you choose the color you'd like from the options below)


Thanks, Christina! Don't forget to visit Christina's blog to see how to enter the giveaway for TWO different prizes:
1) the fabric to make the growth chart featured in Christina's tutorial (you choose the color you'd like from the options below)

2) the fabric to make this quilt, Traffic Jam by Jessica Toye, offered as a free pattern on our website. (again, you choose the colorway you'd like--see the entire Mystic Forest collection here.)

This is just plain adorable, I want one for every room!
ReplyDeleteThis is so cute!! =)
ReplyDeleteYou did a wonderful job!