

Rebecca from Our Busy Little Bunch is back today with another Blogging Design Ring tutorial--a huge tote, perfect for summer! Check out her tutorial and then at the bottom, see how you can enter to win a fat quarter bundle of Belle of the South, the collection Rebecca used here.
Here's a fun tutorial for you - just in time for trips to the beach, the park, and all those other fun summer outings that require a lot of STUFF to be packed. And don't let the size intimidate you - this bag can be sewed up in no time! But if you like the look of a smaller bag, just decrease the cutting sizes, and these simple instructions are easy to use for any size bag. The fabrics are from the Belle of the South collection.

FABRIC REQUIREMENTS:
- 2/3 yard main outer fabric
- 1 yard fabric for side panels and exterior zippered pocket
- 1 yard fabric for straps and binding at top of bag
- 1 yard fabric for lining
- 1/2 yard fabric for bottom of bag
- Interfacings (these are my recommendations, but there are lots of options out there: a heavyweight fusible interfacing for exterior bag pieces, a fusible fleece for interior bag pieces, and a thick fusible interfacing for base of bag.
- One 10" zipper (or larger, cut down to size later)
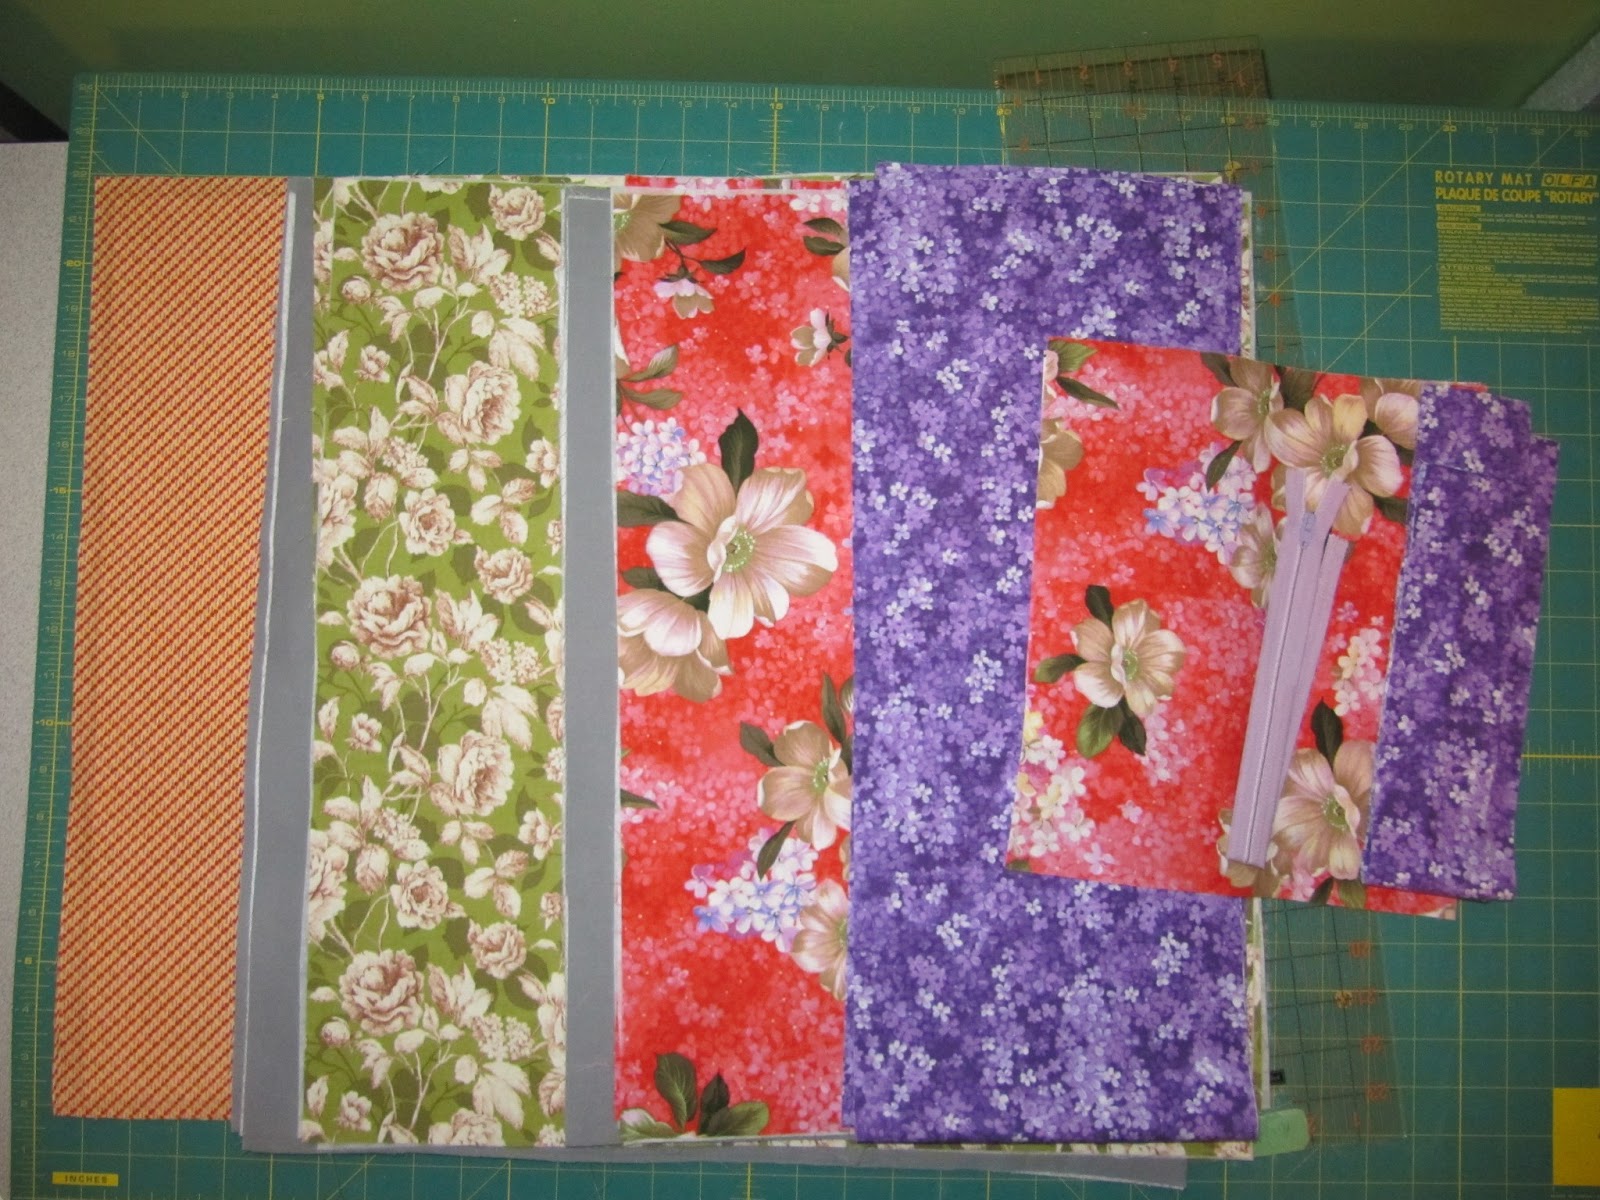
CUT YOUR FABRIC:
- Main panels 20" (h) x 20" (w) - cut 2 from main fabric and 2 from lining
- Side panels 20" (h) x 12" (w) - cut 2 from side panel fabric and 2 from lining
- Bottom 20" (w) x 12" (depth of bag) - cut 2 from fabric selected for bottom of bag
- Binding for top of bag - 2.5" x 70" (two strips pieced together)
- Exterior zipper pocket - cut two pieces 10" x 10" and one piece 10" x 6"
- Straps 60" x 8" (cut 2)
Before beginning, fuse interfacings to main panels, side panels, and bottom piece.
* please note: all seam allowance are 1/2"*
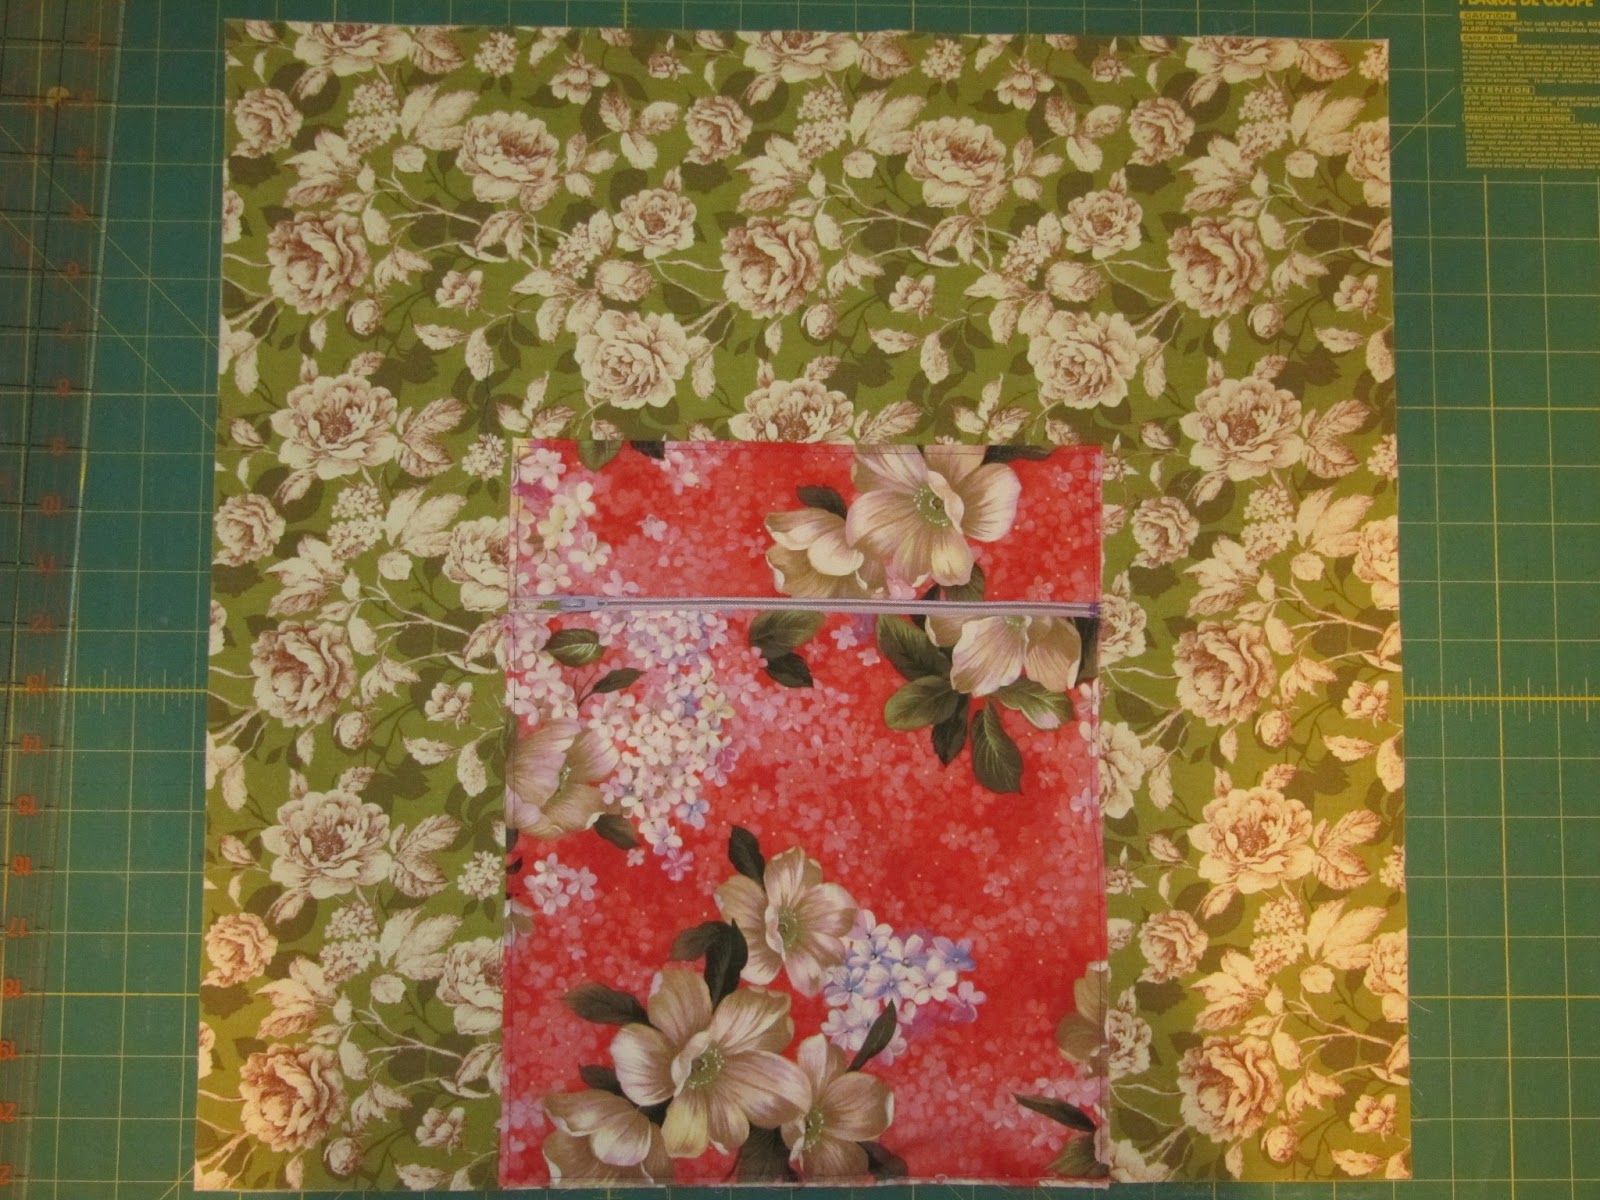
MAKE EXTERIOR ZIPPERED POCKET:
- Take your 10" x 6" piece of fabric, and place zipper on one long edge.

- Fold fabric over top of zipper, so zipper is sandwiched between the two right sides of the fabric. Pin in place.
- Using zipper foot, sew top edge. Be sure to stop and move zipper tab out of your way as you sew so you get a nice straight stitch line.

- Turn piece of fabric right side out.

- Press in half, and make sure zipper opens and closes easily.

- Take your two 10" square pieces of fabric and layer unfinished zipper edge between the right sides of fabric. Pin and sew edge just like you did for other half of zipper. Press fabric away from zipper.

- Center finished zipper pocket on one of the main exterior panels. Baste unfinished side edges to hold in place. Set piece aside.
MAKE AND ATTACH STRAPS:
- Take straps, and iron in half. Then iron halves again to center, creating 2" wide straps.

- Sew close to each long edge, and approx every 1/4" beside that, creating nice strong straps with lots of stitch lines.


- Pin straps to main panels of bag, completely covering raw edges of zippered pocket, and using your ruler to pin them on nice and straight. Stitch on top of stitch lines on both long edges of straps, stopping 1" from top of bag.

ASSEMBLE BAG EXTERIOR:
- Sew your main panels to your side panels, right sides together. BUT, stop your stitch line and backstitch 1/2" from bottom of bag.


- Pin one of your bag bases to your exterior pieces, right sides together. On corners, fold back seam allowances as shown below and pin in place. When stitching over corners, reinforce them by backstitching on either side of corner pivot.

- Turn bag right-side out.

ASSEMBLE LINING:
- Using the same method as bag exterior, sew main and side panels together, and attach bag base.
- Do NOT turn right-side out.

COMPLETING YOUR BAG:
- Place bag lining inside of bag exterior, making sure to push corners in place and line up seams.
- Pin upper edge of bag, and baste close to raw edge.

- Press your binding in half, and then edges to centers, creating a narrow binding.

- Use your favorite method of attaching binding to sew it to top of bag - you can do this by machine, or a combination of machine and finishing it off by hand. I prefer to use lots of pin and pin it to top of bag, and then machine stitch it. Make sure to conceal your unfinished edges or start and stop sewing with 6" of binding left on either end - sew those ends together and cut off excess, and then sew down last section.

ENJOY YOUR FINISHED BAG!
And there you have it - an oversized beach tote. This will fit all our towels, sunscreen, sand toys, and snacks. And the exterior pocket is great for my wallet and phone. I'm looking forward to toting one bag for everything this summer!

And wouldn't you know, the first thing my little guy asked when he saw this bag was if he could climb in.


Thanks, Rebecca! Head over to Rebecca's blog to enter for a chance to win a fat quarter bundle of Belle of the South. The giveaway is open through Monday, May 27th.
What a great bag, so huge, I love it! And the fabrics are just gorgeous.
ReplyDeleteSeriously beautiful! I love it!! There is nothing better for the beach than a huuuuuuuge tote. Much better than what I usually end up doing (carrying lots of smaller ones and forgetting which one holds what). Great tutorial!!
ReplyDeleteJust in time for summer. Great tutorial. Beautiful fabrics.
ReplyDeletesuper cute rebecca!
ReplyDeleteWhat a charming, summery bag! The fabrics are so romantic and your little boy looks adorable in it! (Frameable moment for sure!) Thanks for the Tut!
ReplyDeleteSo cute! And big enough for a baby to ride in! ;)
ReplyDelete