Monday, February 18, 2013

Stitching Nook

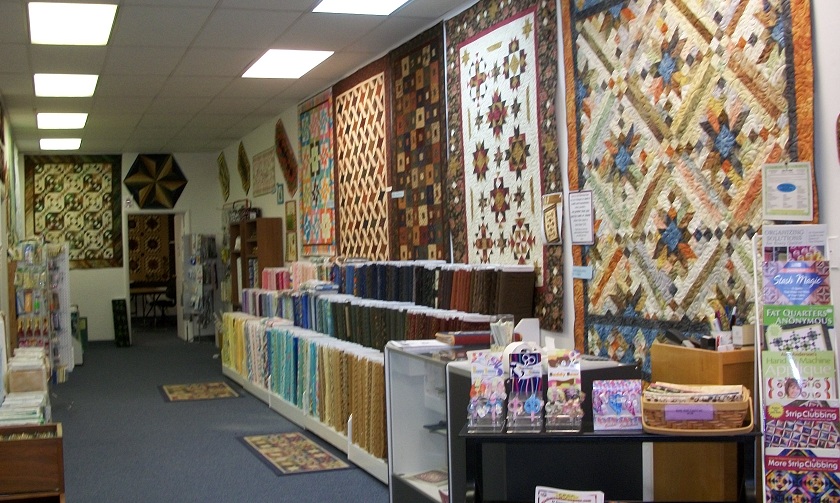
A few weeks ago, we asked readers to nominate their favorite quilt shop in conjunction with "Visit Your Local Quilt Shop Day." We really enjoyed about everyone's favorite fabric haunts! Today, we're featuring the randomly selected winner, Stitching Nook, a quilt shop and Husqvarna Viking service and sales dealer in Richmond, Indiana, nominated by Myra B.


Here's what Myra had to say about her favorite quilt shop: 
My favorite quilt shop is the Stitching Nook in Richmond, Indiana. There are many classes to choose from and they are always willing to try class suggestions made by the customers. The Stitching Nook is part of several shop hops. They also sell sewing, embroidery, and serging machines and make sure if a machine is purchased that the customer knows how to use it through demonstrations and classes. Customers taking a class get 20% off all material and supplies used for that class and also get 20% off of all purchases on birthdays.

Diana Bruns, owner of the Stitching Nook, graciously answered our questions and sent a few pictures.


Q. How did you get into the quilt shop business?
Diana: I'm now going into my 31st year. A friend and I started it because there were no quilt shops in our area. We'd sewed together, taken tailoring classes, got started taking quilt classes. Her kids were all in school. I was in a job I didn't like. It sounded like a good idea. That's how we got started. Back then we sold fabric for $4 a yard!


Q. Talk to us about your fabric offerings.
Diana: I wouldn't say we have one particular style—more a bit of everything. We like traditional stuff, the newer looks. We have a lot of batiks. We also having sewing machines, and we do a lot with sewing machine techniques and embroidery.
Q. What are the perks of your location?
Diana: We're only a mile off the Interstate (about an hour east of Indianapolis). Women tend to travel in groups and plan their shopping trips around where they're going to eat, and we have plenty of choices nearby. There is every imaginable restaurant around, plus a sporting goods store next door, a bookstore, tractor supply store. It's really a nice mix for guys and wives.

Q. What is your favorite part of owning a quilt shop?
Diana: My favorite part is the people. I love teaching the classes. I think it's fun to have somebody brand new. When they complete a project they get all excited about it. It's just fun. After you do it for a while, you forgot the excitement of being new, how things work. It's always fun to have someone new, getting the pleasure out of it.


Q. What types of classes does your shop offer?
Diana: A lot of machine technique—embroidery. We always try to have a couple of beginner quilt classes. We do one callaed Quilt Express that is a wonderful introduction to quilting. You make an 18'' table topper. Learn to rotary cut, piece, machine quilt, and then bind from the back. We also usually try to do a demonstration of traditional binding as well. We are scheduling some paper piecing classes. We do 2-3 block of the month classes, purse/tote bag classes, and table runners and placemats. Sometimes it's a one-day class, sometimes an all-day workshop where they walk out with a finished project.

Q. What sets your shop apart from others?
Diana: We're not a huge shop, so there's plenty of personal attention. We are always glad to help customers pick out fabric. Before we're done everyone in the shop kind of gets in on it. For the sewing machine side, we keep on top of what's going on—repairs, technical issues, working on machine techniques, ways for people to get the most use out of their machine.
But overall? Personal service, I would say. I think that's what everyone who works here likes most about their jobs—the interaction with the customers.

Sounds like a great place to visit! If you're ever near Richmond, Indiana, swing by and tell Diana we said hello!


Thursday, February 14, 2013

Share the Love

Valentine's Day is all about the chocolate sharing the love. You may have sent valentines to friends and family, but why not share the love one step further? Reach out and sew something for someone in need. Perhaps a pillowcase?

Fabric: Tribal Council. Photo from APQ.com

Fabric: Pretty in Pink. Photo from APQ.com
American Patchwork & Quilting is starting the fourth year of the 1 Million Pillowcase Challenge. Each quarter, AllPeopleQuilt.com features four new pillowcase designs, showcasing them in new fabrics from sponsors. We are proud to be a sponsor, and love the look our fabrics in the Chevron band pattern and the Crazy Rail Fence pattern.
Find out more about the Challenge here.
Download the free patterns to make these two pillowcases (and two others) here.

Happy Valentine's Day!

Tuesday, February 12, 2013

Falling in love...

...with the delicate feel of Silhouette.

With Valentine's Day on Thursday, it seemed like the perfect time to share a soft and pretty new collection full of romance. (And we couldn't resist showing these fabrics in heart-shaped swatches!)


Some larger views of a few of our favorites:


A garden-fresh packed floral print

A classic paisley design in a more modern palette


 What a great scroll print!

Click here to see the entire Silhouettes collection.

Monday, February 11, 2013

Local Quilt Shop contest winner

Thanks so much for all your comments (both here on the blog and on Facebook) about your favorite quilt shops. It was fun to read them all! We randomly selected a winner, who will receive a little gift from us, and we'll be doing a profile on the shop she recommended soon.

Congratulations to Downsizers, who said:
We've sent you an email for your mailing address.

Friday, February 8, 2013

Tutorial: Woven Heart Basket

With Valentine's Day rapidly approaching, here's a quick (almost no-sew!) project, perfect for holding everyone's favorite part of this holiday--chocolate! Do you remember making the paper version of these baskets as a kid? We think you'll like the fabric version even better!


You'll Need

  • 1 fat quarter each of two prints
  • 1/3 yard of fusible web
  • 1/4 yard of interfacing
Cutting
From the purple print:
Two 7" x 14" pieces

From the pink print:
Two 7" x 14" pieces
One 5" x 14" piece

From the fusible web:
Two 6-3/4" x 13-3/4" pieces

From the interfacing:
(1) 1-3/8" x 13-1/2" piece

Making the Woven Heart Basket
1. Following manufacturer's directions, fuse one piece of fusible web to the wrong side of a 7" x 14" pink piece. Remove the paper back and fuse the second pink piece to the opposite side of the fusible web to create a sandwich.

2. Repeat with the purple pieces. You'll have two double-sided pieces of fabric. 
3. Click here to download the heart basket template. Print the template out and cut on the outer line.
4. Fold the purple piece in half widthwise and position the template on the fold line. Pin in place.

5. Cut out around the template shape. 
6. To create the slits, measure 1-1/4" from the left edge and cut from the folded bottom up to the 5-1/4" mark (shape should still be folded in half). Measure over 1-1/4" and cut a second slit. Repeat one more time to cut a third slit. Very important: All cuts should stop 5-1/4" from the bottom folded edge.

7. Repeat steps 4-6 with the pink fabric. Your two pieces should look like this when folded.

And this when unfolded.

8. Begin weaving the pink and purple pieces together. Pass the first purple loop through the first pink loop.

9. Pass the second pink loop through the first purple loop. Pass the first purple loop around the third pink loop. Tuck the first purple loop into the fourth pink loop. Slide the purple loop up to the top of the pink slits.

10. Begin weaving the second purple loop through the pink loops, beginning by sliding the first pink loop inside the second purple loop. Weave the entire second purple loop (the order should be opposite the first loop). Continue with the third and fourth loops.

11. Open heart and adjust strips as needed so the weaving is even. 
12. Press the 5" x 14"pink piece in half lengthwise, wrong sides together. Open up and press each long edge in to the center, creating three pressed lines. Position the interfacing strip next to the center fold. 


13. Fold both long edges in again and then fold in half. Topstitch 1/4" from both long edges. Trim to measure 12". 

14. Position one raw edge of the handle inside the heart basket and stitch an "X" to secure. Repeat on the opposite side.

15. Fill basket with candy and share with someone you love! 


Wednesday, February 6, 2013

Quilting Bee

If there's one sure hit for quilters, it's sewing themed fabric. We love the whimsy of these cheery Quilting Bee prints and think you will too!

This collection has a little bit of everything:

Non-sewing-themed coordinates

Favorite sewing notions on fabric

And we've saved the fun for last! 
Two unique prints with endless possibilities (quilt backings, anyone?).

What would you make with Quilting Bee? 

Here's our wish list of projects:
  • Sewing machine cover
  • Pincushions
  • Tote bag
  • Ironing board cover
  • Wall hanging
  • E-reader cover
  • Sewing room chair cushion
  • Did we say pincushions?


Monday, February 4, 2013

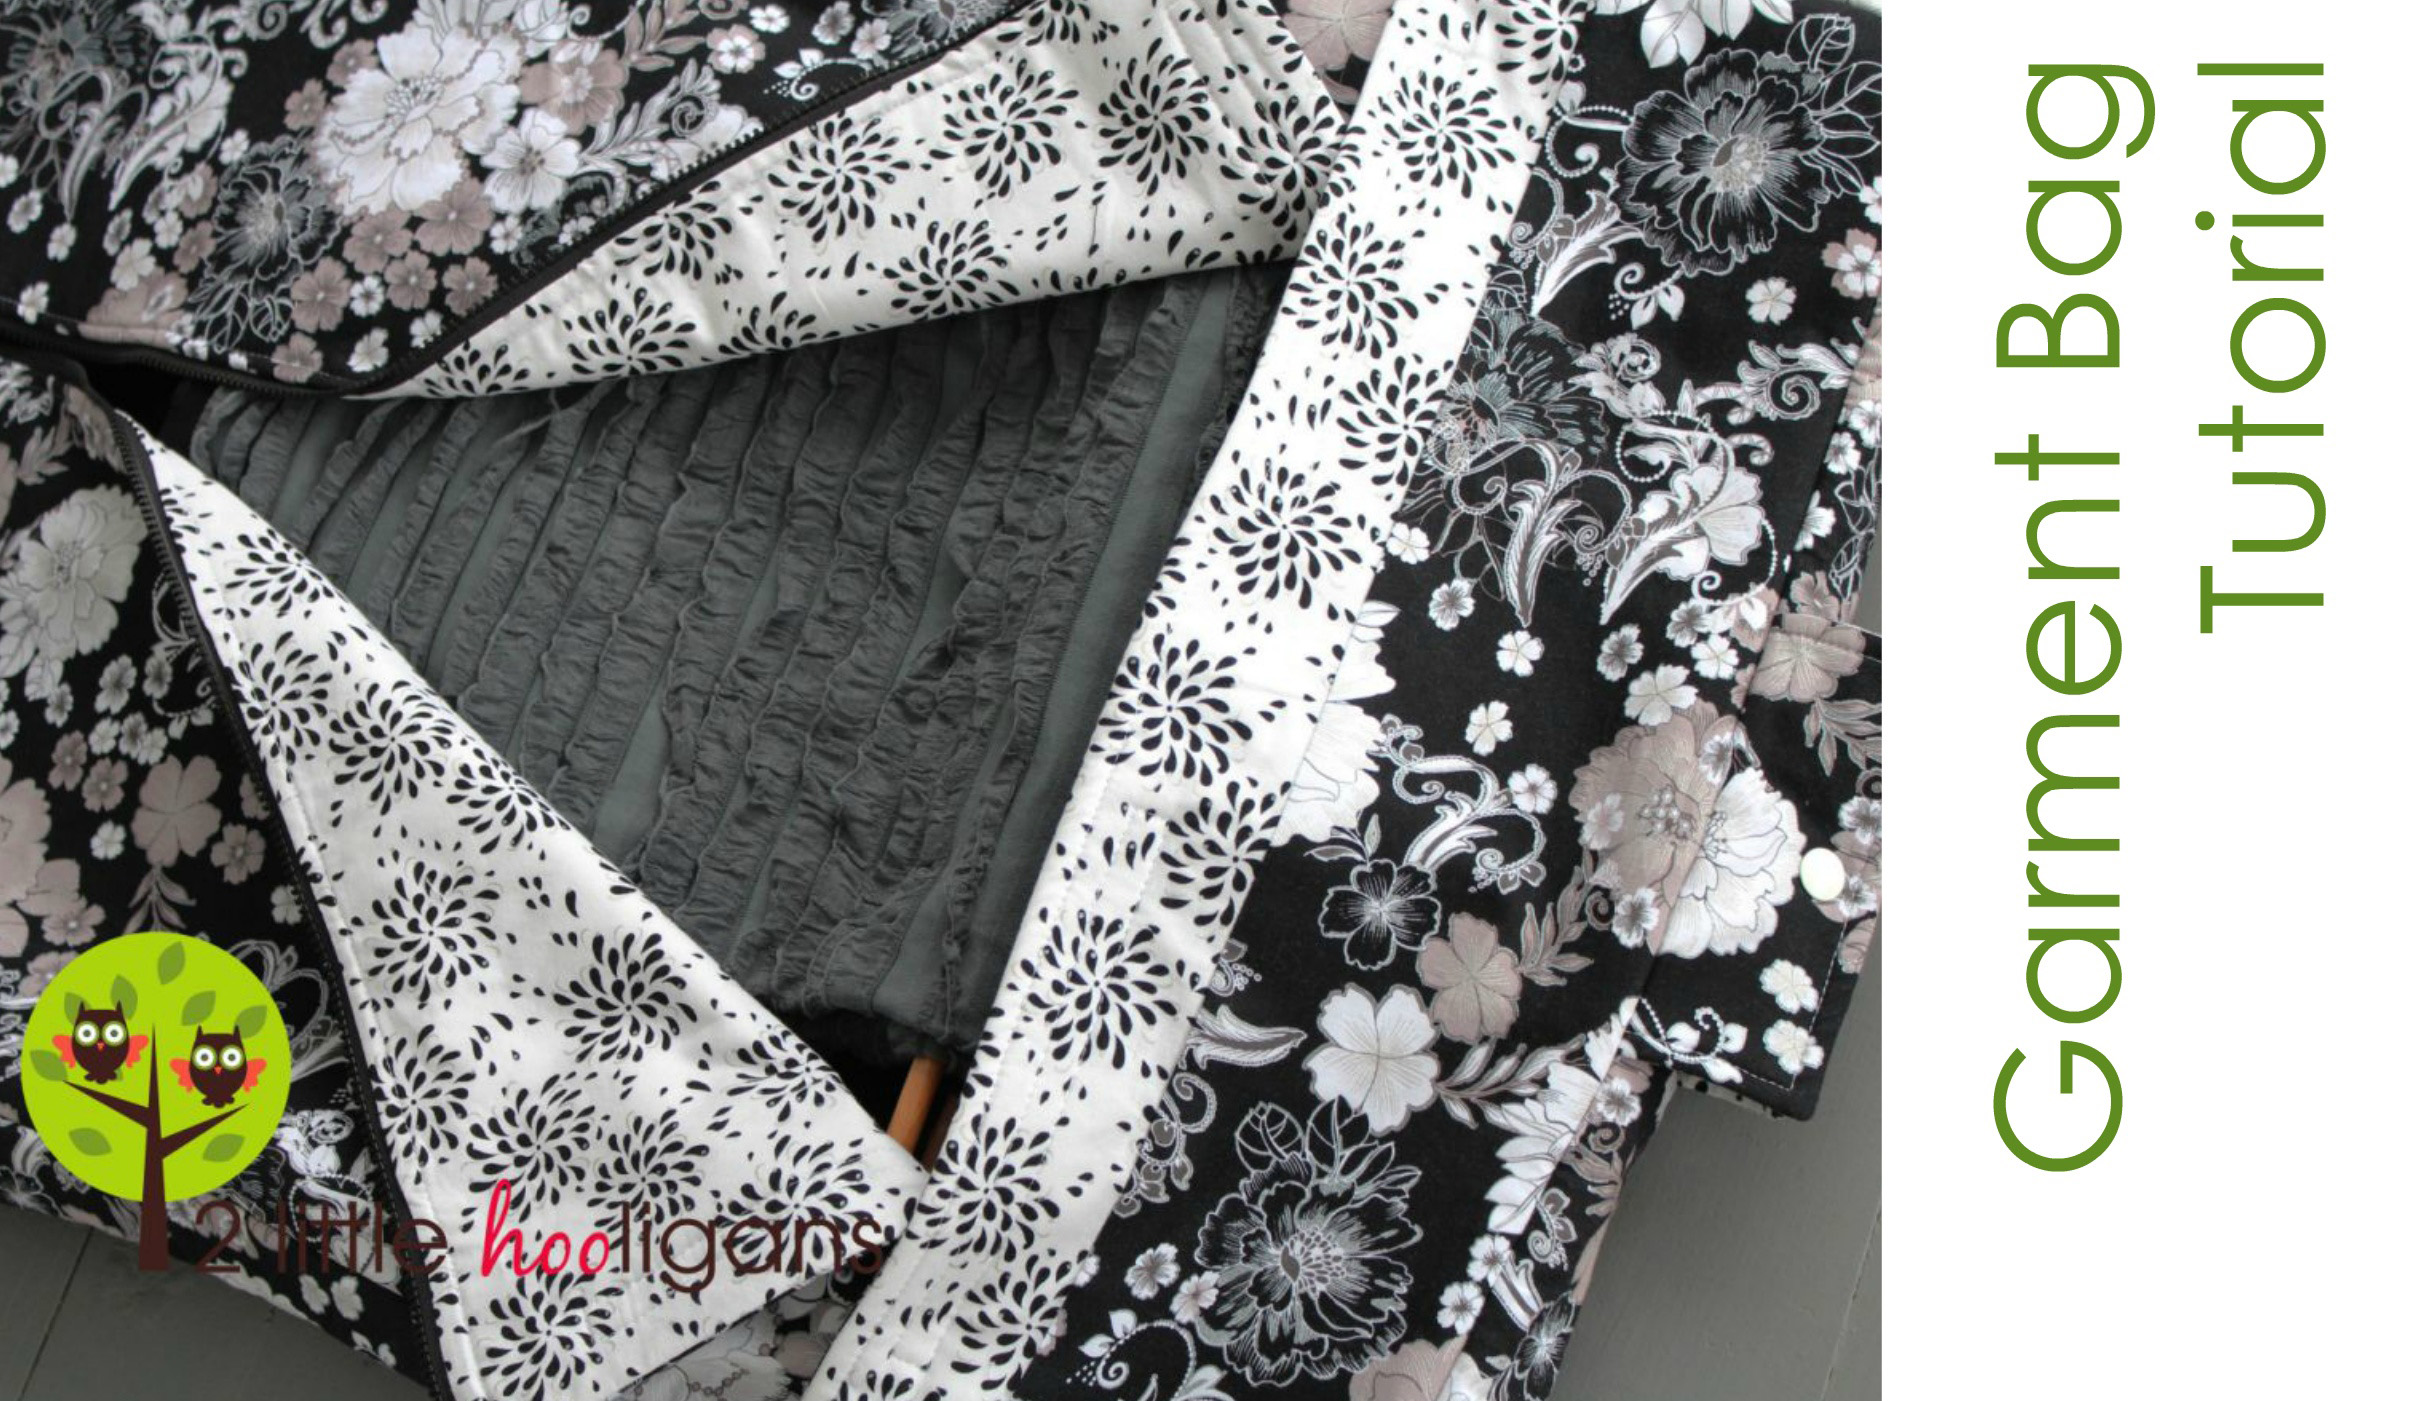
Garment Bag Tutorial and Giveaway!
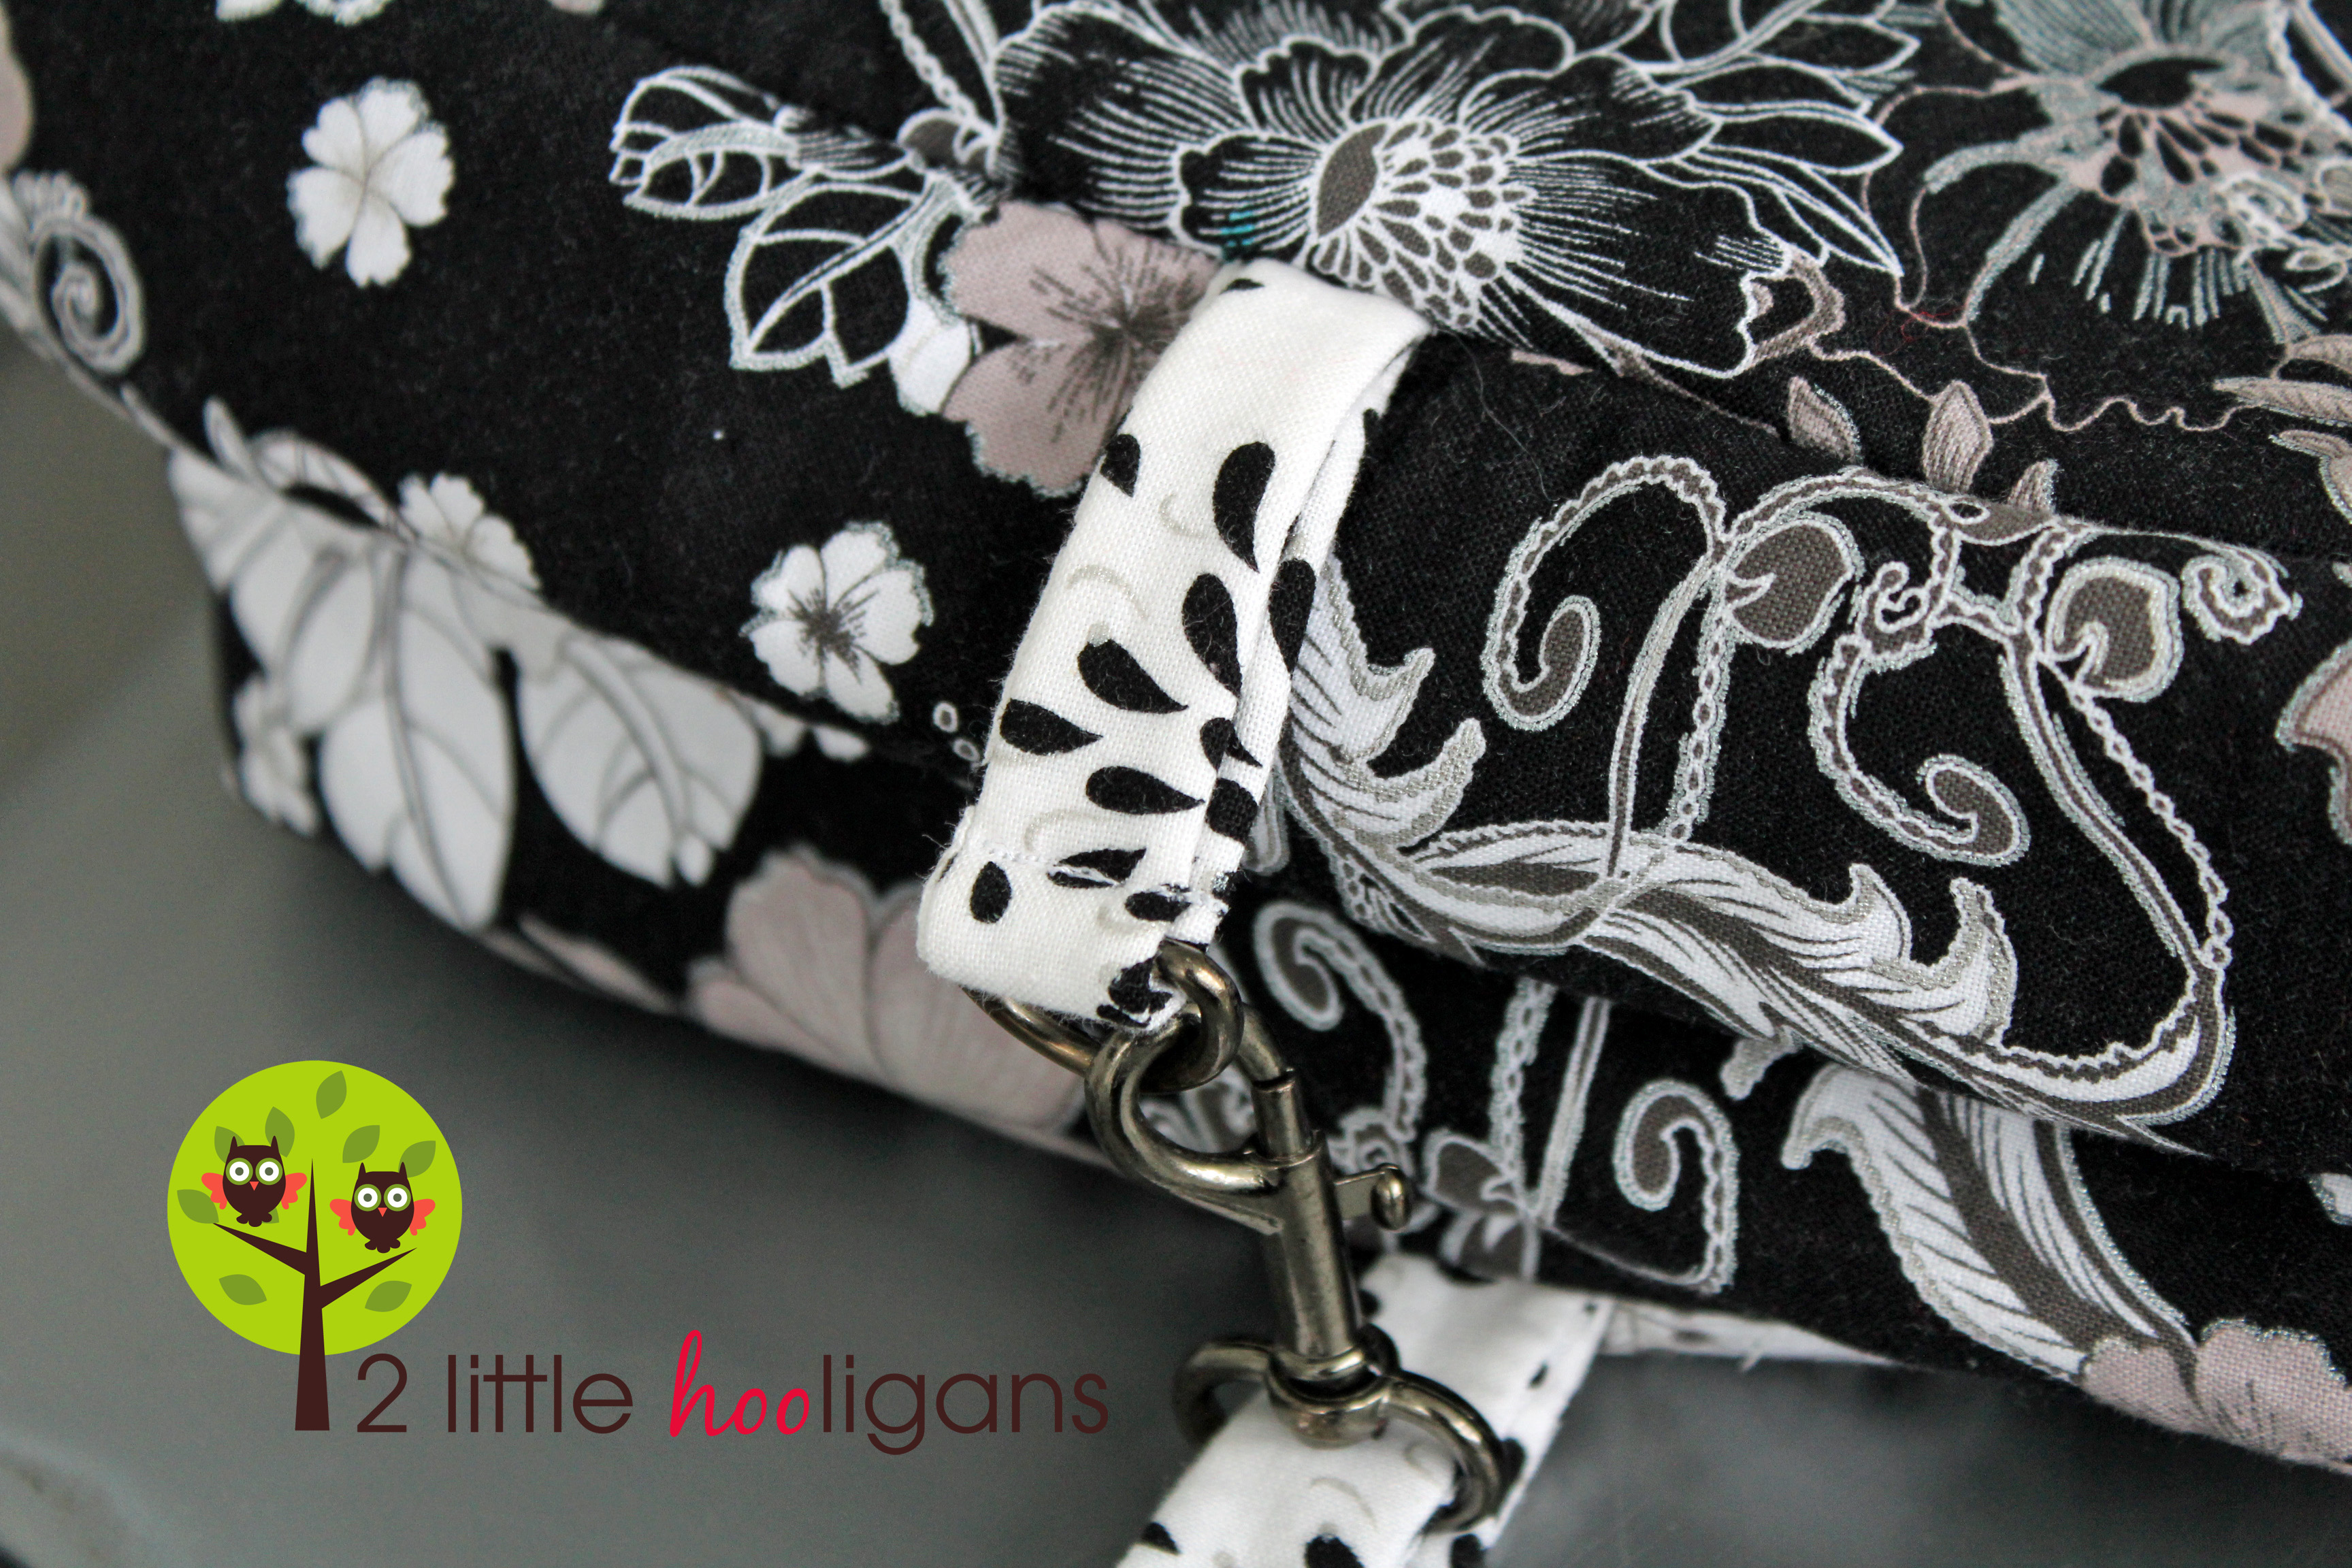
Hi, I am Christina and I blog over at 2 little hooligans
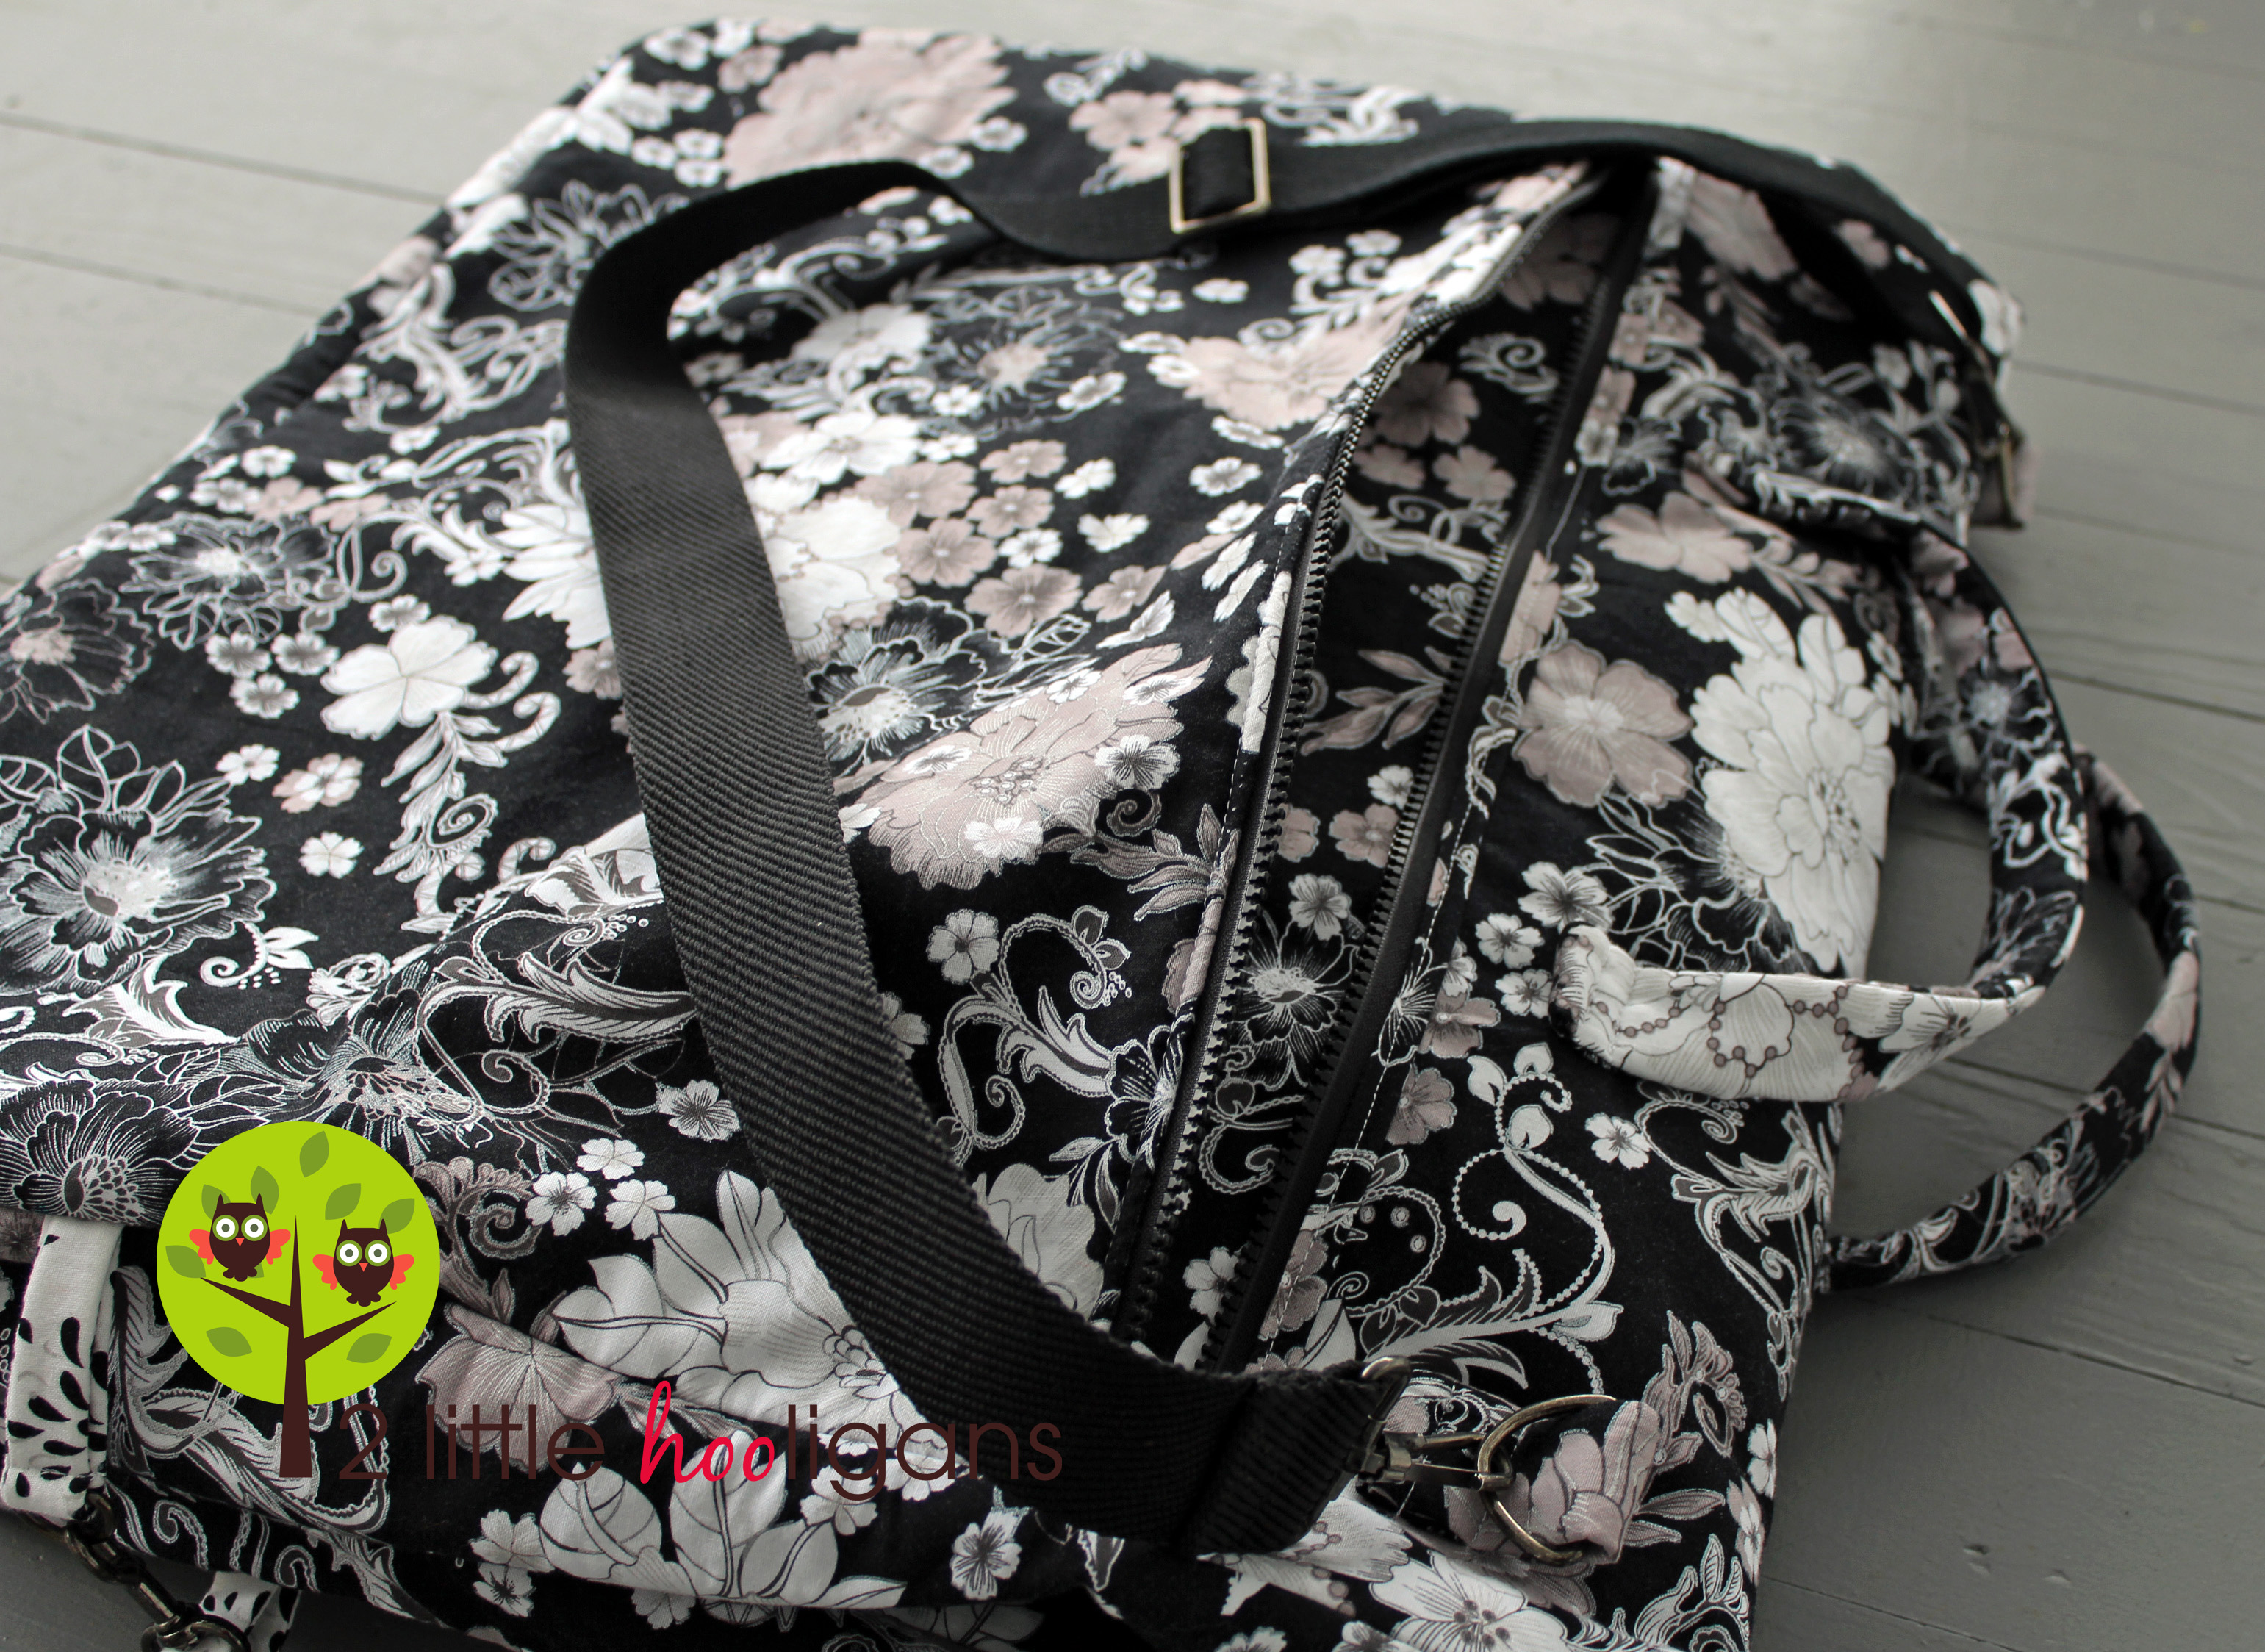
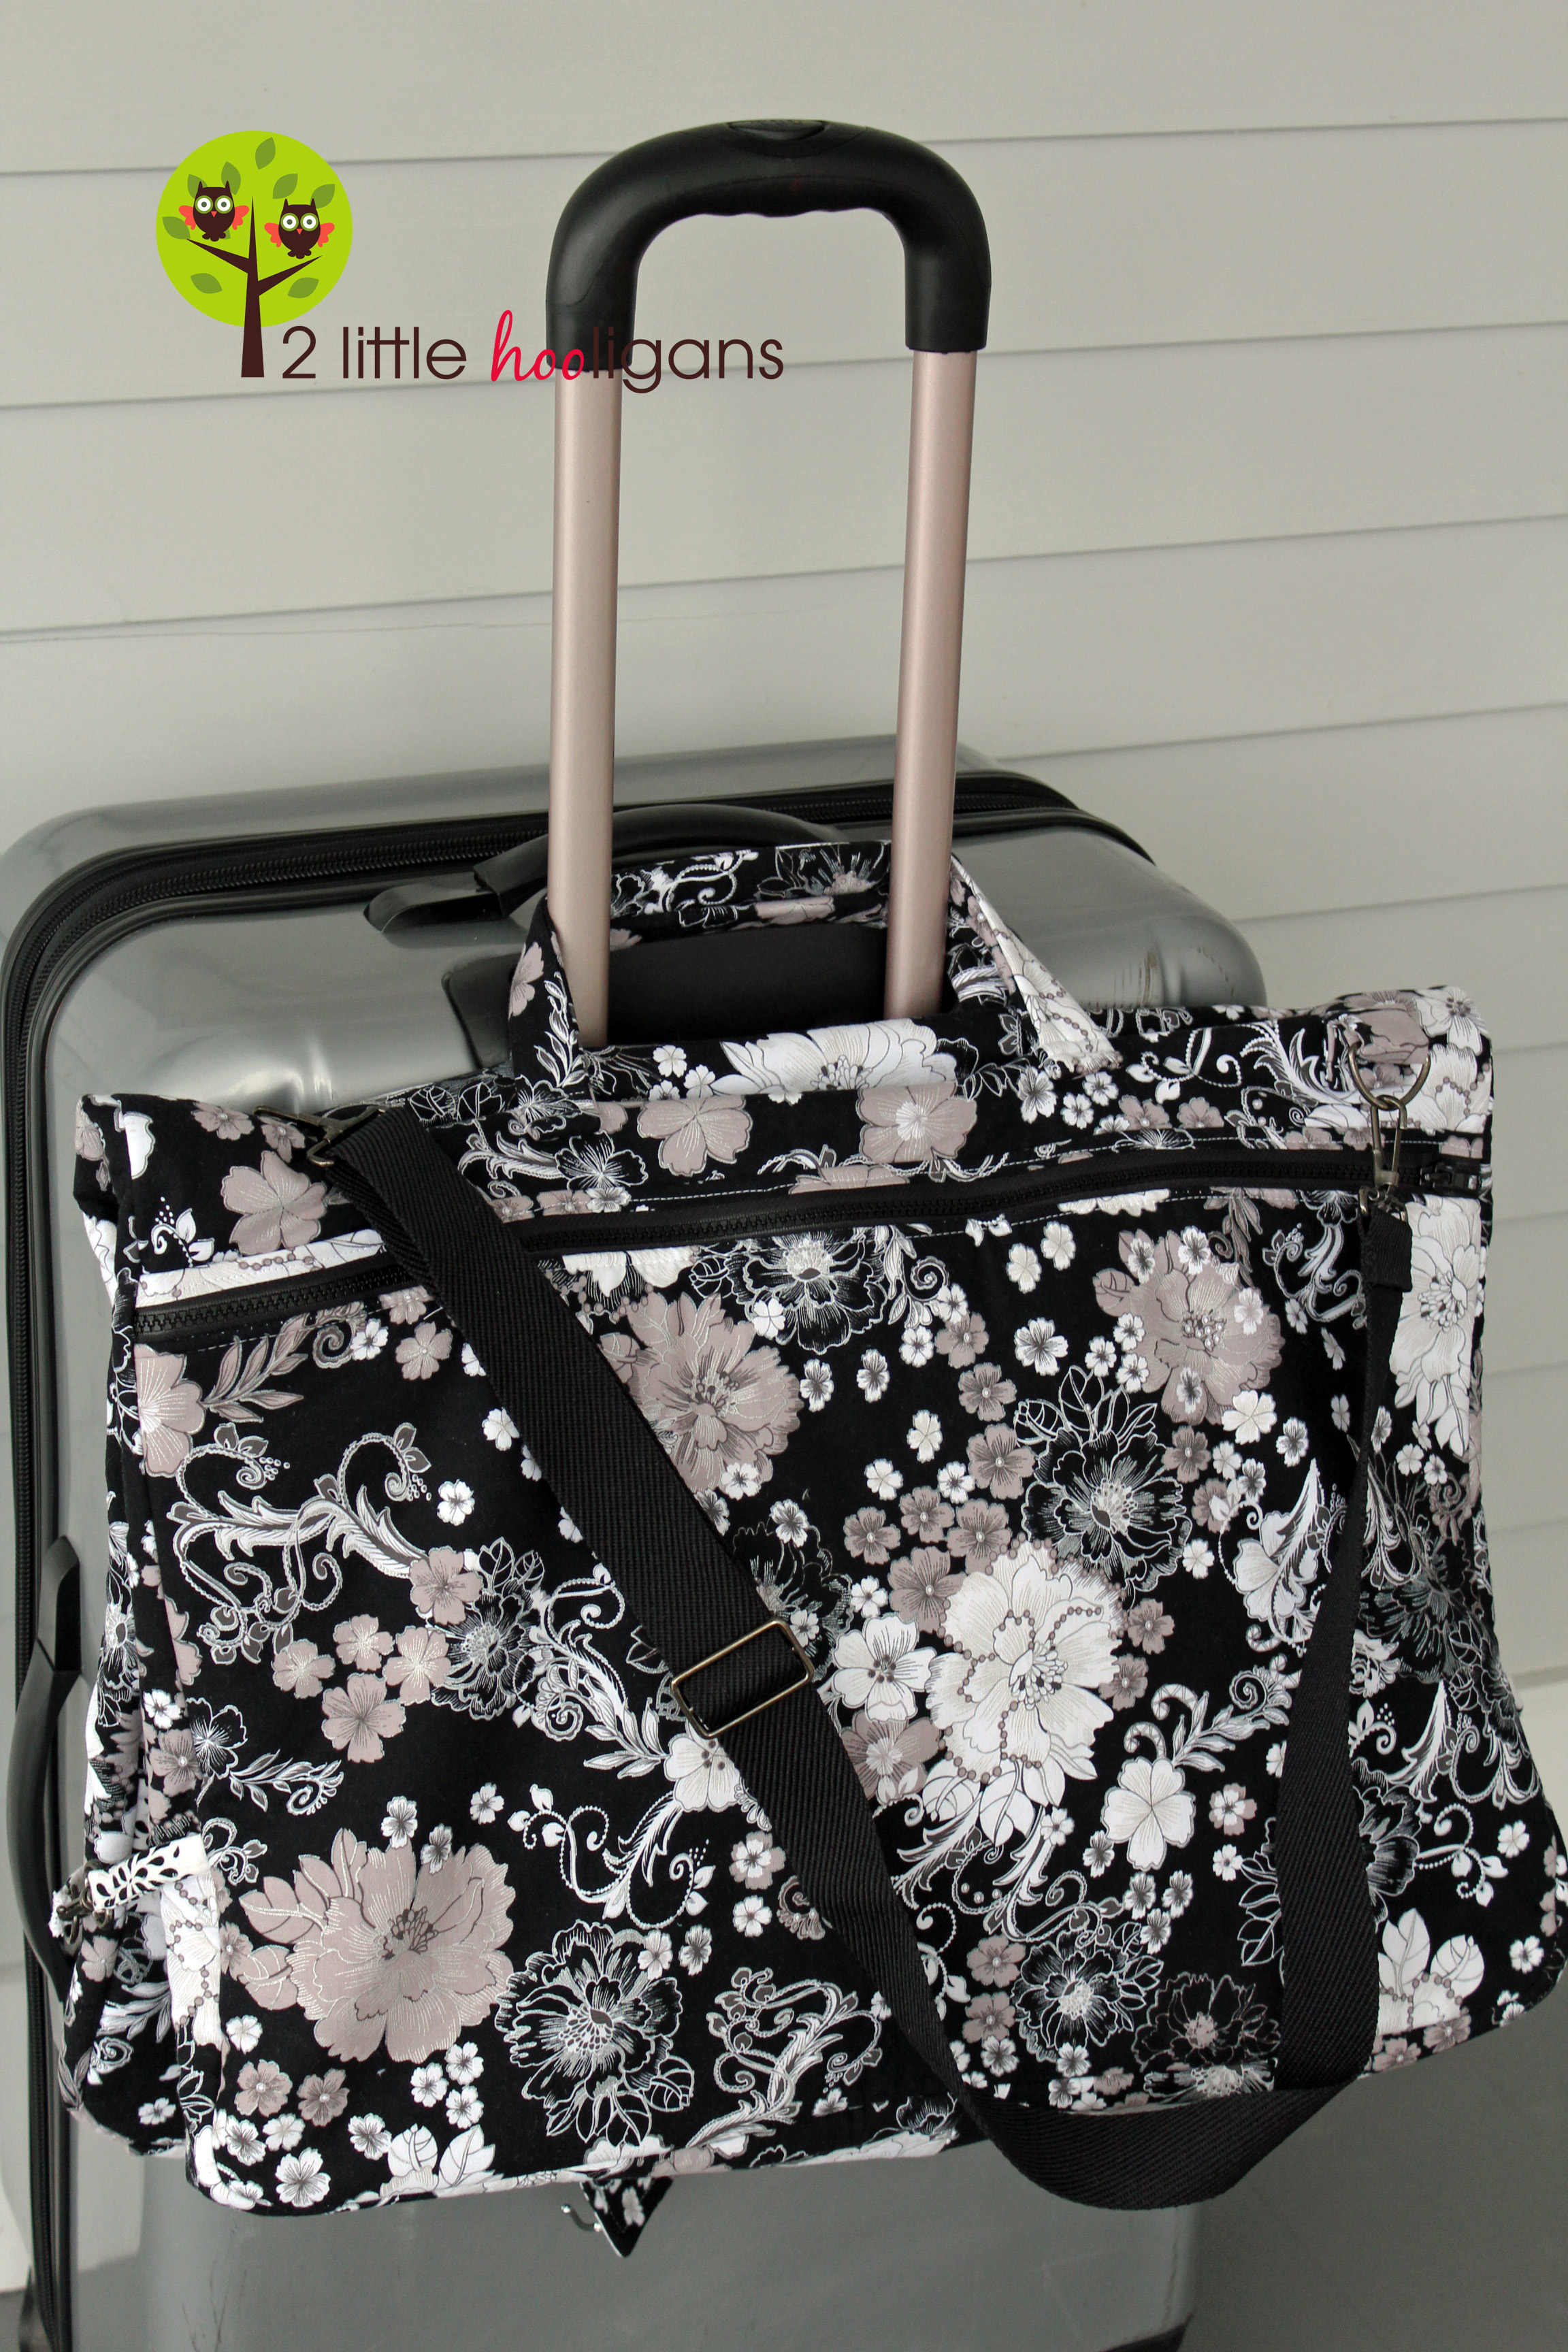
I am so excited to be here today as part of the Blogger's Design Ring. Today I am going to share with all of you my tutorial for making a garment bag. During a recent trip to California I saw a ton of garment bags and they were all the same...plain and black. Immediately I started thinking up a way to design one that was cute and practical and of course affordable. Here is what I came up with. I really hope that all of you like my design as much as I do.


                                                 Finished Garment Bag Measures about 34" x 21" by 2" high.


Before beginning:
* You must know basic sewing techniques, how to make bias strips as well as know how to sew in a zipper.
* Be sure to read through the whole tutorial before you begin to sew. It always makes more sense after reading it through ahead of time.
* Unless otherwise stated in the tutorial use a 1/2" sew seam and make sure you always start and finish your seams with a back-stitch.
* If you run into any problems or have any questions feel free to contact me at twolittlehooligans@yahoo.com. And please remember that all of my tutorials are for personal use only! That means you may not make any garment bags from this tutorial to sell. You may however use this tutorial to raise money for a charitable organization.

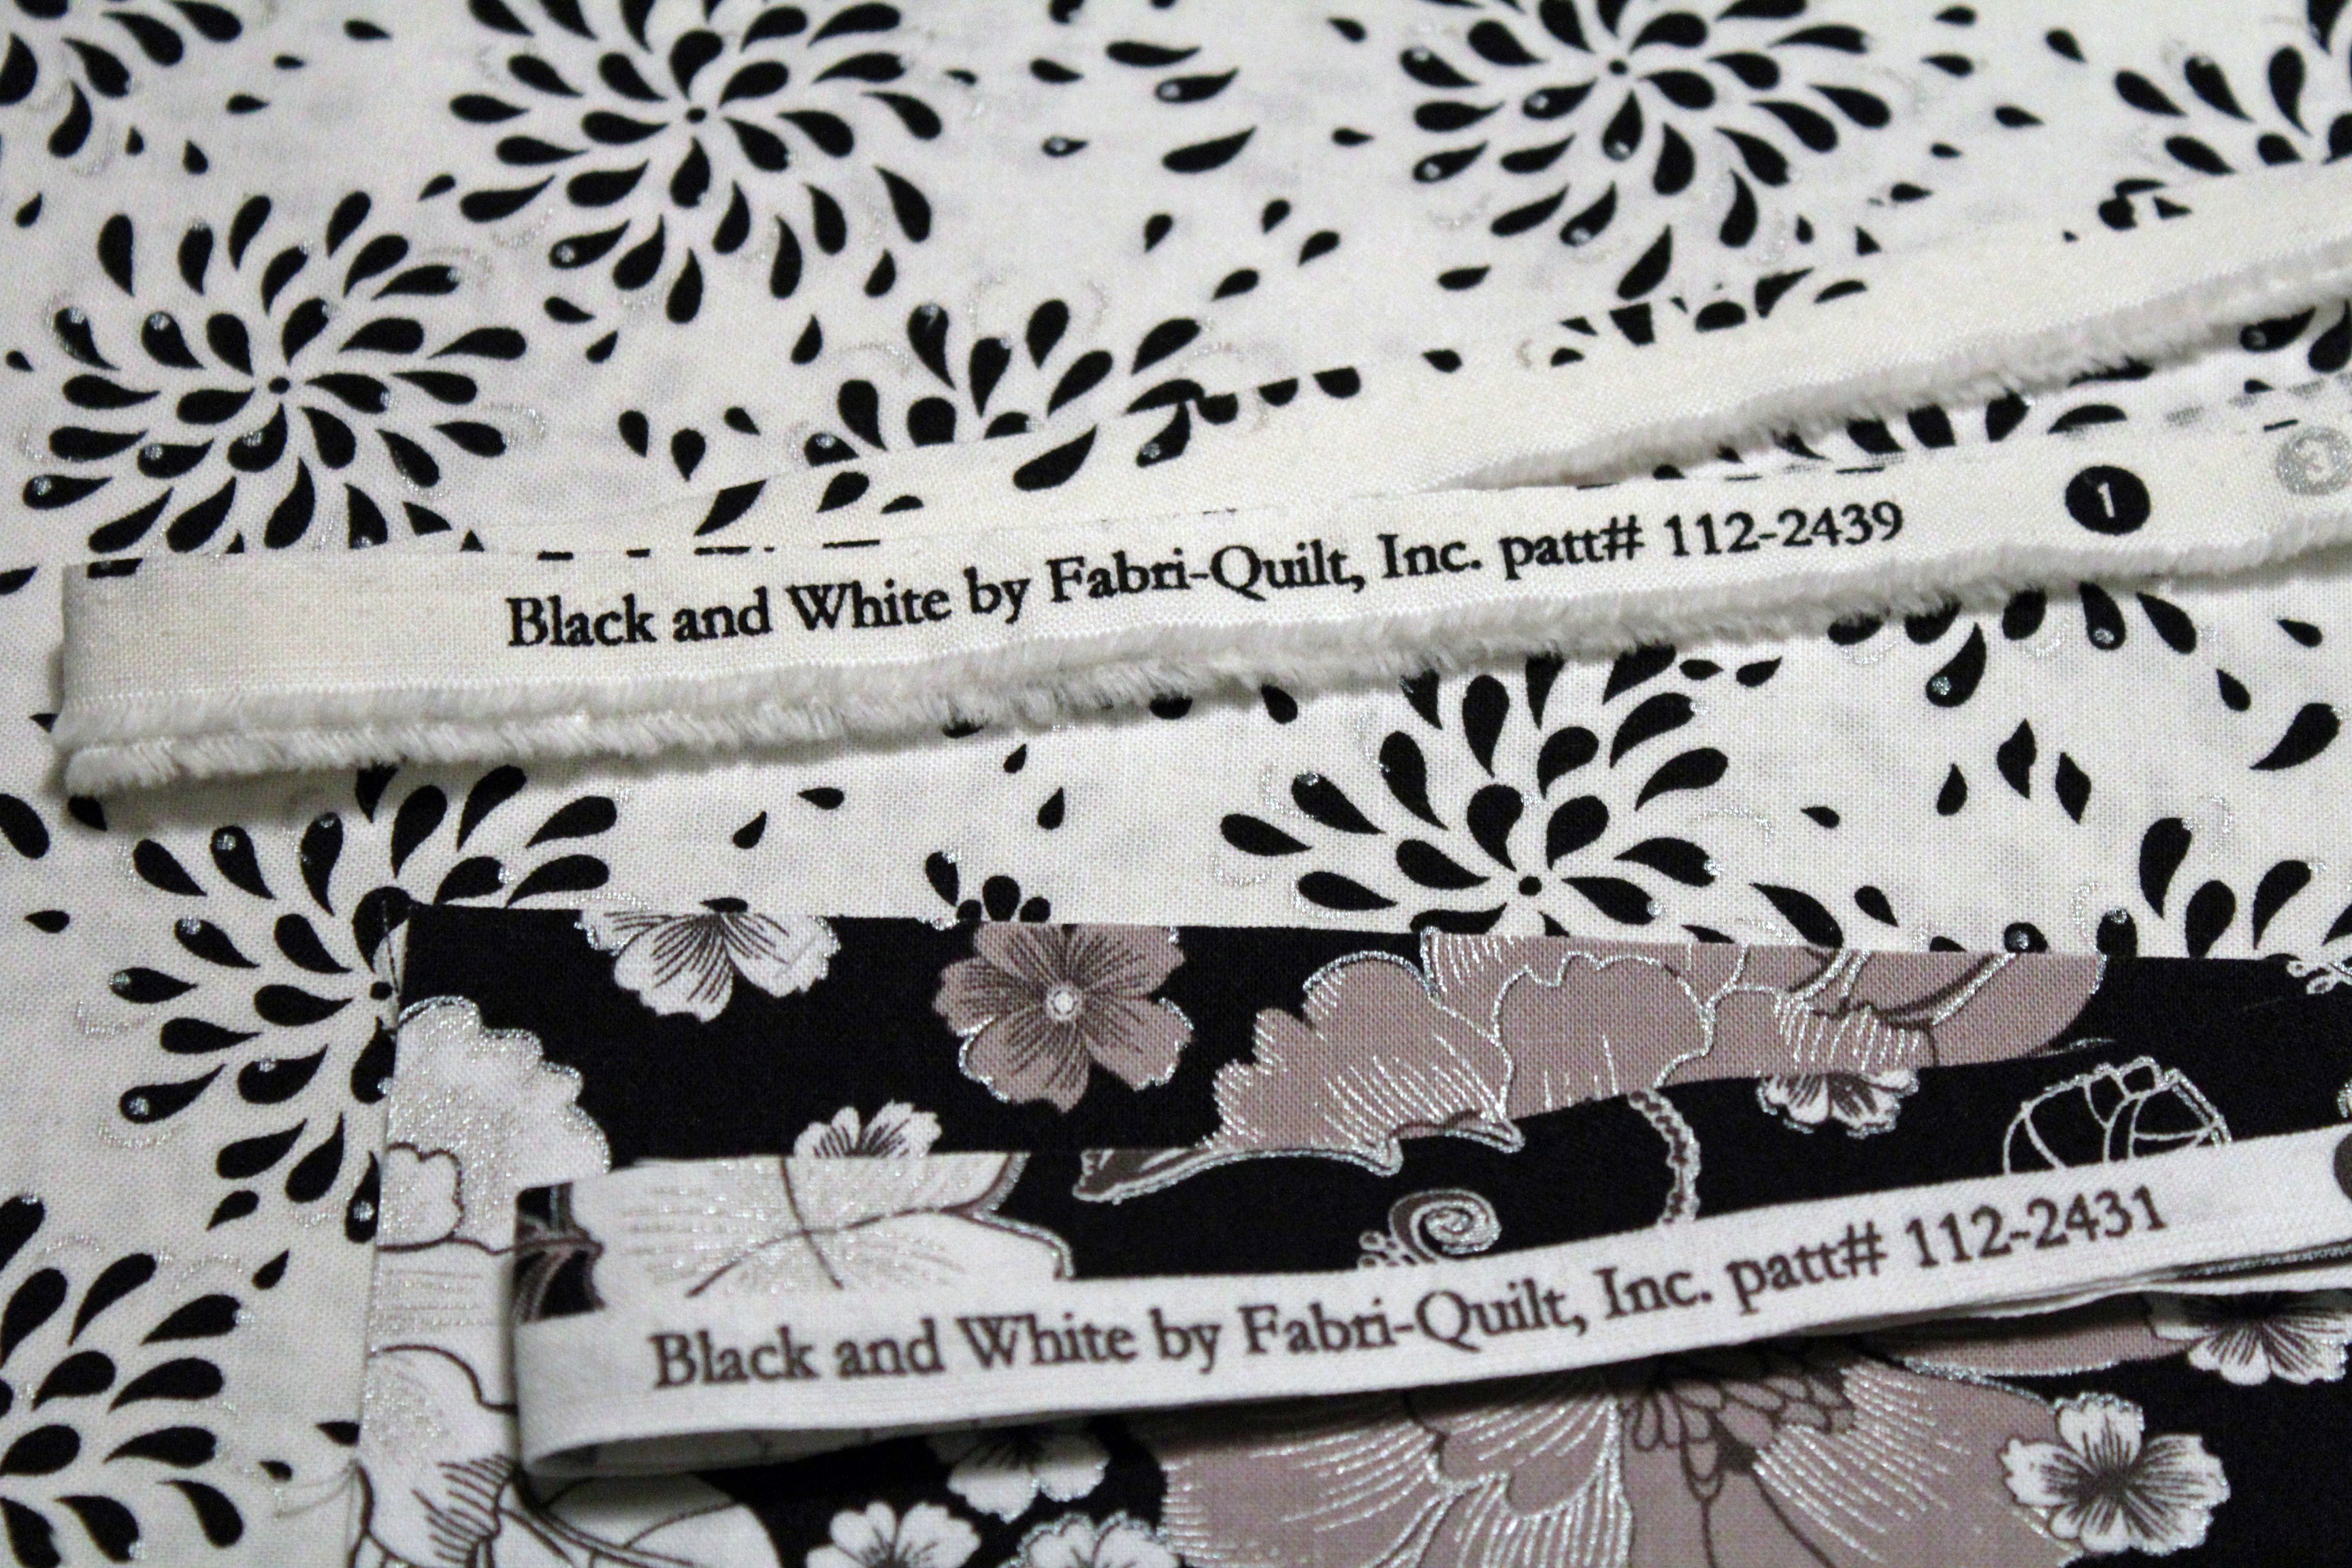
I used the Black & White collection from Fabri-Quilt; at the bottom of this post you'll find information on how to enter a giveaway for a fat quarter bundle of this fabric collection.

Fabrics Needed:
* 2 1/4 yards of an interior fabric
* 2 1/4 yards of an exterior fabric
* 2 yards of batting
Just so you know, I did use four yards of fabric total but had very little left over. Plus I also up-cycled a shoulder strap from an old bag. So if you feel you can make the most of your fabric and will not need any extra fabric for a shoulder strap by all means, just buy 4 yards. To be on the safe side though I would recommend buying 4-1/2 yards total. I used a quilting cotton but you can also use a medium weight cotton fabric or any decor fabric. 

Notions Needed:
* Two 1" D-rings with matching clasps (I up-cycled my D-rings and clasps from an older bag, but I have purchased D-rings in the past from this store and was very pleased.)
* Two 1 1/2" D-rings with matching loop end clasps (You want to make sure the loop end is big enough to place a shoulder strap through if you wont be up-cycling them from another bag.)
* 1/2 yard of 1 1/2" wide sew on Velcro
* Two 23" separating zippers
* One 36" separating zipper 
 
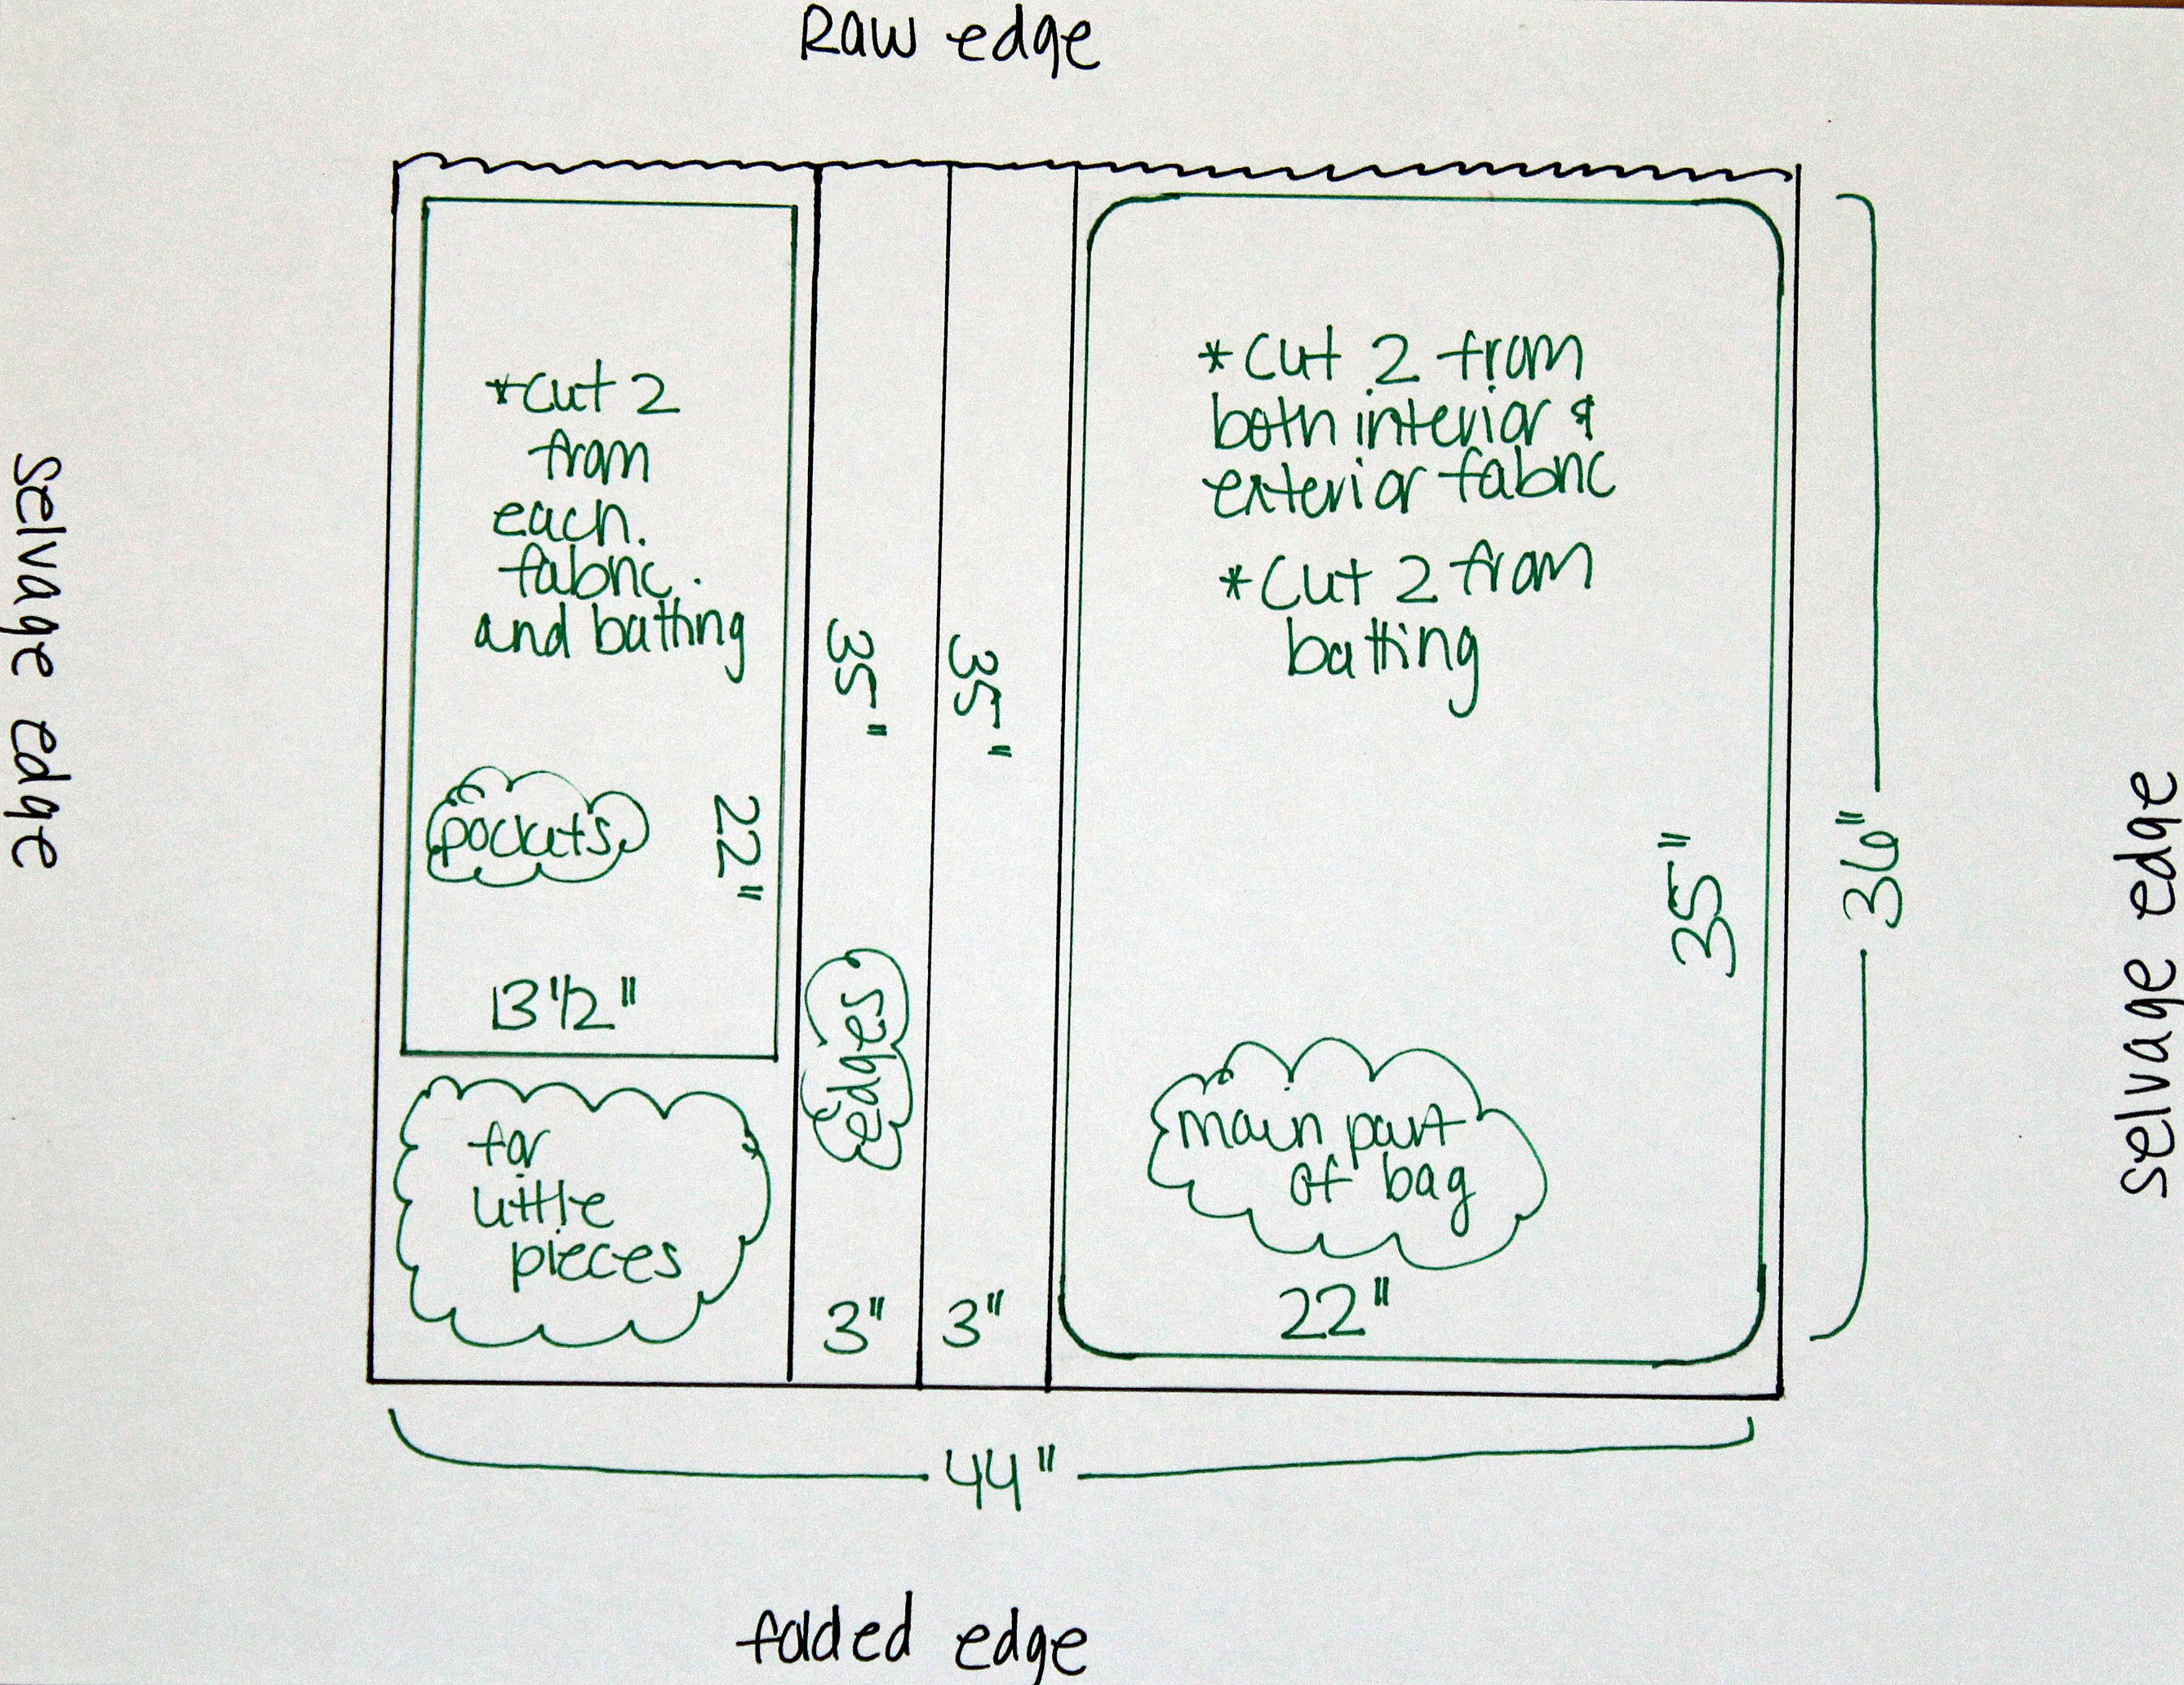
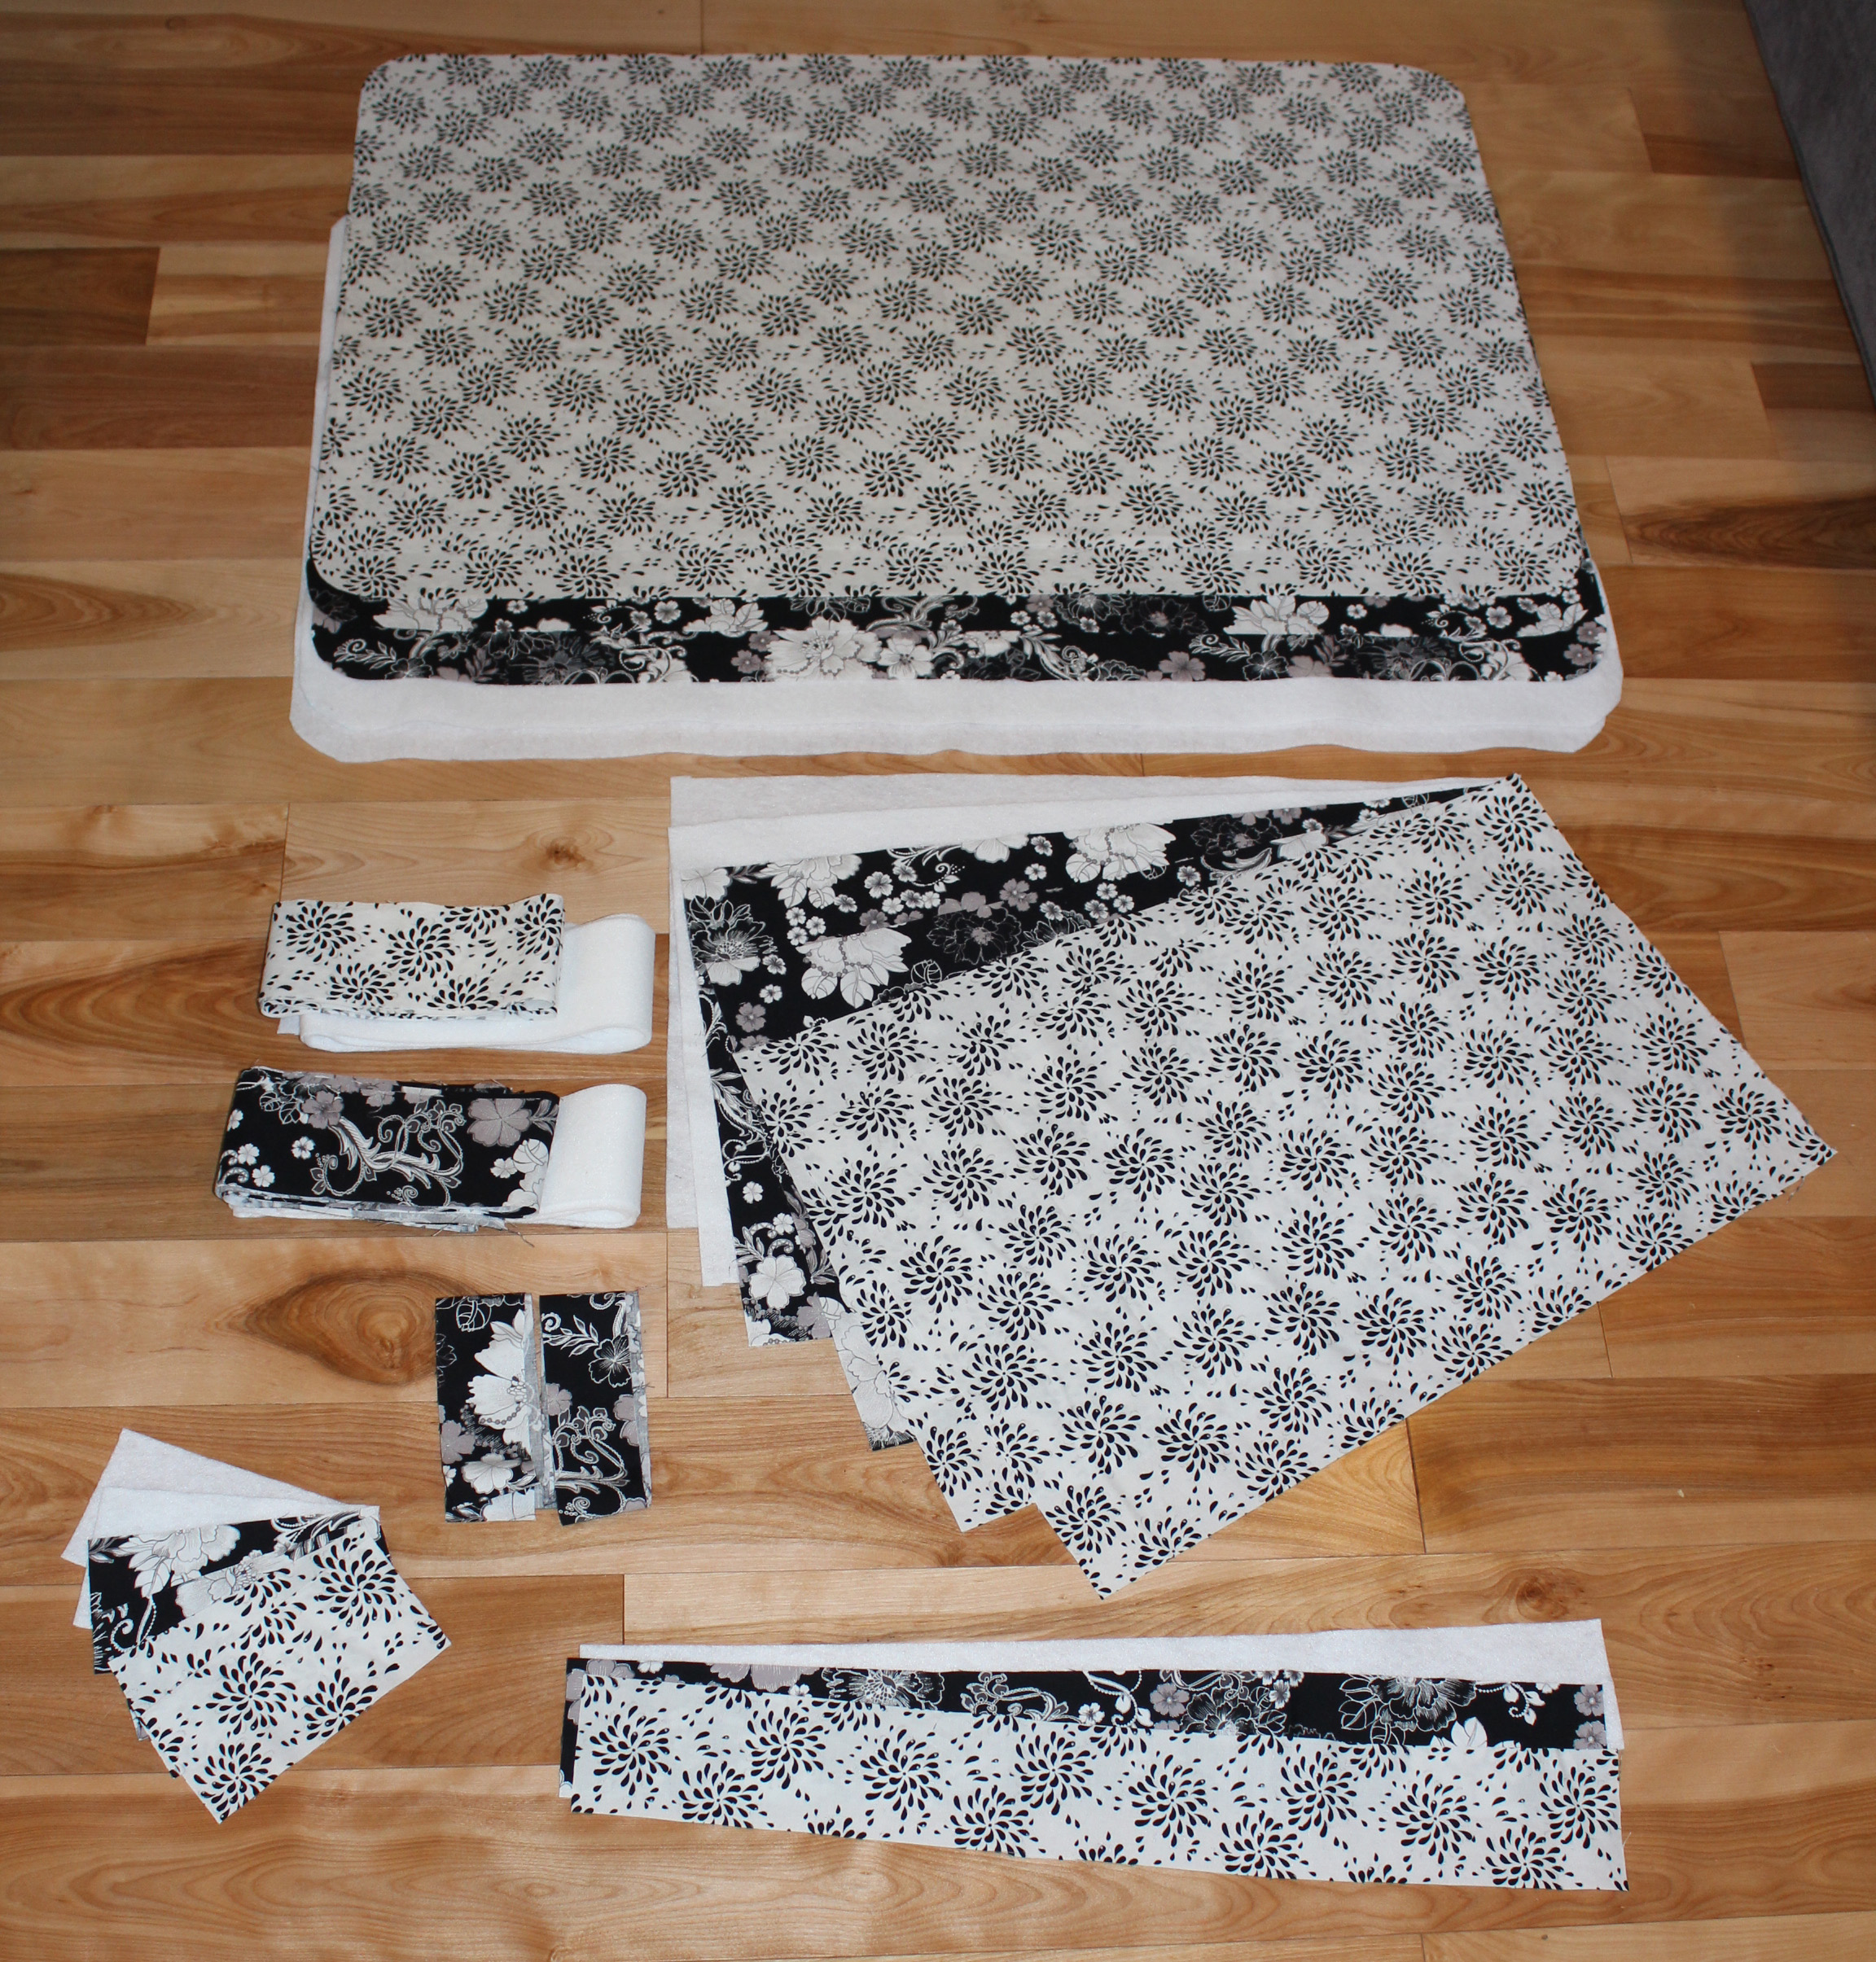
Gather your fabrics and fold them so that the same side selvage edges fold on top of themselves and the raw edges met one end. Basically it is folded in the opposite direction of what it normally is when it comes off the bolt. Folded fabrics should measure about 44" x 36" now. Of course the measurements will be a little different if you purchased the 4 1/2 yards like suggested. Below is a quick sketch of how I cut out my fabric pieces.                                                      Cutout the following pieces:

* Two pieces that measure 35" x 22" from each fabric and batting. Round all of the corners. (main part of bag)
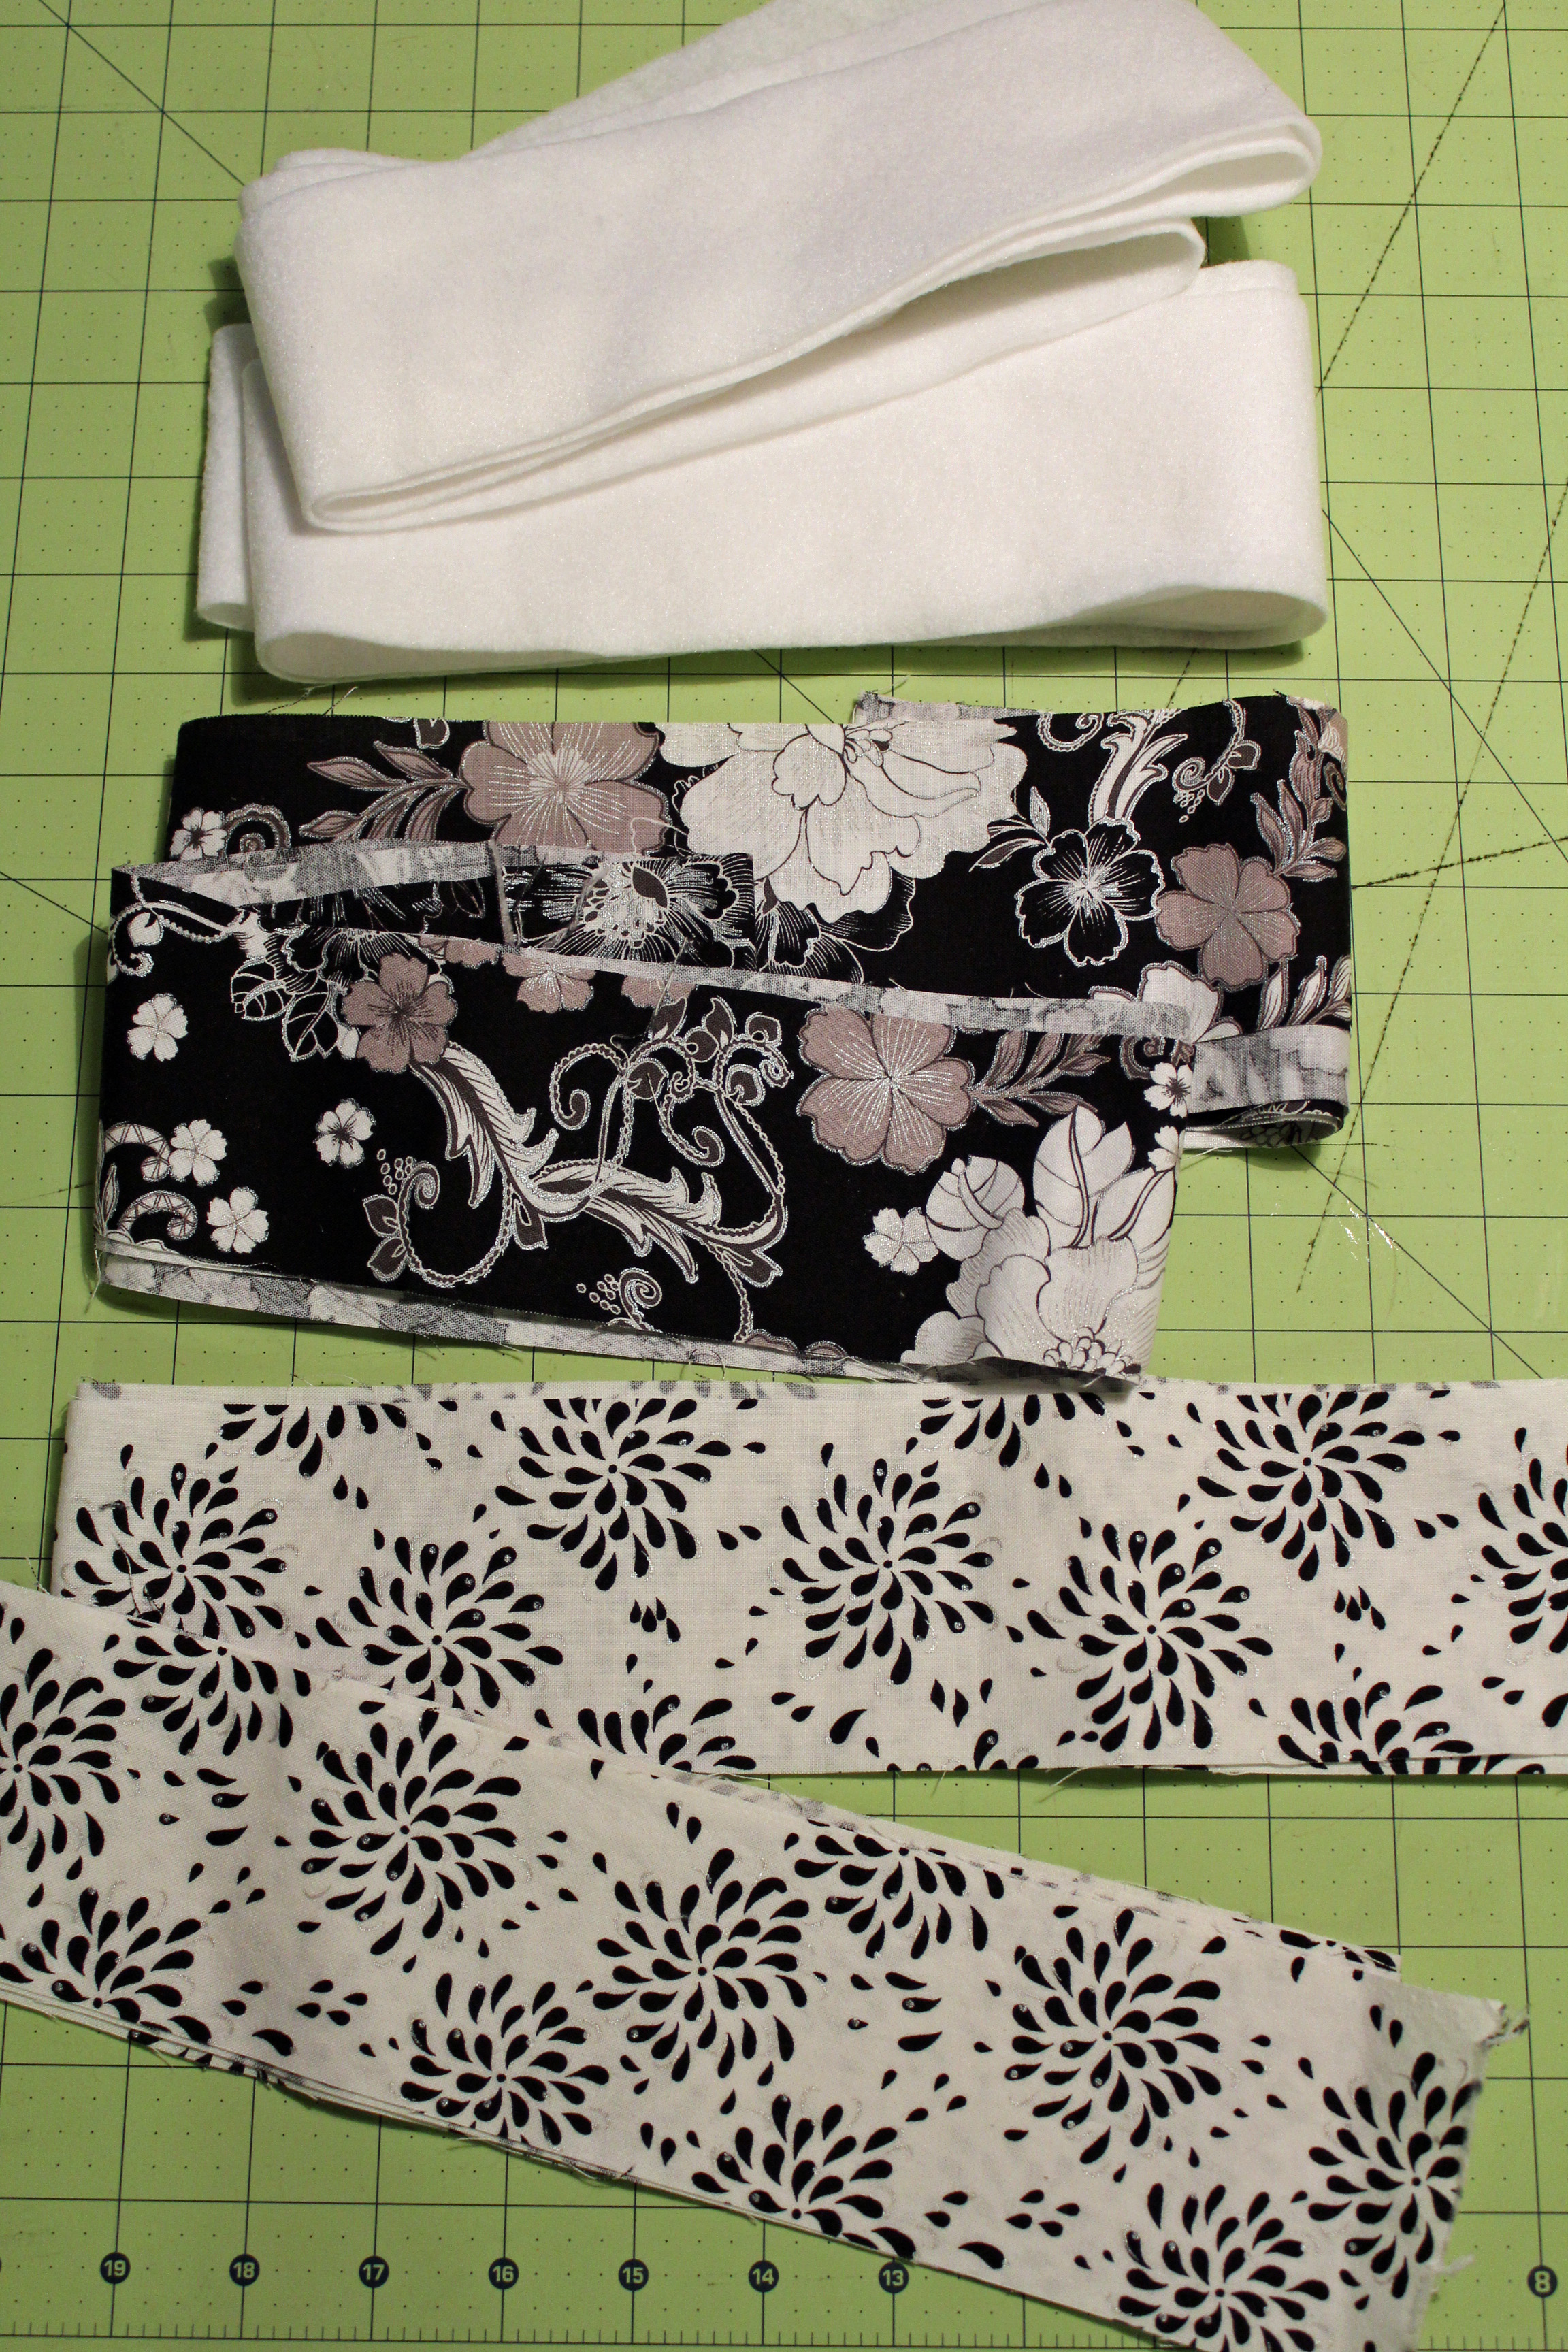
* Two pieces that measure 70" x 3" from each fabric and batting. (edges of bag)
* Two pieces that measure 13 1/2" x 22" from each fabric and batting. (pockets)
* One piece that measures 22" x 3" from each fabric and batting. (front of bag)
* Two pieces that measure 6" x 3" from each fabric and batting. (hanger flap)
* Two exterior pieces of fabric that measure 7" x 1 1/2" (bias tape over hanger flap)
* Two pieces from exterior fabric that measure 22" x 1 1/2". (zipper bias tape)
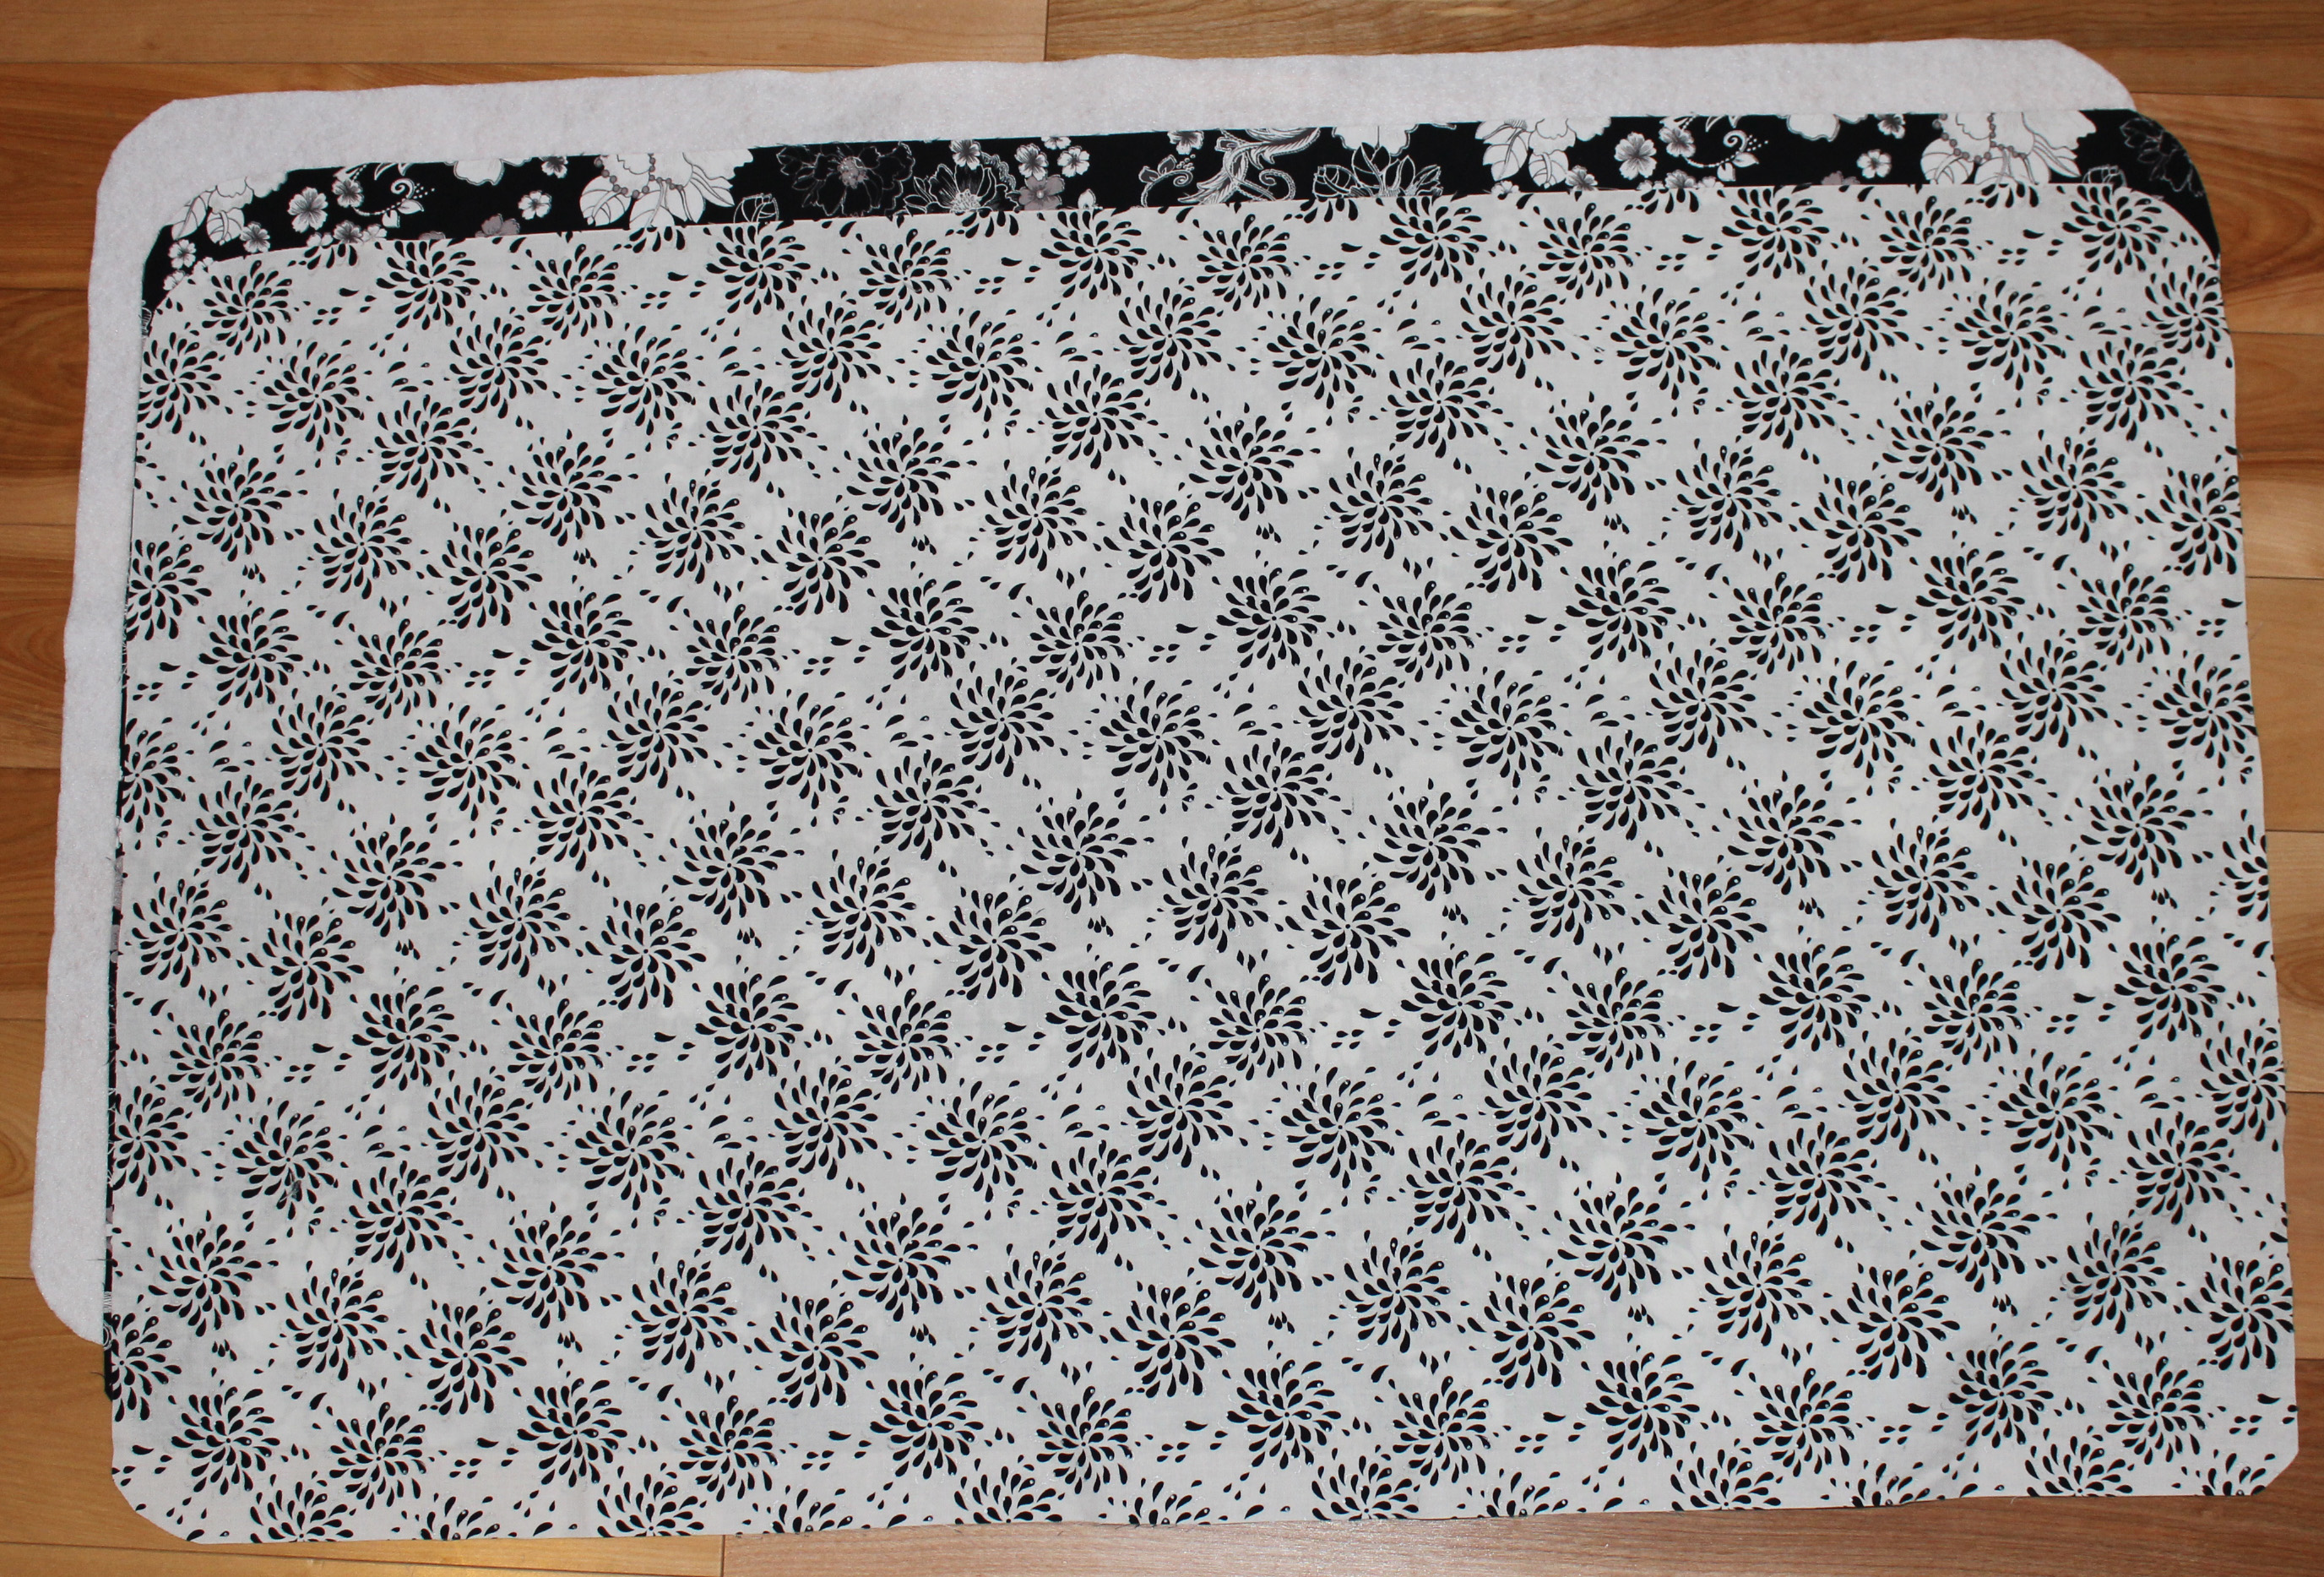
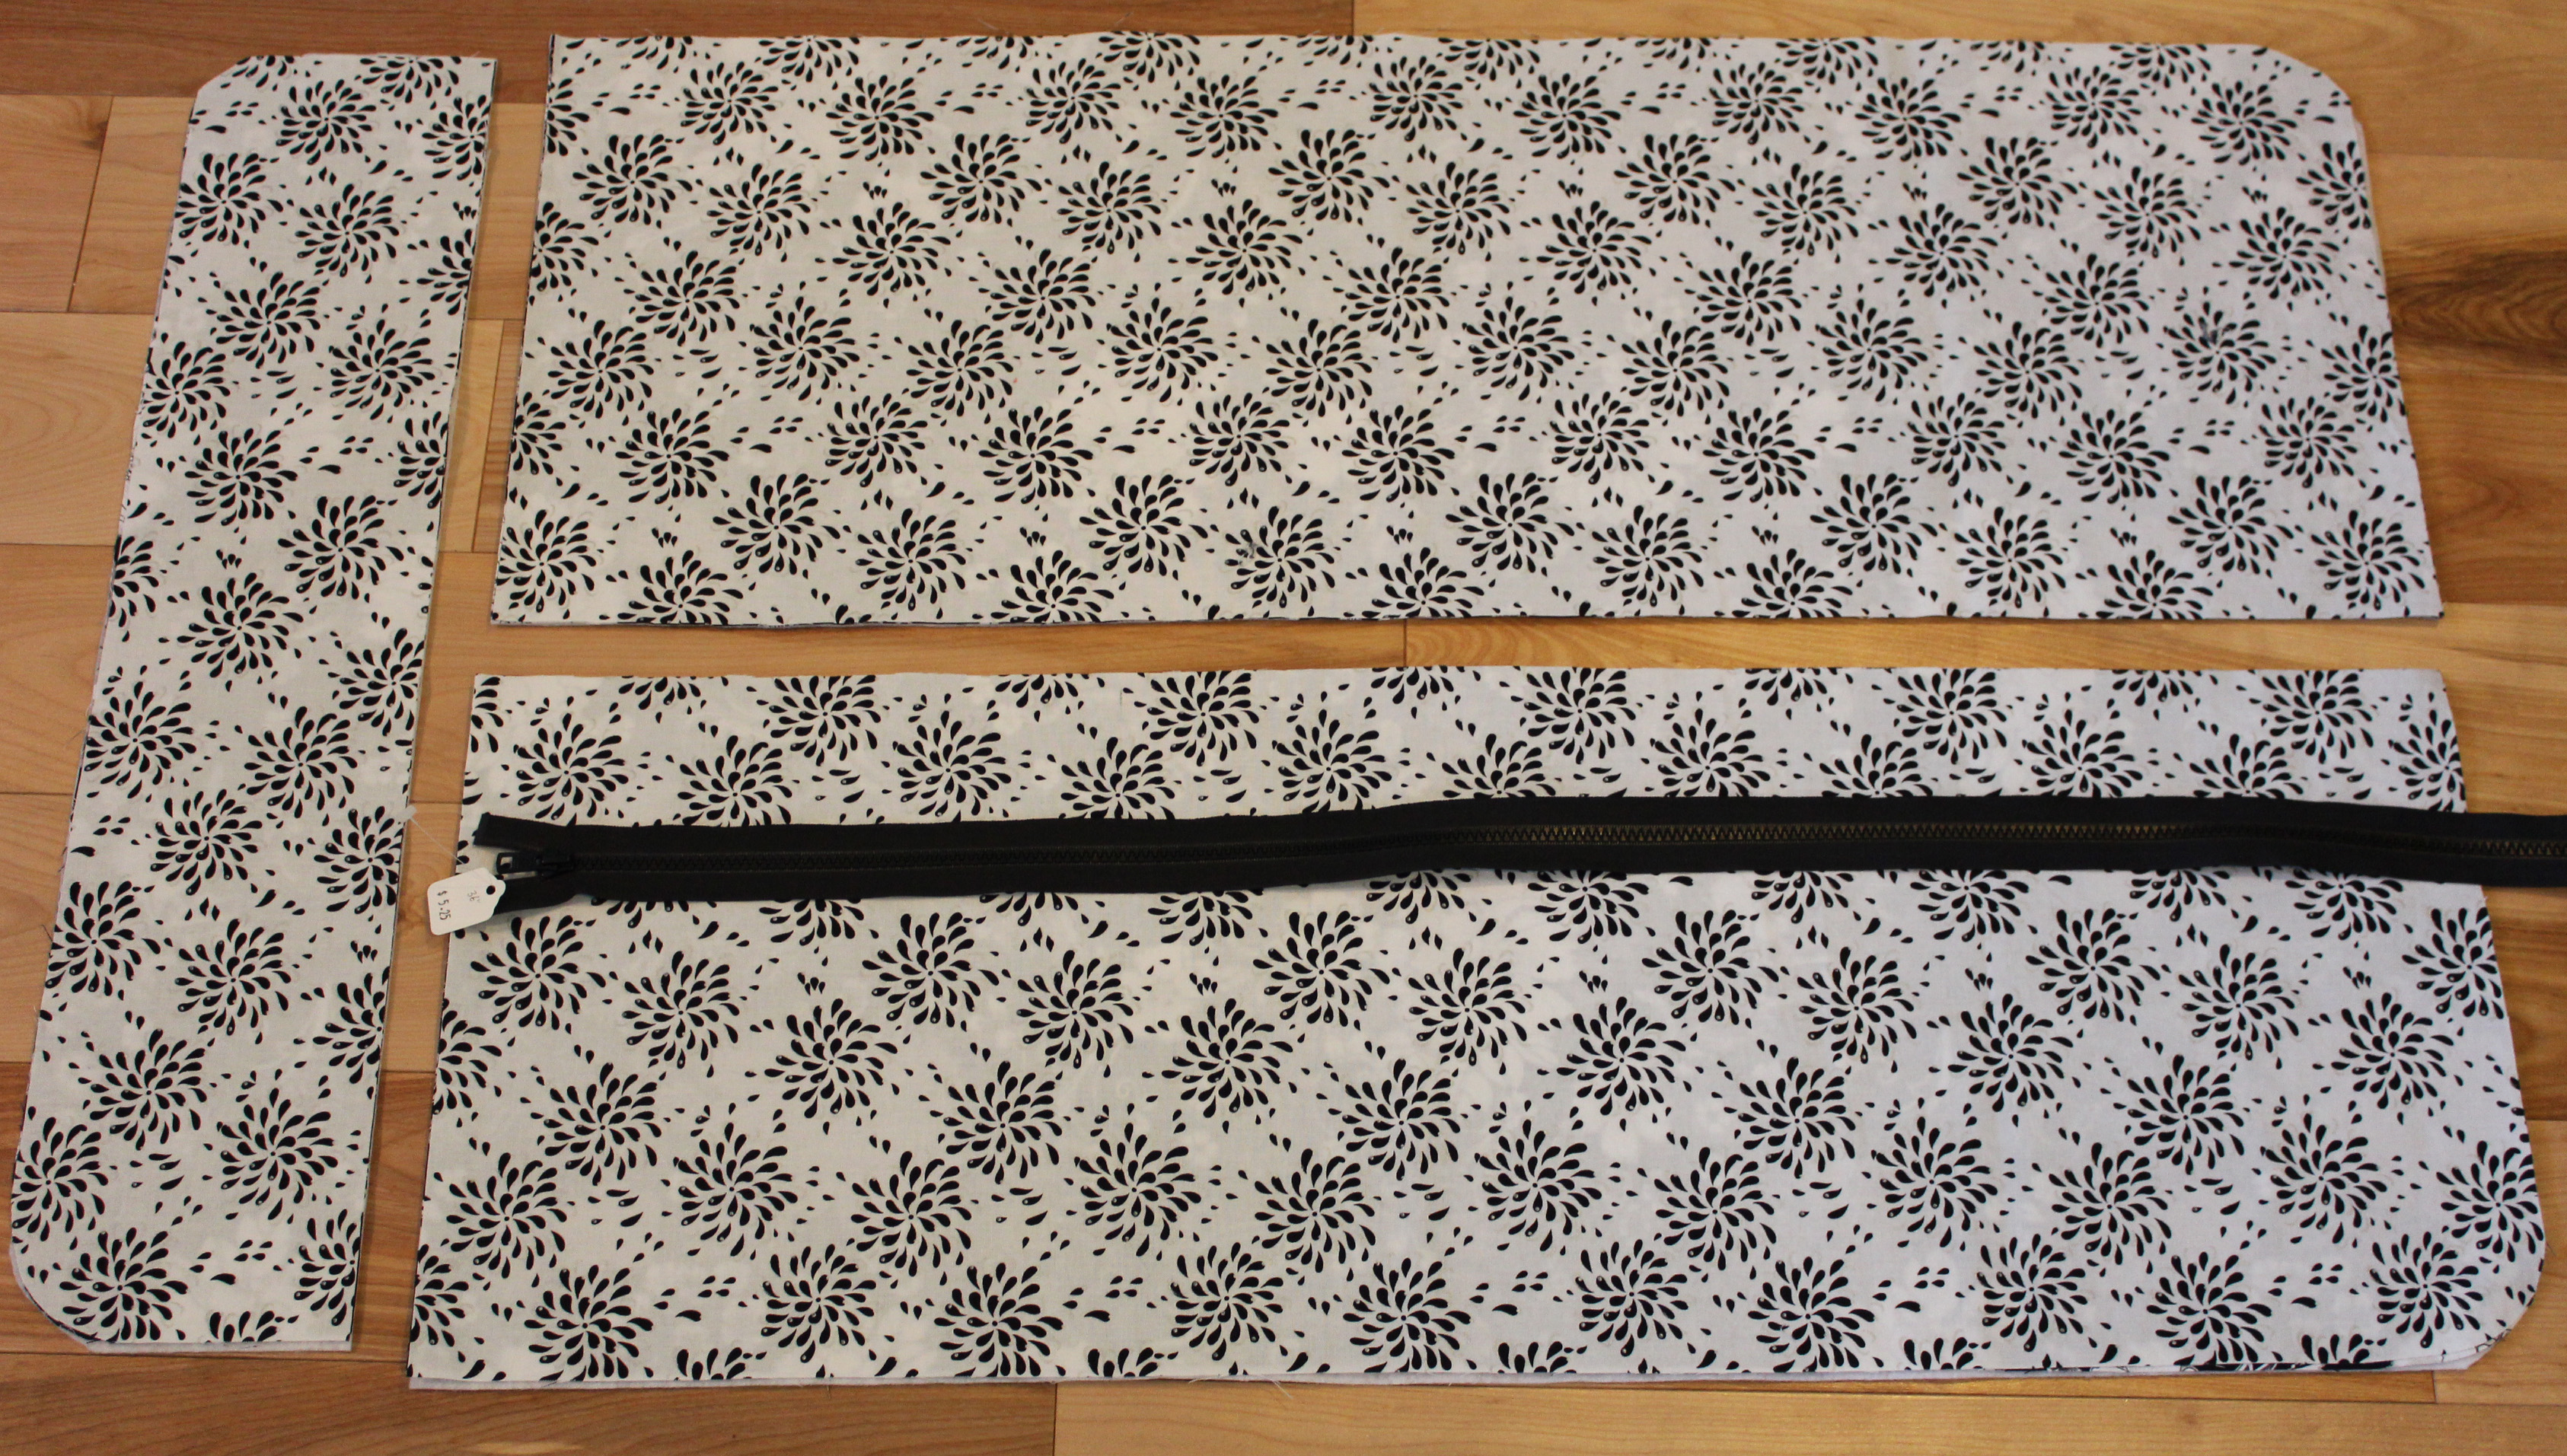
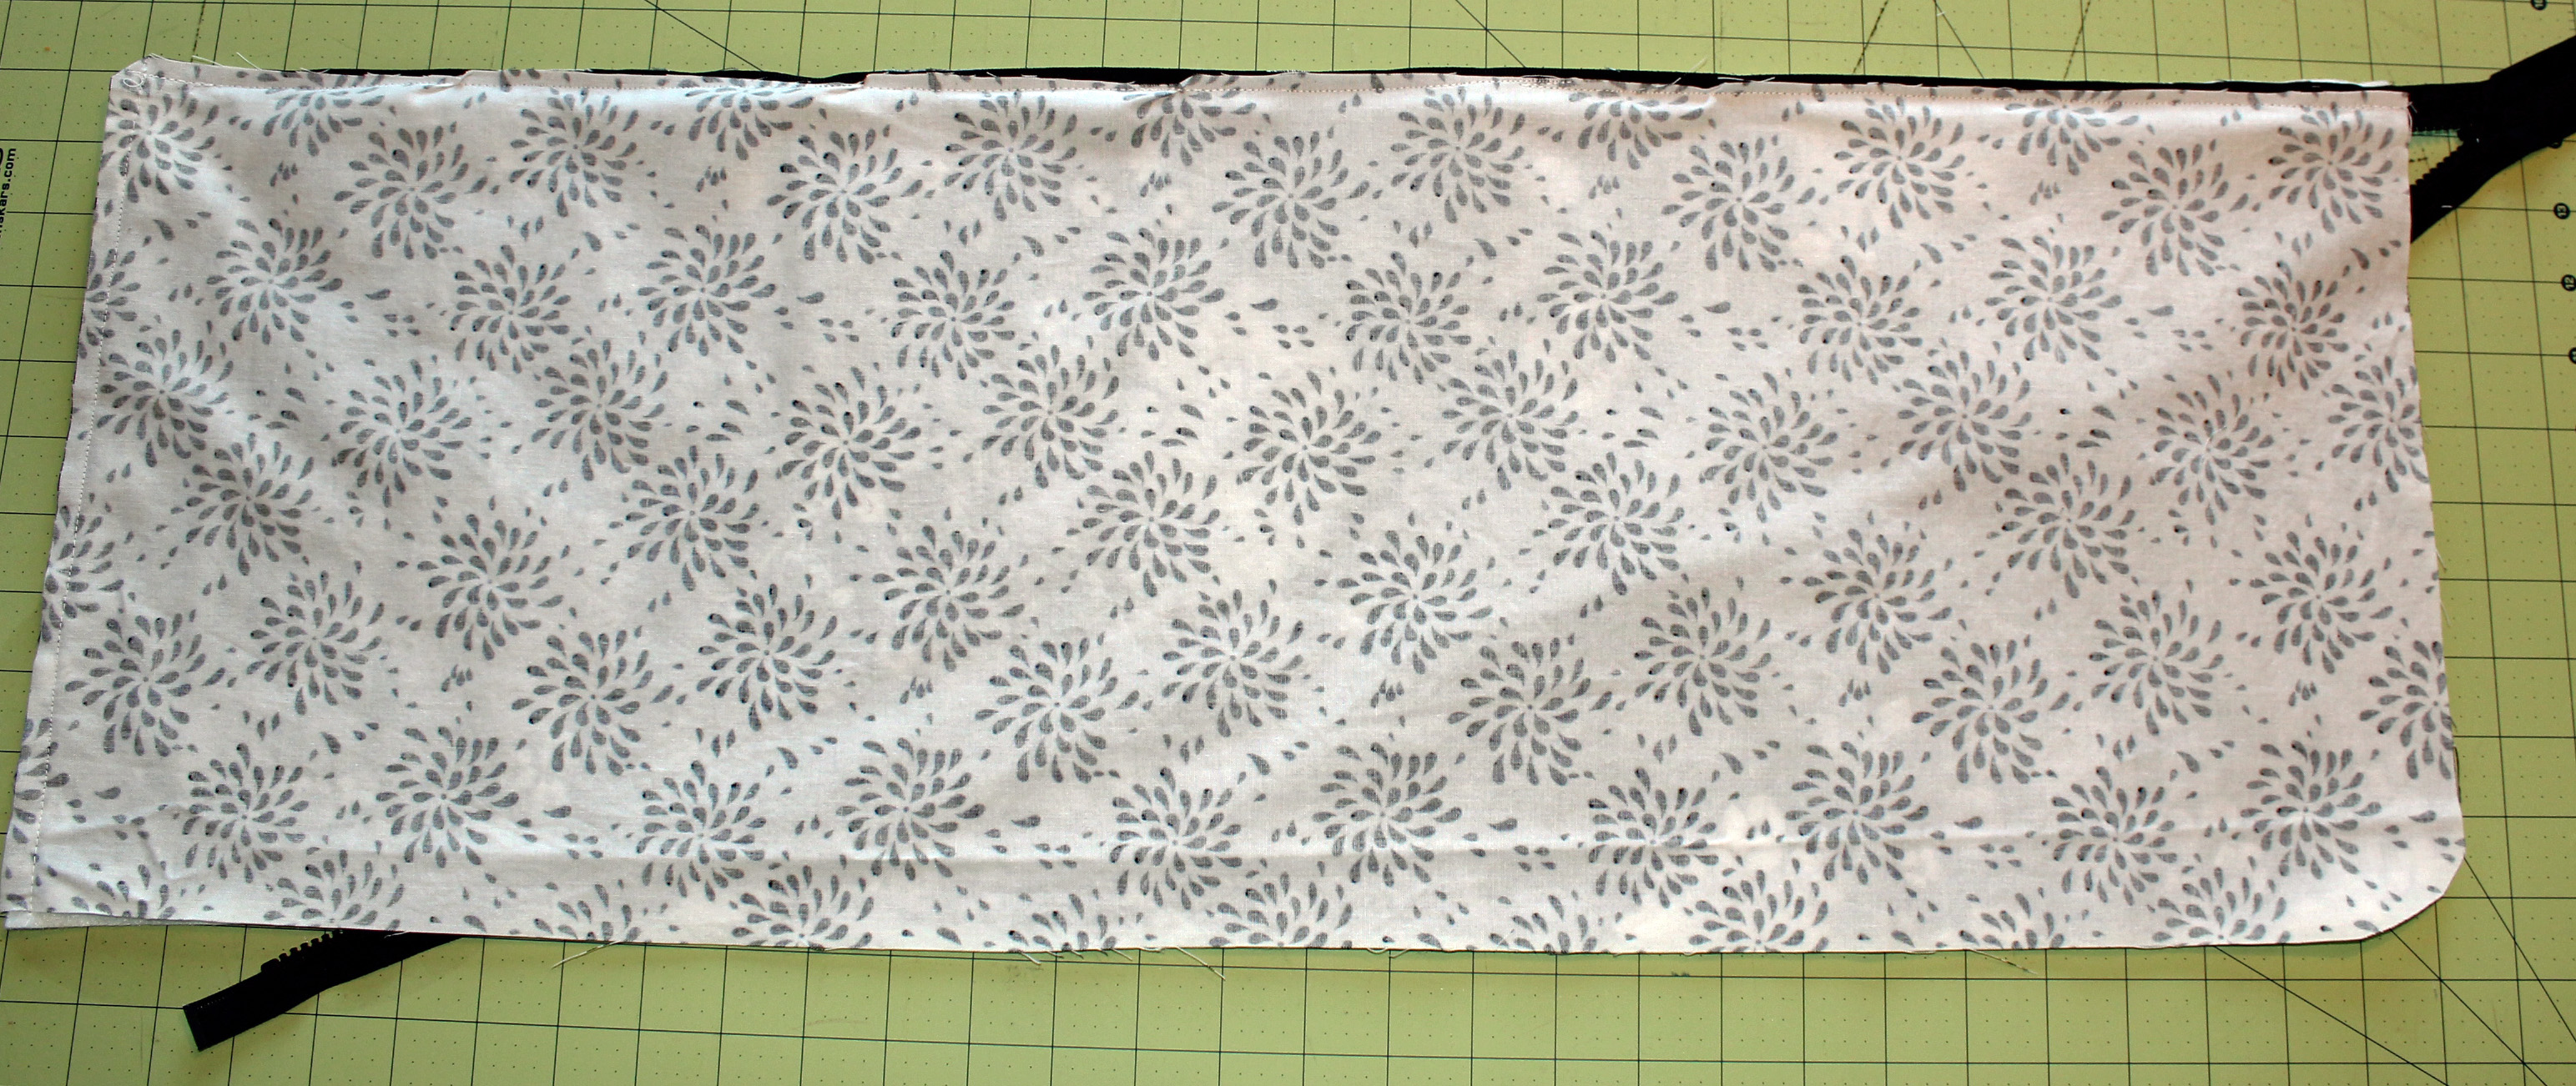
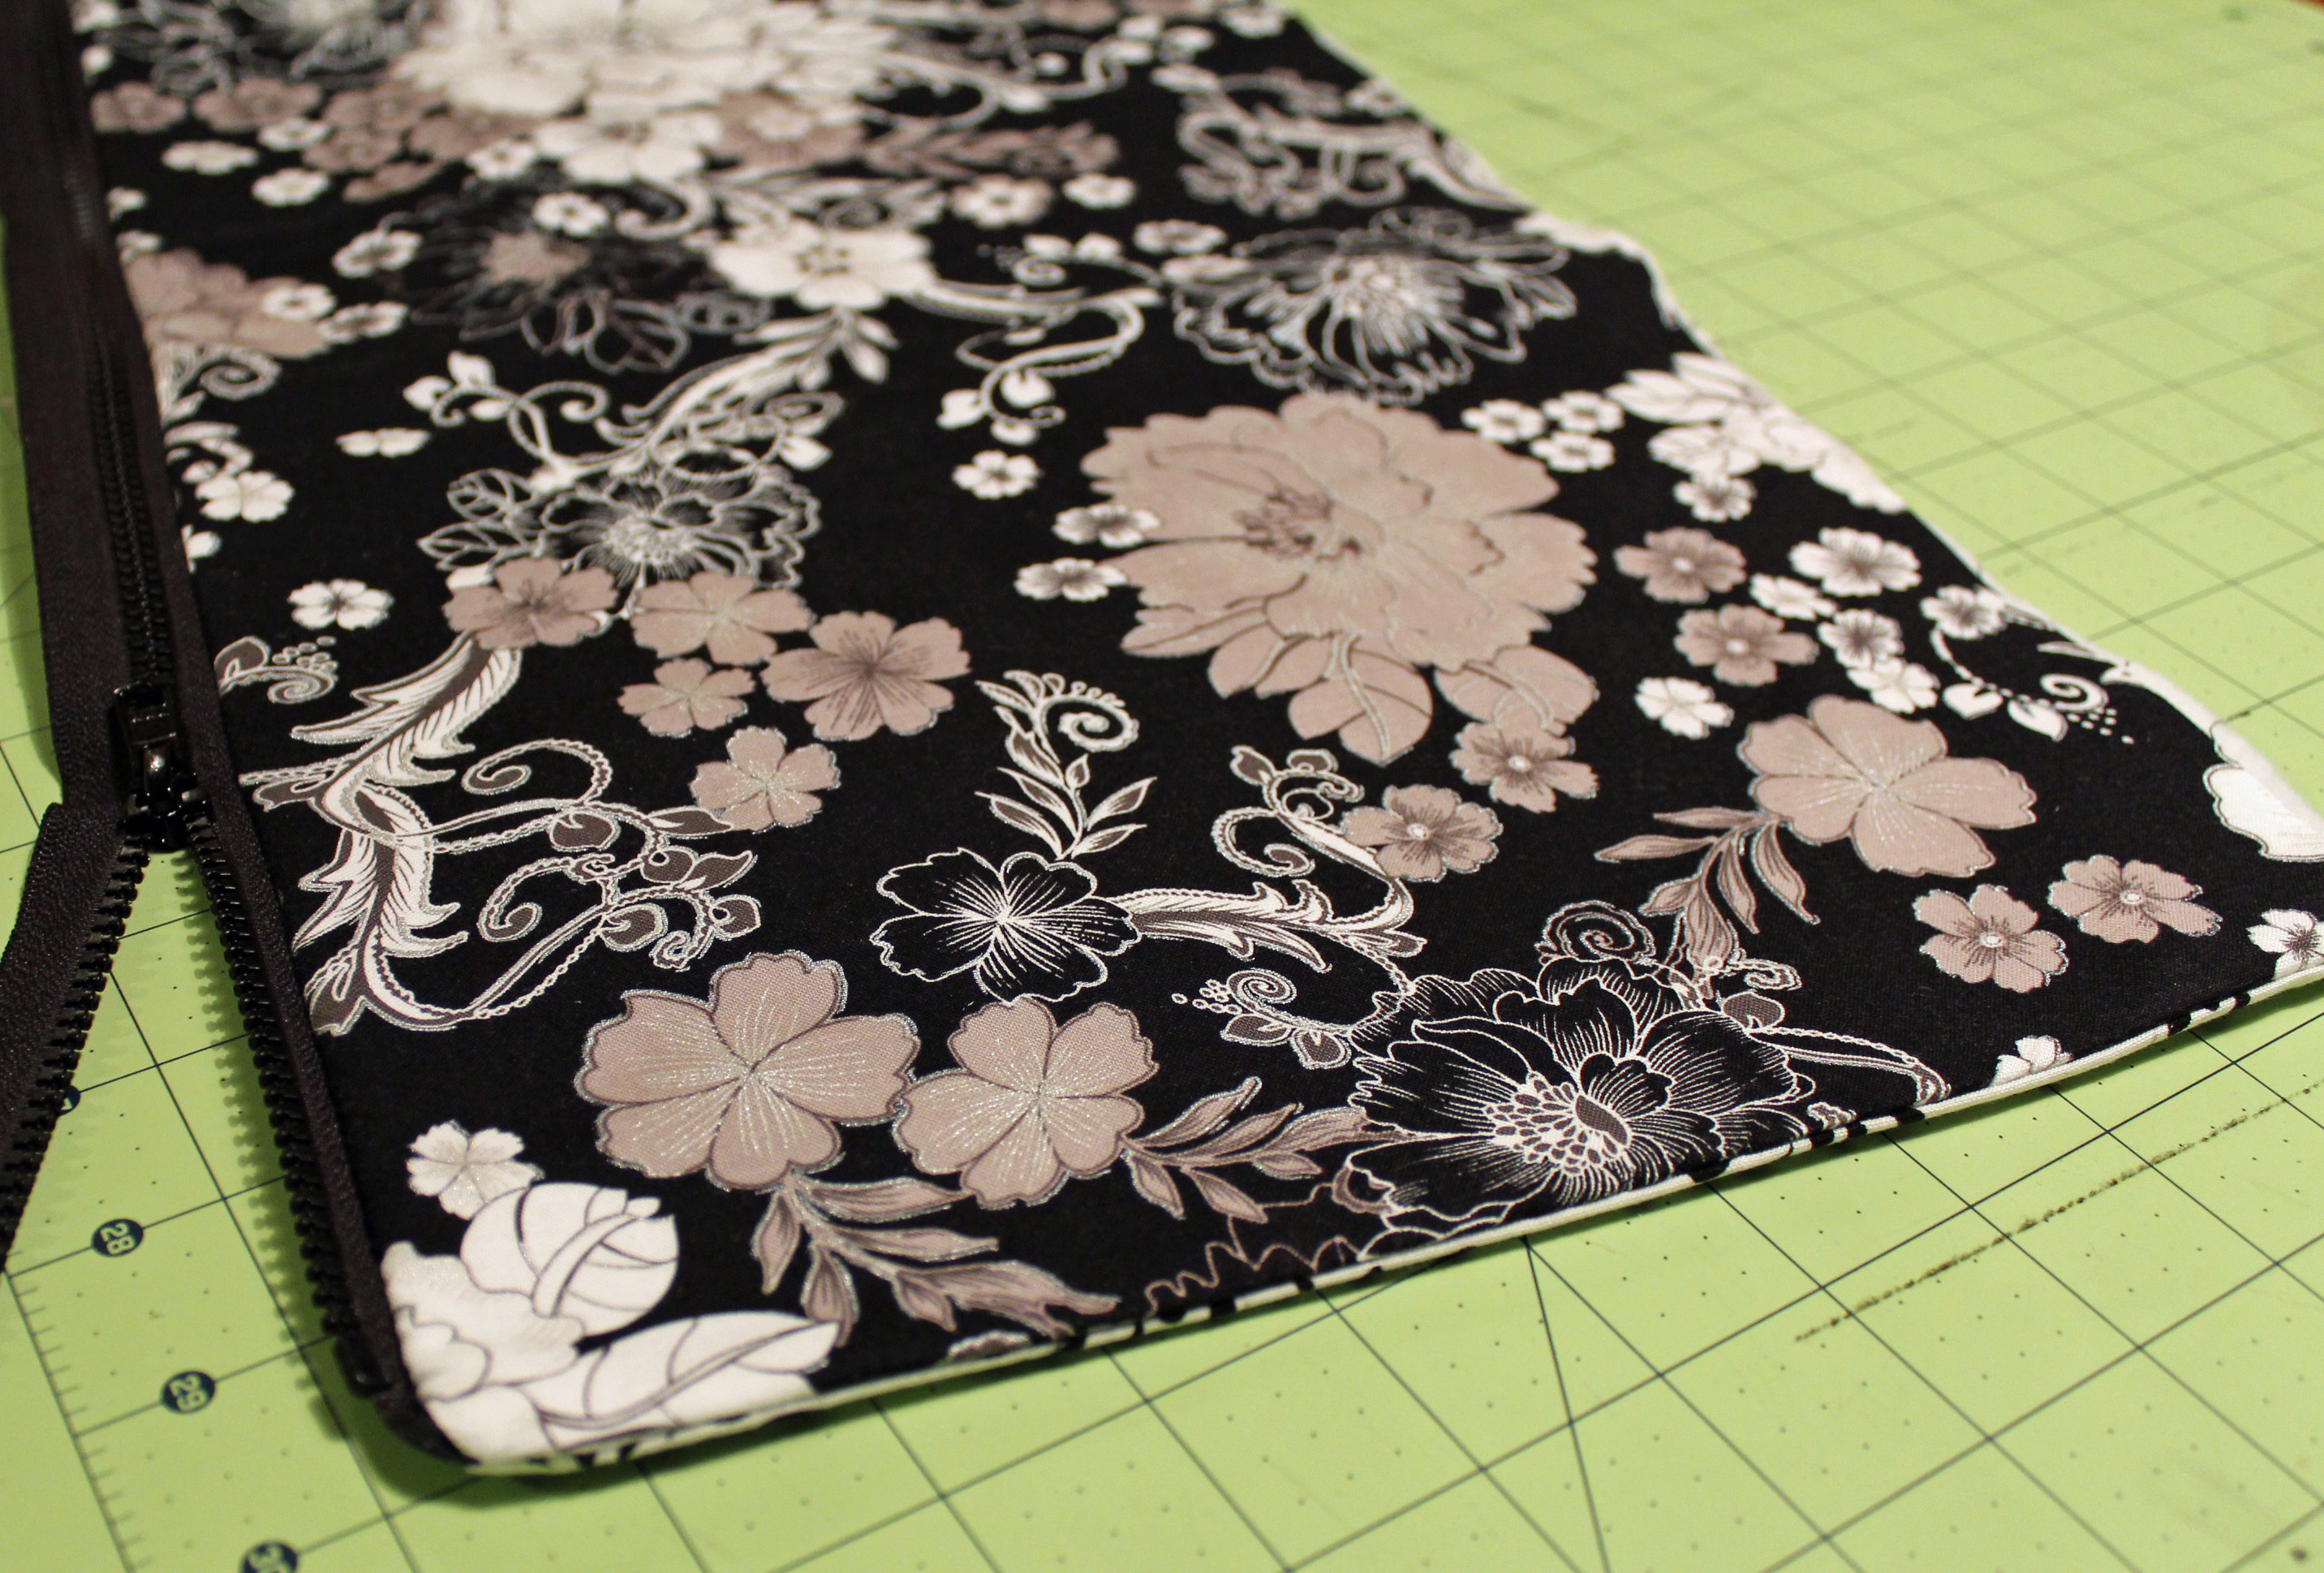
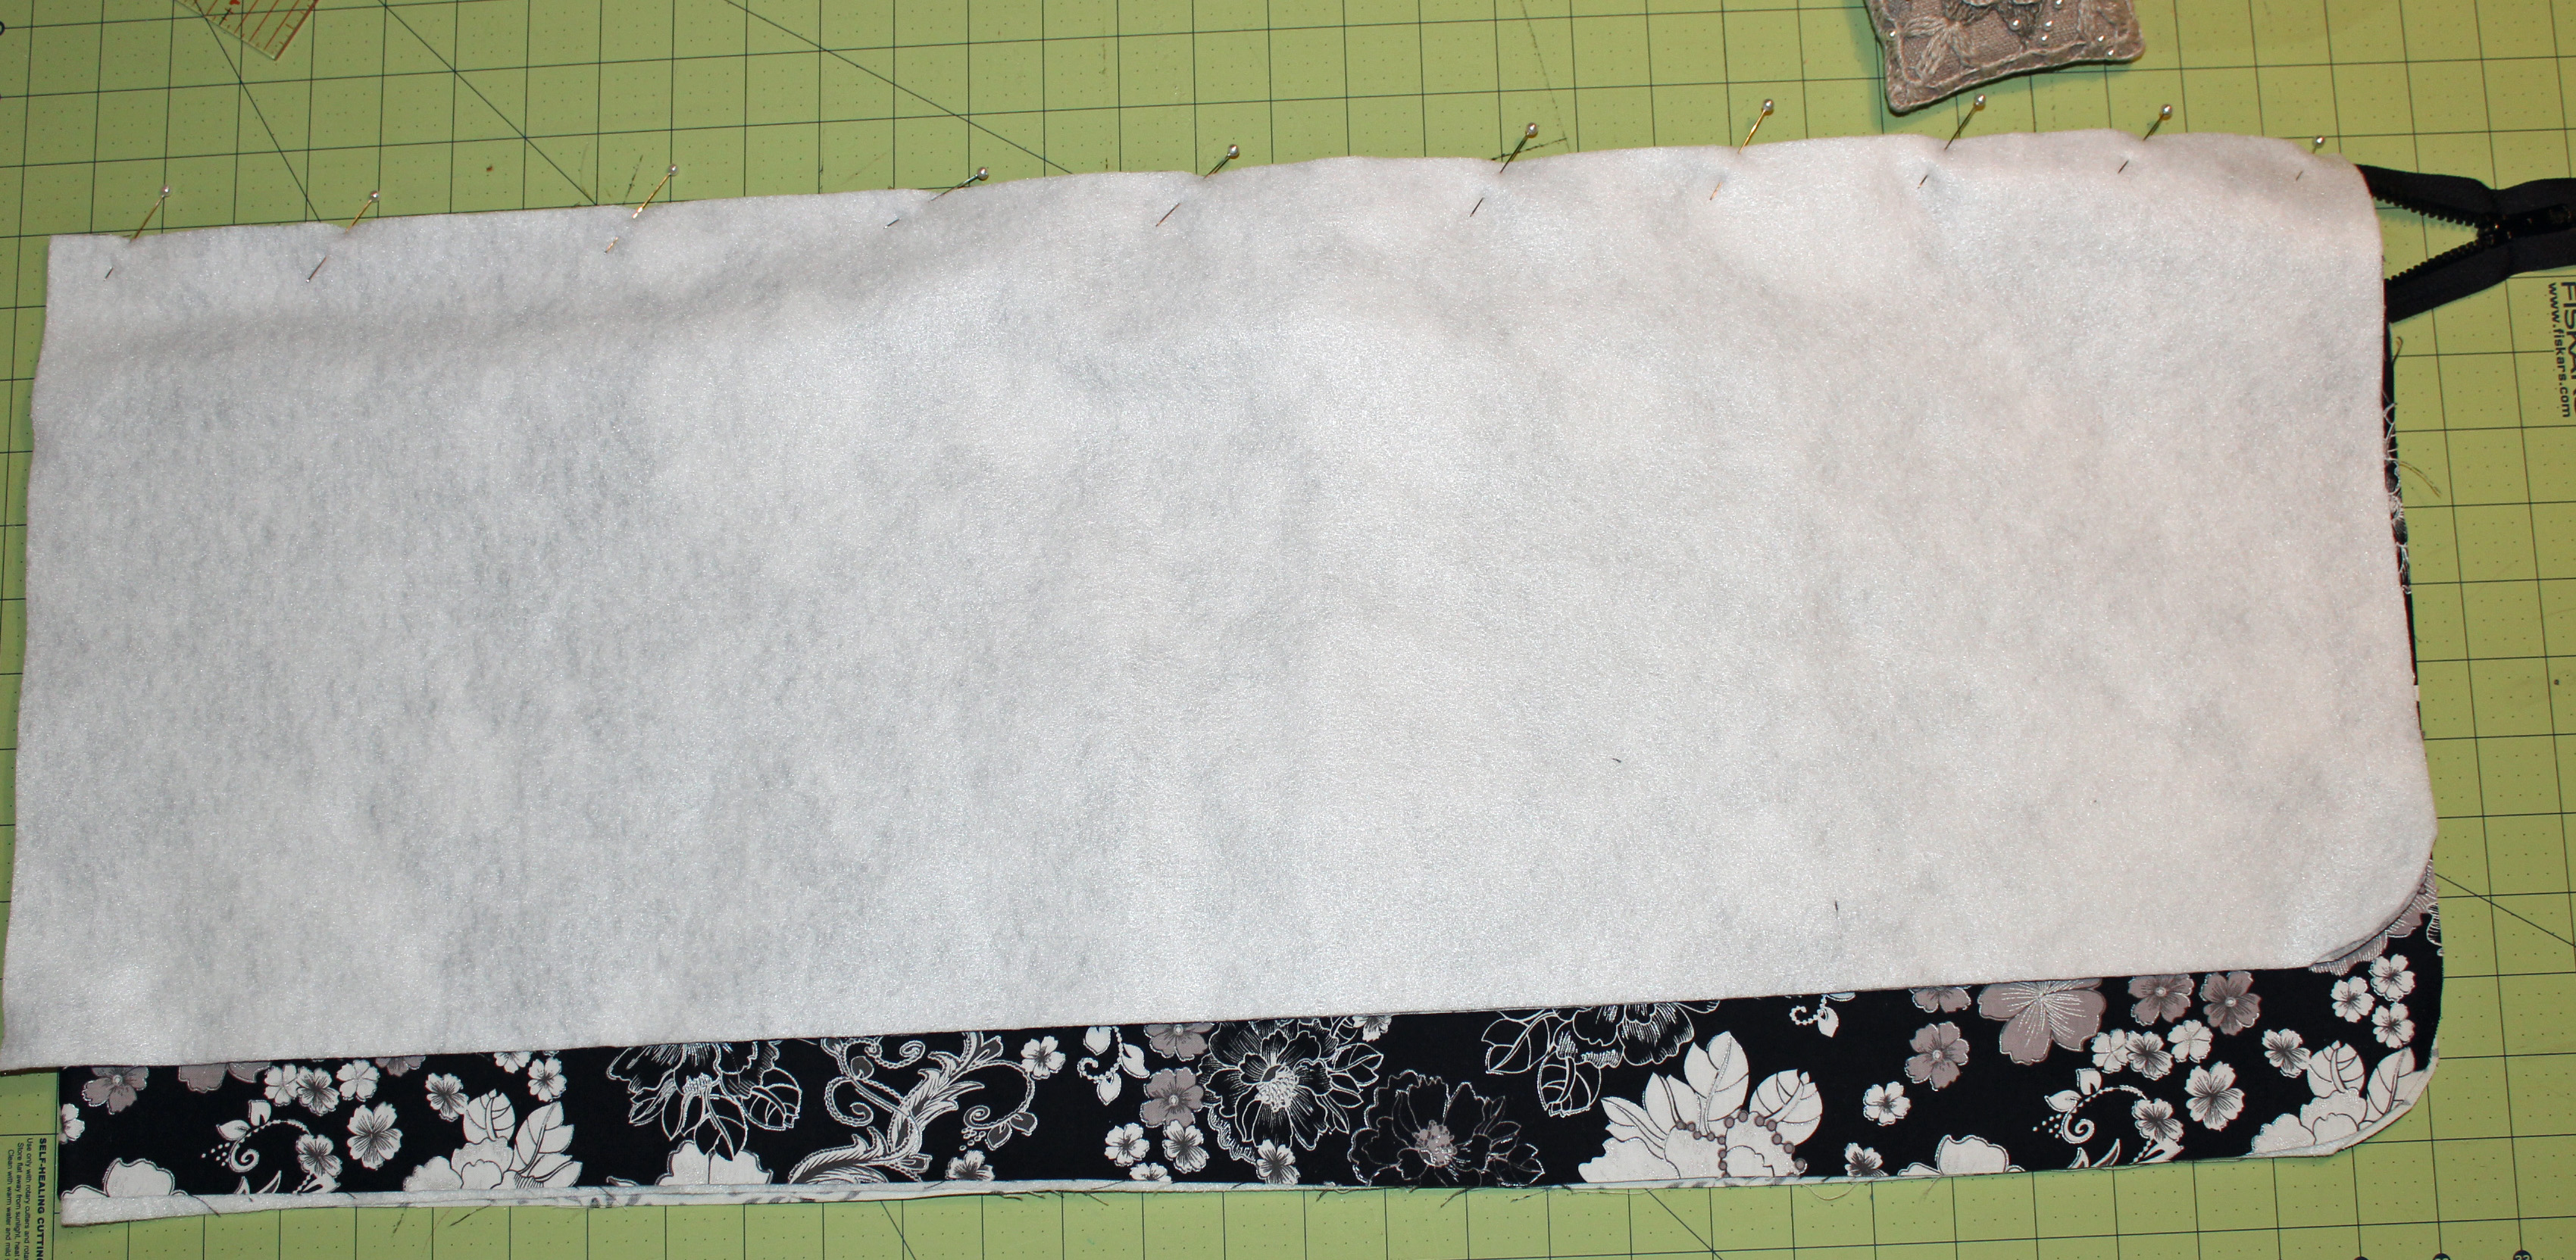
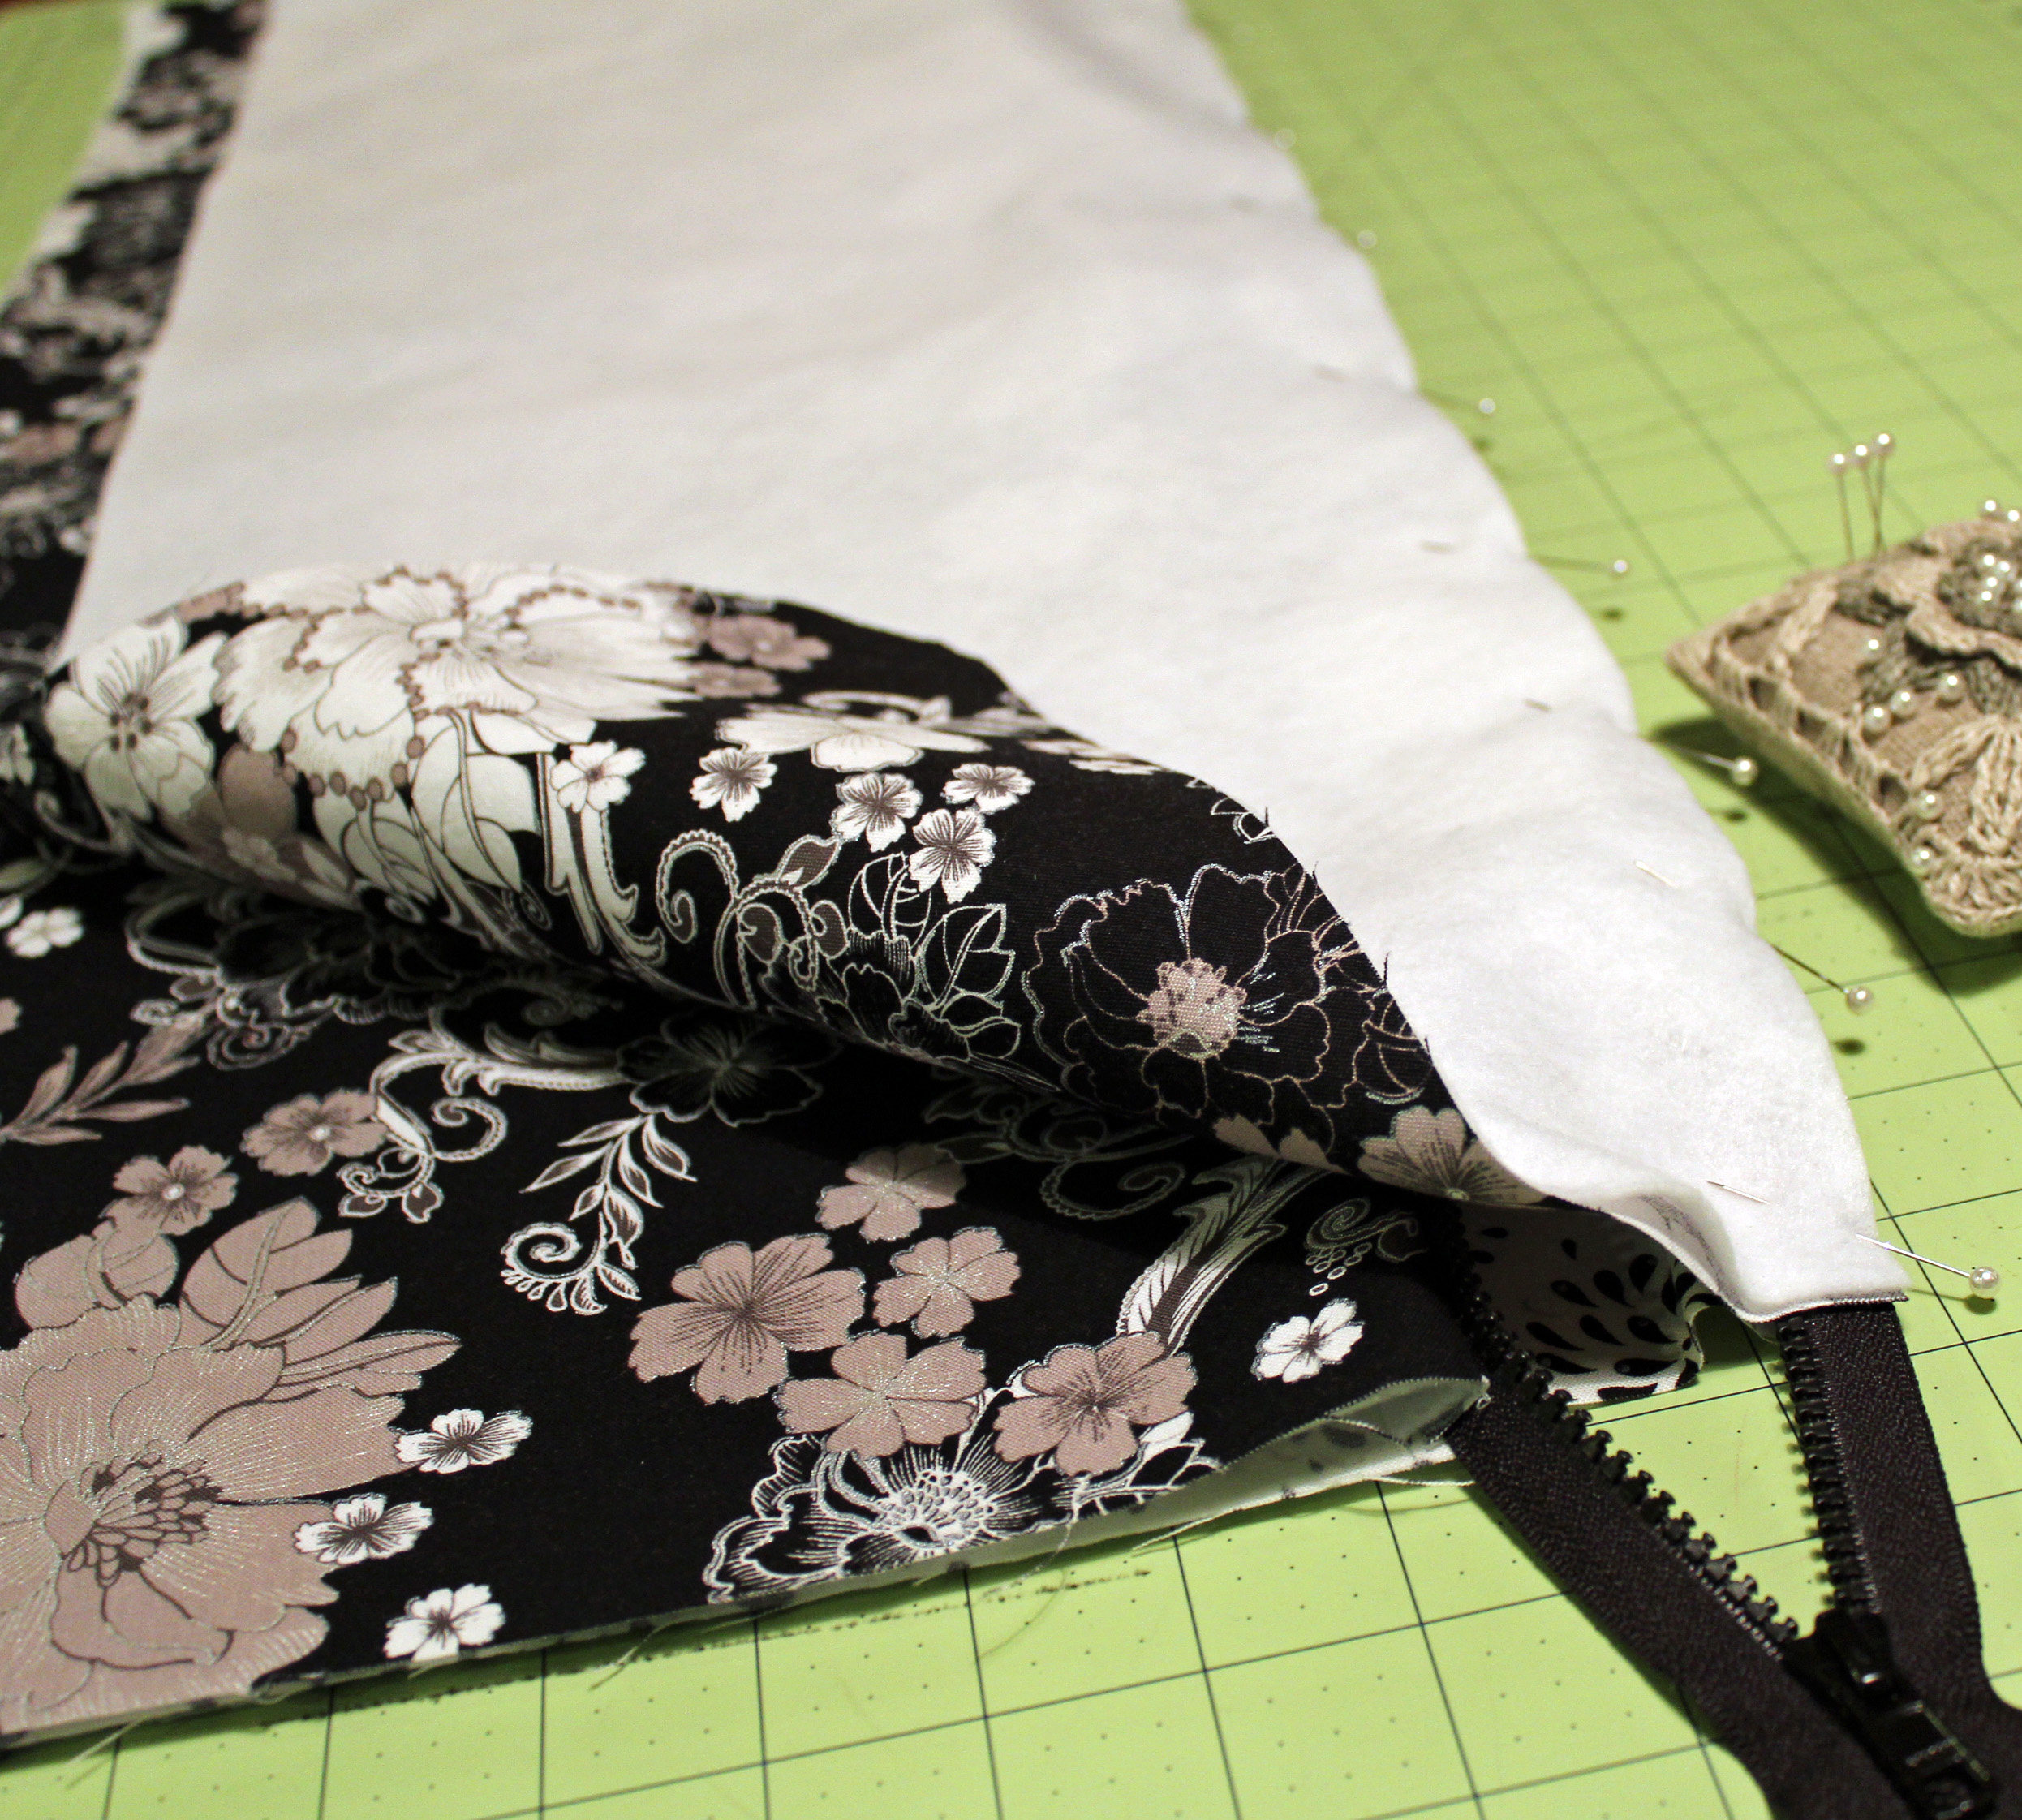
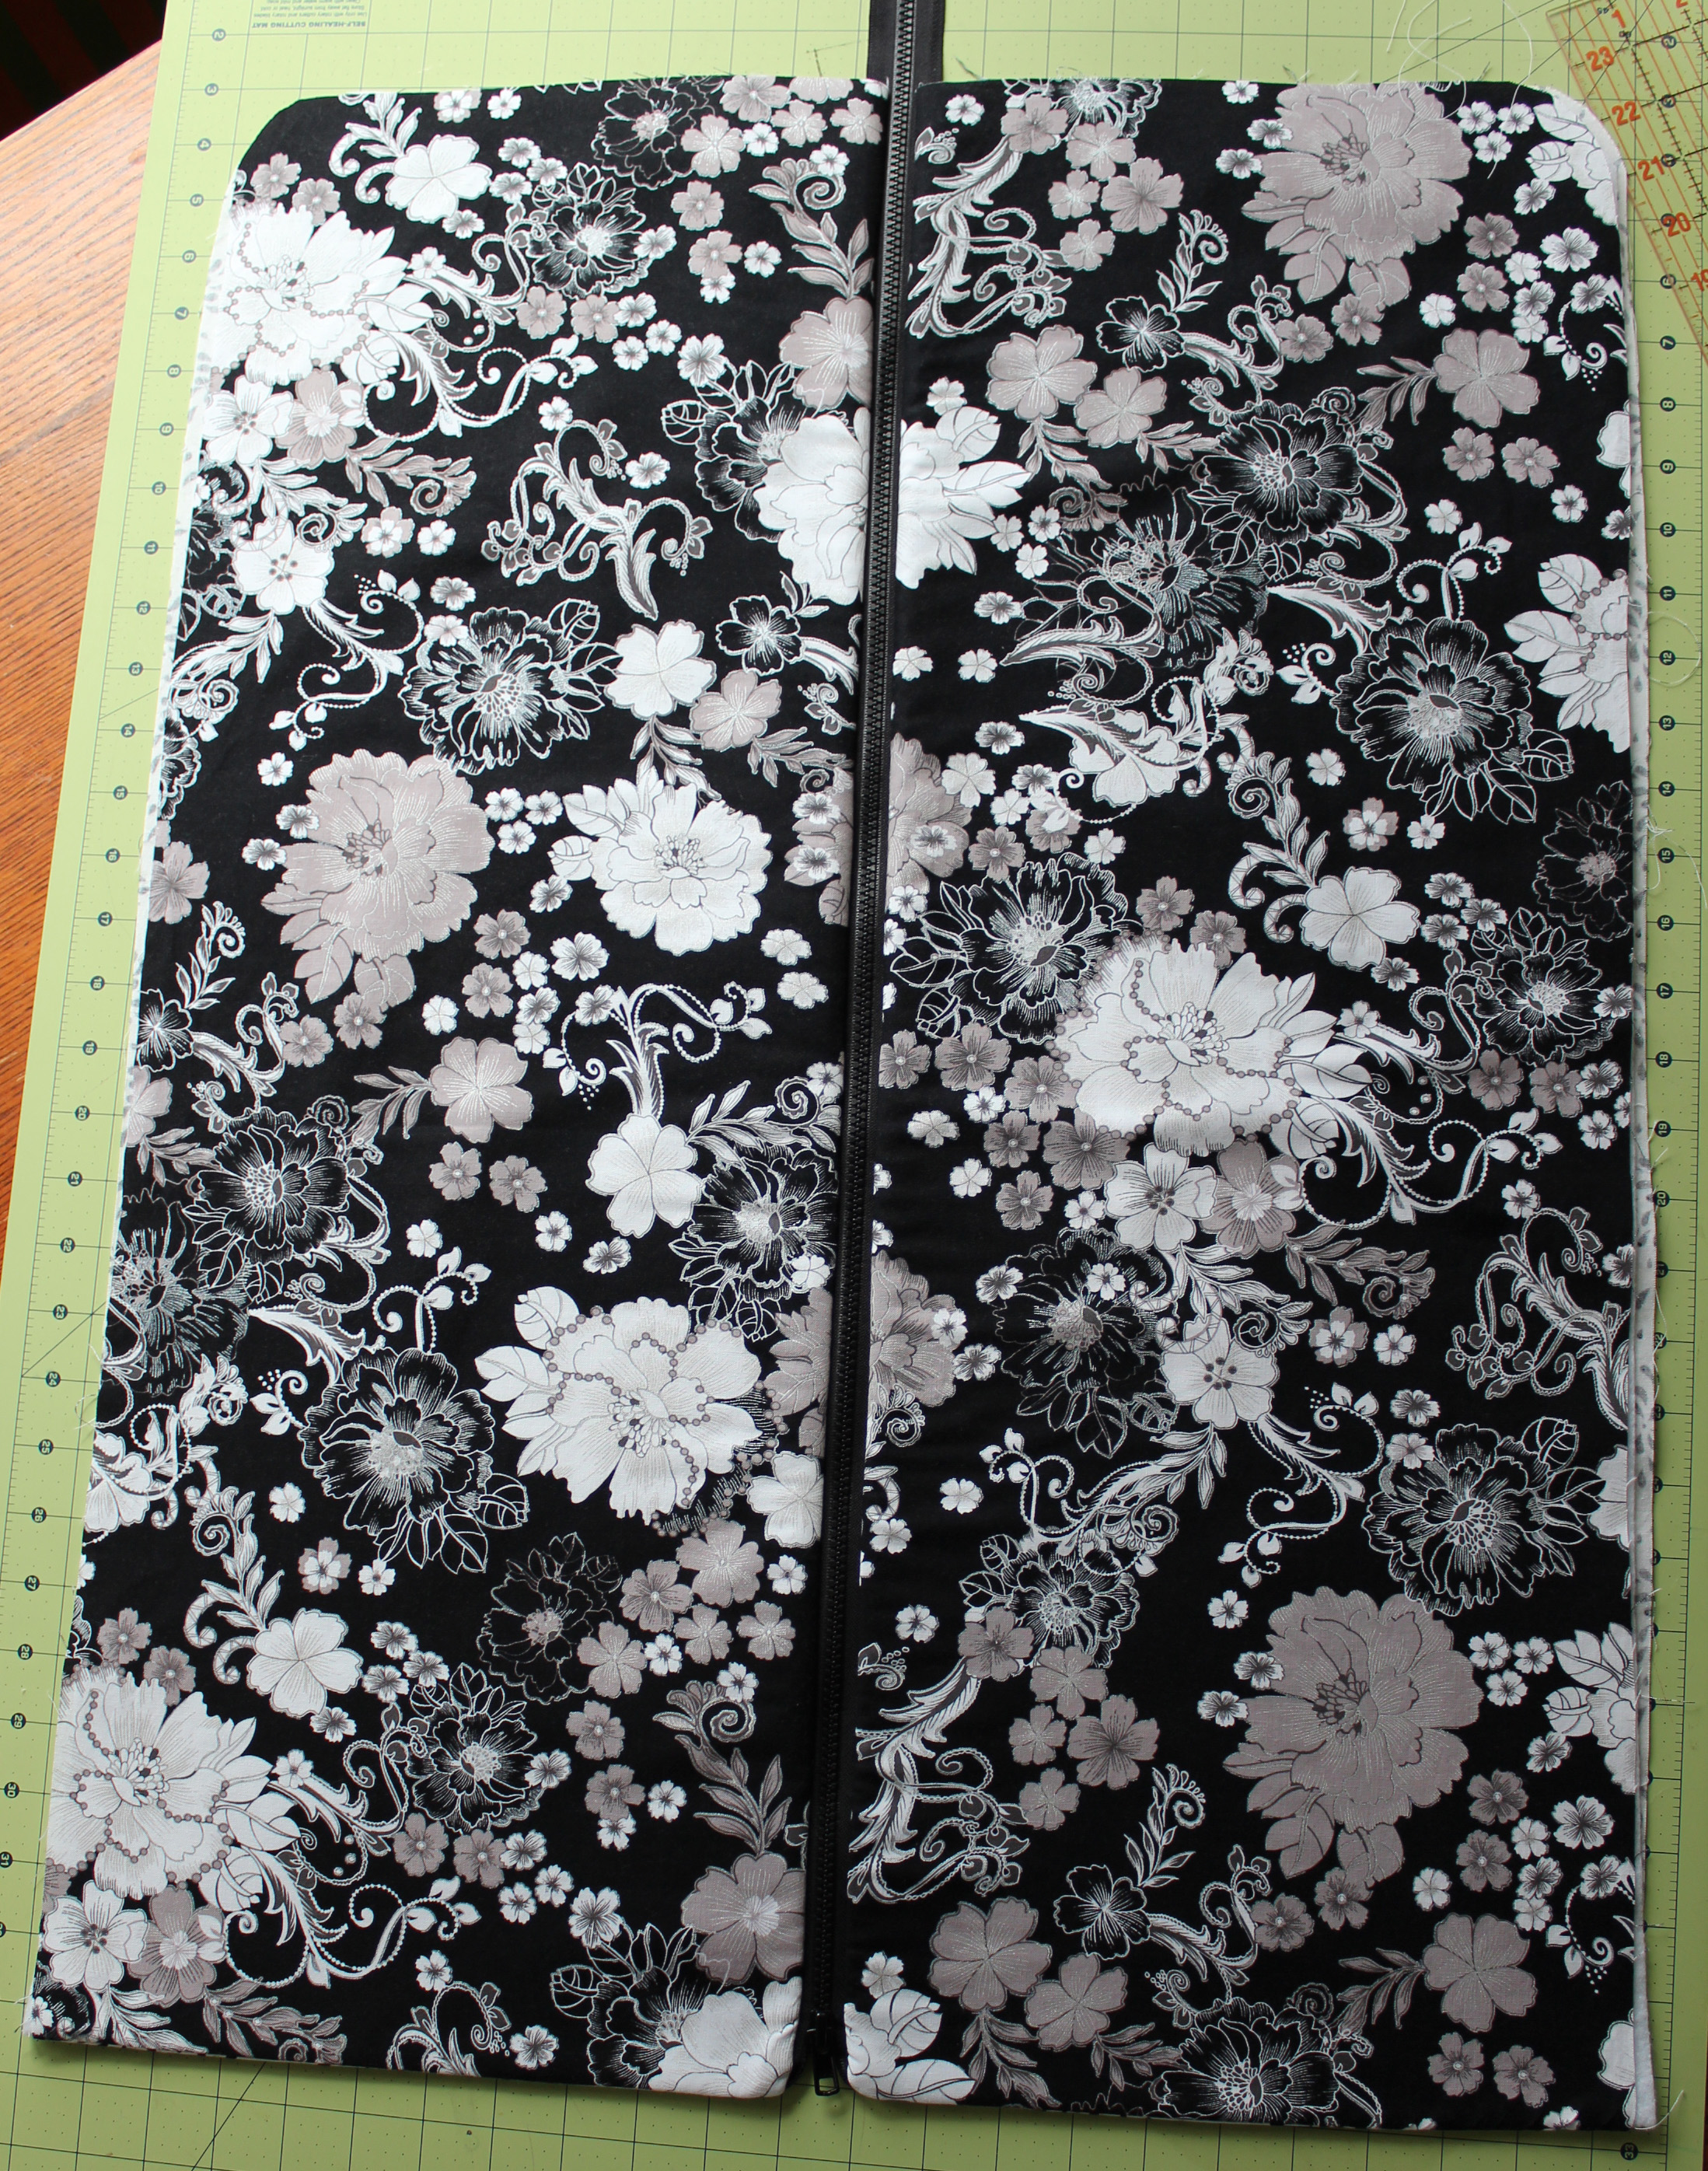
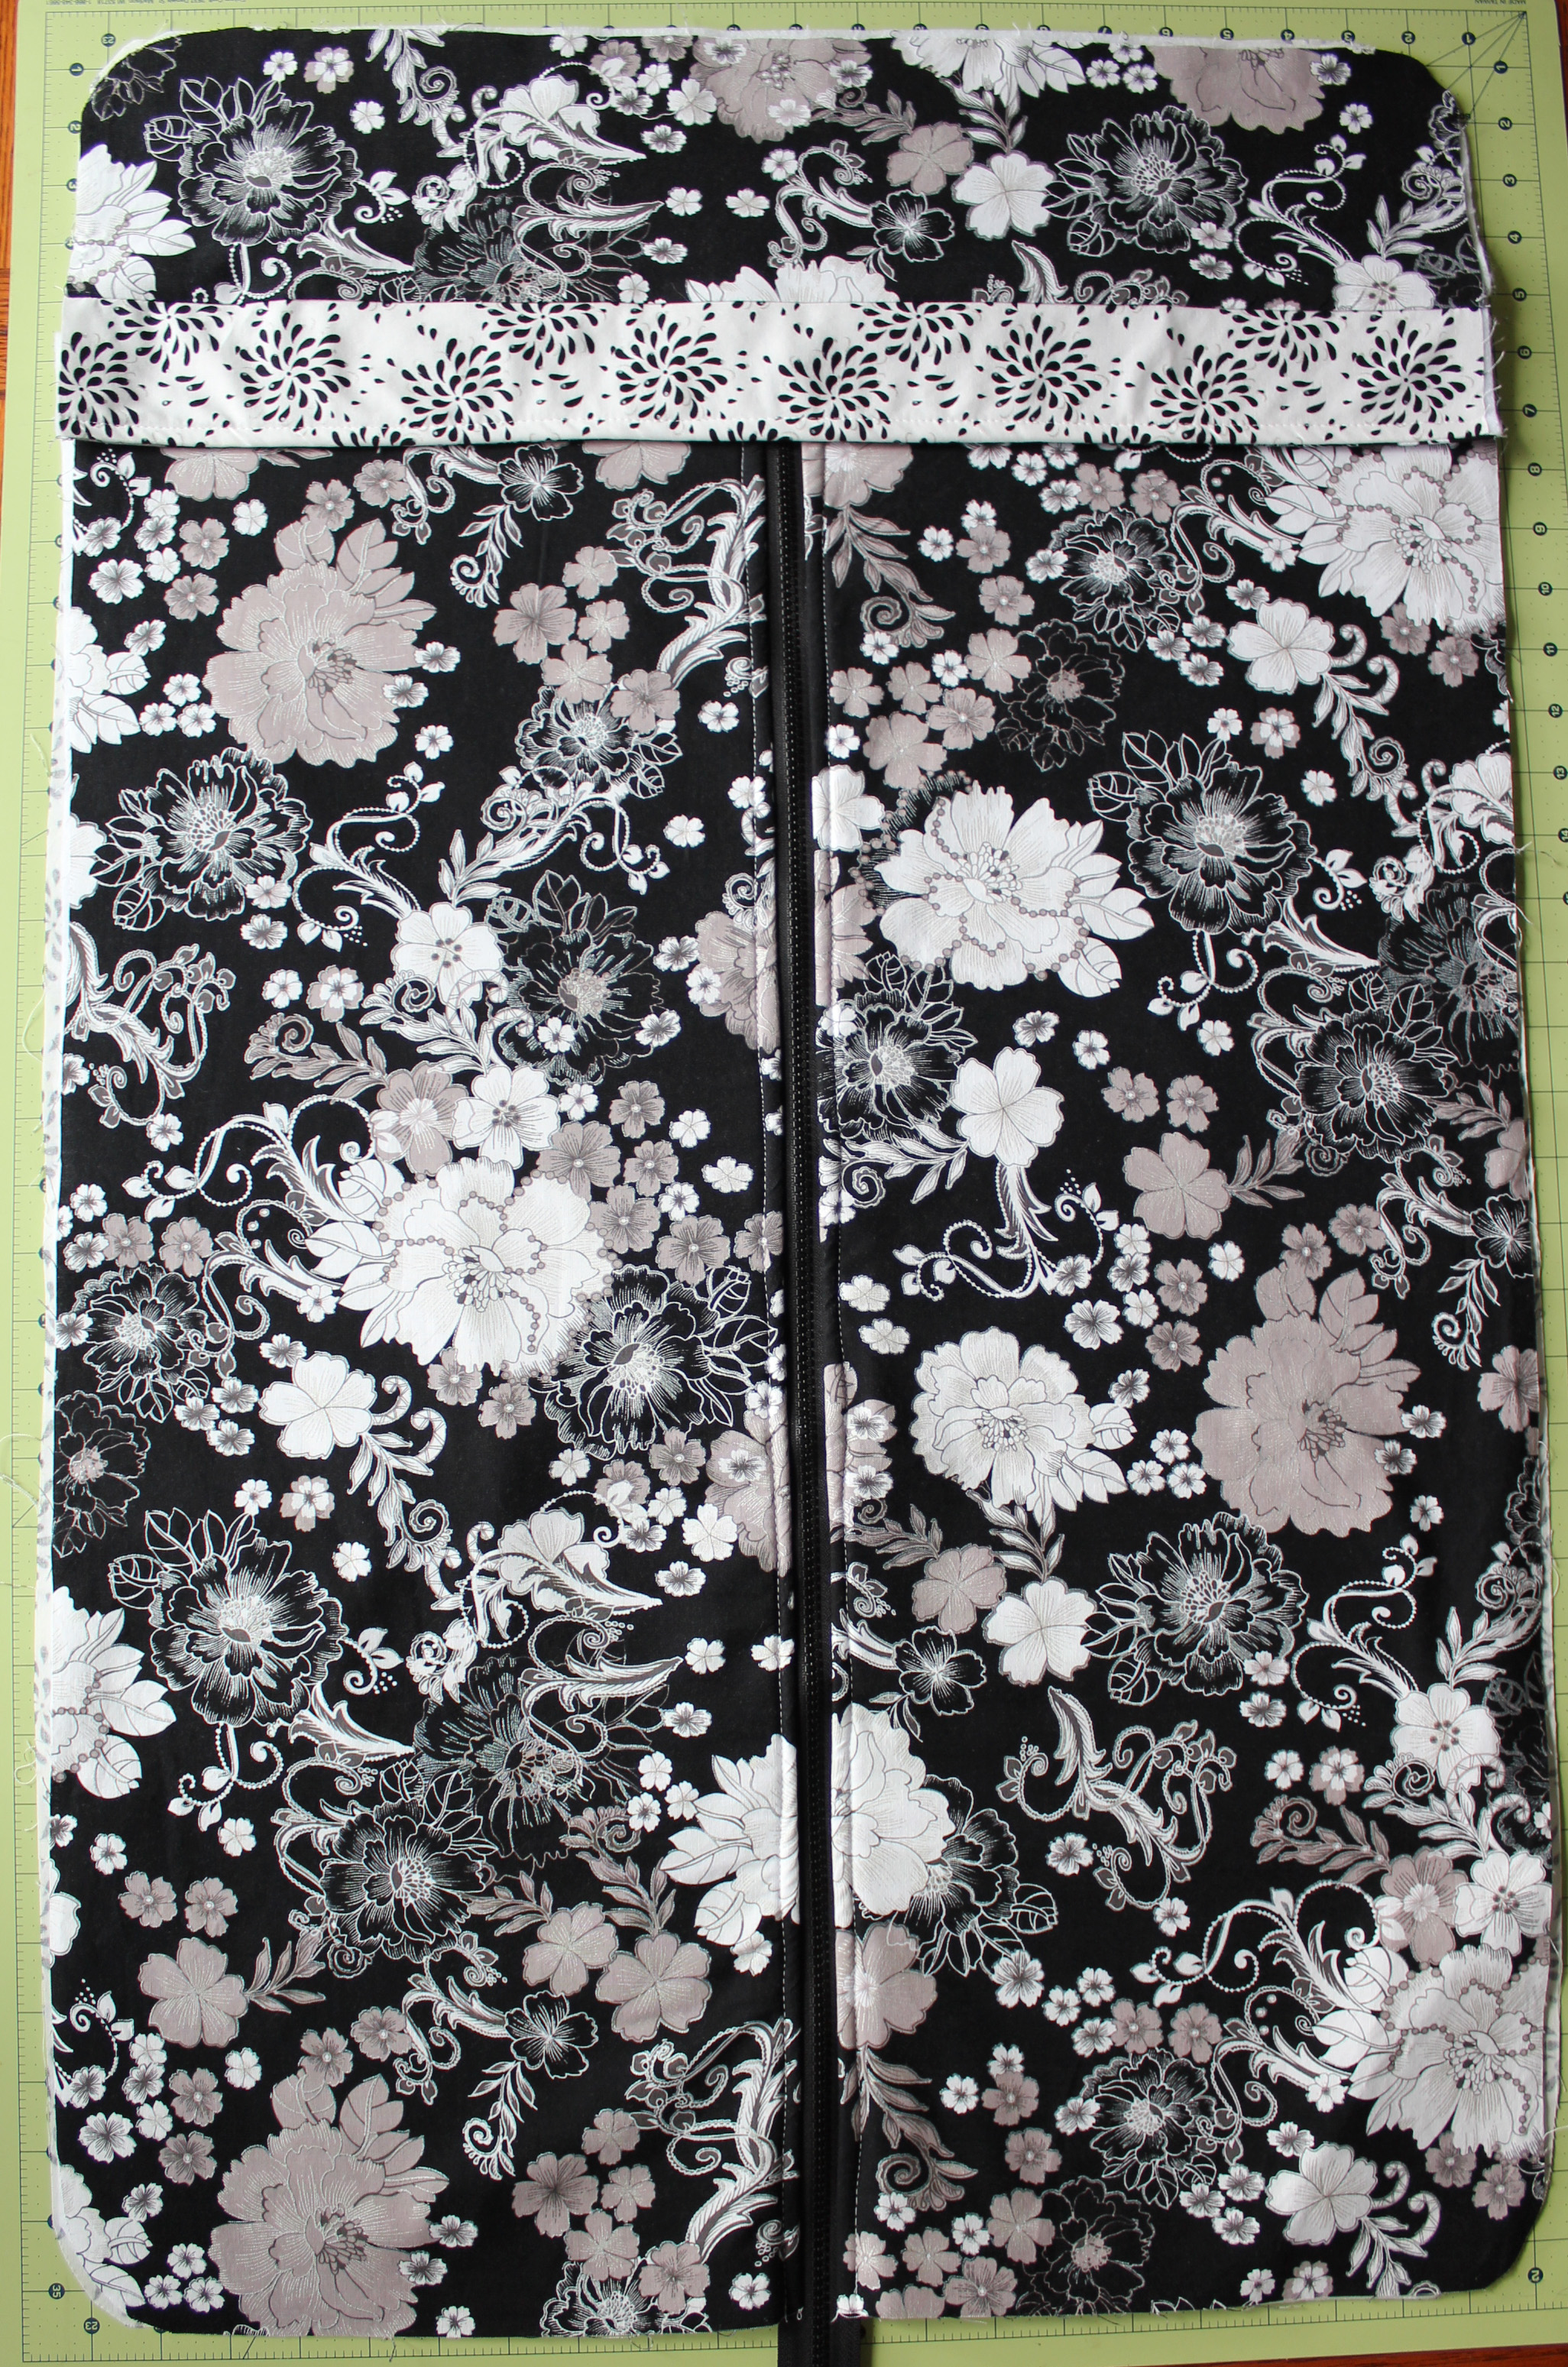
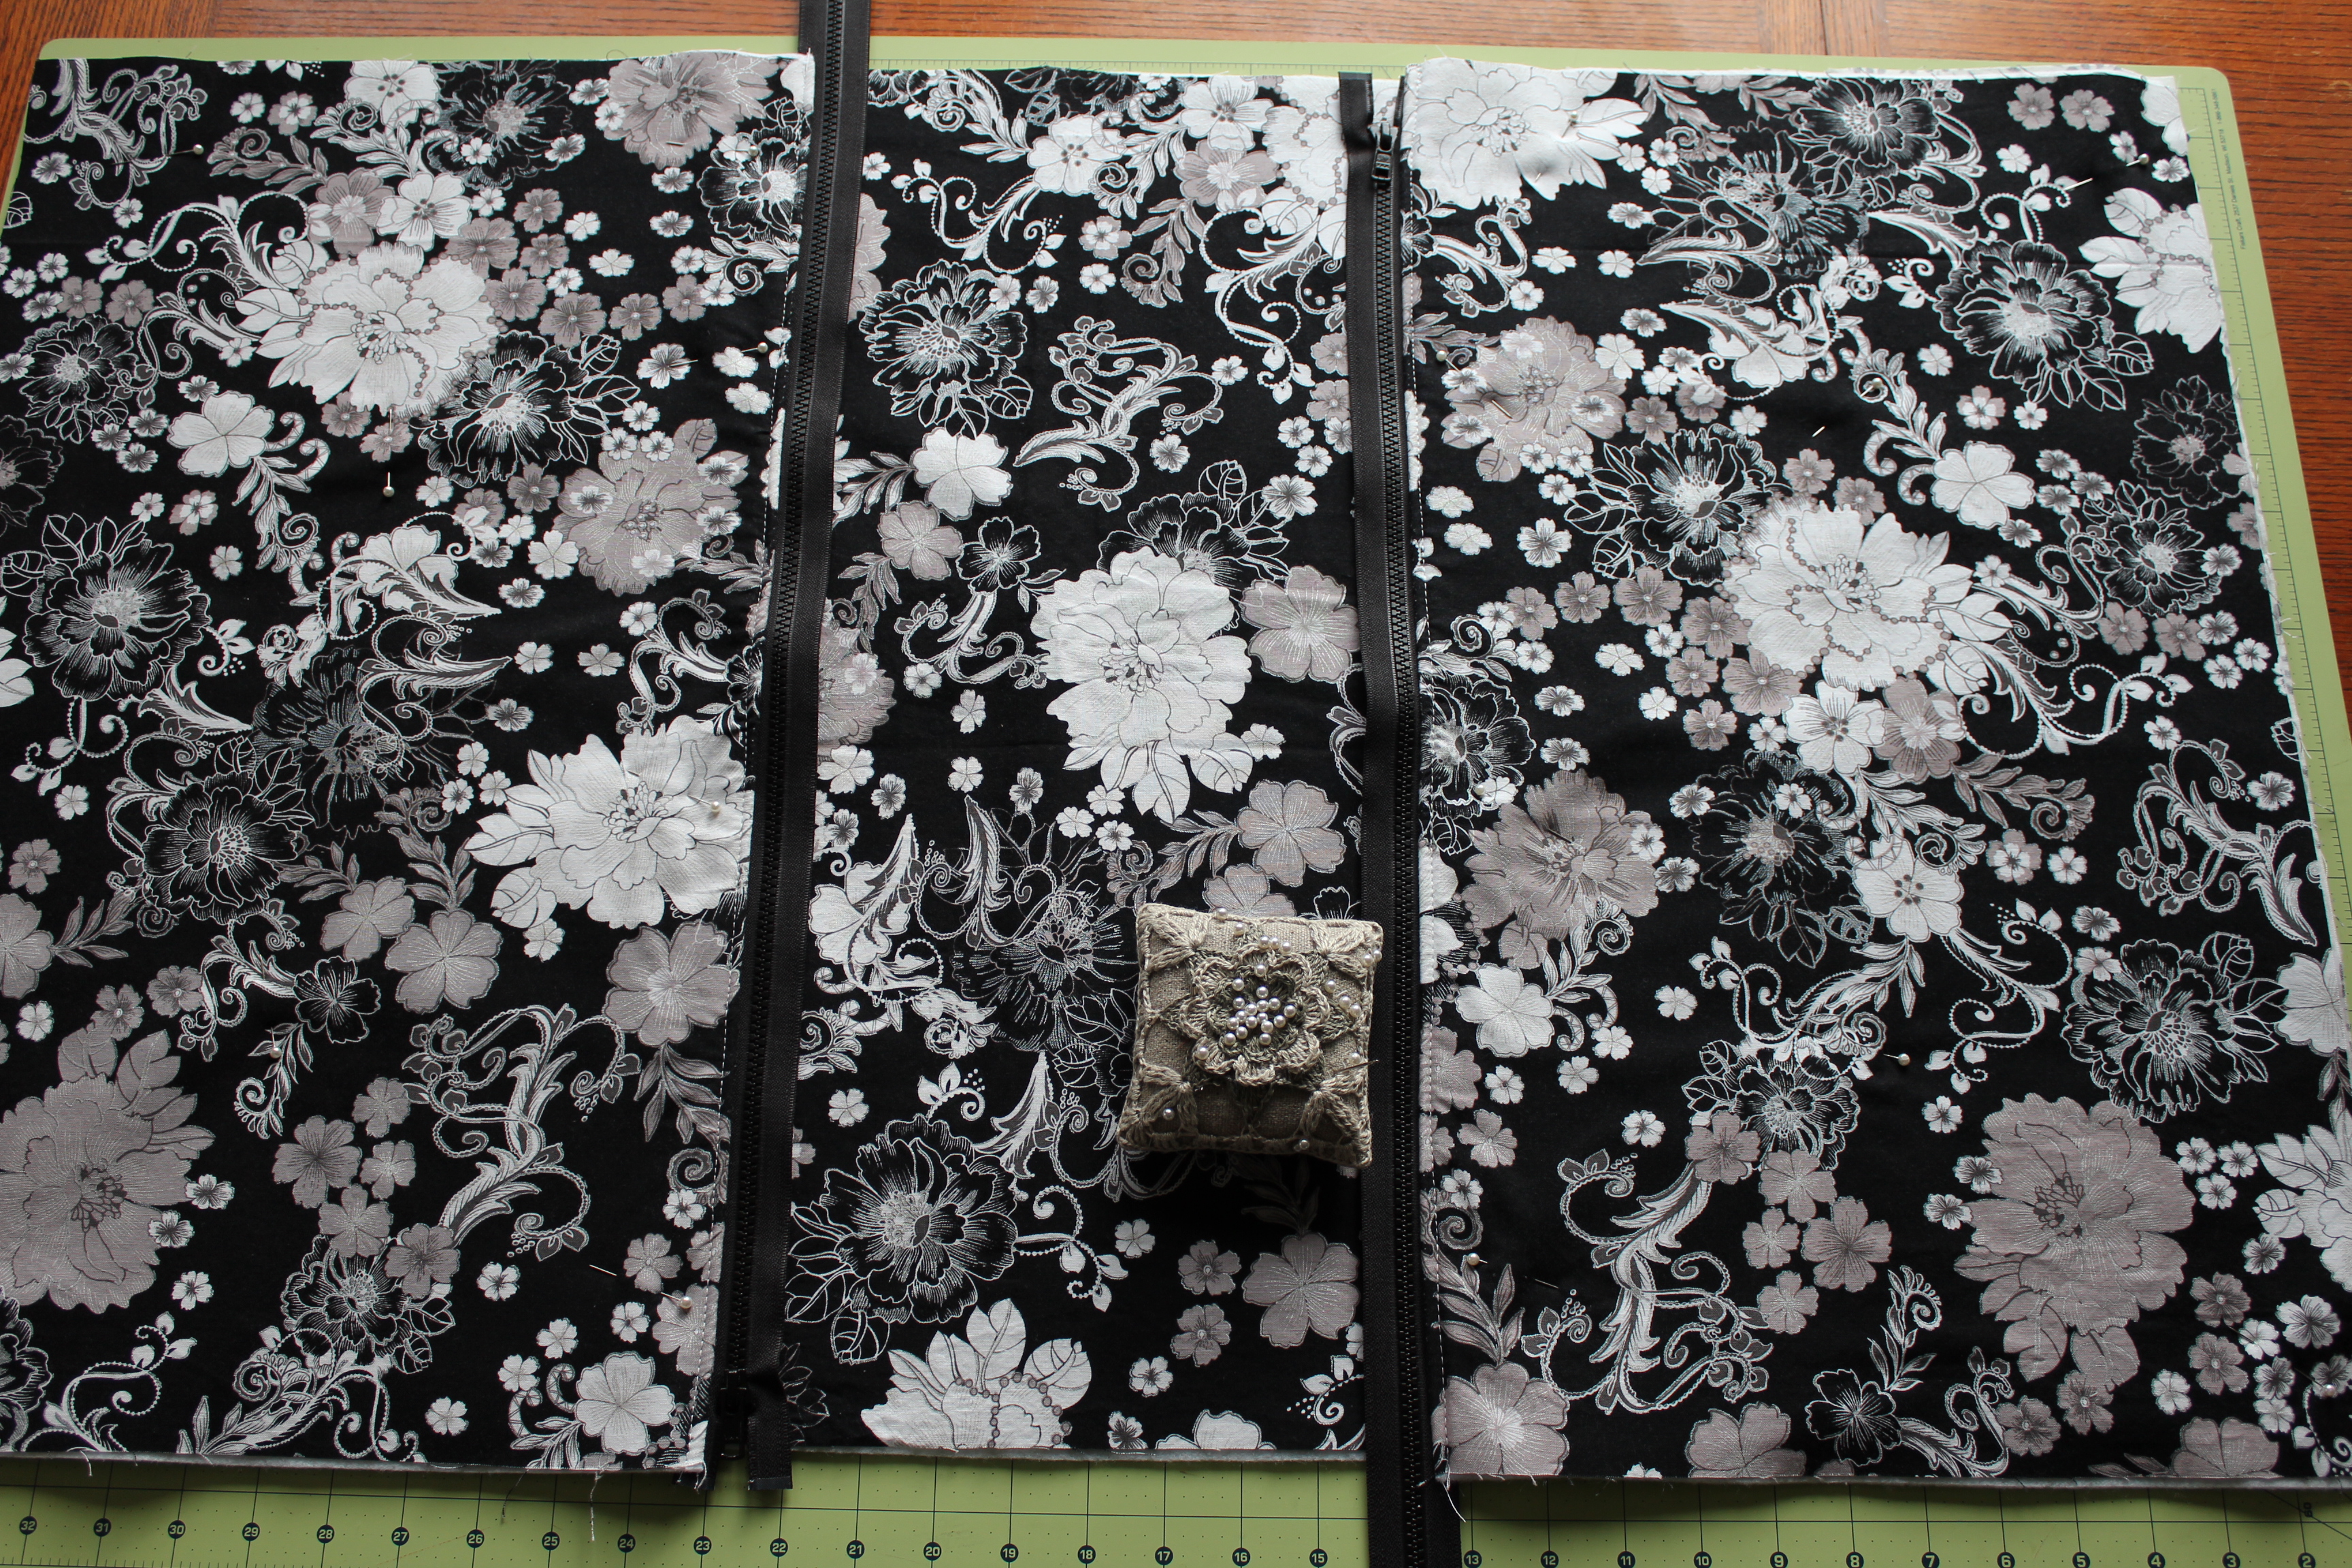
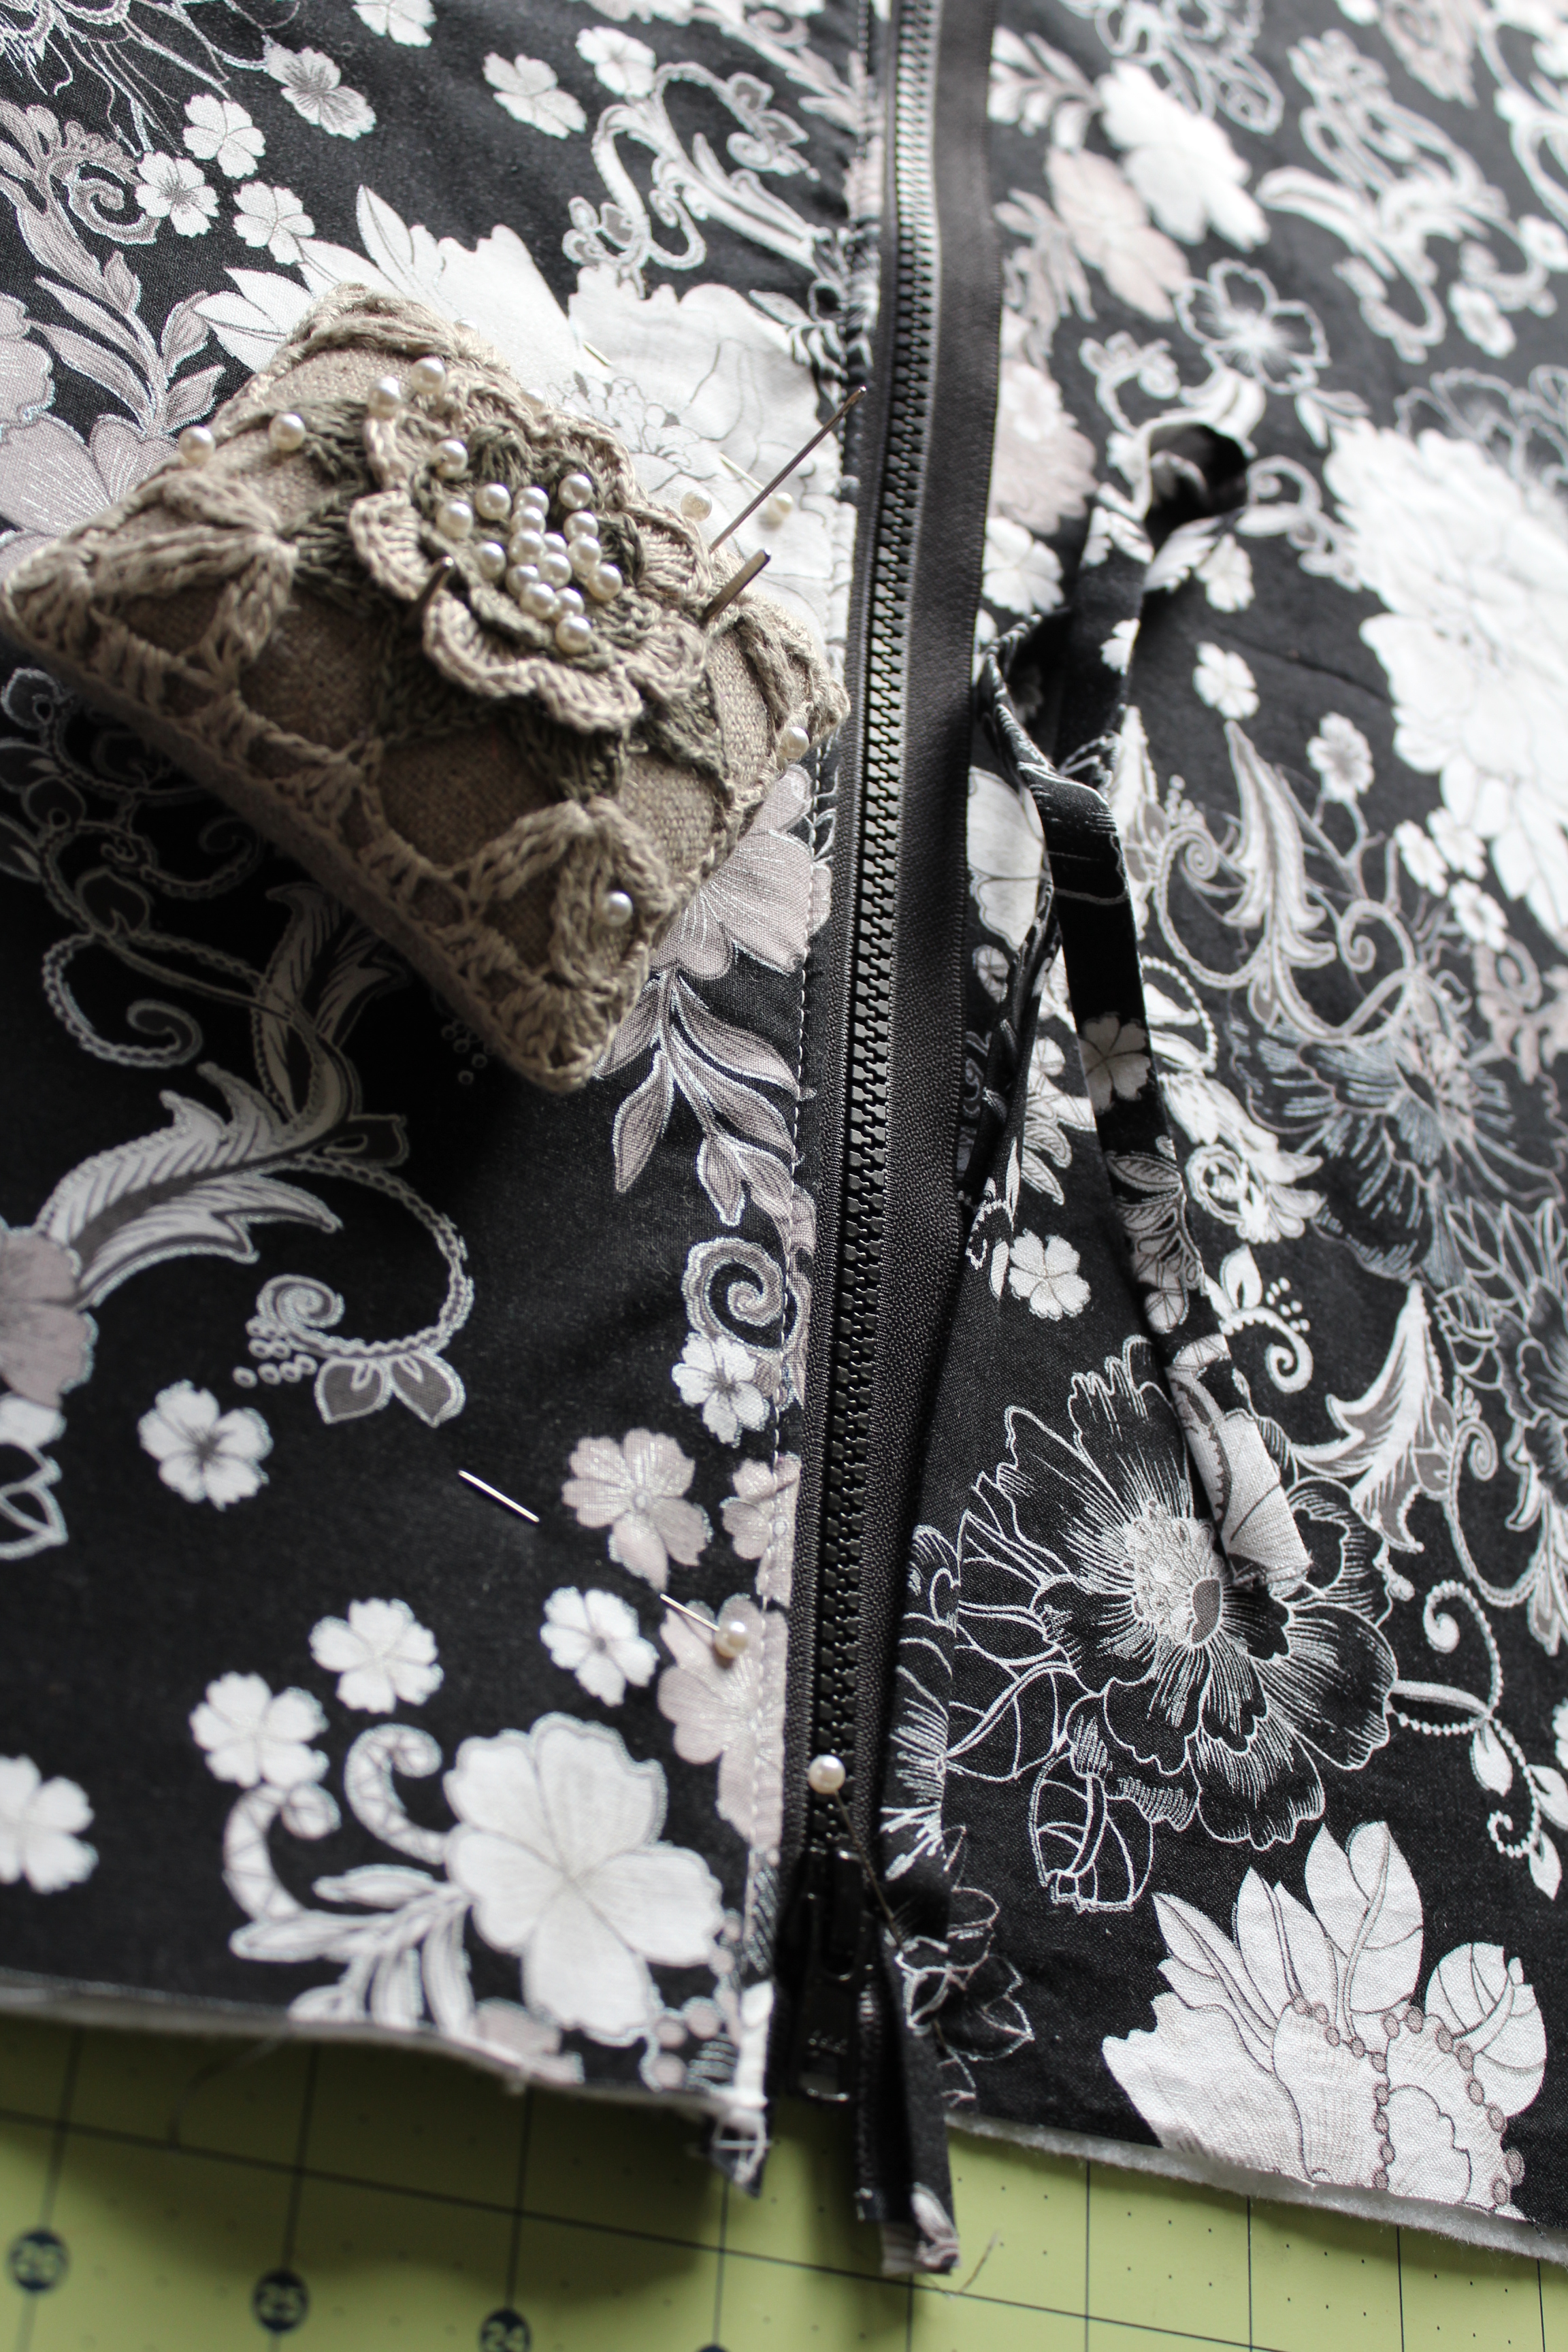
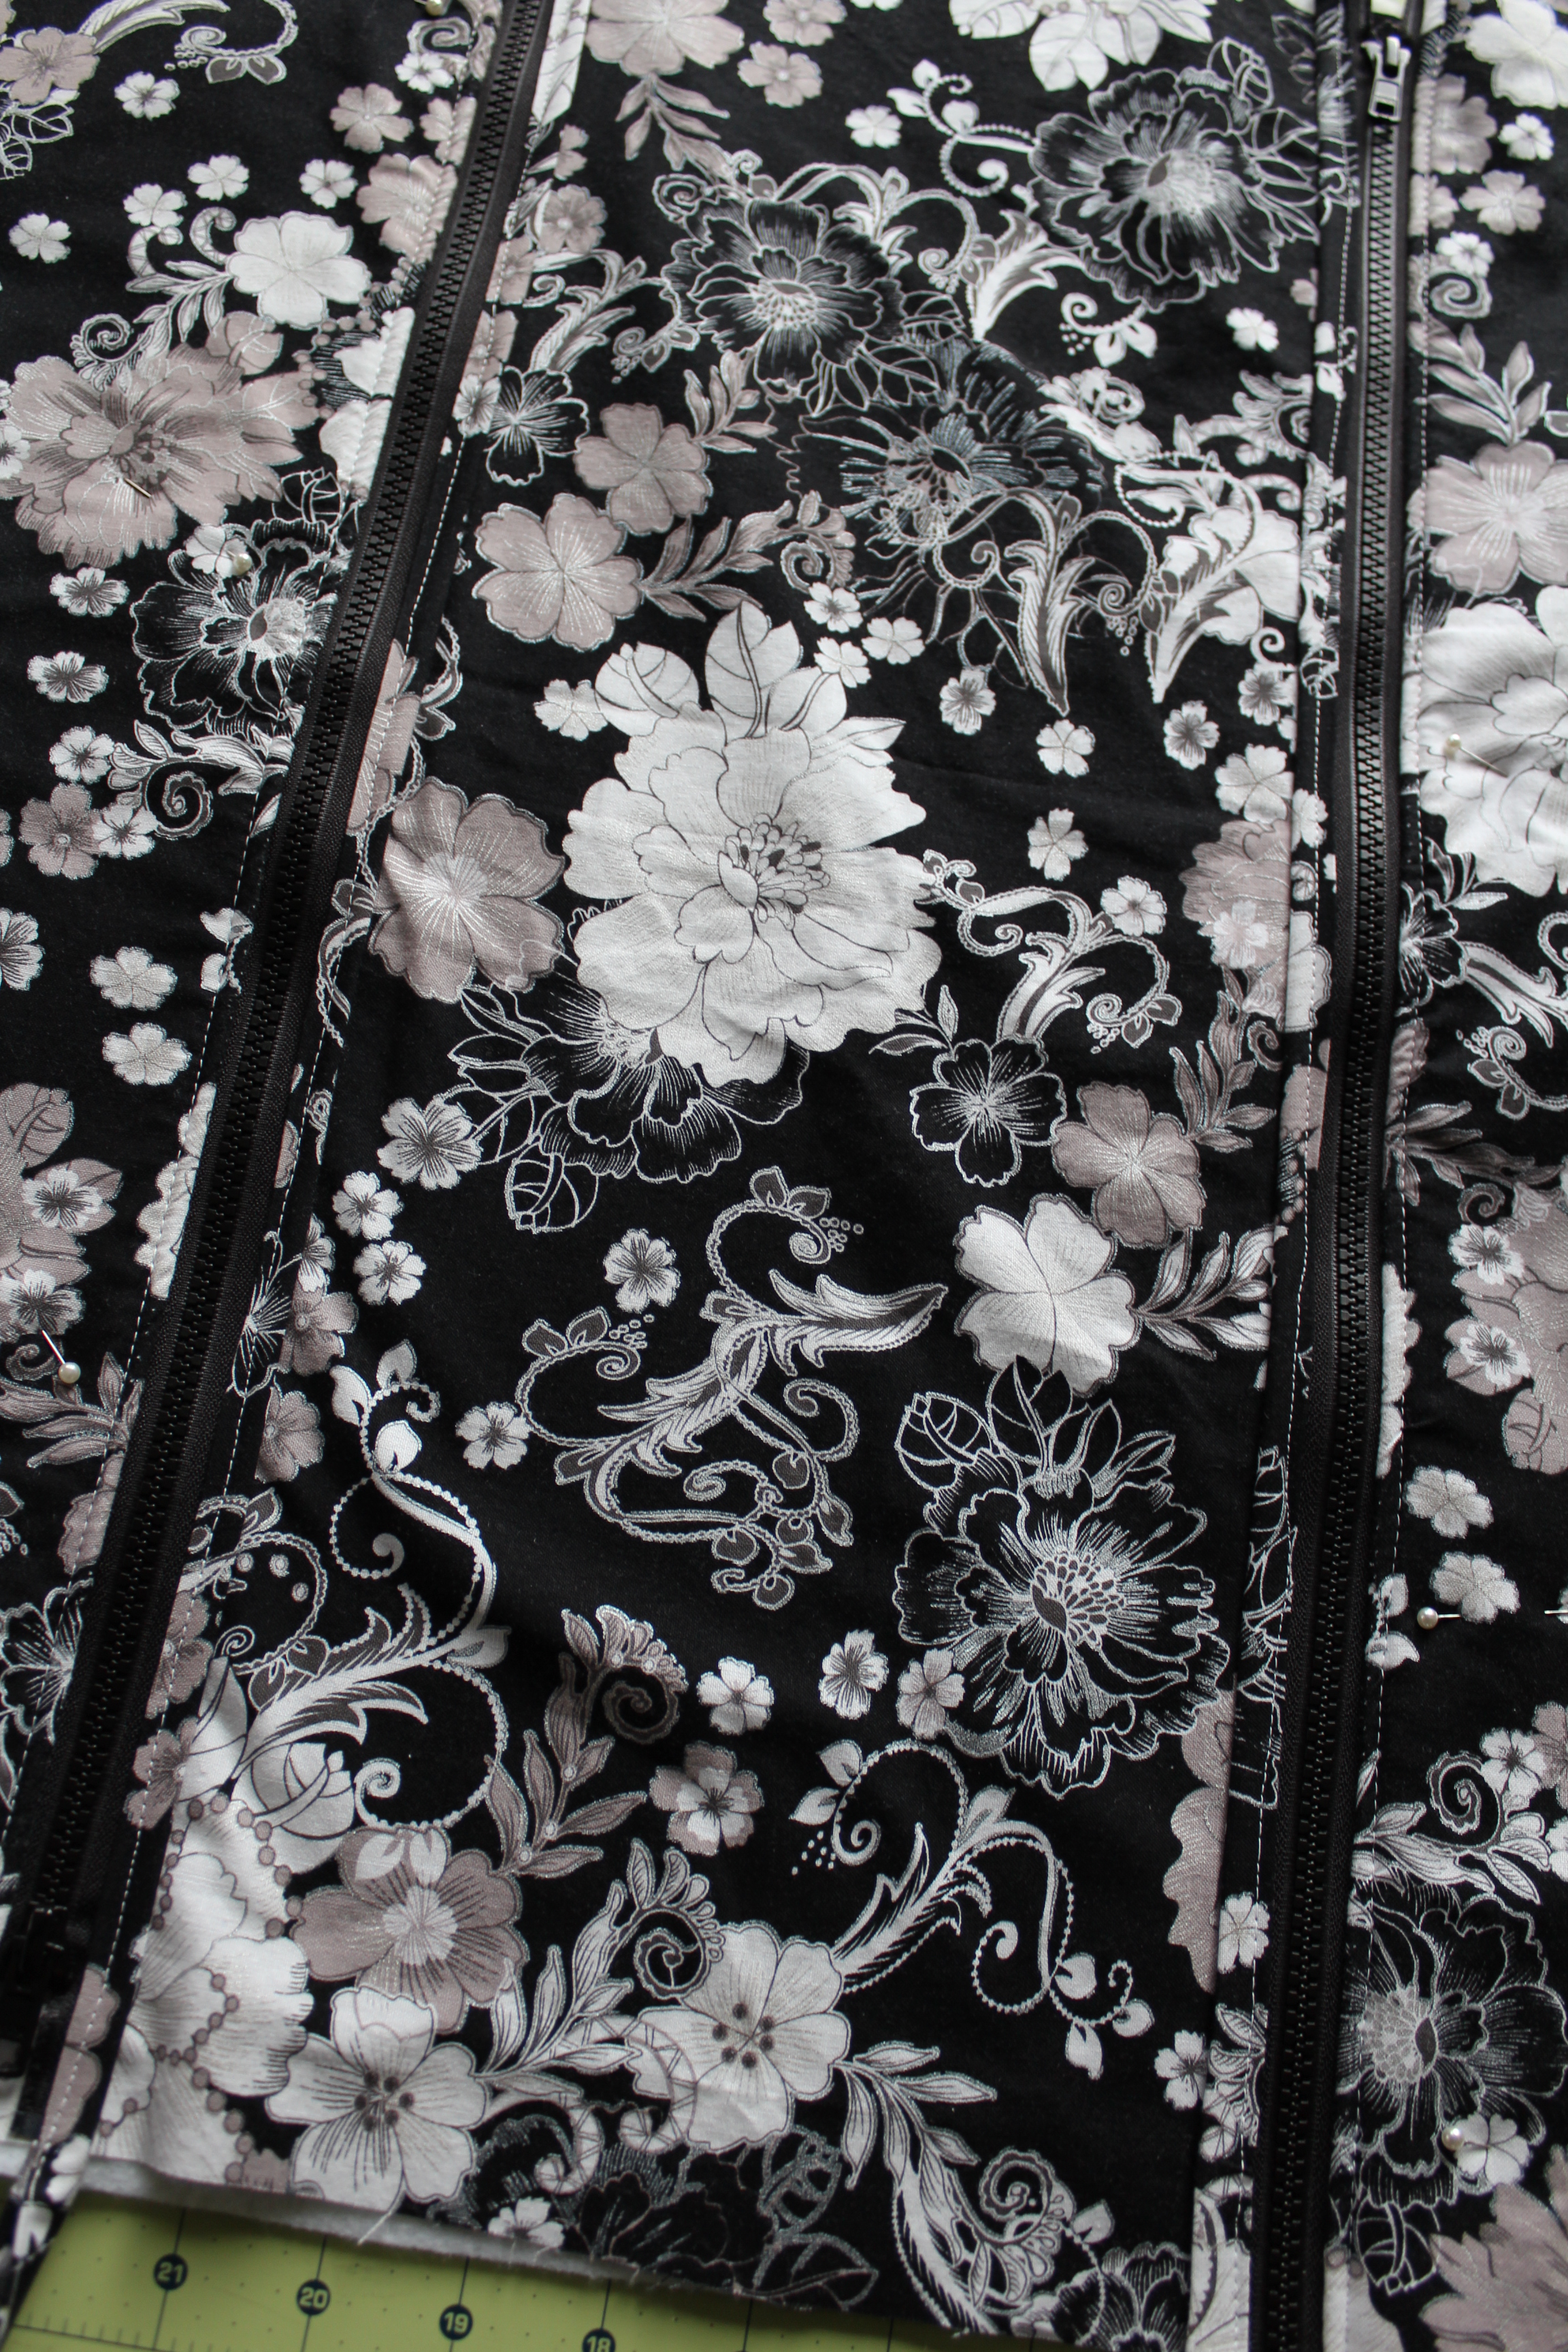
** You will have a few smaller pieces to cut out later as well as make a shoulder strap piece. I personally up-cycled a shoulder strap from an older bag so I will not be showing you in this tutorial how to make one. Here is a great tutorial on how to make an adjustable shoulder strap if needed. Keep in mind that if you want to save time you may also use a cotton webbing for the shoulder strap or as well as with any of the D-rings, clasps or handles. **                                                                                       Ok now that you have all of your fabric and notions together it is time to start sewing. I promise this bag is easy to make. Yes, this tutorial is super long but that is only because I try to show each and every step. Remember this tutorial is to show you how I made MY garment bag and you can make any changes you want to fit your needs better.                                                           Start by gathering one each of the 35" x 22" fabric and batting pieces.                                                       Working with all three pieces at the same time, measure 5" in from the edge and cut. Now cut the remaining pieces exactly in half like shown below. These pieces will be used for the front portion of the bag. You know the part of a garment bag that and unzips so you can put your clothes inside?                                                                                              Gather your 36" zipper. Also gather one exterior and batting piece from left side pile that you just cut in half and take one of the interior pieces from the pile on the right. You need to do this to make sure that the rounded edges line up once the zipper is sewn on. You will want to layer the fabrics like so: batting, exterior fabric right side up, zipper wrong side up (top of zipper should be on the left side), then place the interior fabric wrong side up. Pin zipper in place. Sew along zipper. Then sew along the short side that does not have the rounded edge. In the picture below it is on the left side.                                                        Turn right side out. Iron flat.                                                                          With the top of your zipper still on the left side with the other two pieces of fabric and batting. This time layer like so: interior fabric right side up, zipper right side up, exterior fabric wrong side up, then batting.                                                                                       Pin zipper in place. Sew along zipper and short side that does not have rounded edge.                                                           Turn right side out and iron flat. This is what your piece should look like now.   
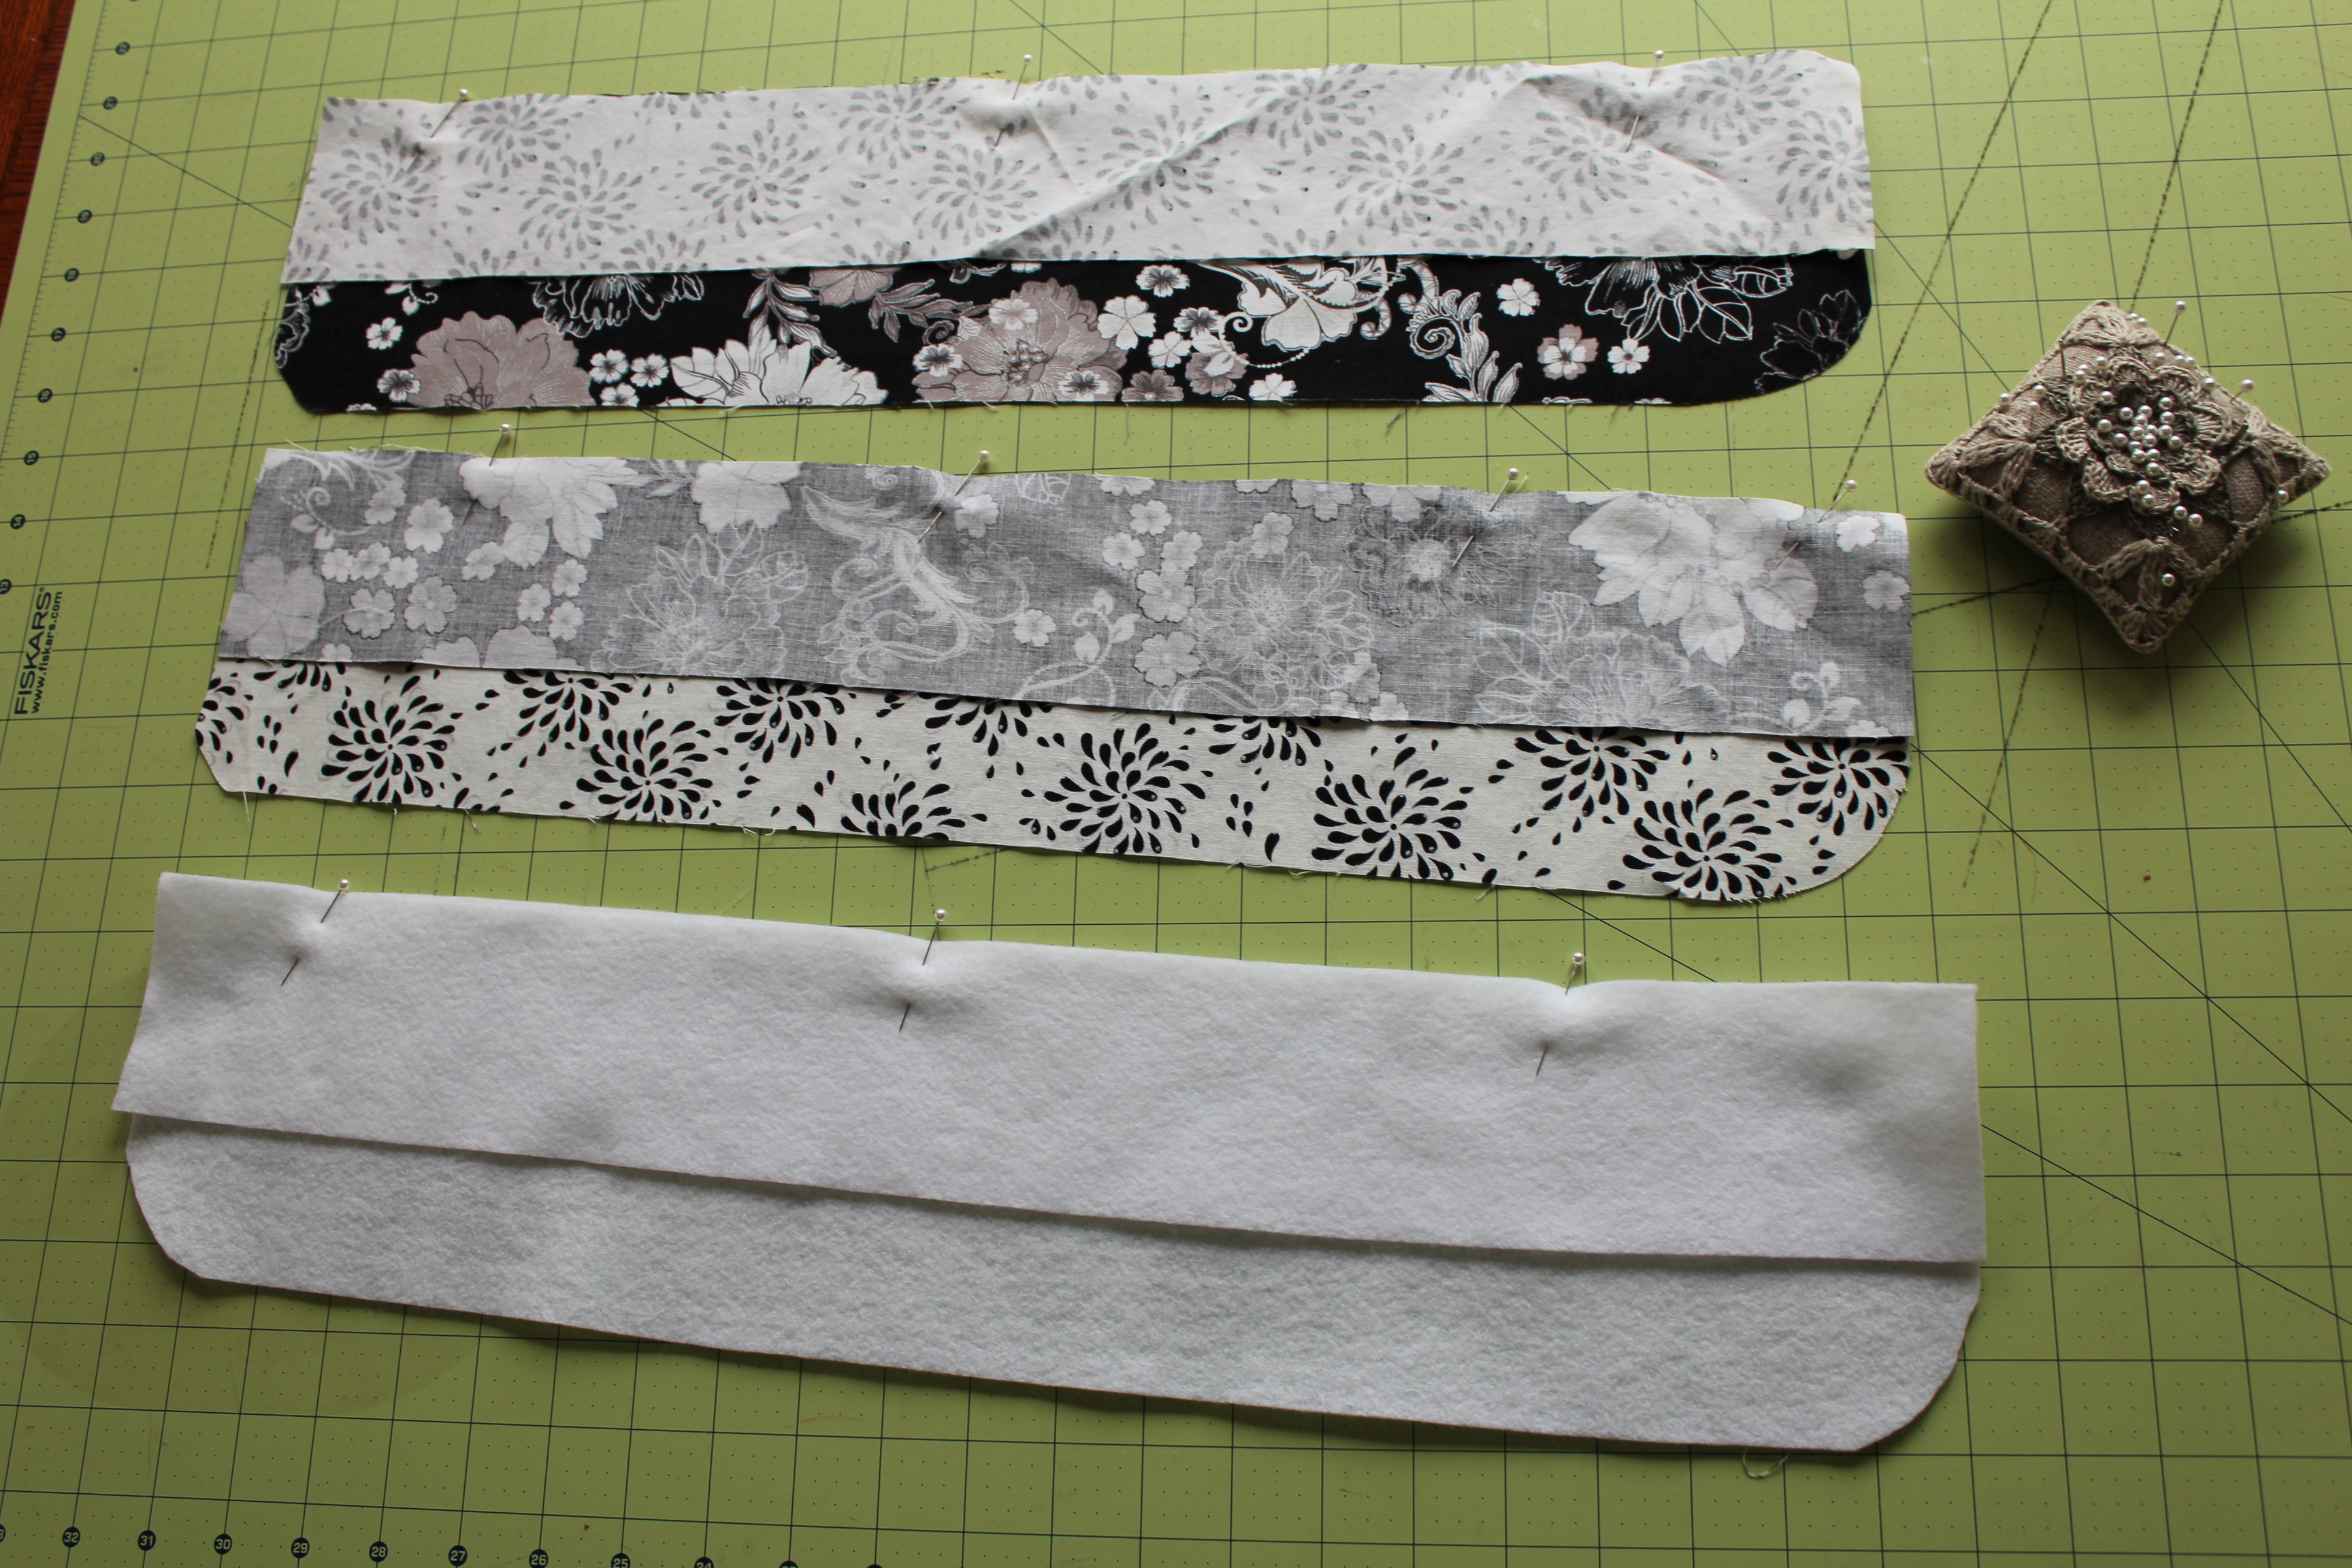
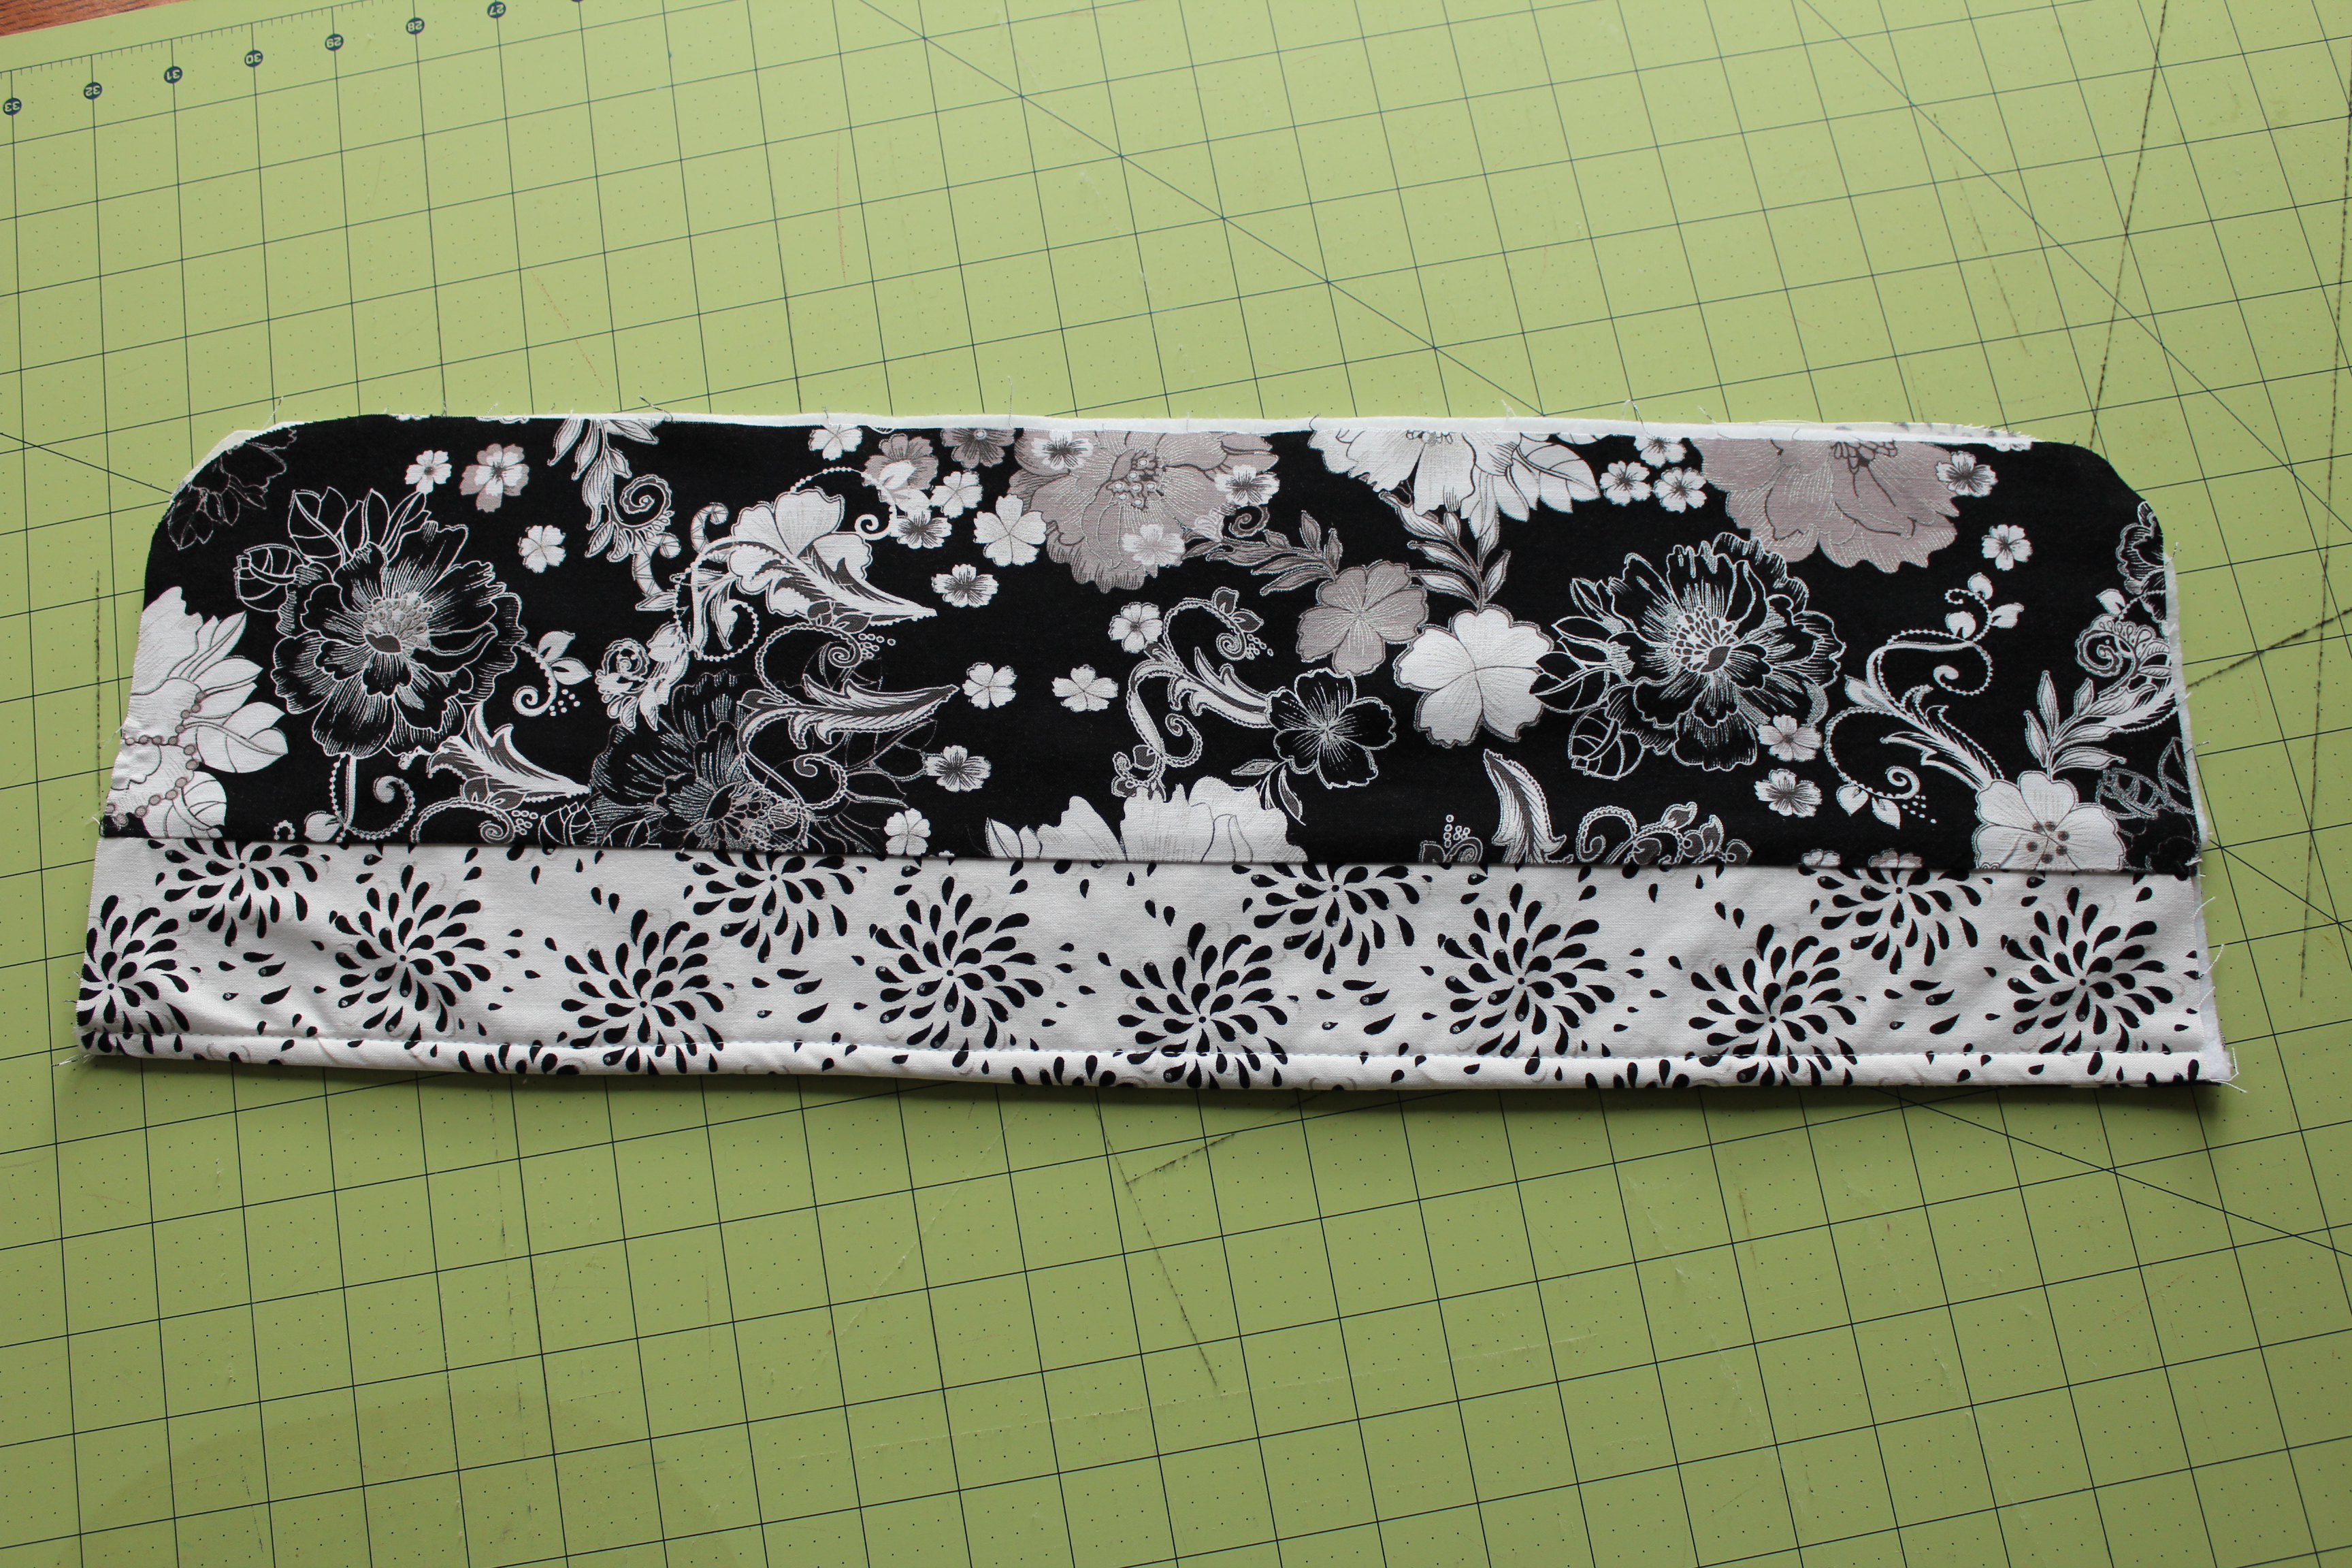
Top stitch along edges near zipper. Set aside.                                                                                                         Gather the 5" x 22" pieces that you just cut as well as the three 22" x 3" pieces of fabric and batting.                                                                                                                   Pin opposite fabrics and batting in place like shown below. Make sure that you are not pinning to the rounded edges.                                                                          Sew on pinned edges. Iron flat.               


Now you are going to pin the pieces together on the straight edges. Layer like so: batting, larger exterior fabric piece right side up, then interior fabric piece wrong side up. Sew along straight edge. Turn right side out and iron flat.
Top stitch along bottom edge.                
You now have the two front pieces of your bag done. Now you are going to make the little hanger flaps. You know the place where the hangers come out of the garment bag to be hung? Well I'm calling those hanger flaps in this tutorial.
 
Gather the 6" x 3" pieces of fabric and batting.
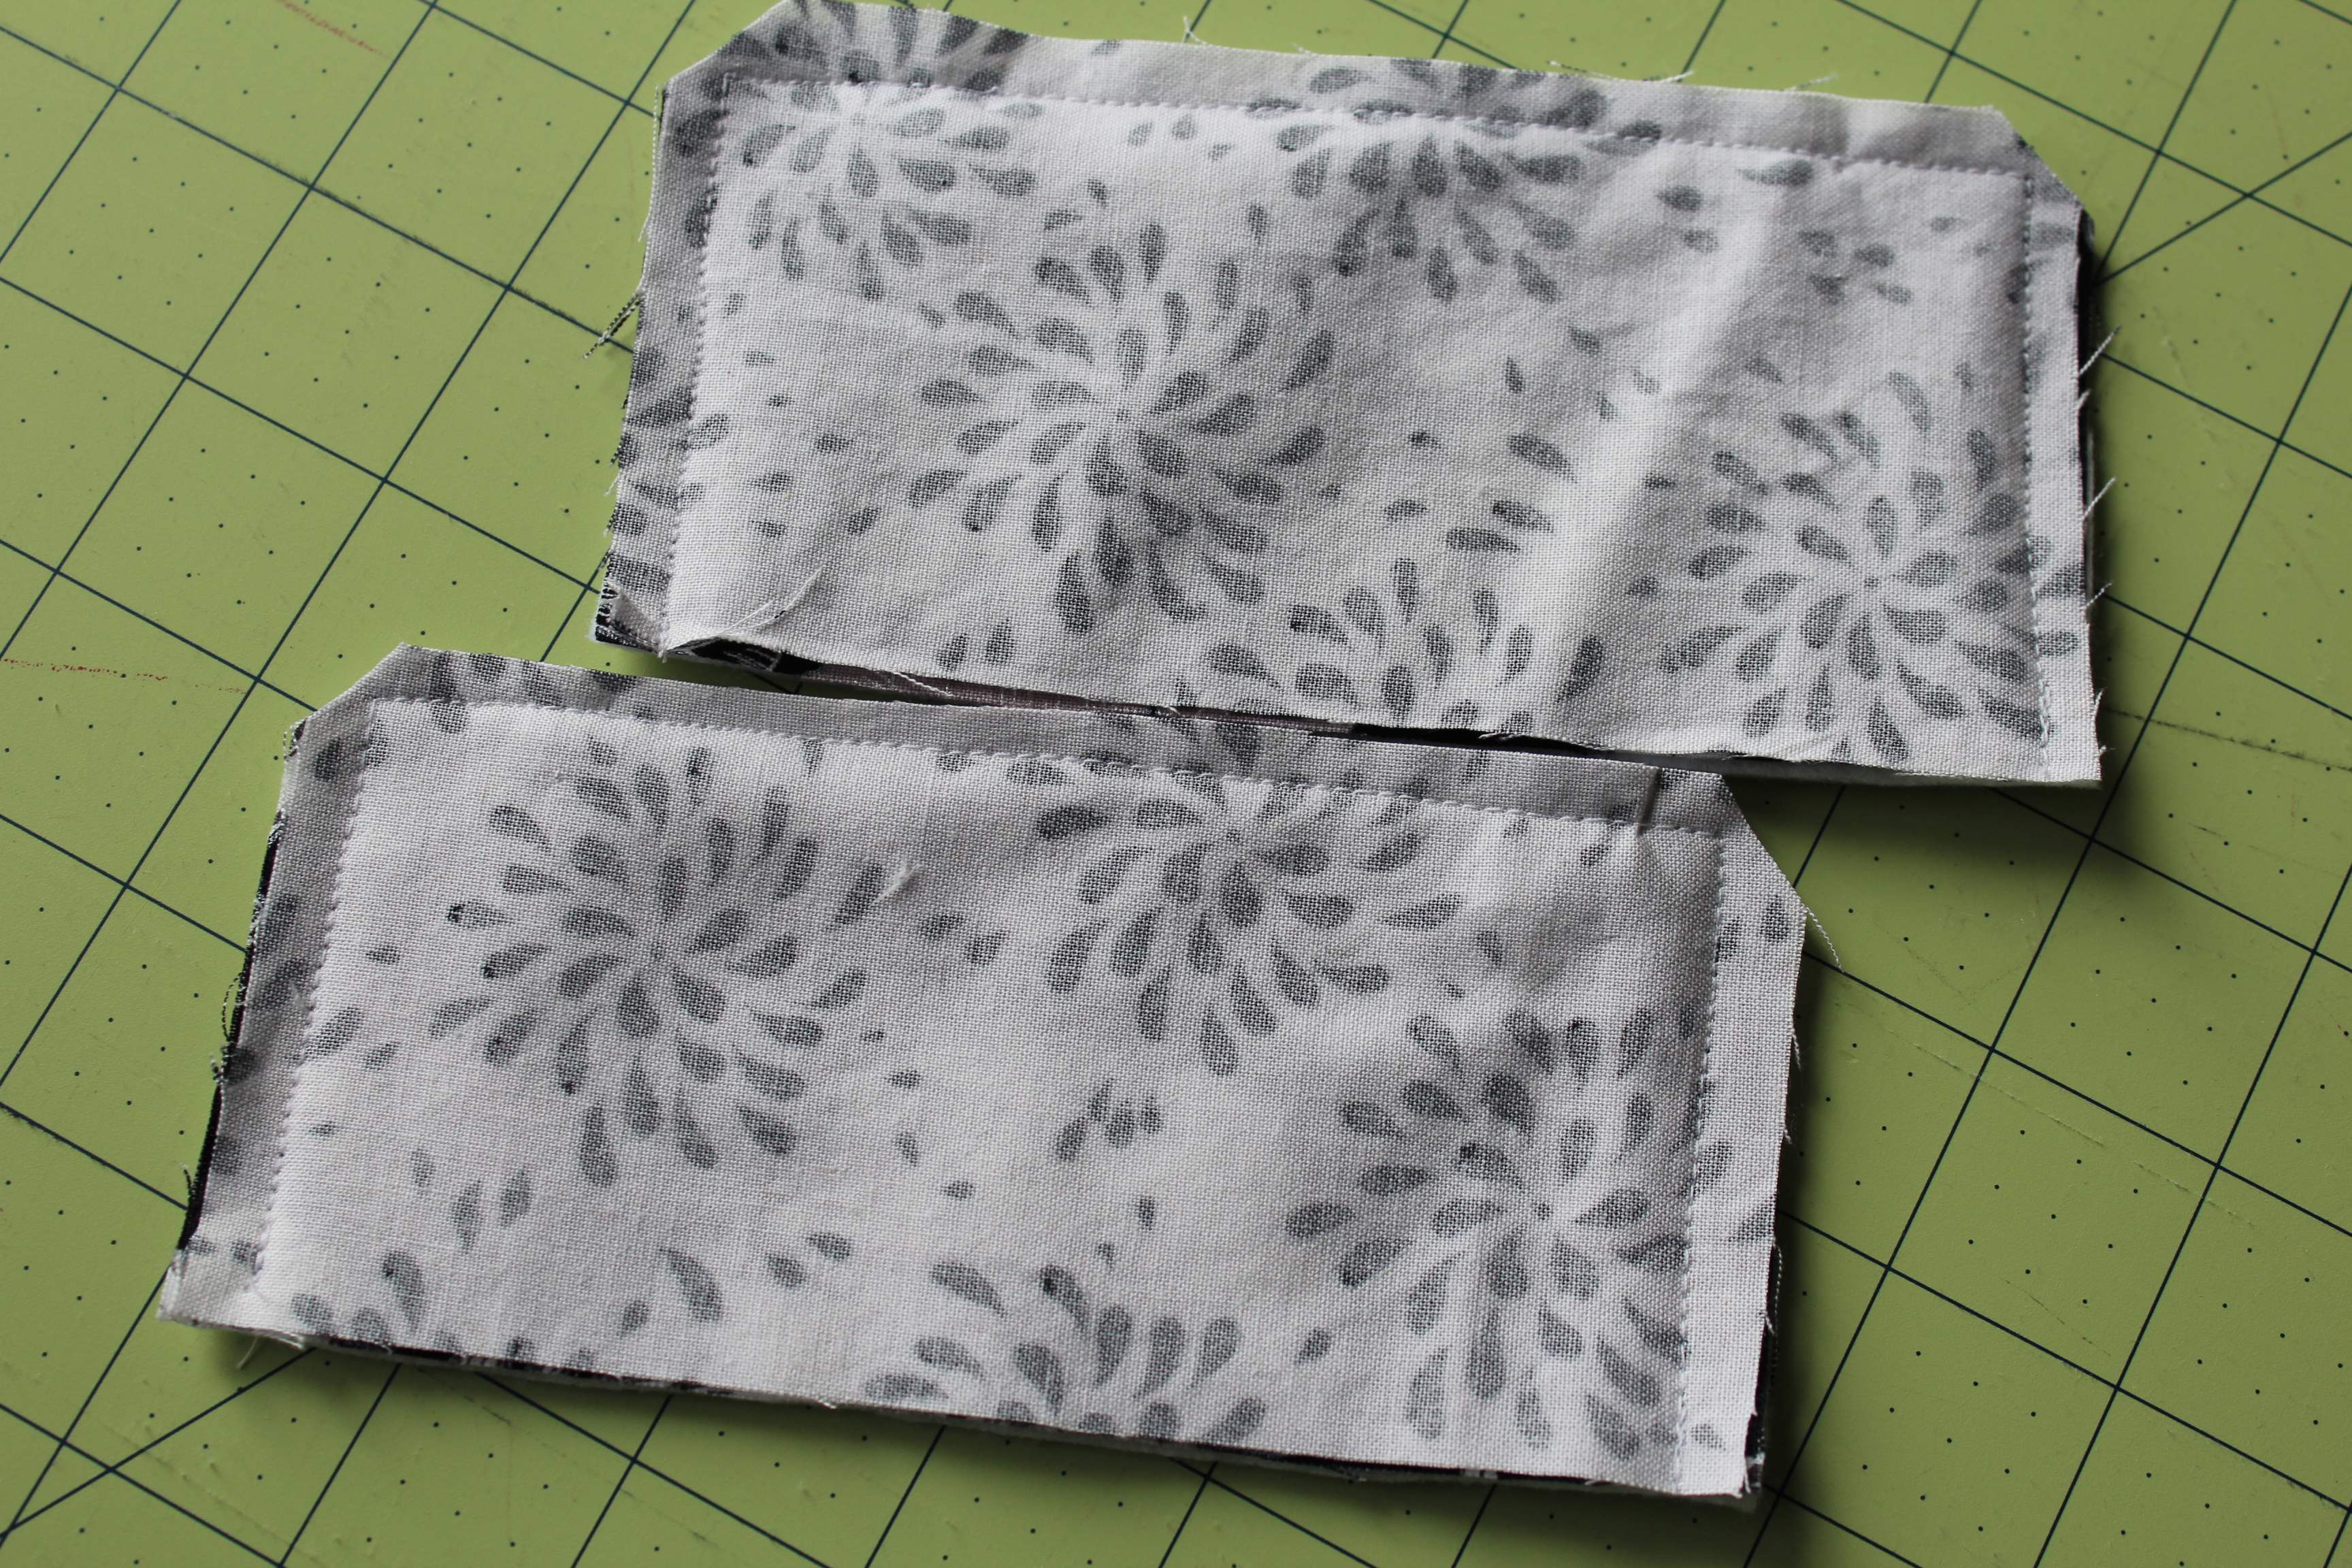
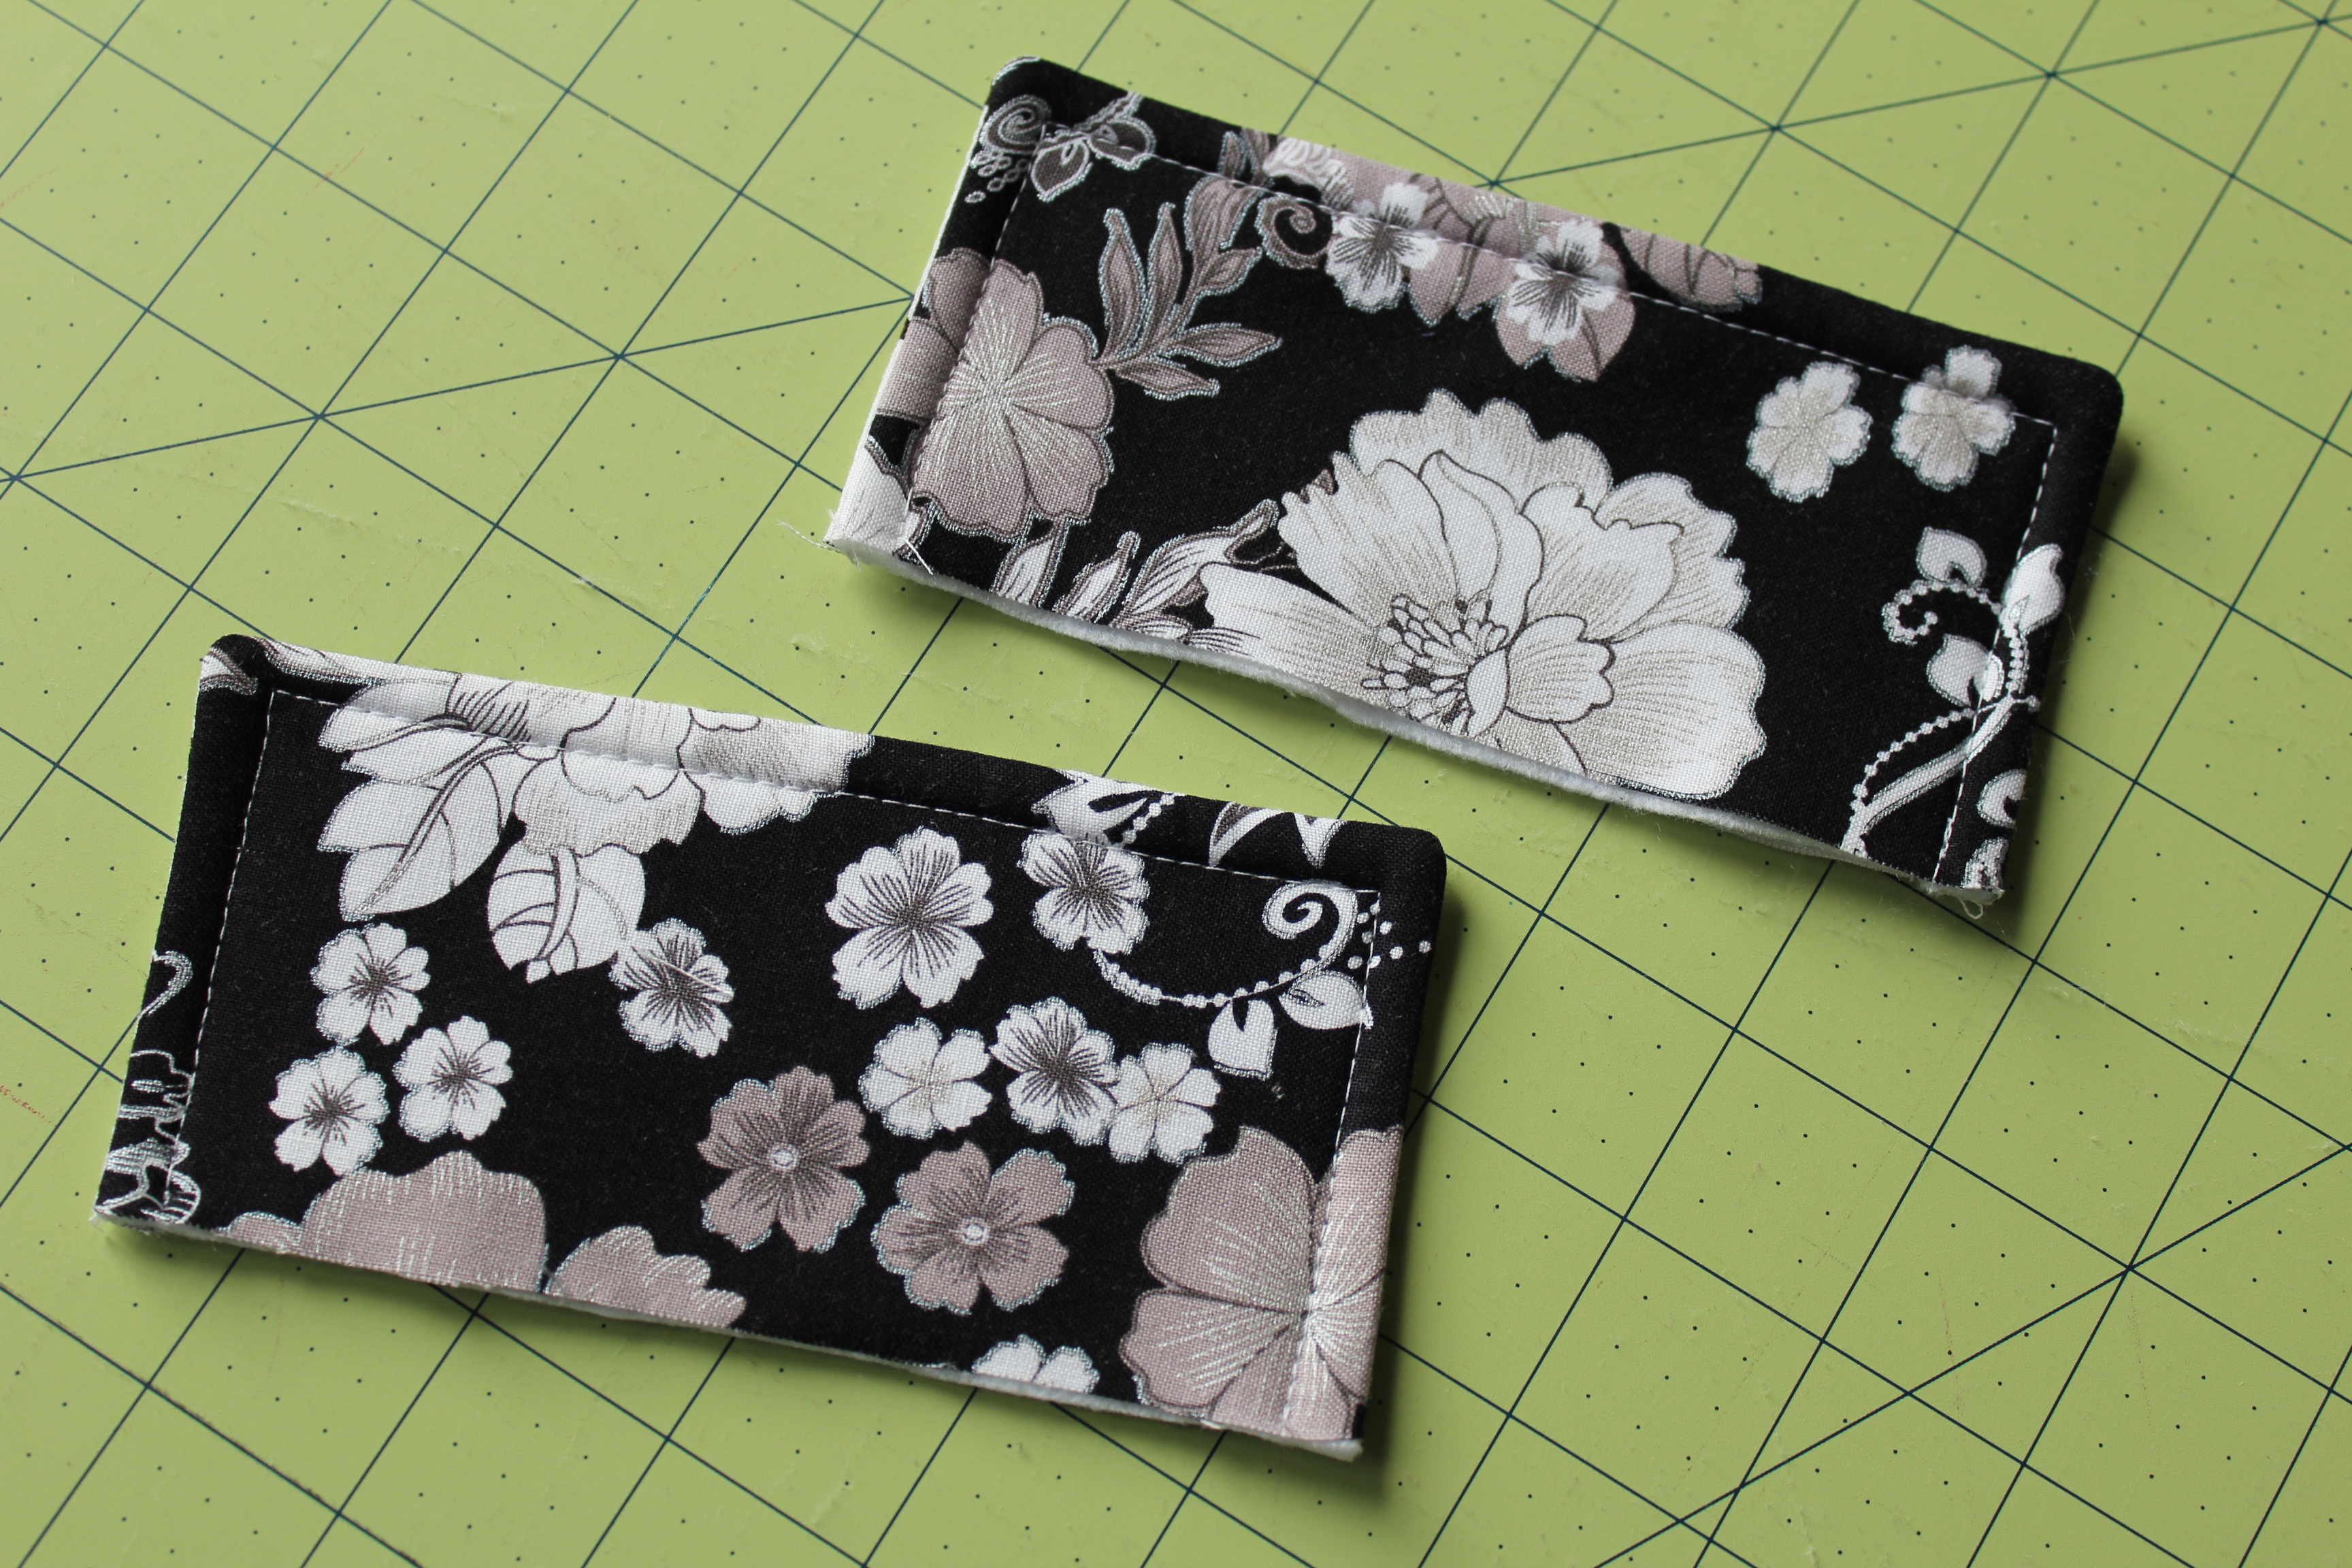
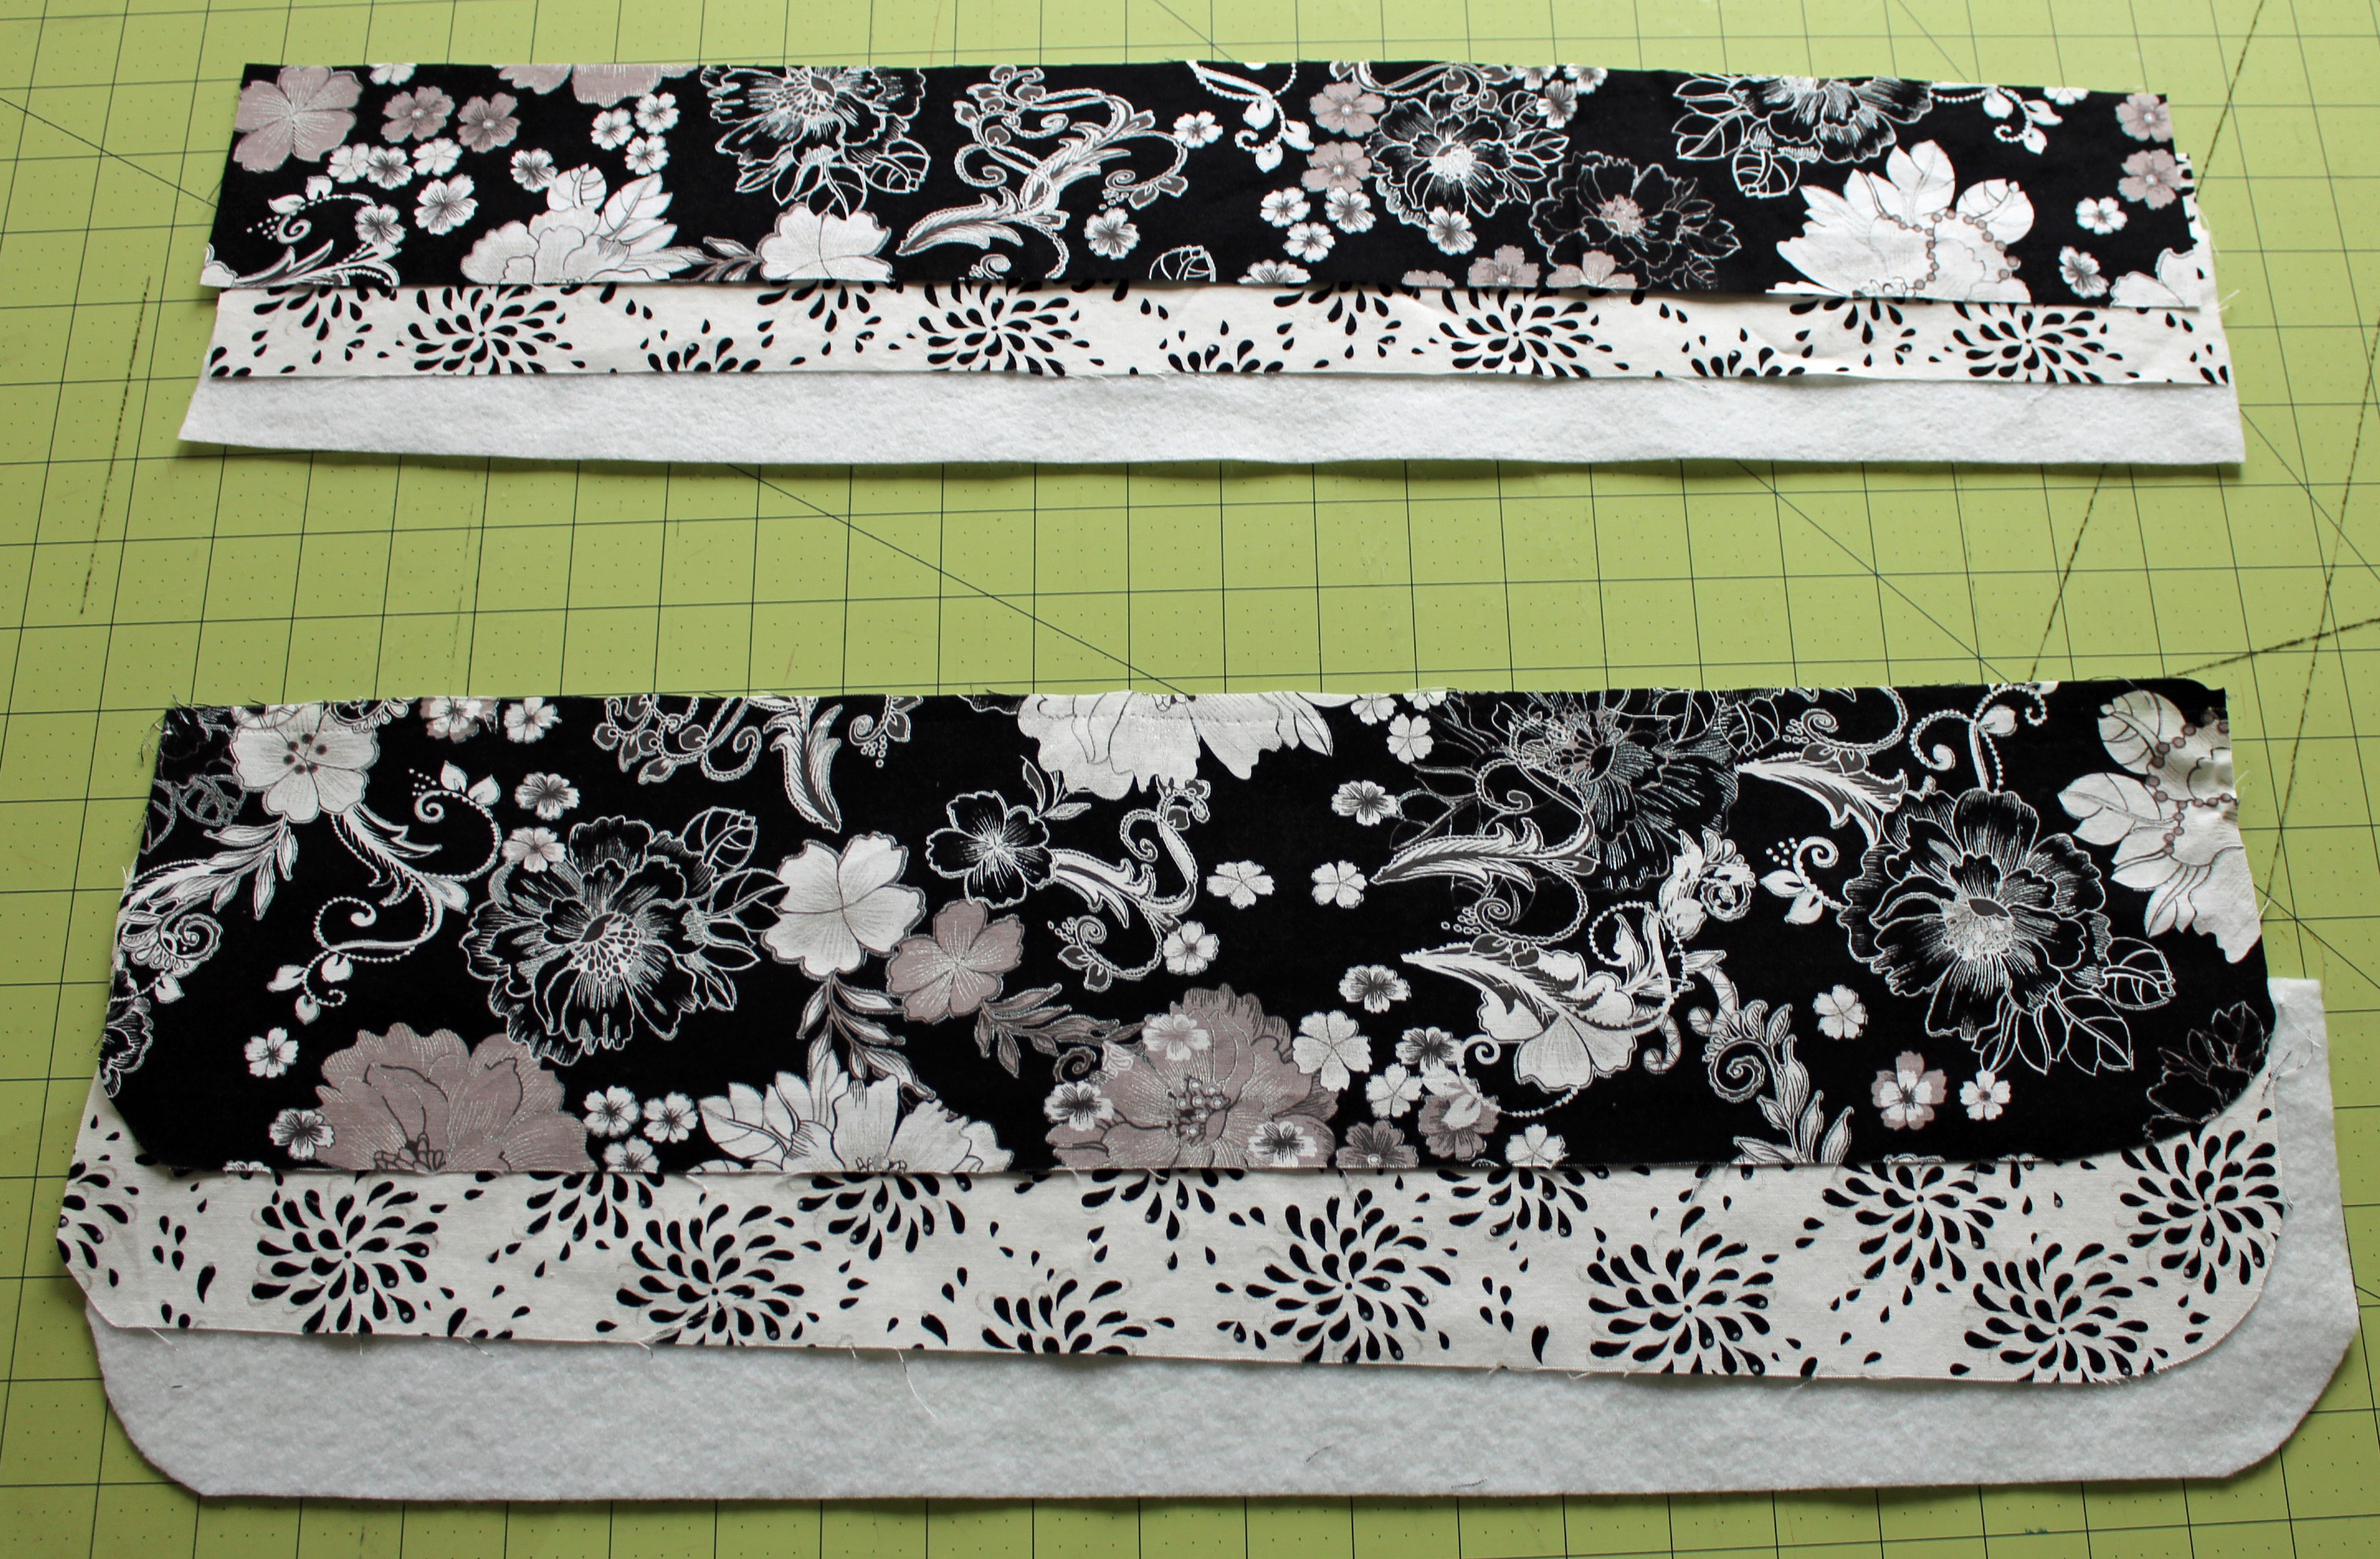
Layer fabrics like so: batting, exterior fabric right side up then interior fabric right side down. Sew along top and sides. Clip off corners.
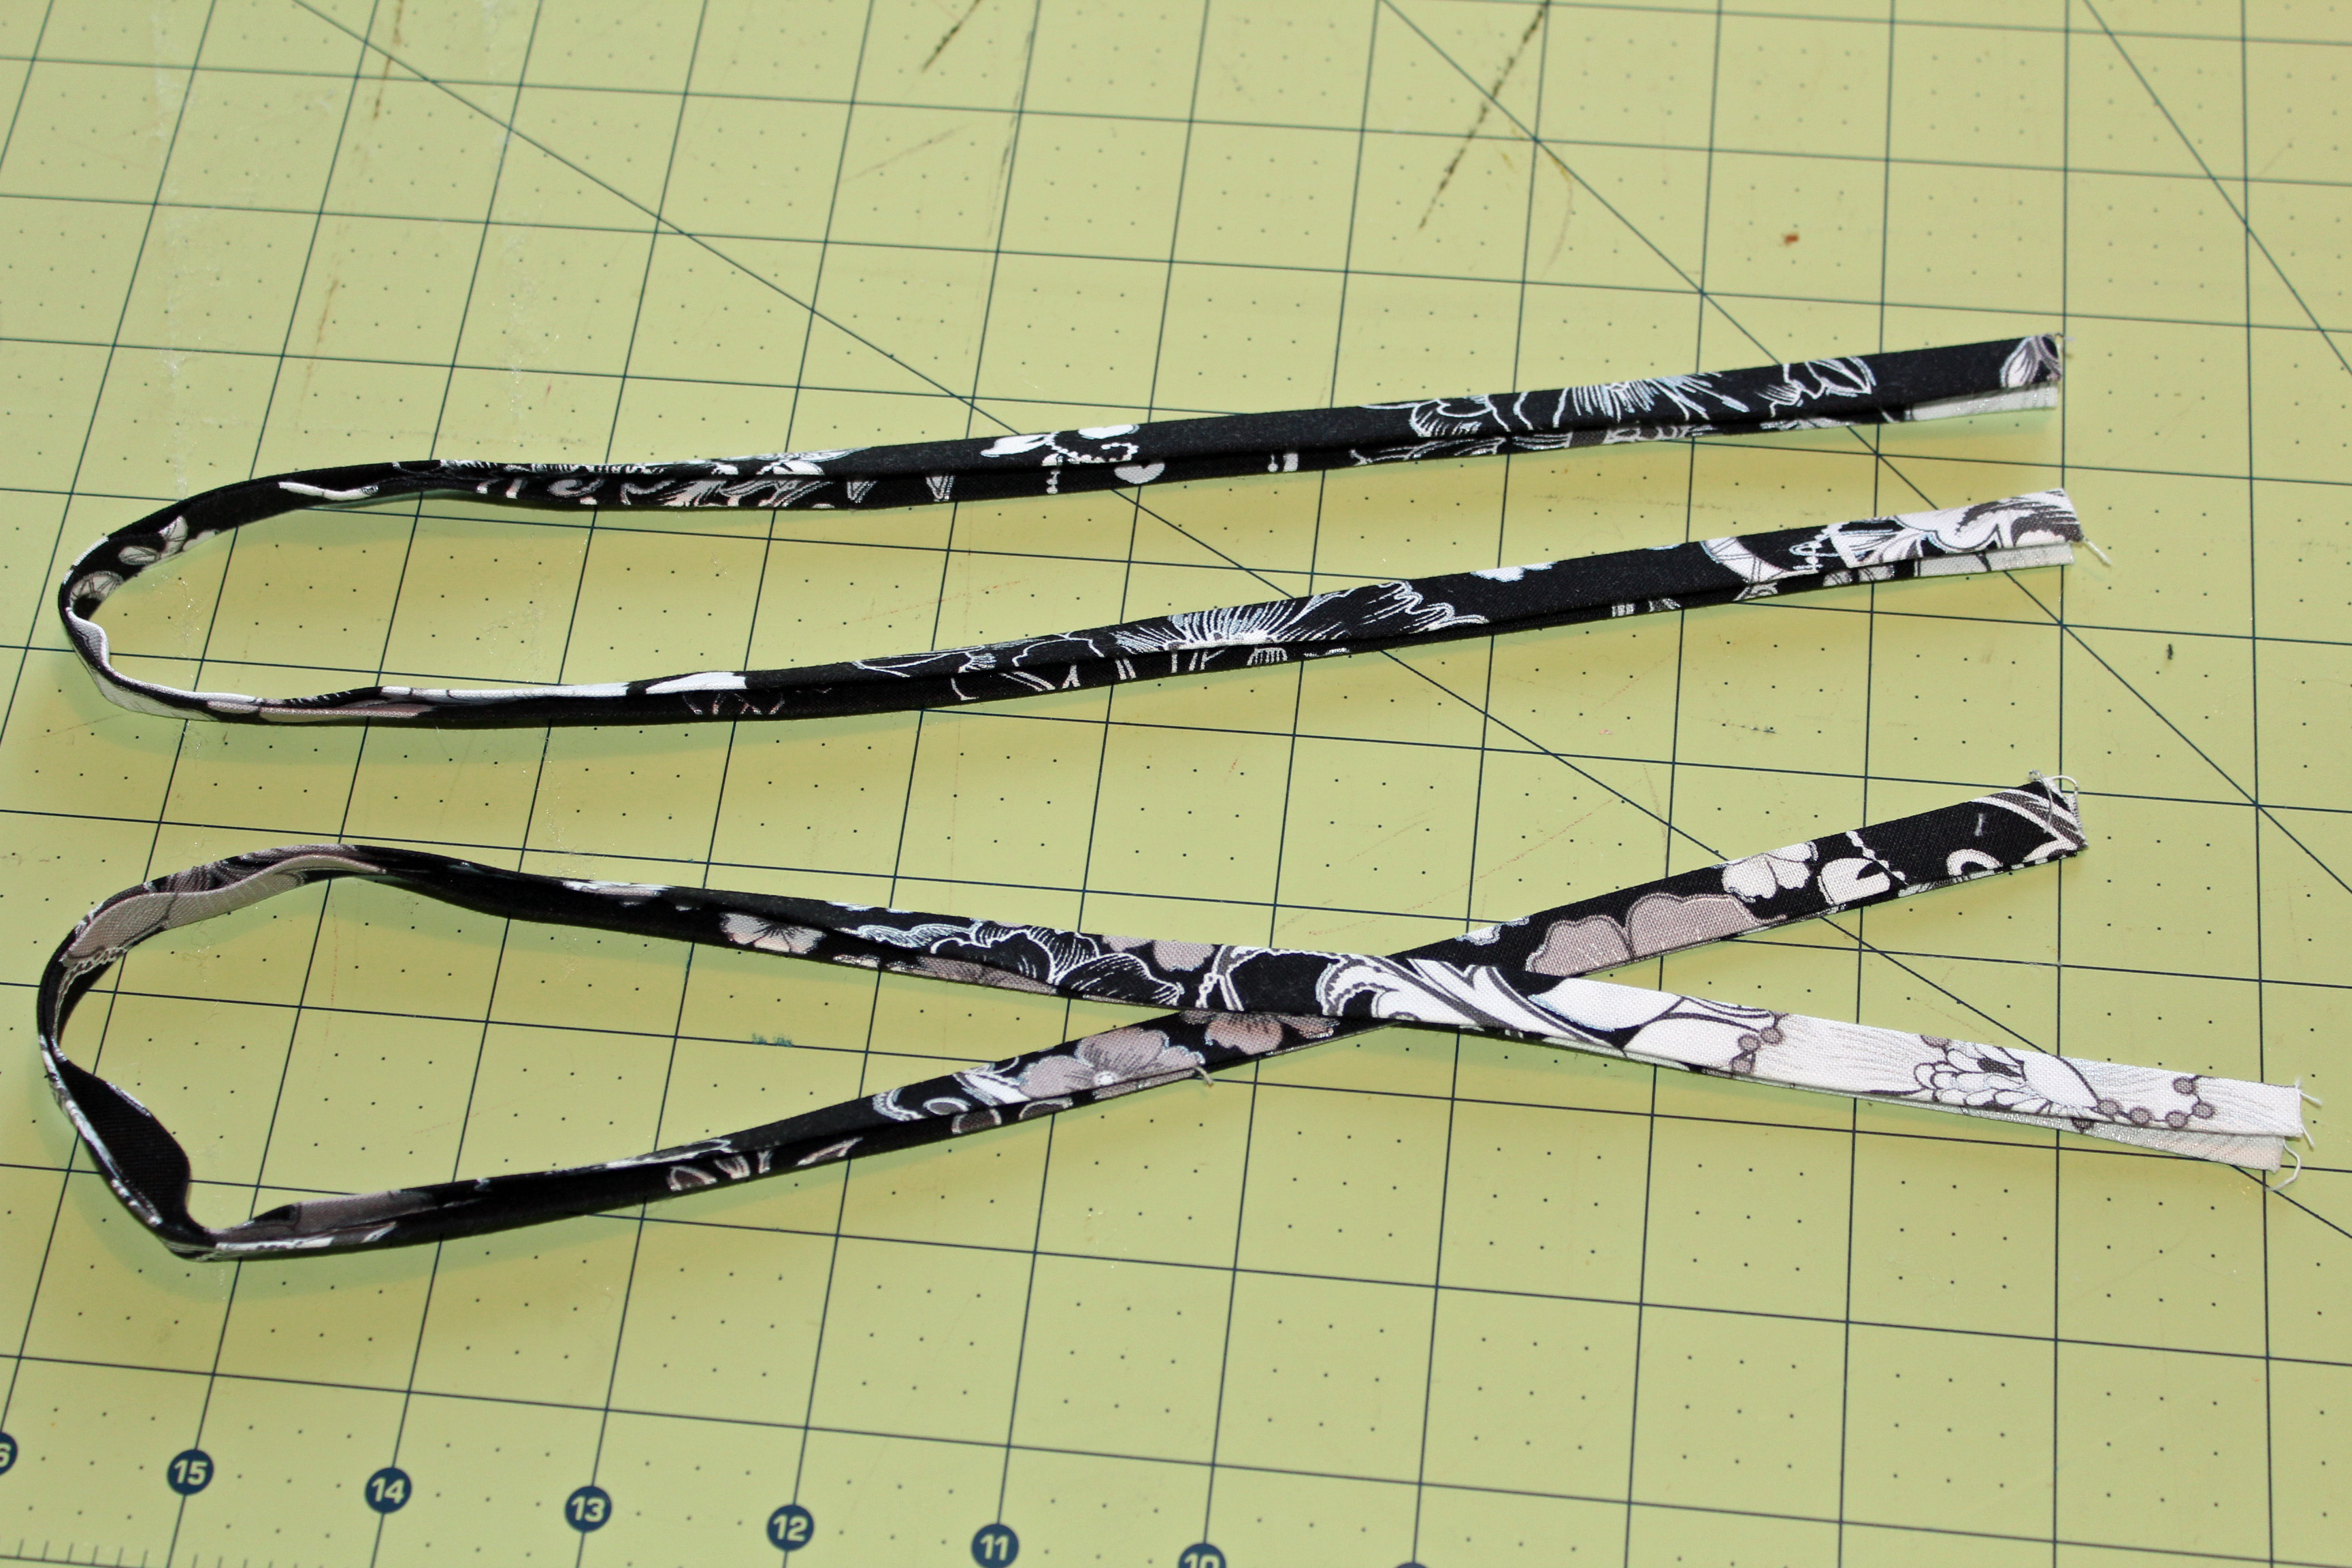
Turn right side out. Iron flat. Top stitch along top and edges. Set aside.                                                        Gather the 13-1/2" x 22" pieces of fabric and batting along with your 23" zippers.                                                     Gather the two pieces of exterior fabric that measure 22" x 1-1/2". Make them into bias strips. Set aside. Now you are going to make the pocket pieces.
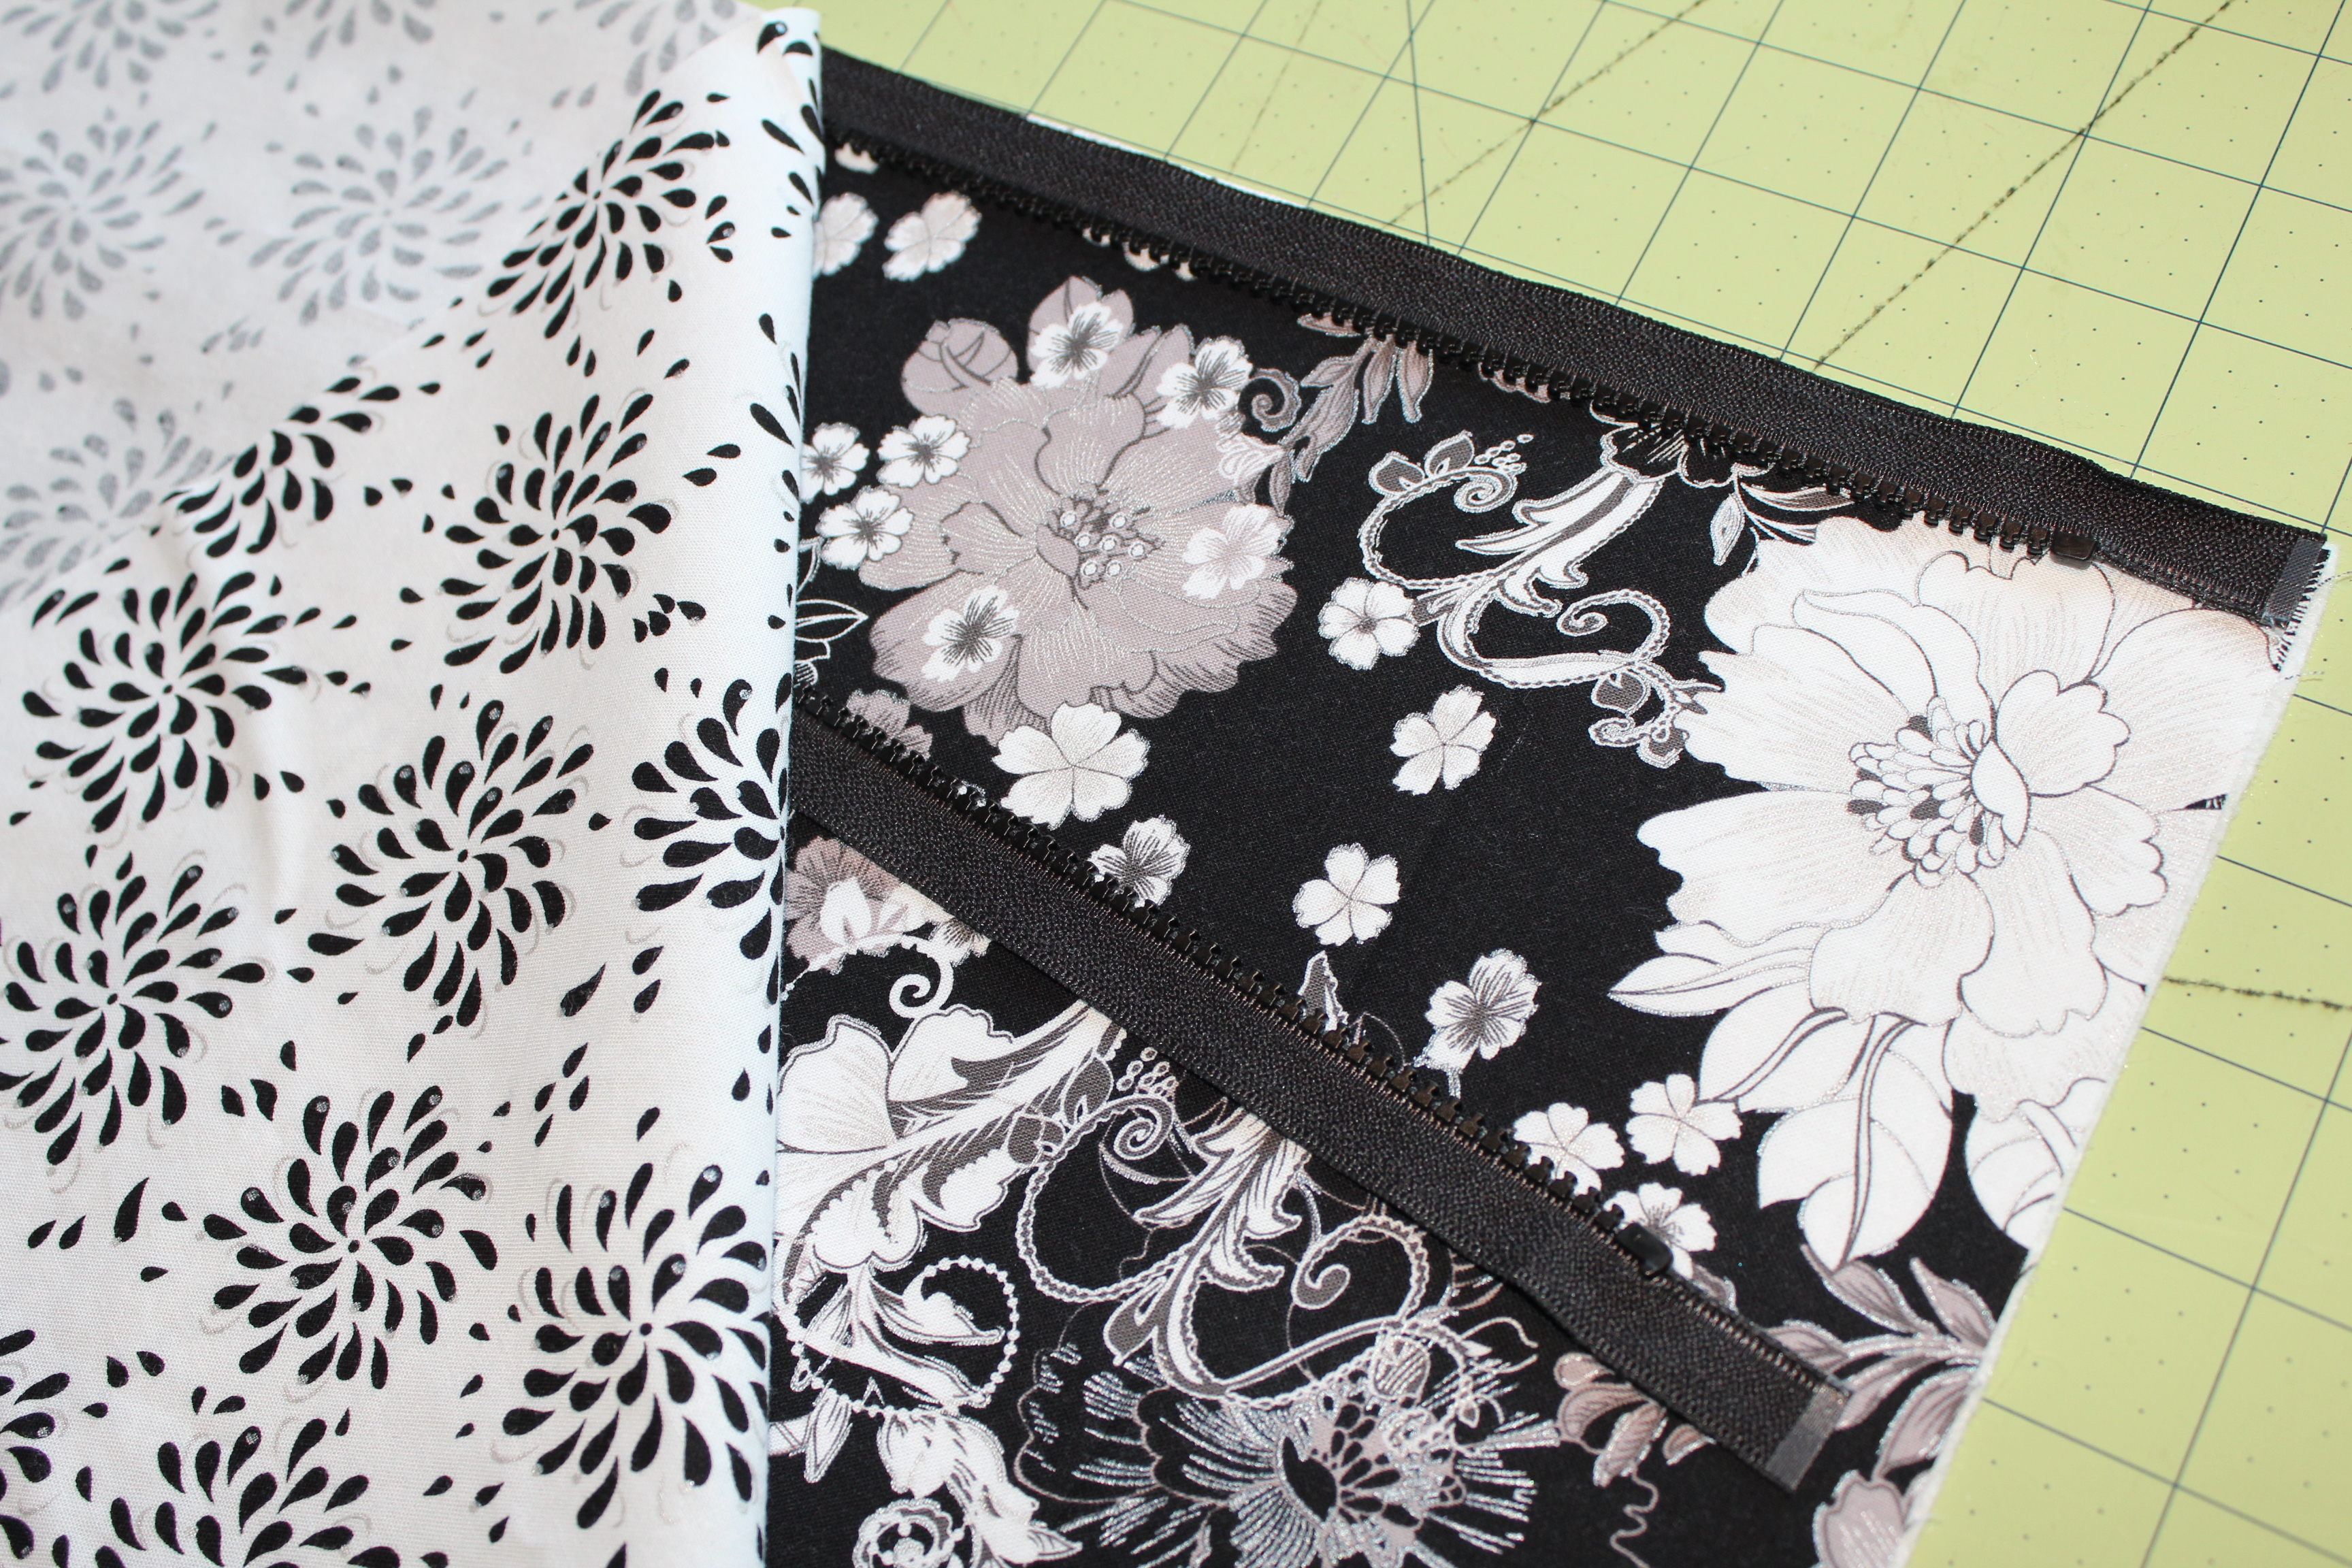
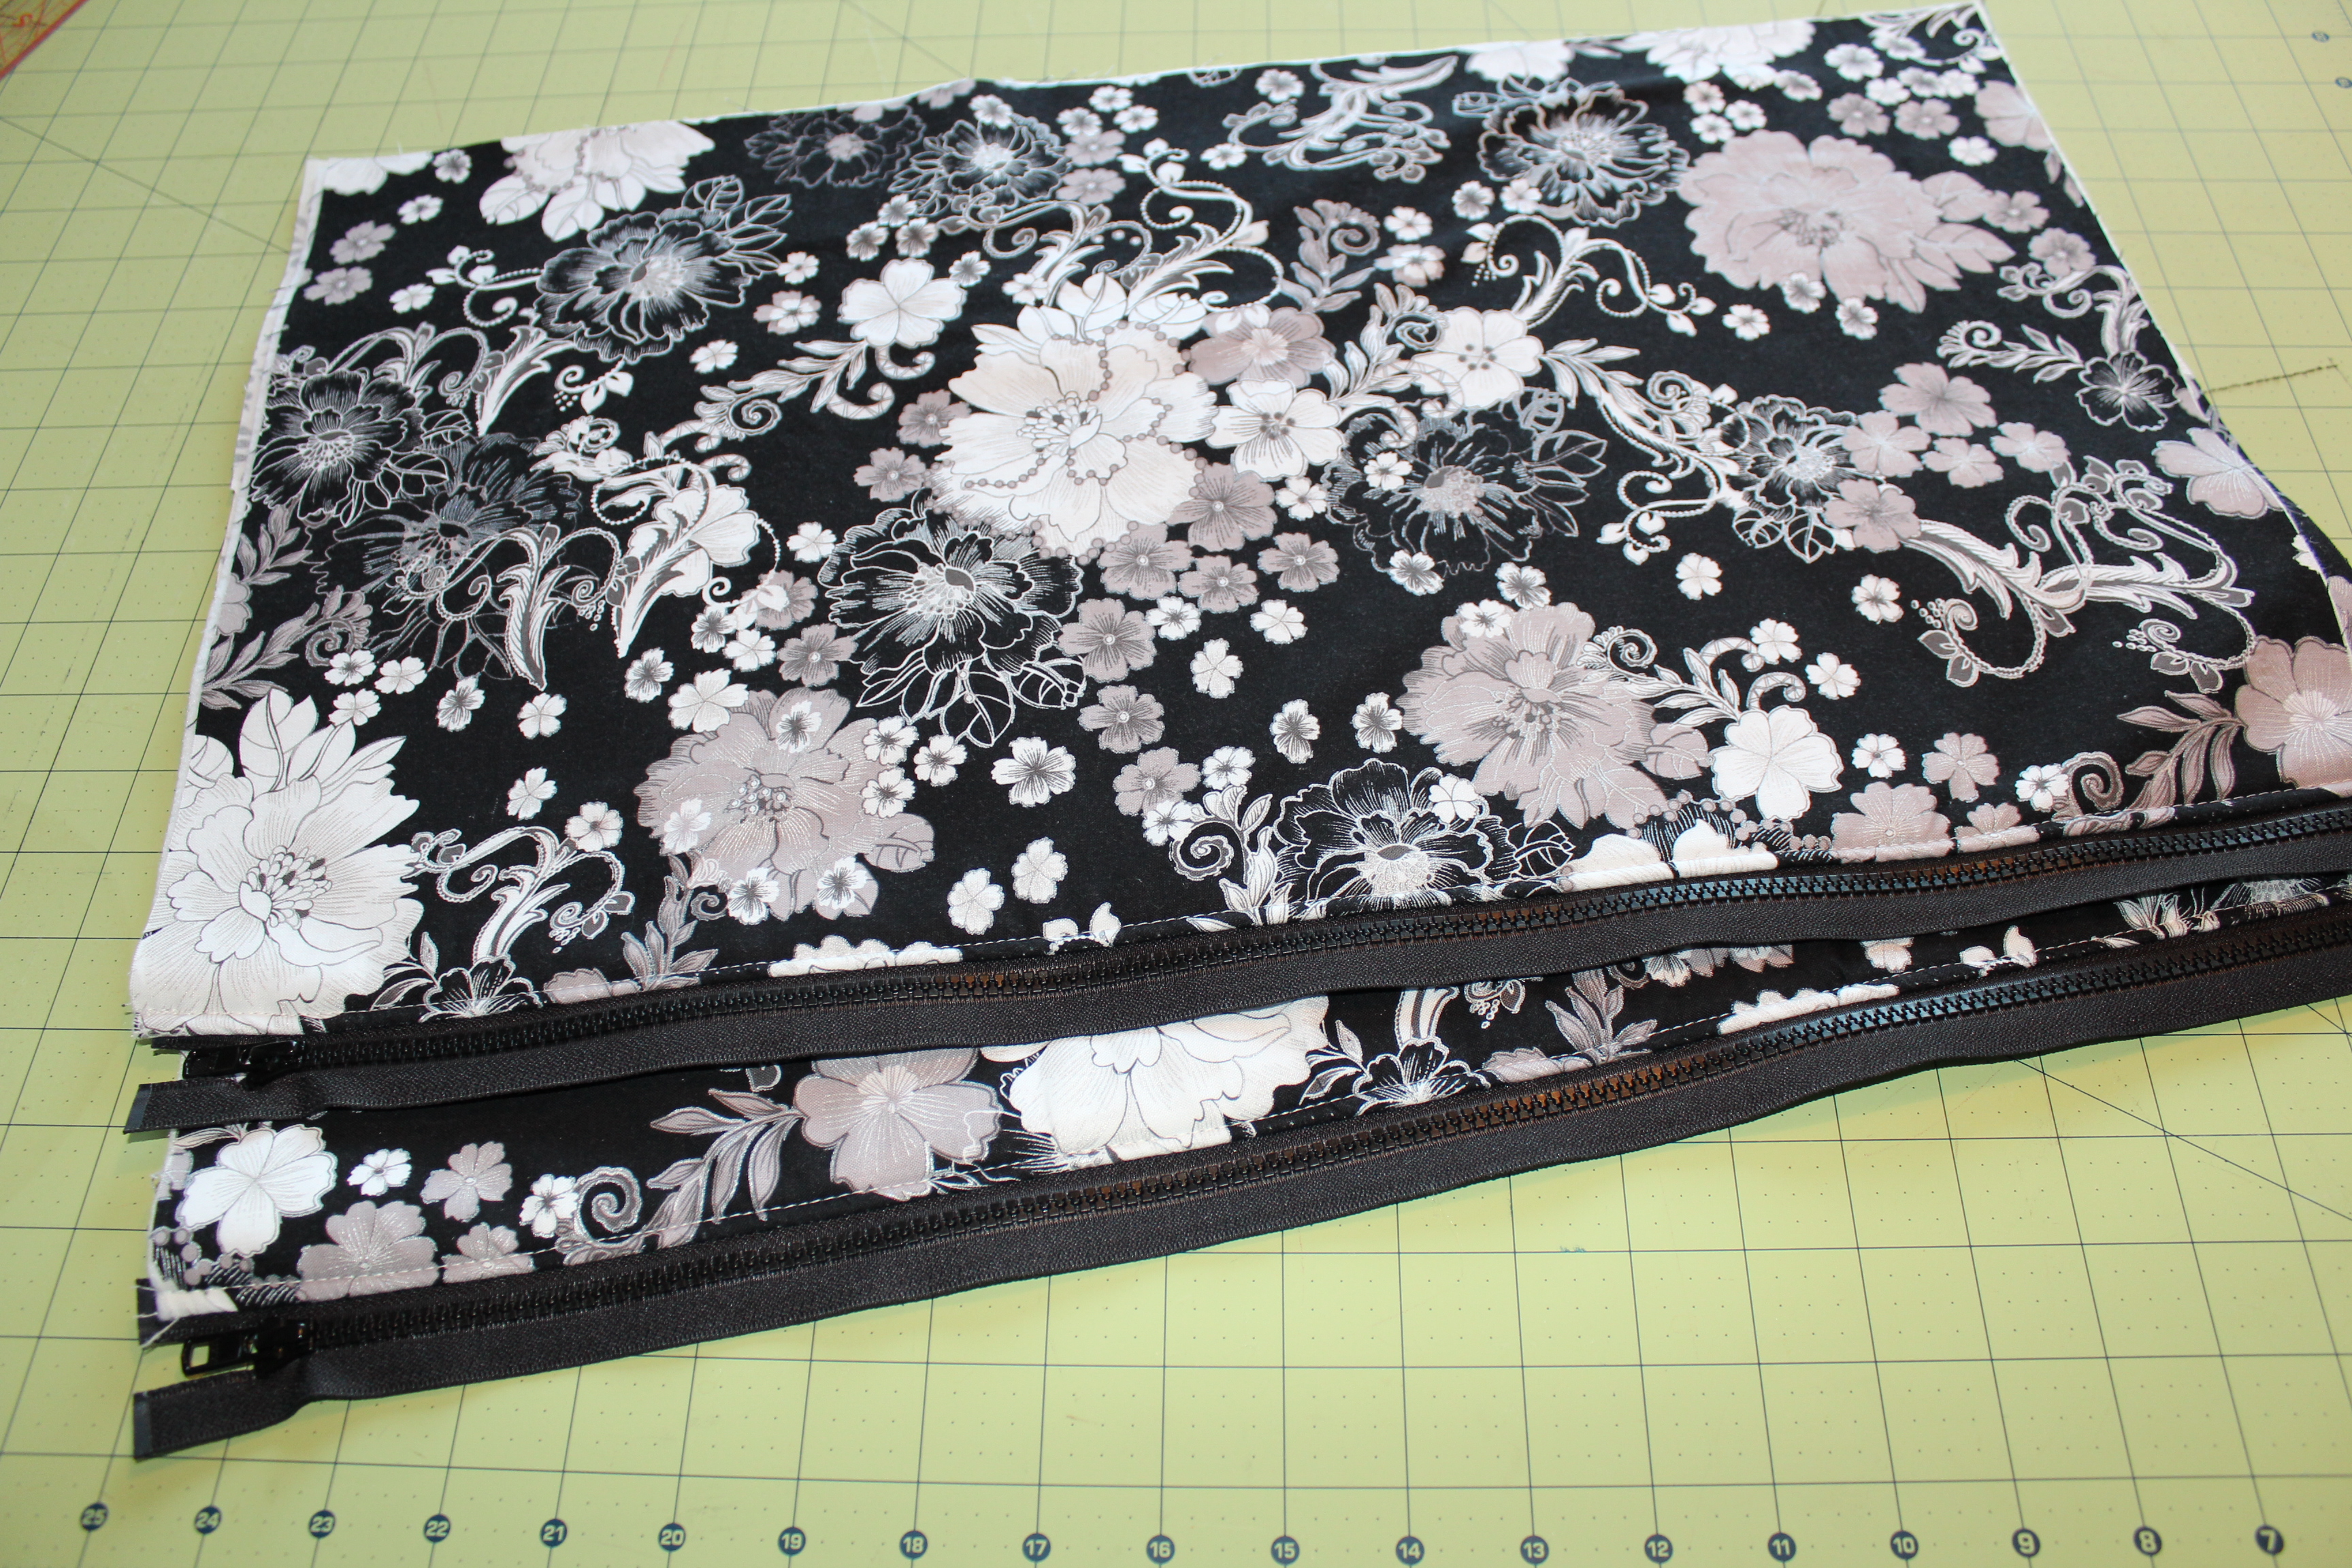
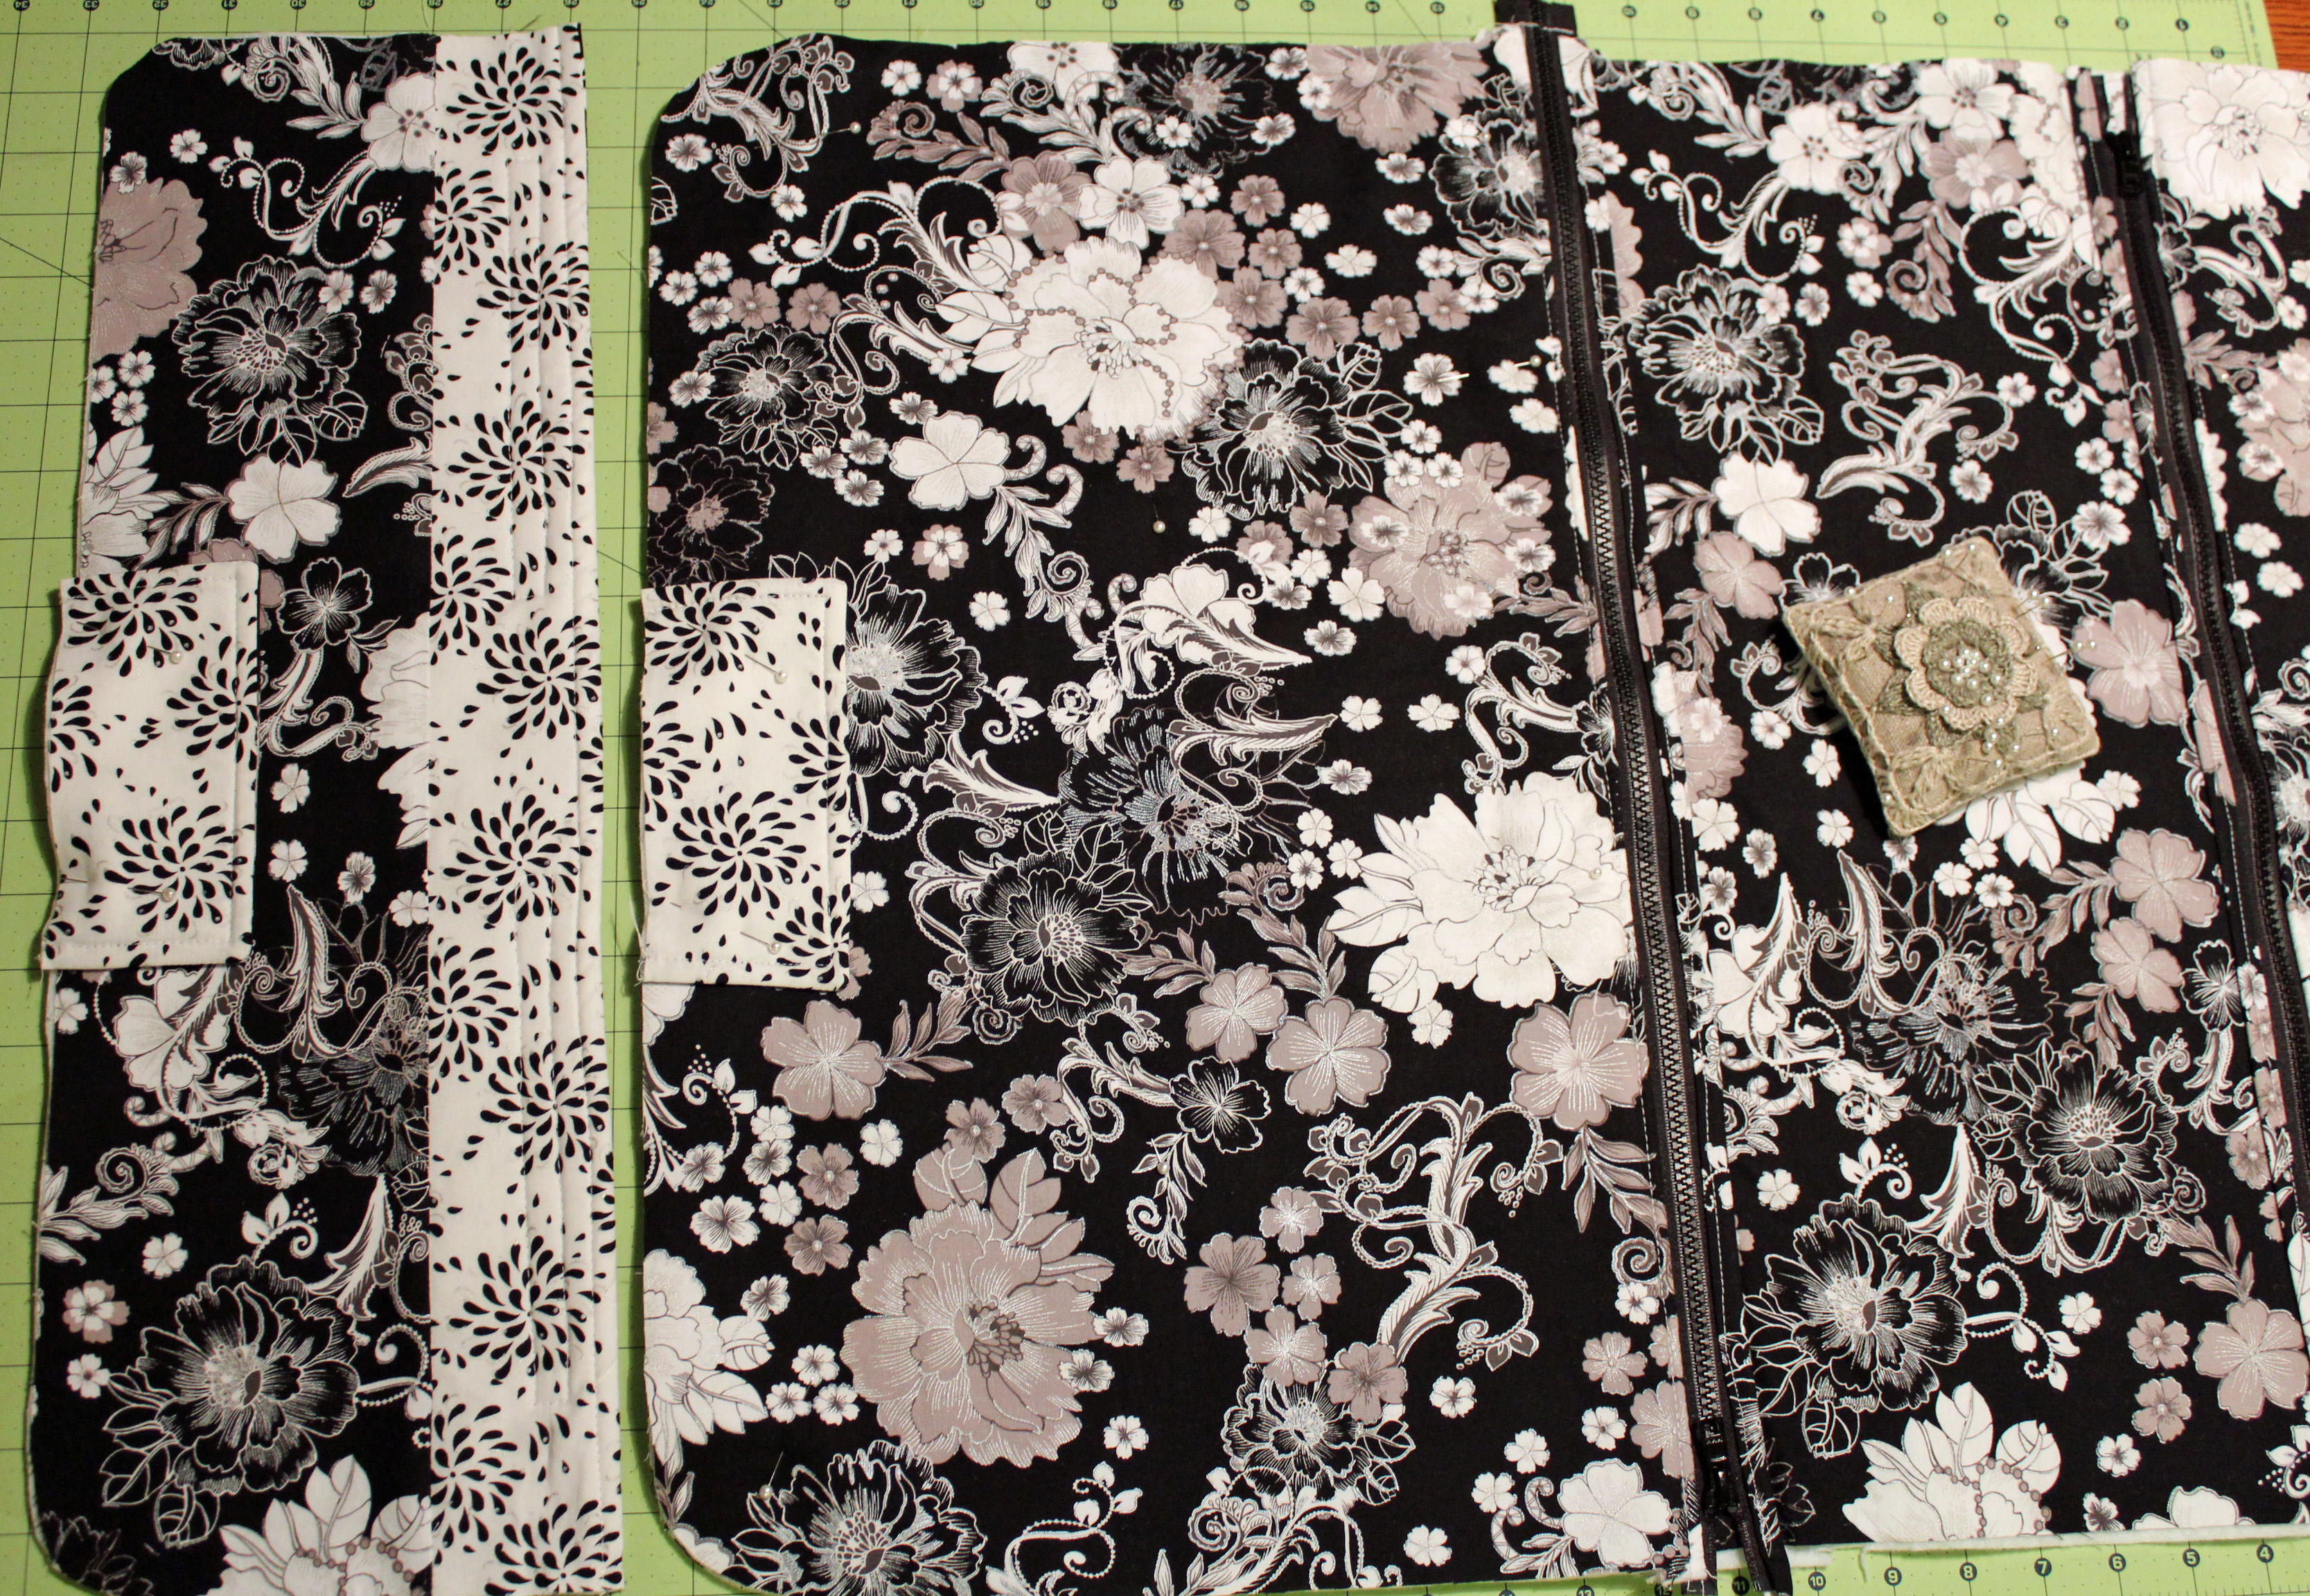
Layer fabrics like so: batting, exterior fabric right side up, zipper right side down, then interior fabric wrong side up. Pin zipper in place. Sew in place. Repeat with the remaining fabrics and zipper. Top of zipper can be on either side this time.
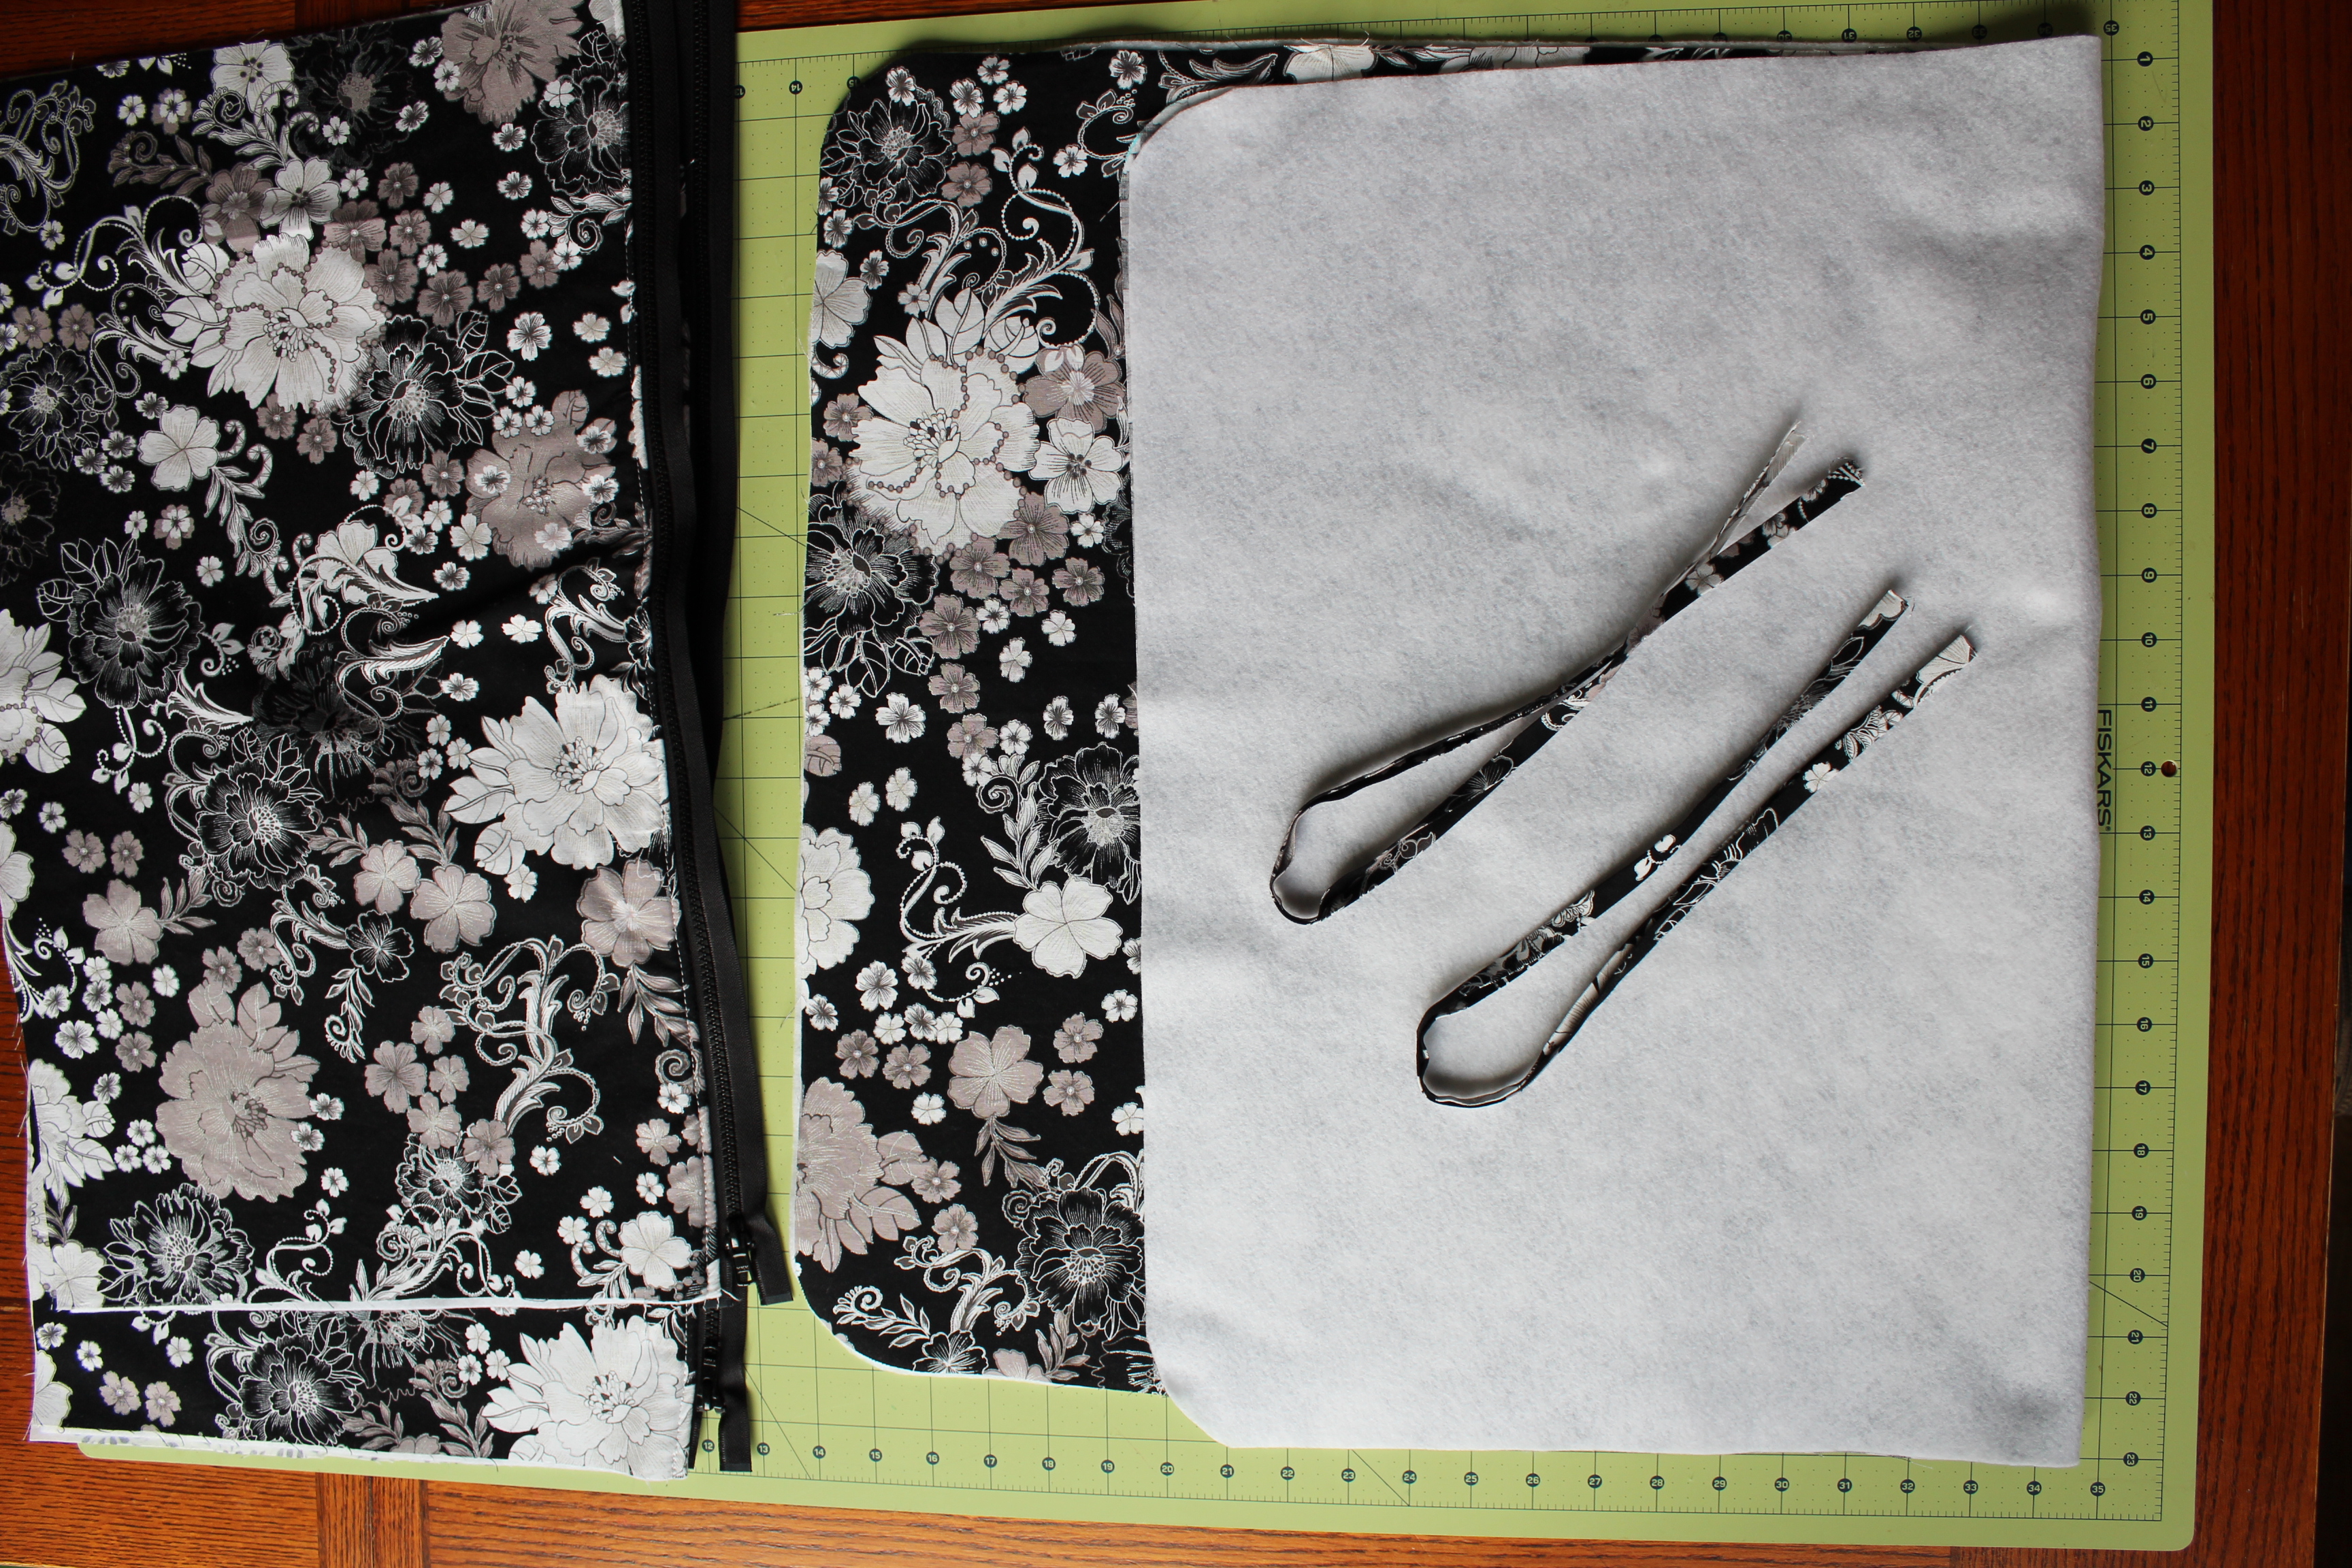
You should now have two pieces that look like this.                                                     Gather your 35" x 22" exterior piece of fabric and batting, the bias strips you just made along with your pocket pieces. You are going to make the back of the bag. You know the part of the garment bag that has the handles attached and has pockets?
Lay the 35" x 22" piece of fabric flat with the batting underneath. Lay zippered pockets on top. Line up edges. Don't worry about the squared edges of the pocket pieces, you will be rounding them in a bit.                            
Take the bias strip and place the edge of the zipper inside of it then pin in place onto bag.
Sew bias strip as close to the zipper as possible. Take your time. These stitches will be seen plus they will be holding the zipper in place. This is just a quick and easy way to cover up the zipper edges.                                                                                                                                                               Now lay the 35" x 22" interior piece of fabric on top of the back piece that you just made. Trim all around the outer edges to make sure they are even and straight. Round edges as well. Be careful when cutting around the zippers and now is a good time to hand stitch the teeth on the zippers closed.                                  
With the back piece still laying flat place the two front pieces on top. Line up all the edges. Make sure you overlap the top part of the front piece over the zippered part. This is how you will find out where to place the Velcro later on. Pin in place.
 
Trim all of the edges. Again be careful near your zippers and hand stitch the teeth together.
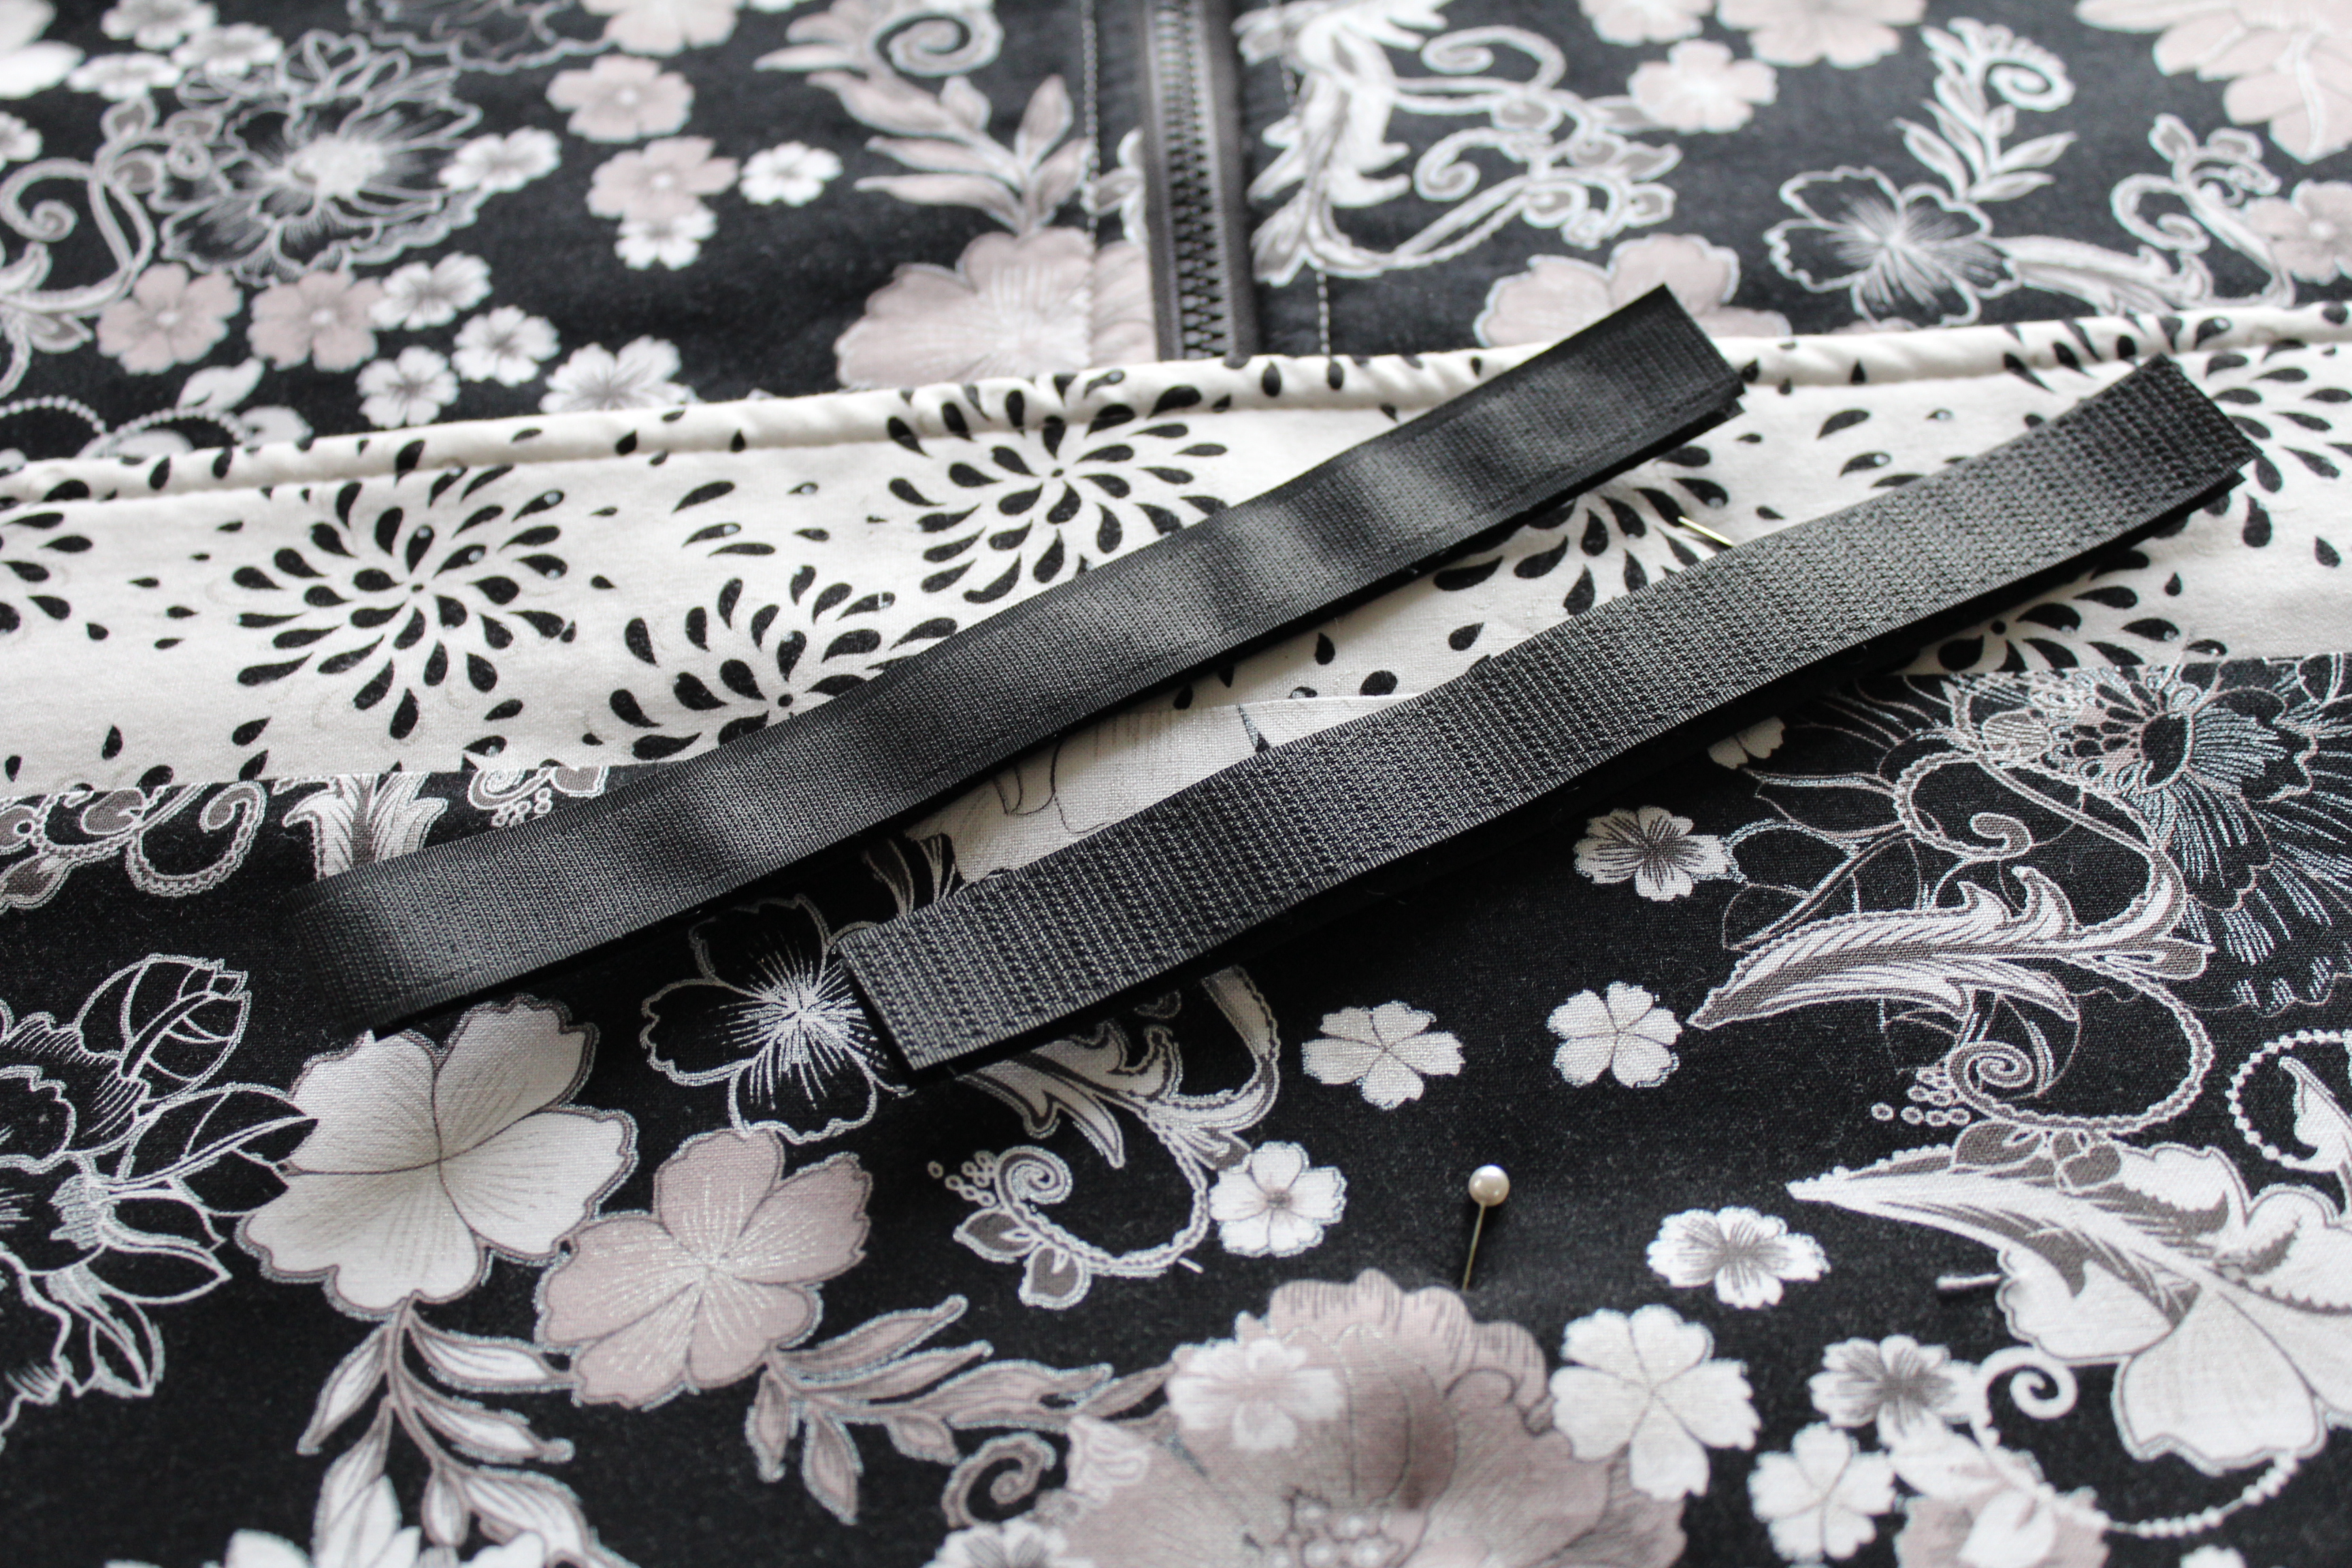
Grab your Velcro and cut it into two 7" long pieces.
Line up the hook piece of velcro under the flap of the top piece about 1" in from the edge. Line it up so that they are even on the right and left side of where the zipper lays on the piece below. Now place the loop piece of Velcro onto the front piece of bag that lays underneath. Make sure you line it up so that the velcro works once sewn on. Pin and sew in place.
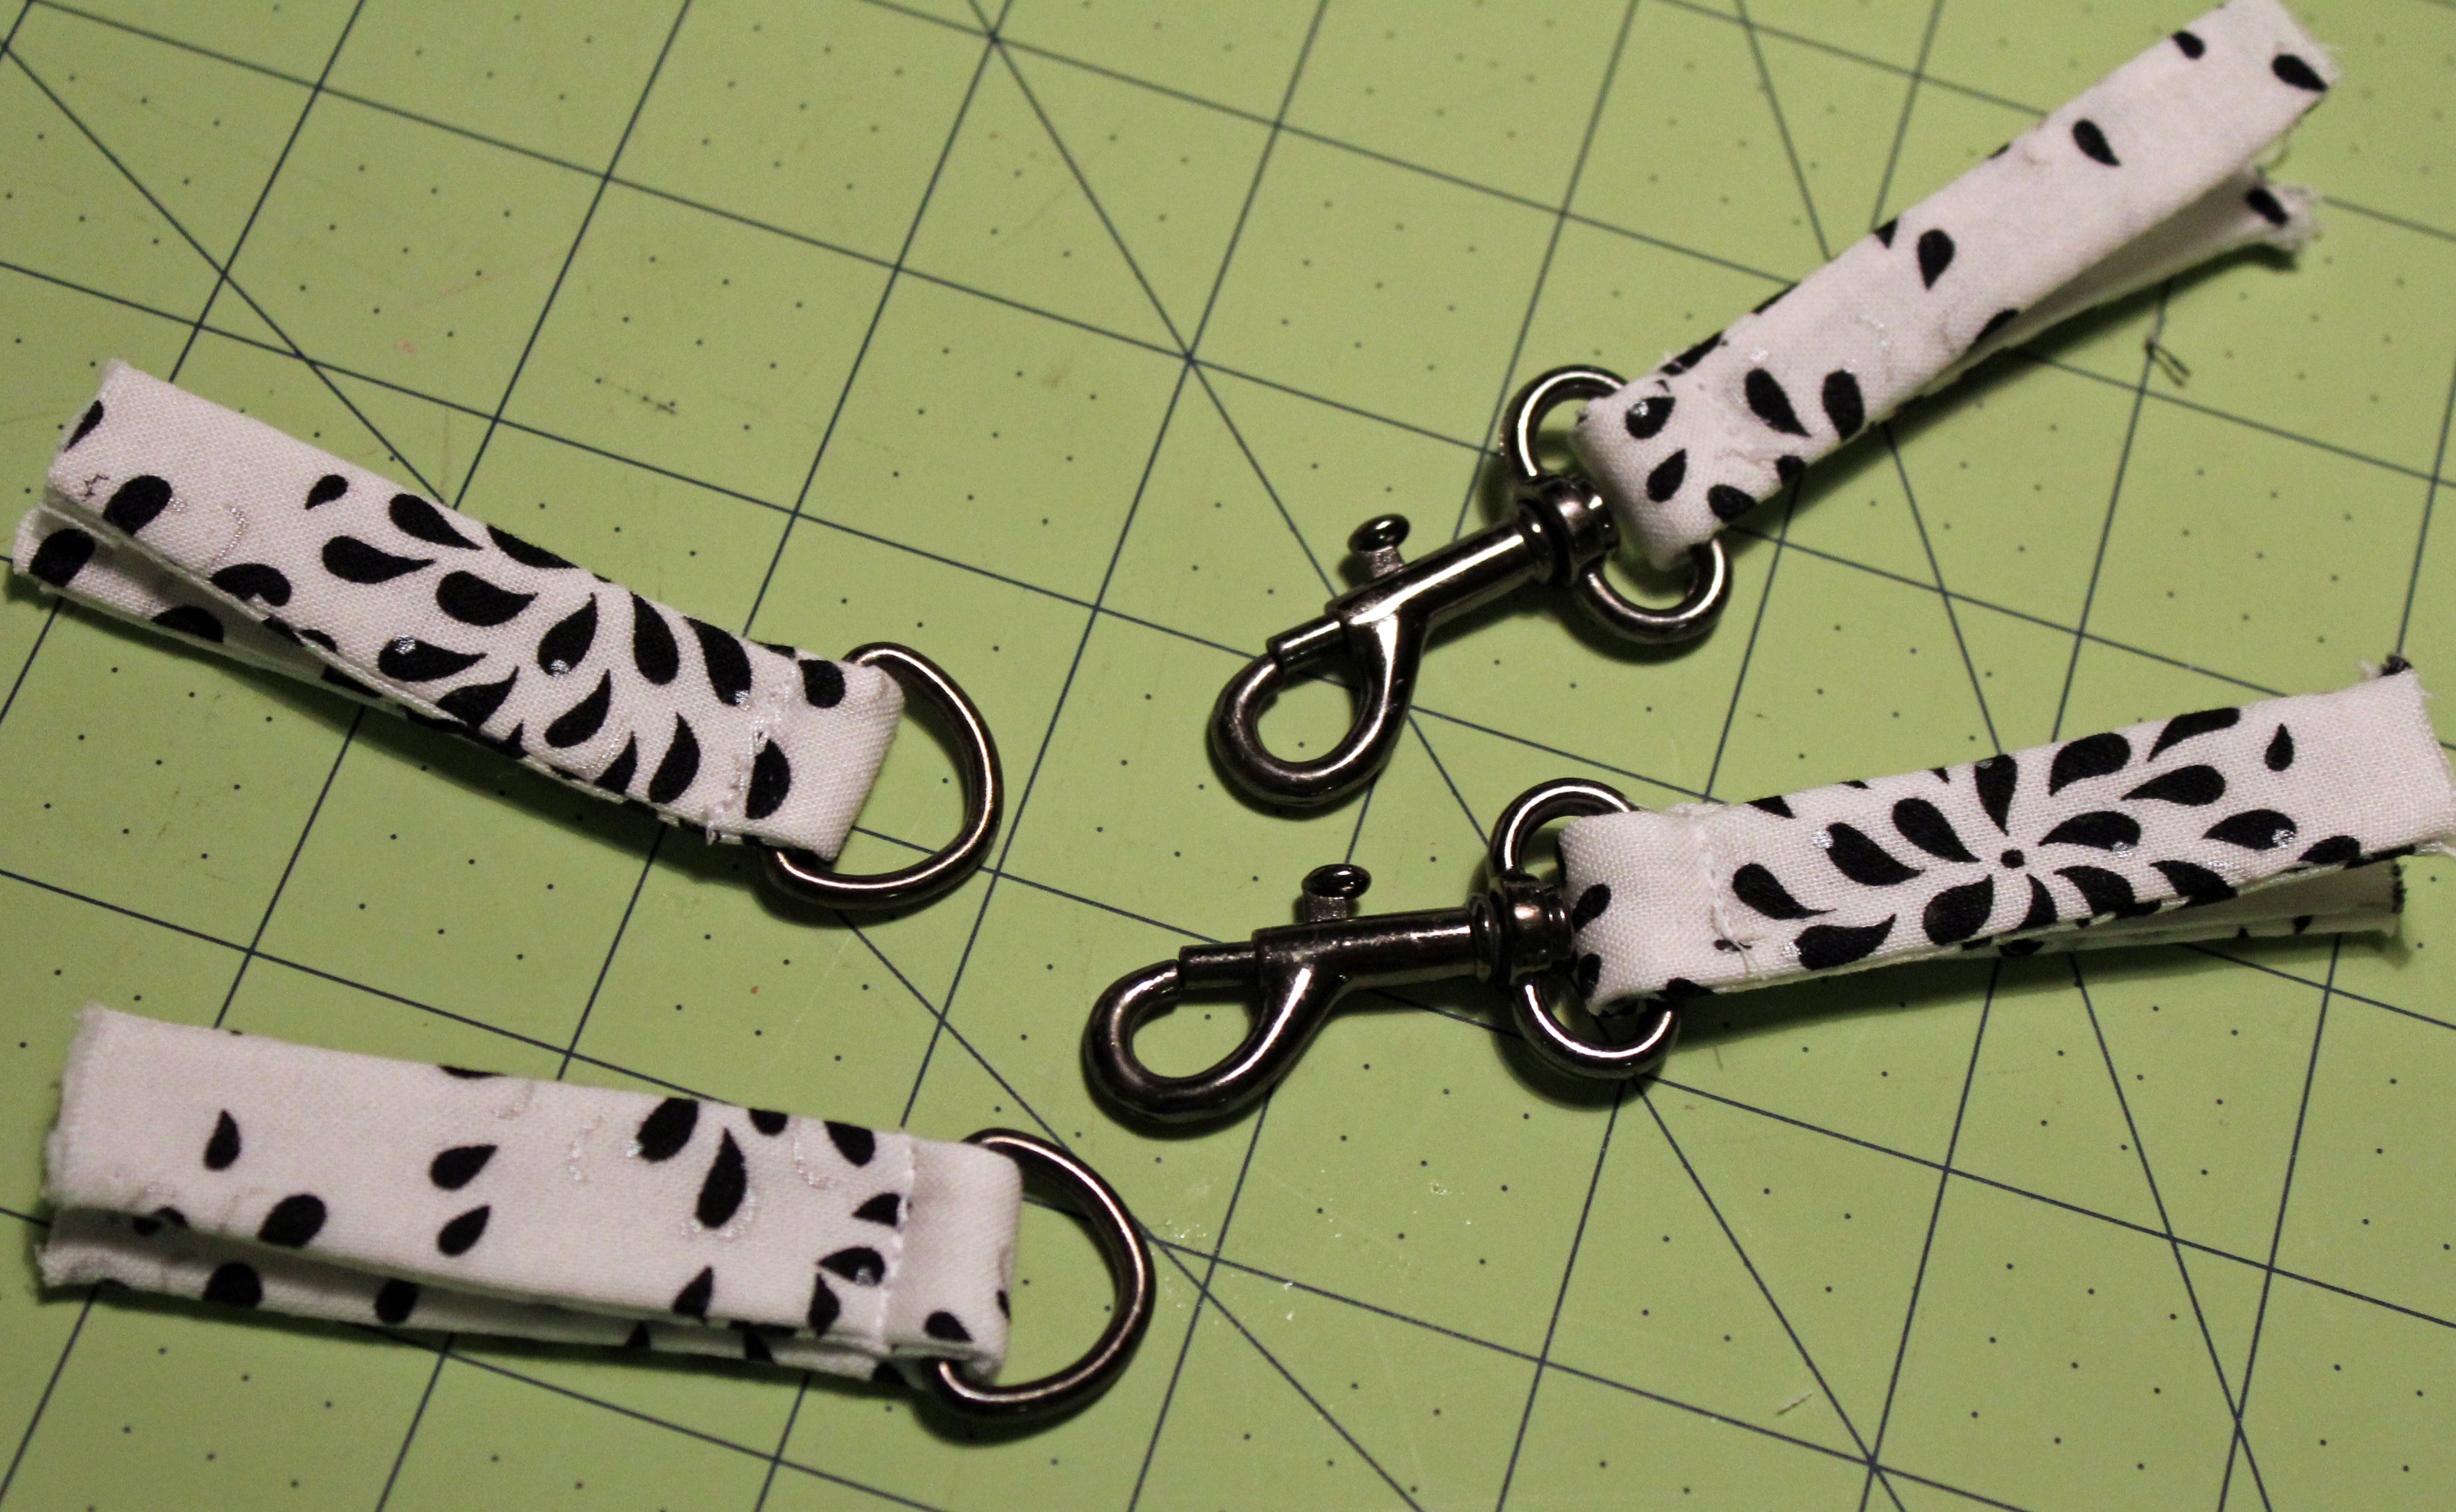
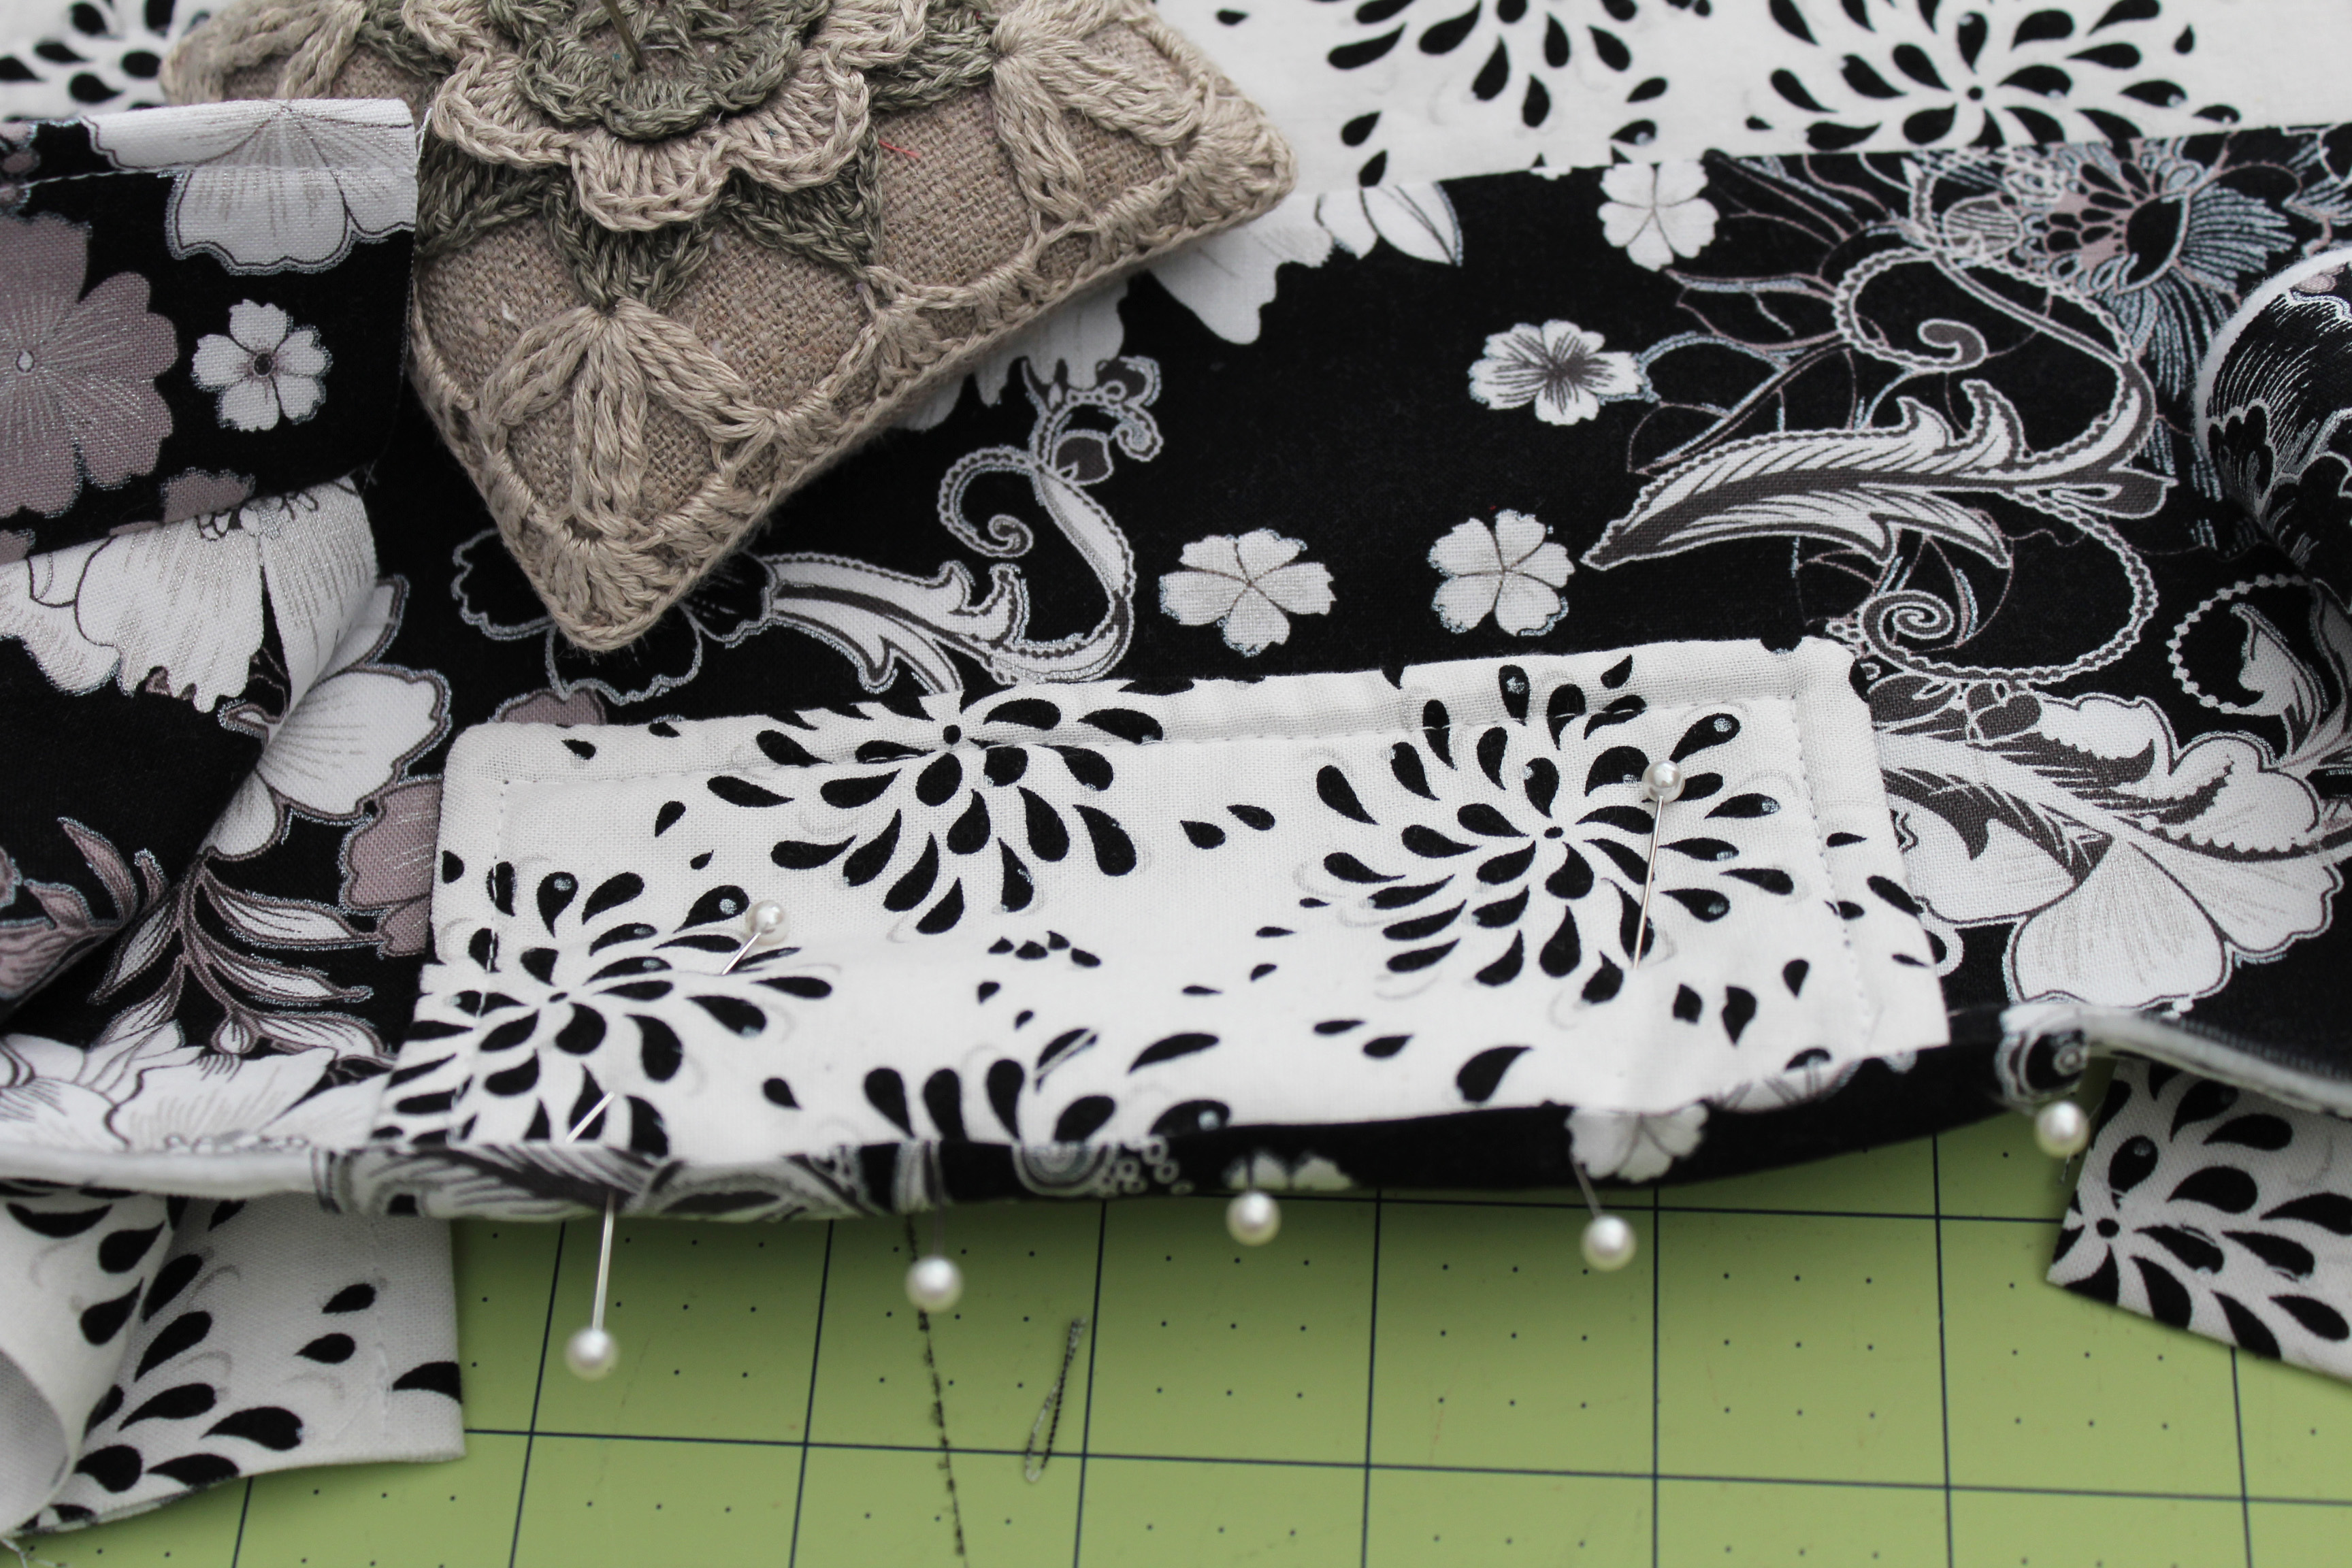
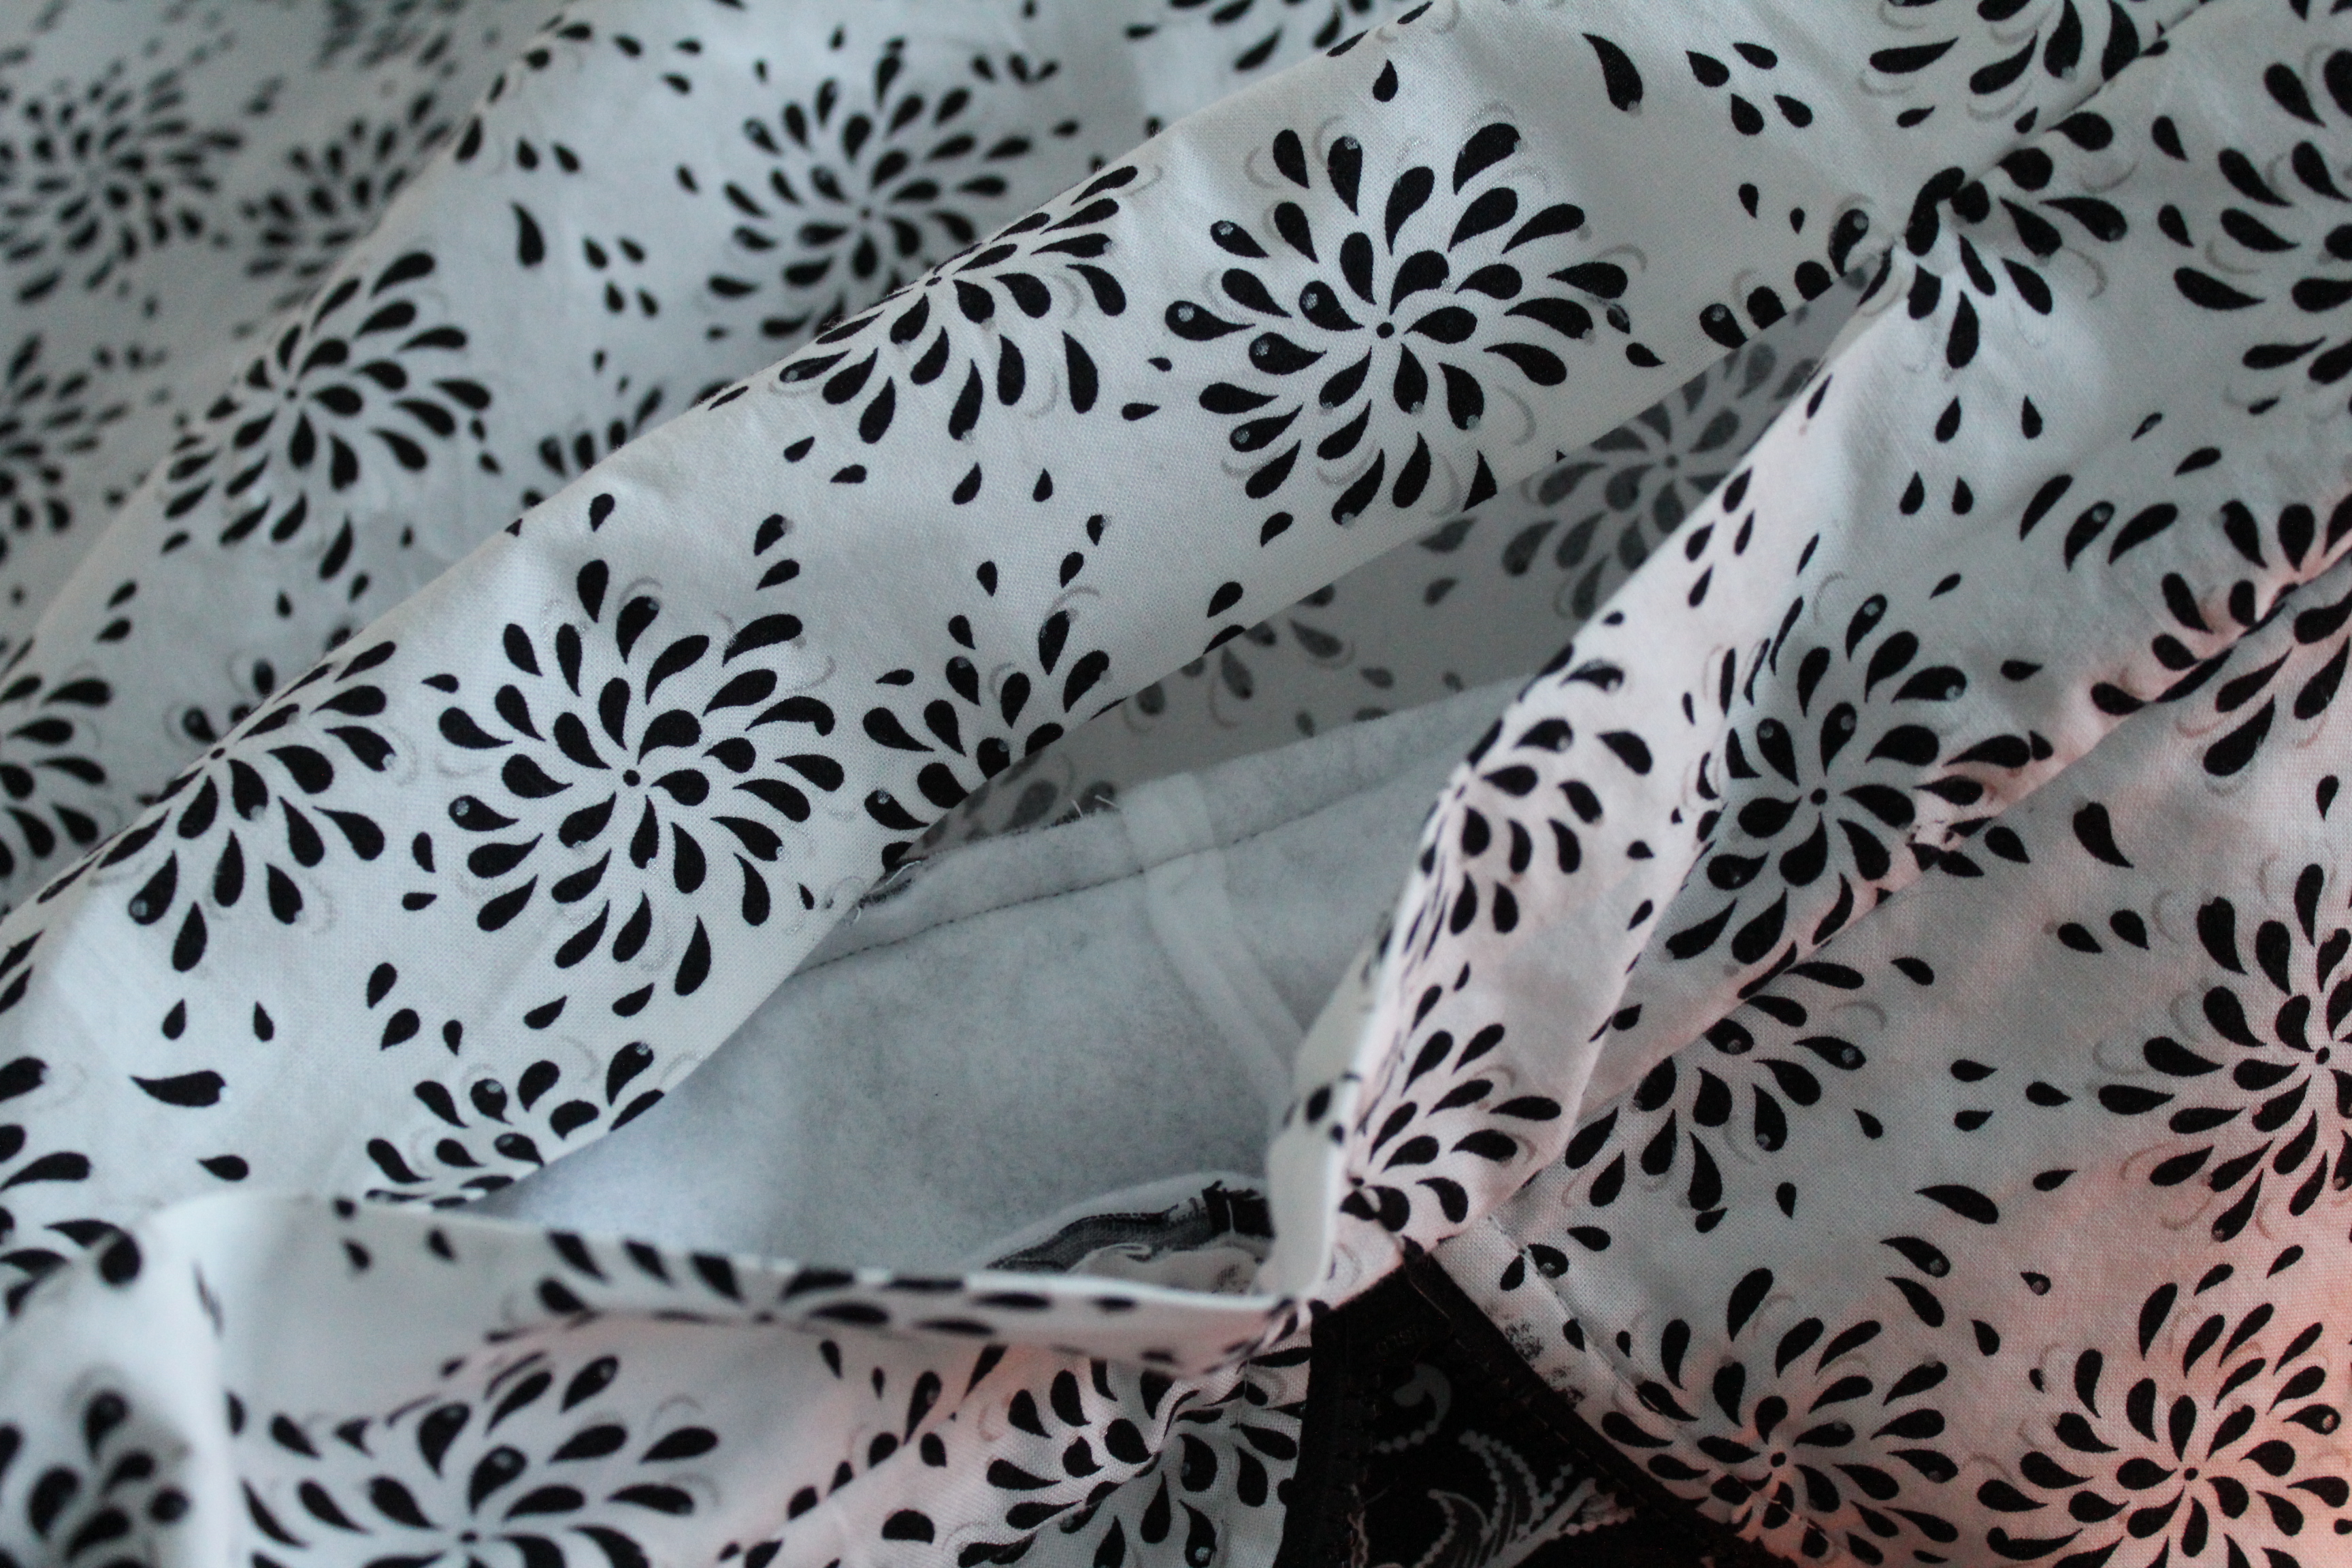
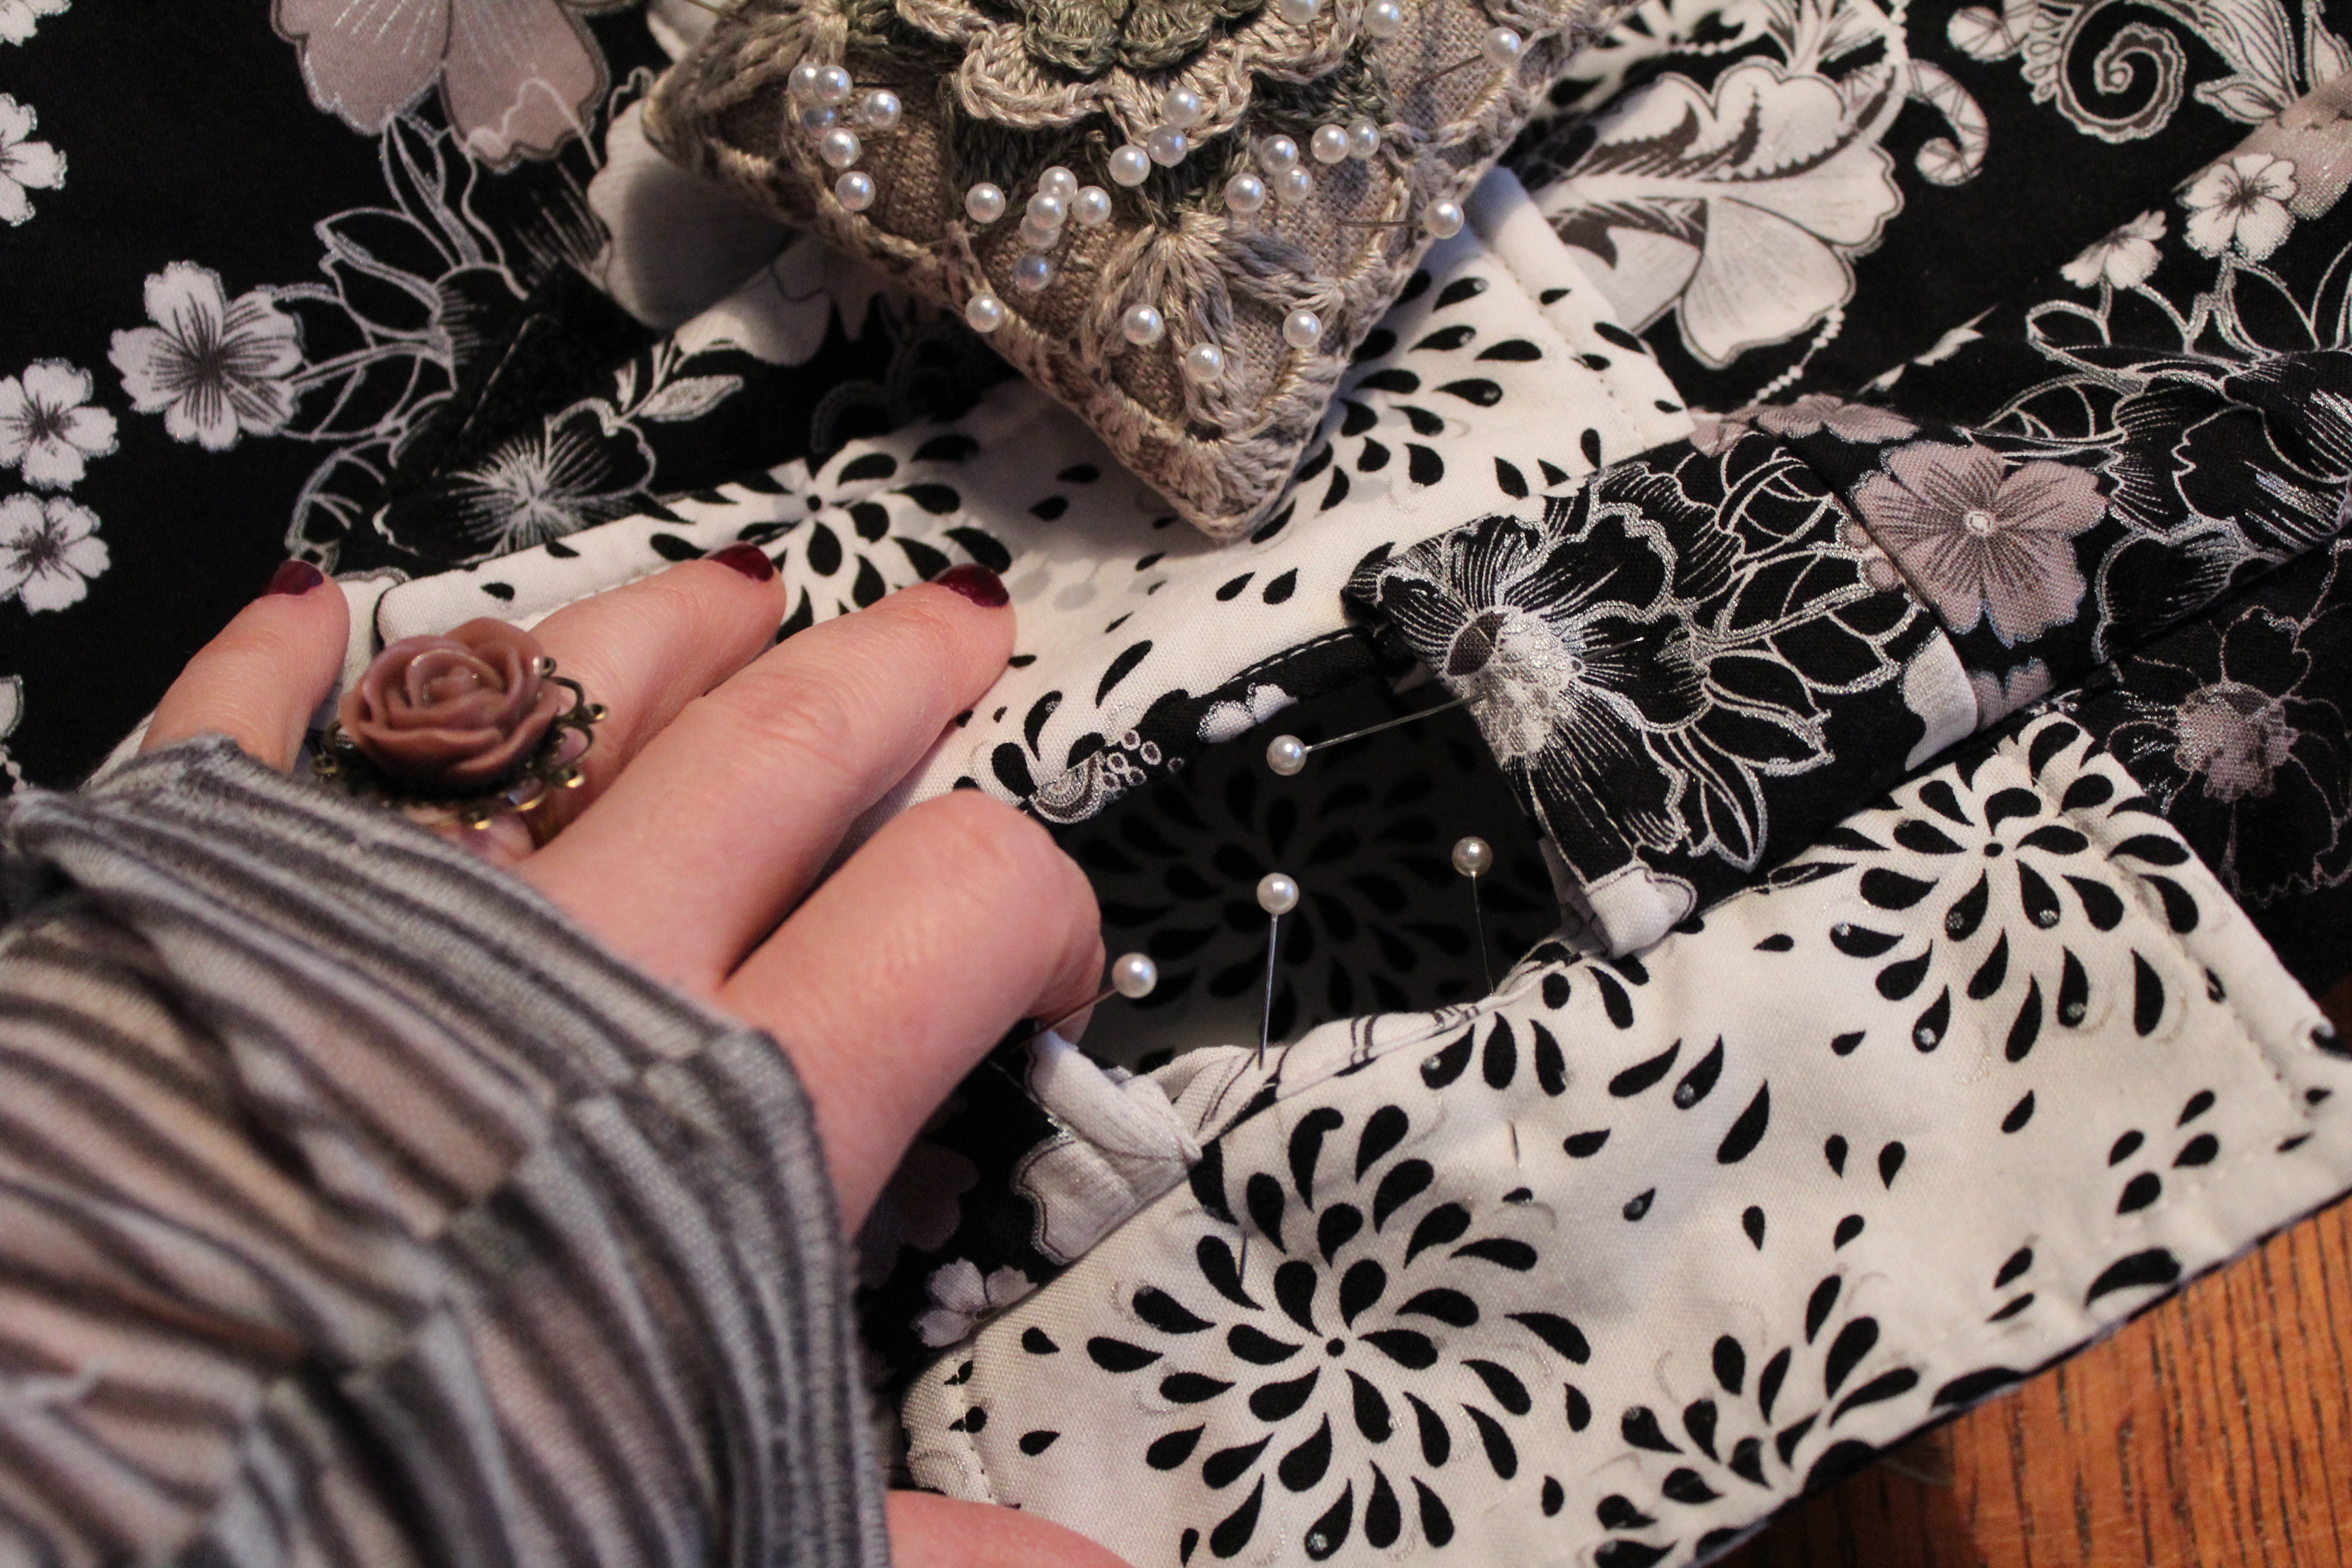
Gather the two hanger flaps. Place them on the top edge of the front and back pieces of the bags. See picture below. Just make sure they line up evenly.                                                         Gather the two 1" D-rings and matching clasps. Out of your scrap pieces of fabric make some tabs to attach the D-rings and clasps to. I think mine were about 5" long so once looped through they are 2-1/2" long.                   
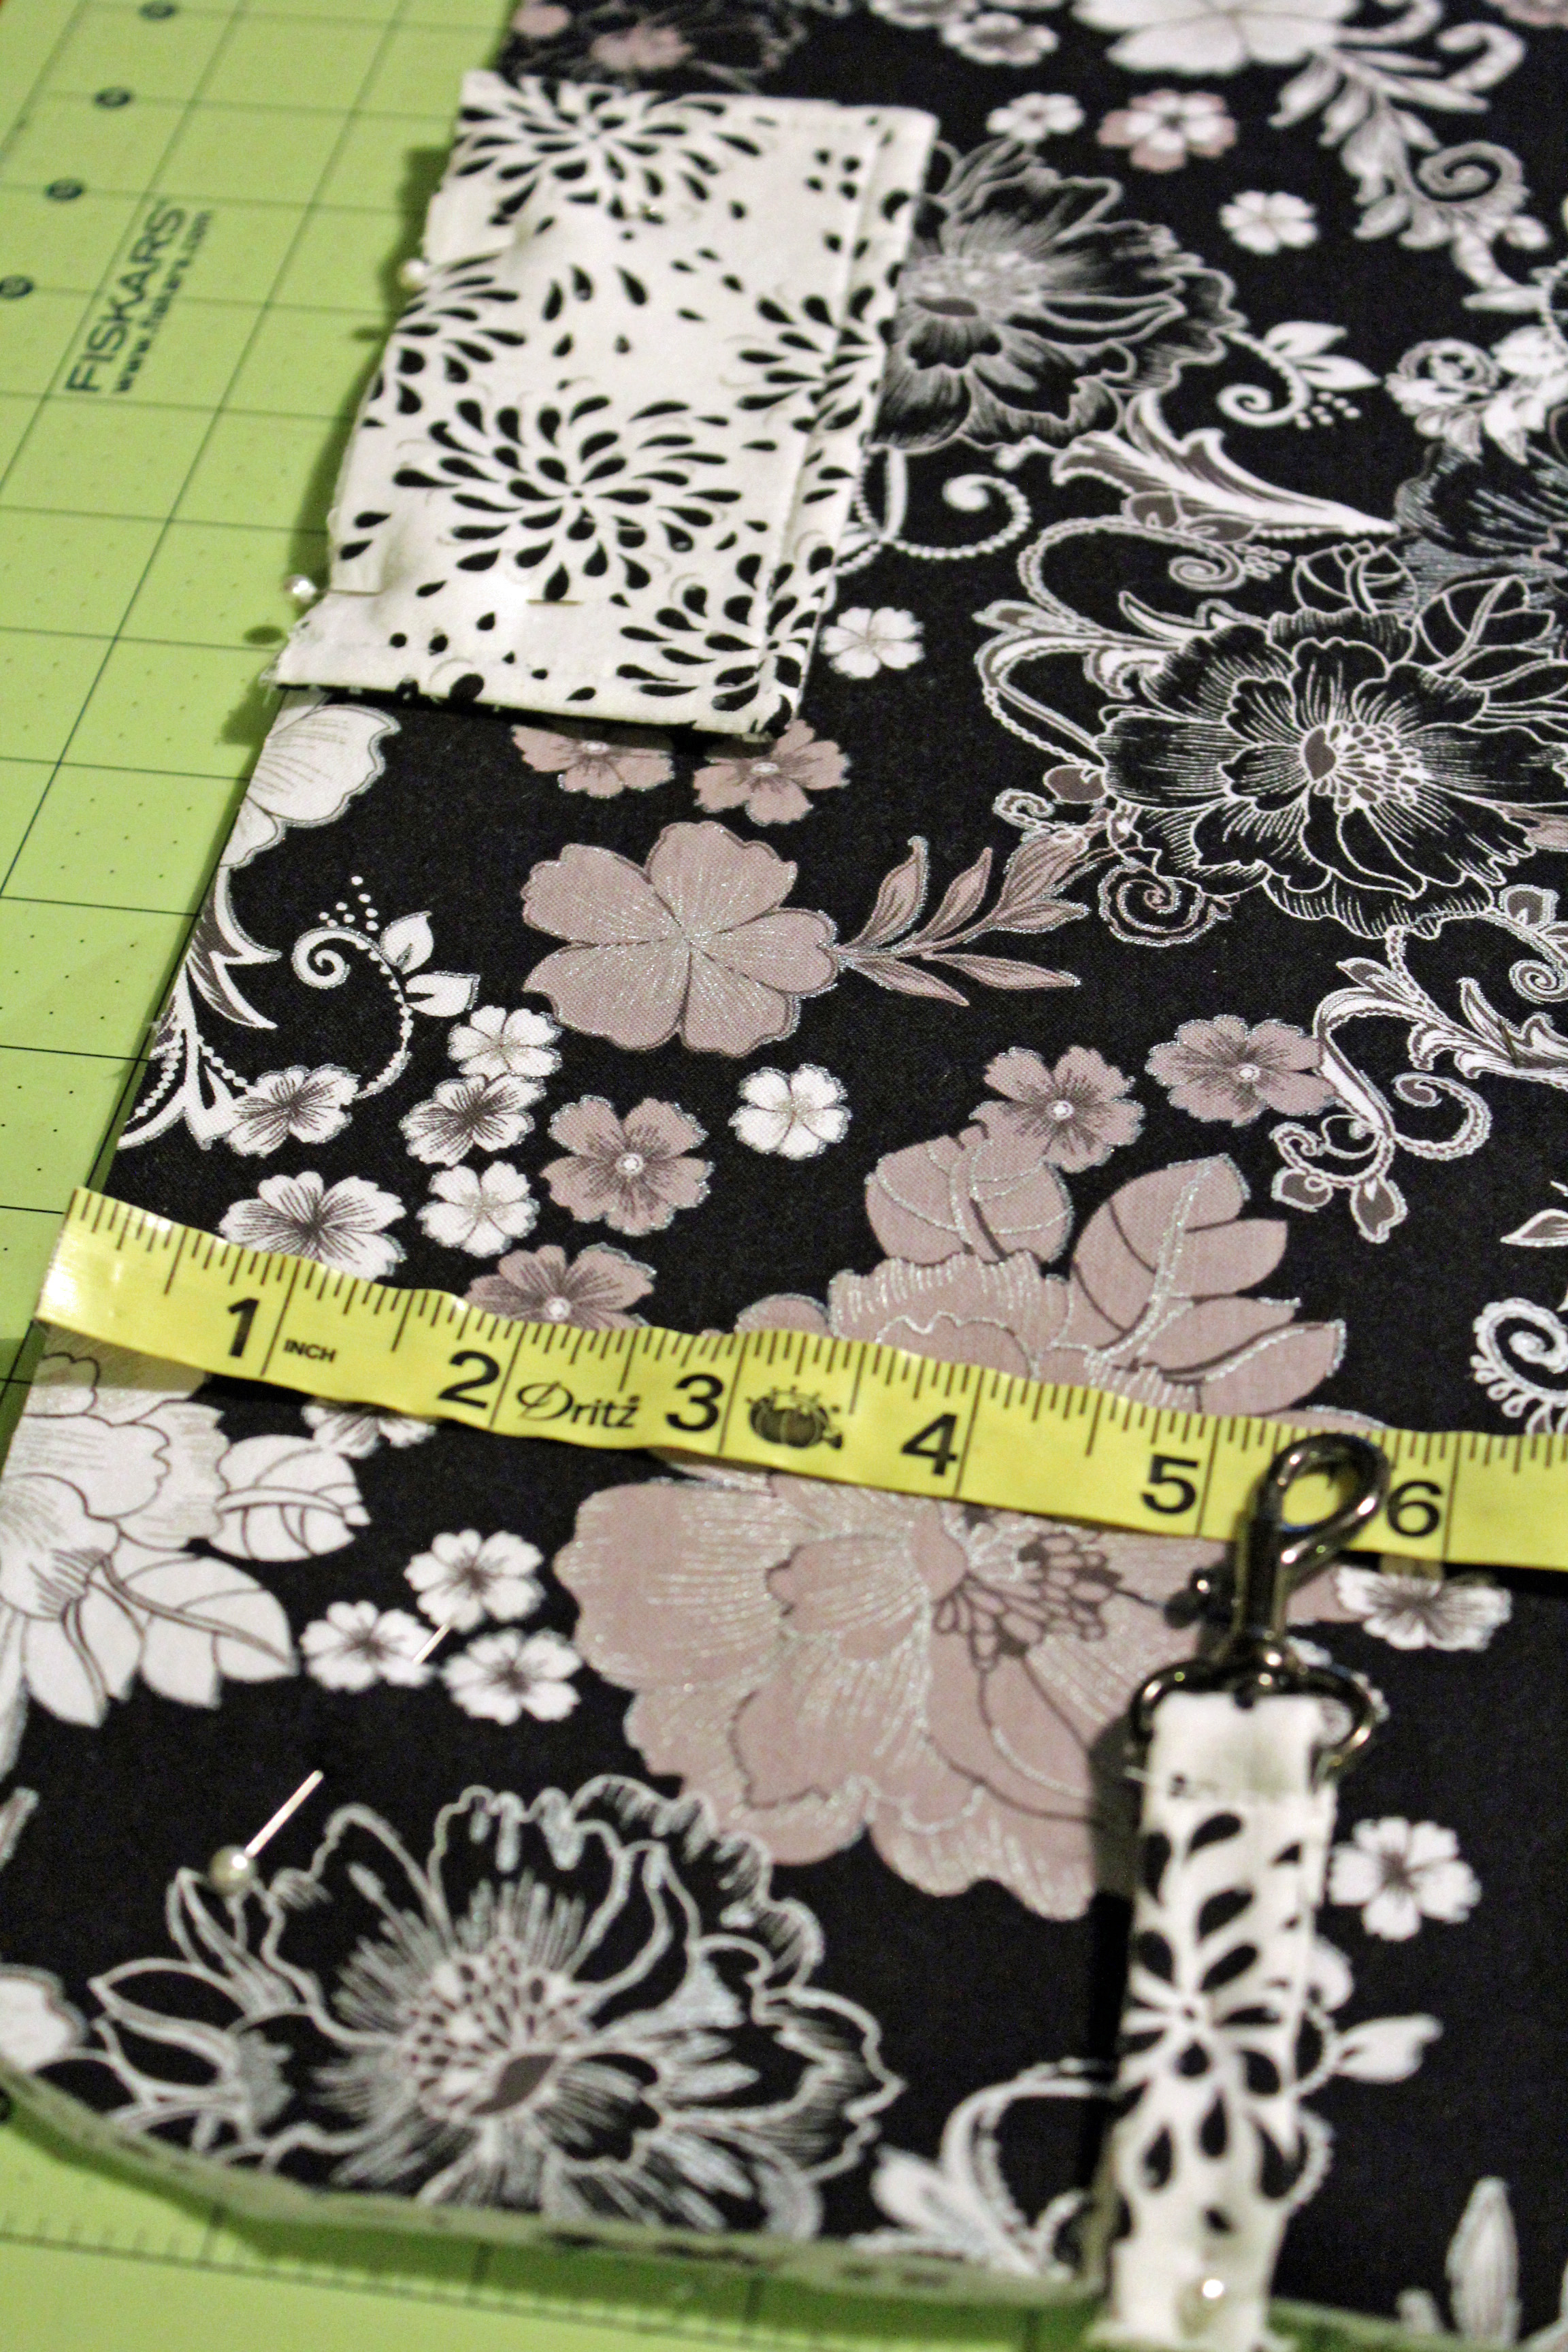
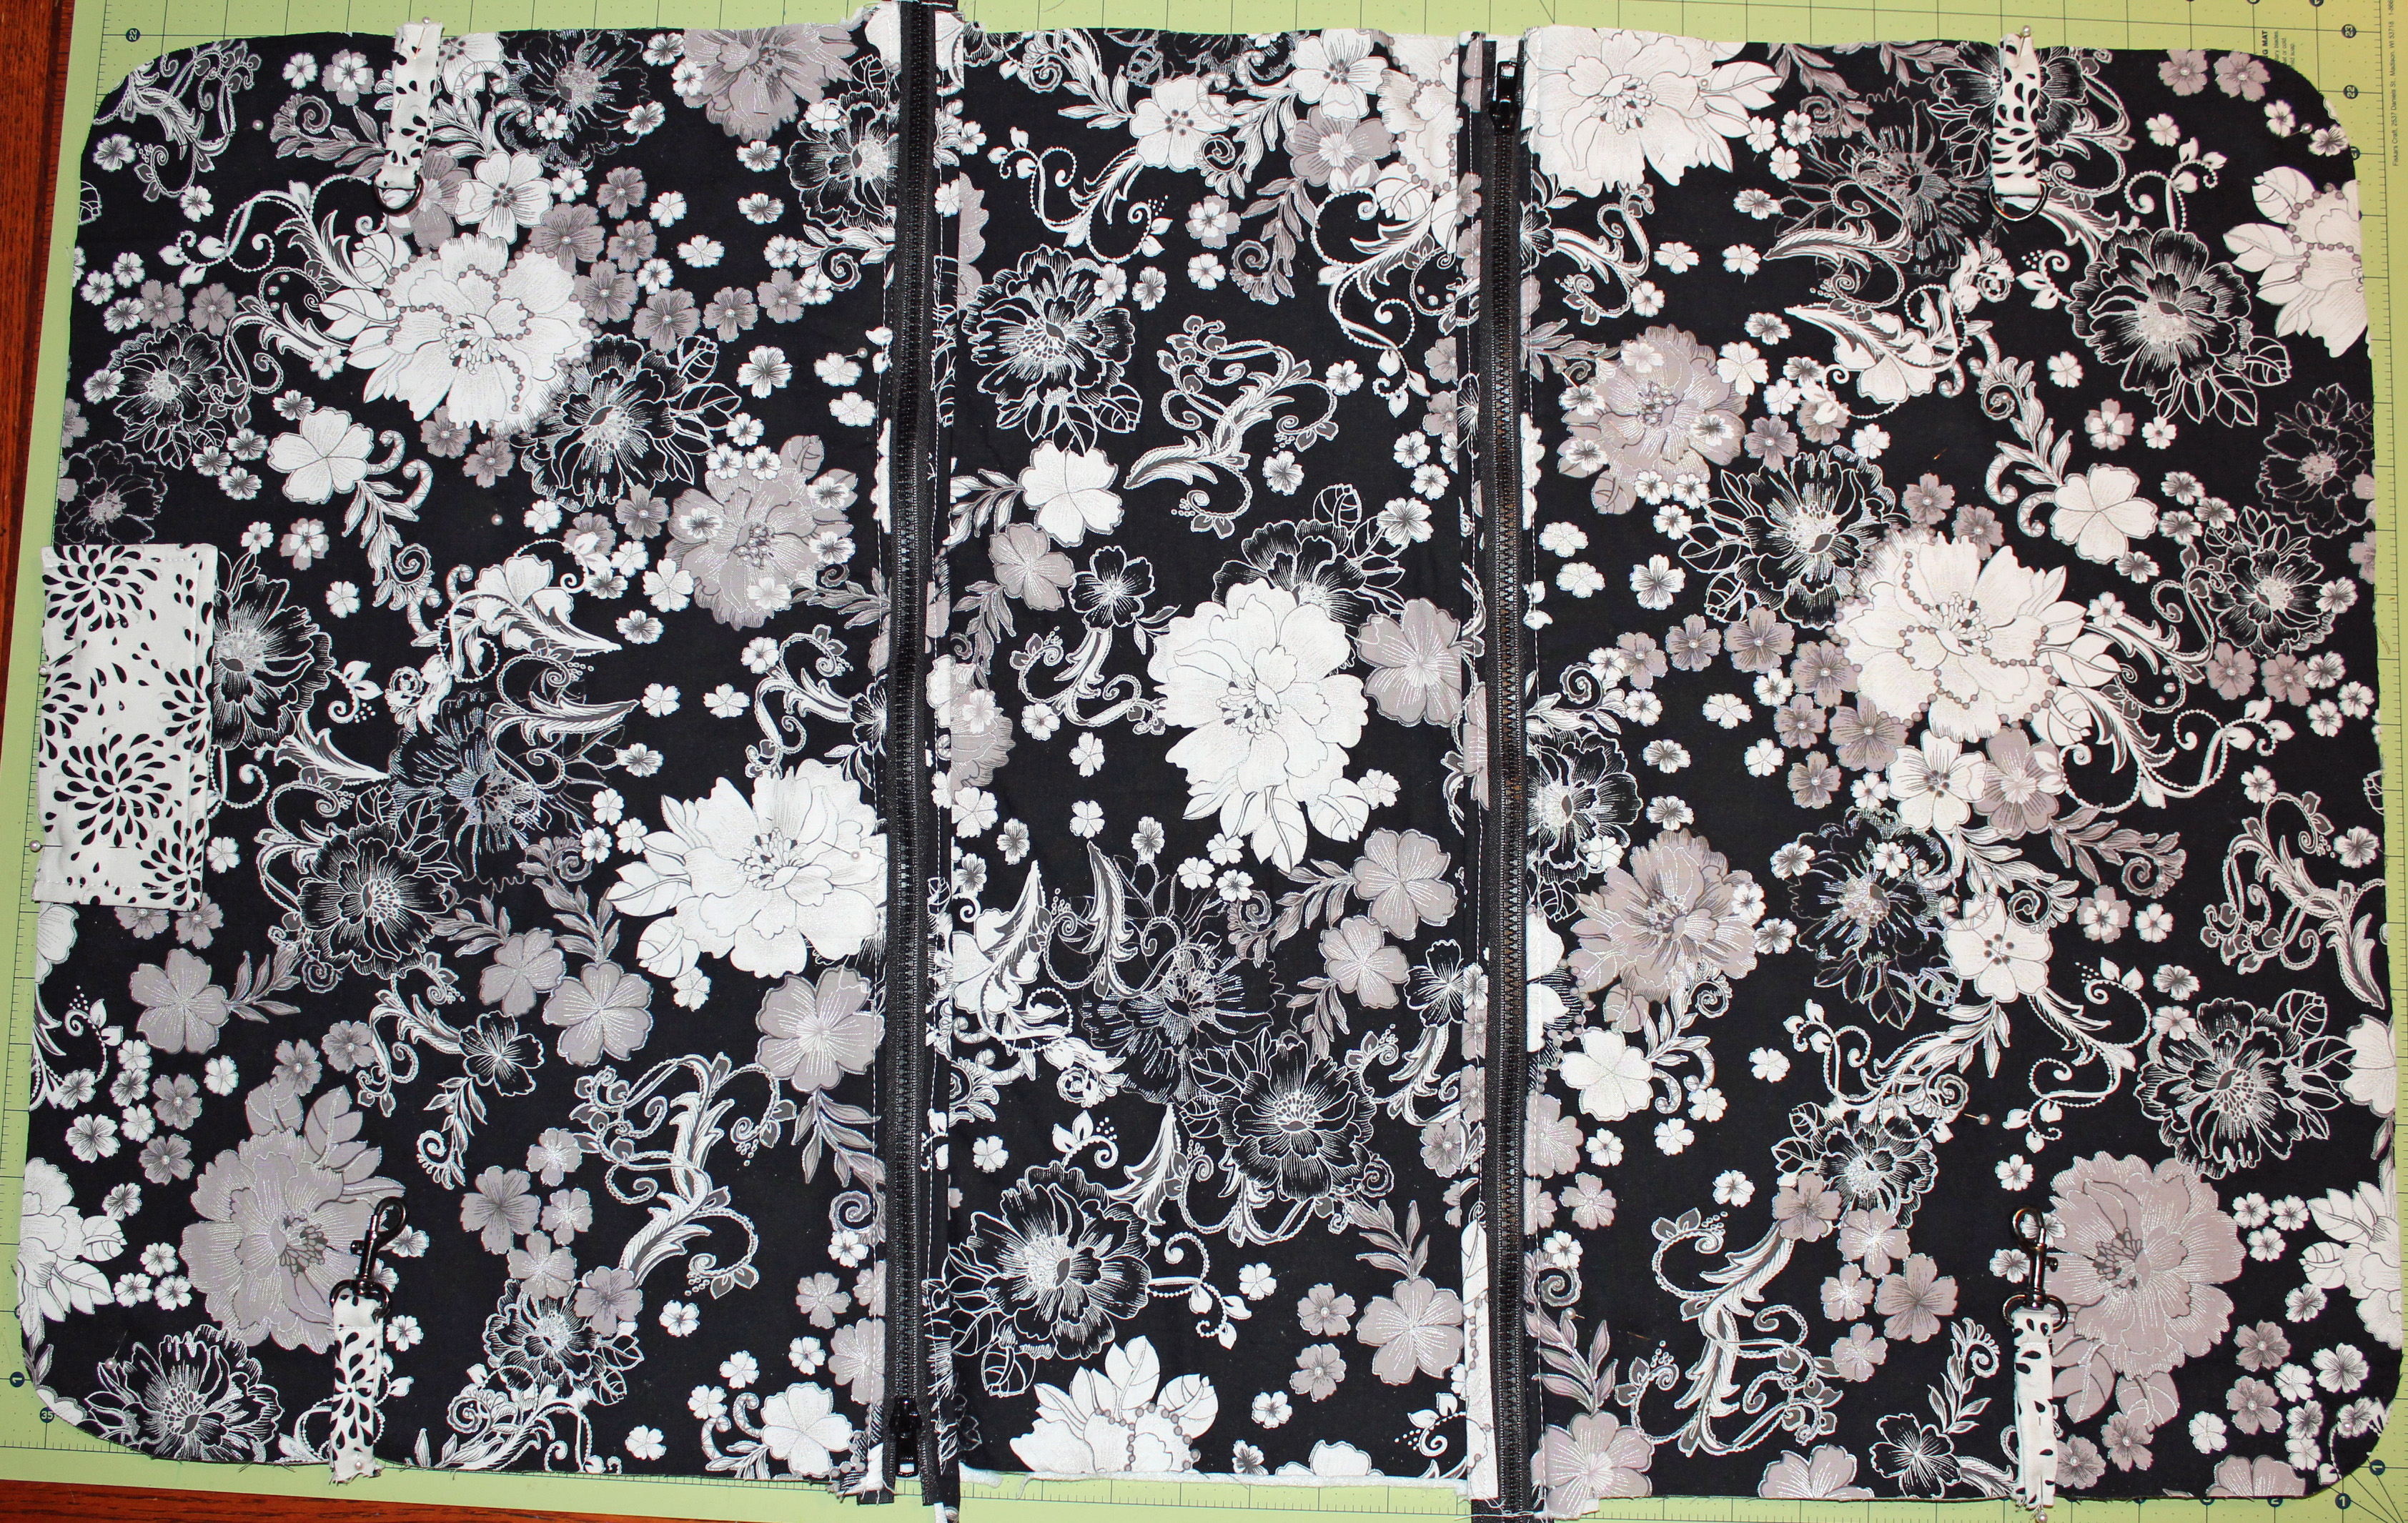
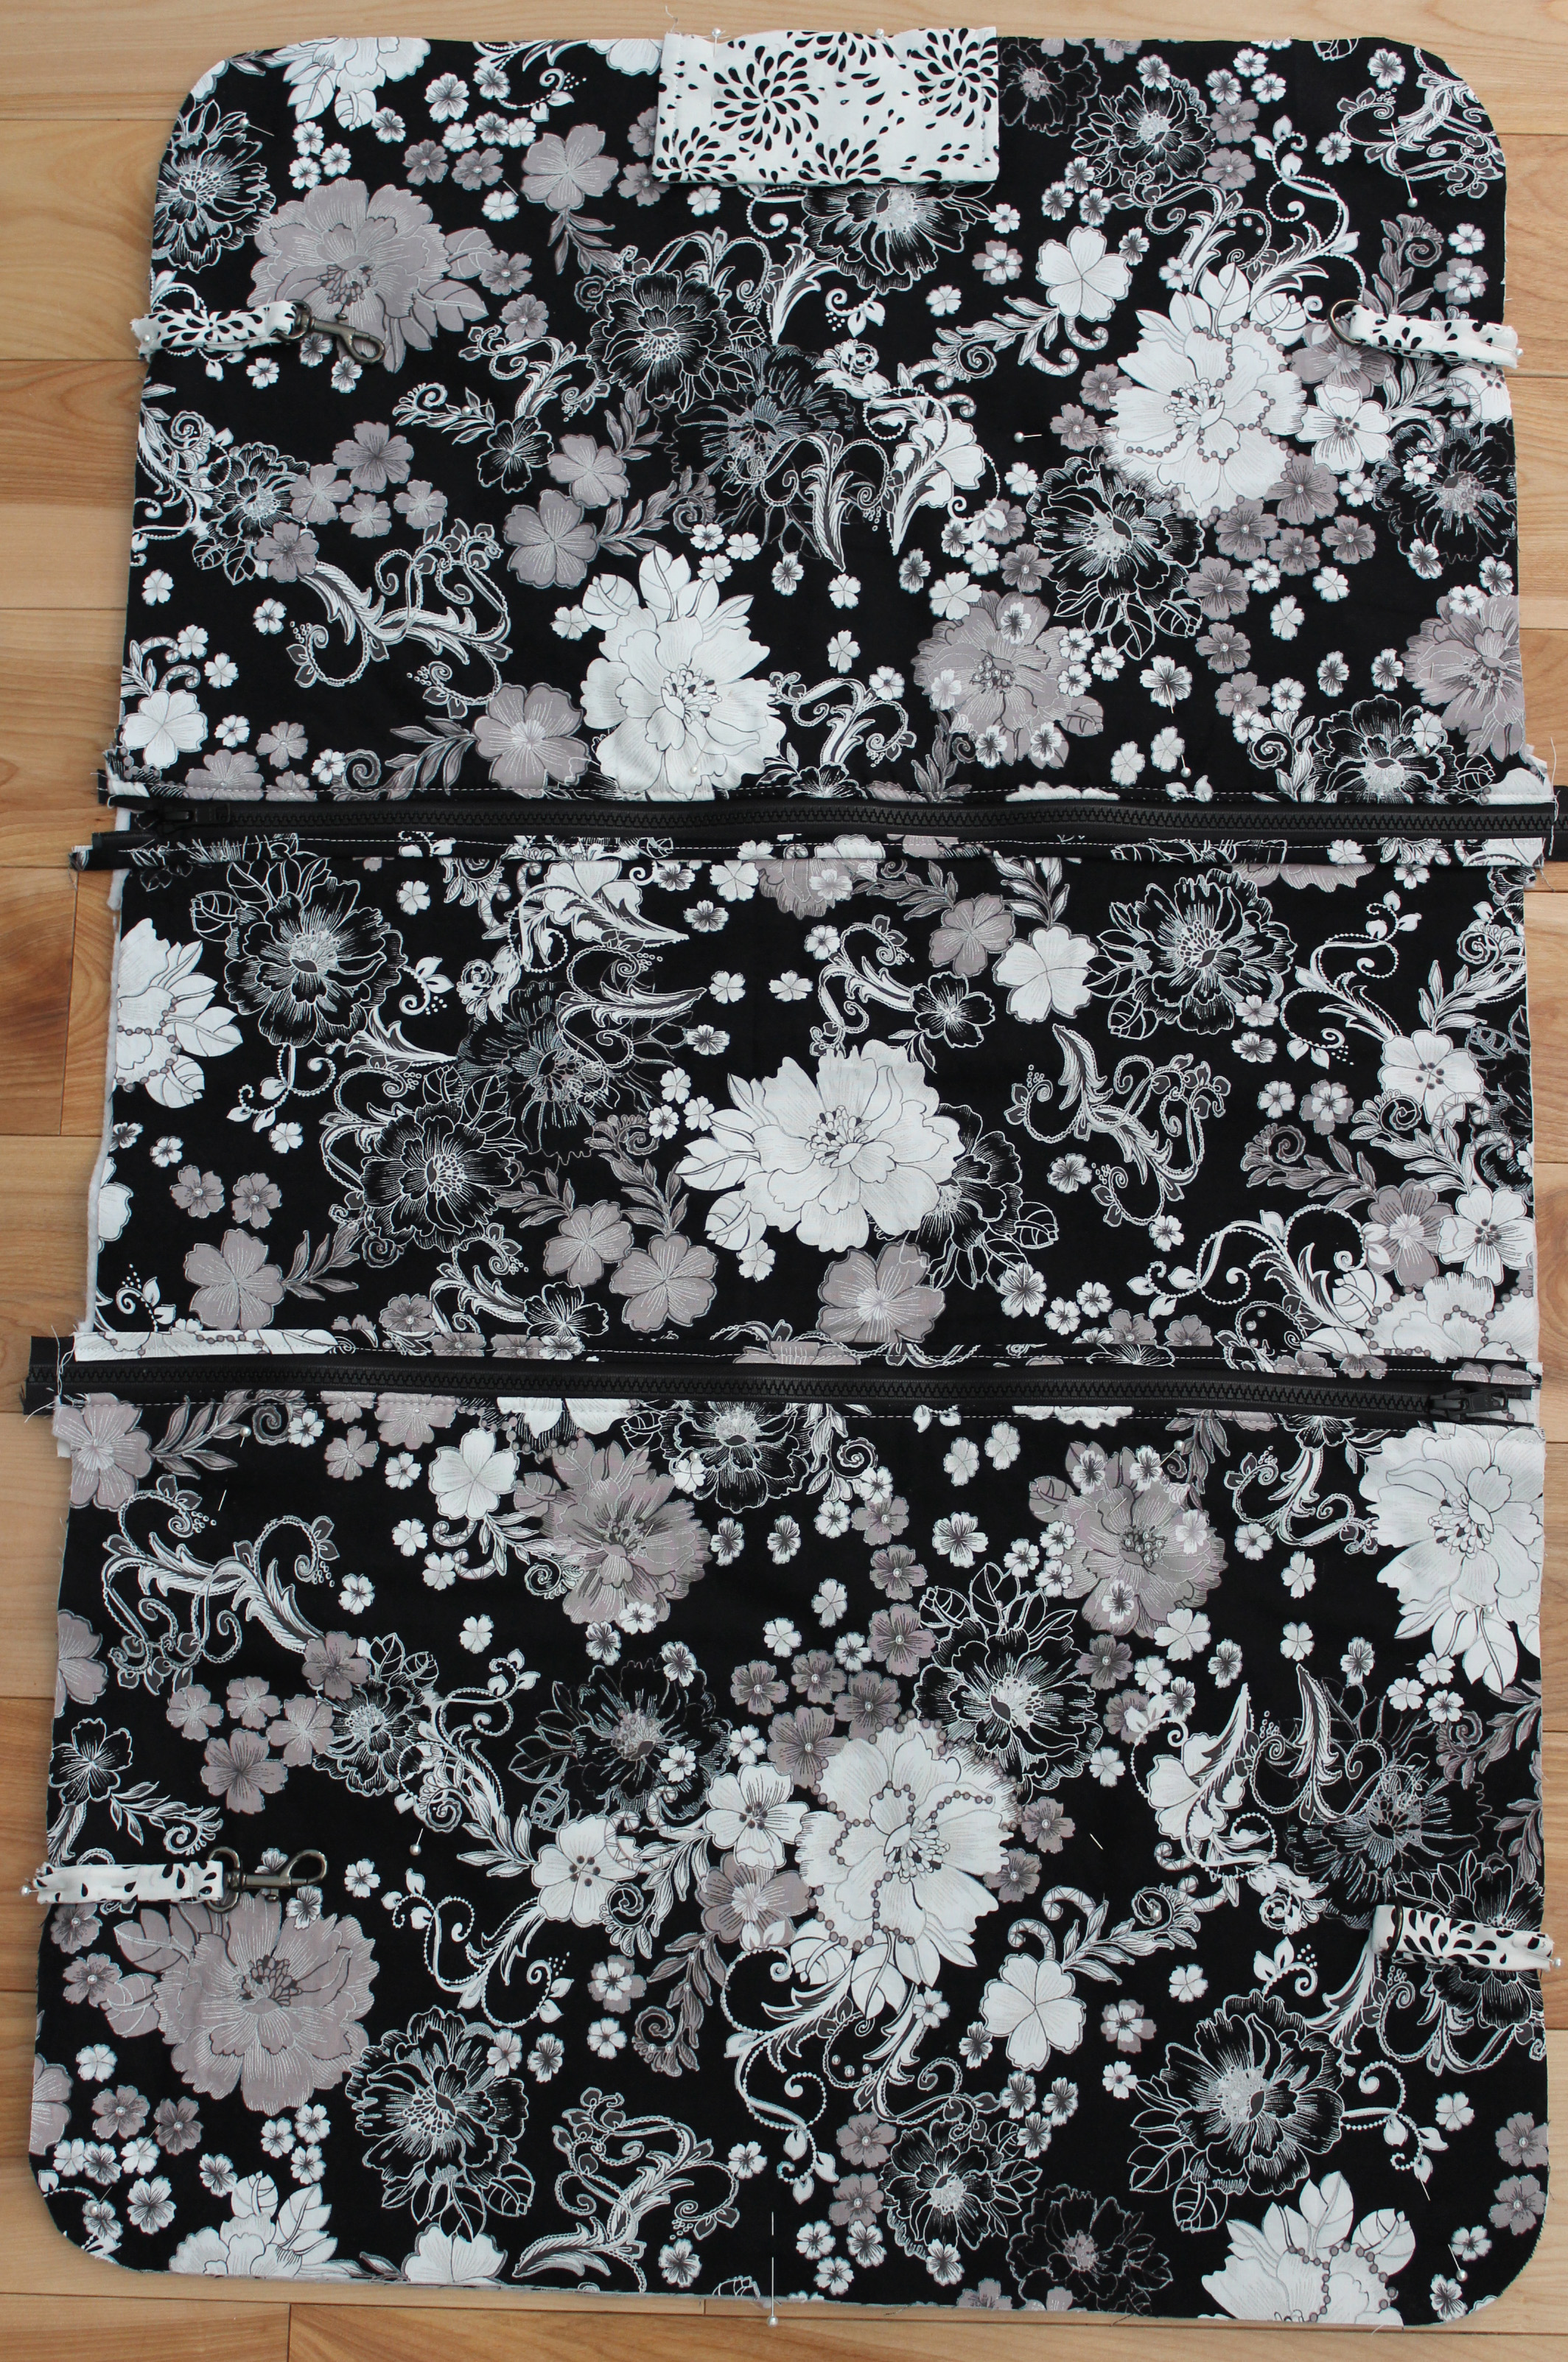
Pin your D-rings and clasps in place on the zippered pocket side. I placed mine about 6" in from the ends on all four sides.
 
Make sure you pin one D-ring and one clasp on the same side of bag. I know it is hard to see below but I messed with my placement of D-rings and clasps and I didn't realized it until it was to late. So don't refer to my picture below for placement, instead learn from my mistake. Sew in place close to edges. Set aside.                                                       Gather the two 70" x 3" pieces of interior and exterior fabrics and batting along with the front bag piece. Sew each of the fabric strips together on the ends to make one continuous strip. Your piece will be about 140" long or so.
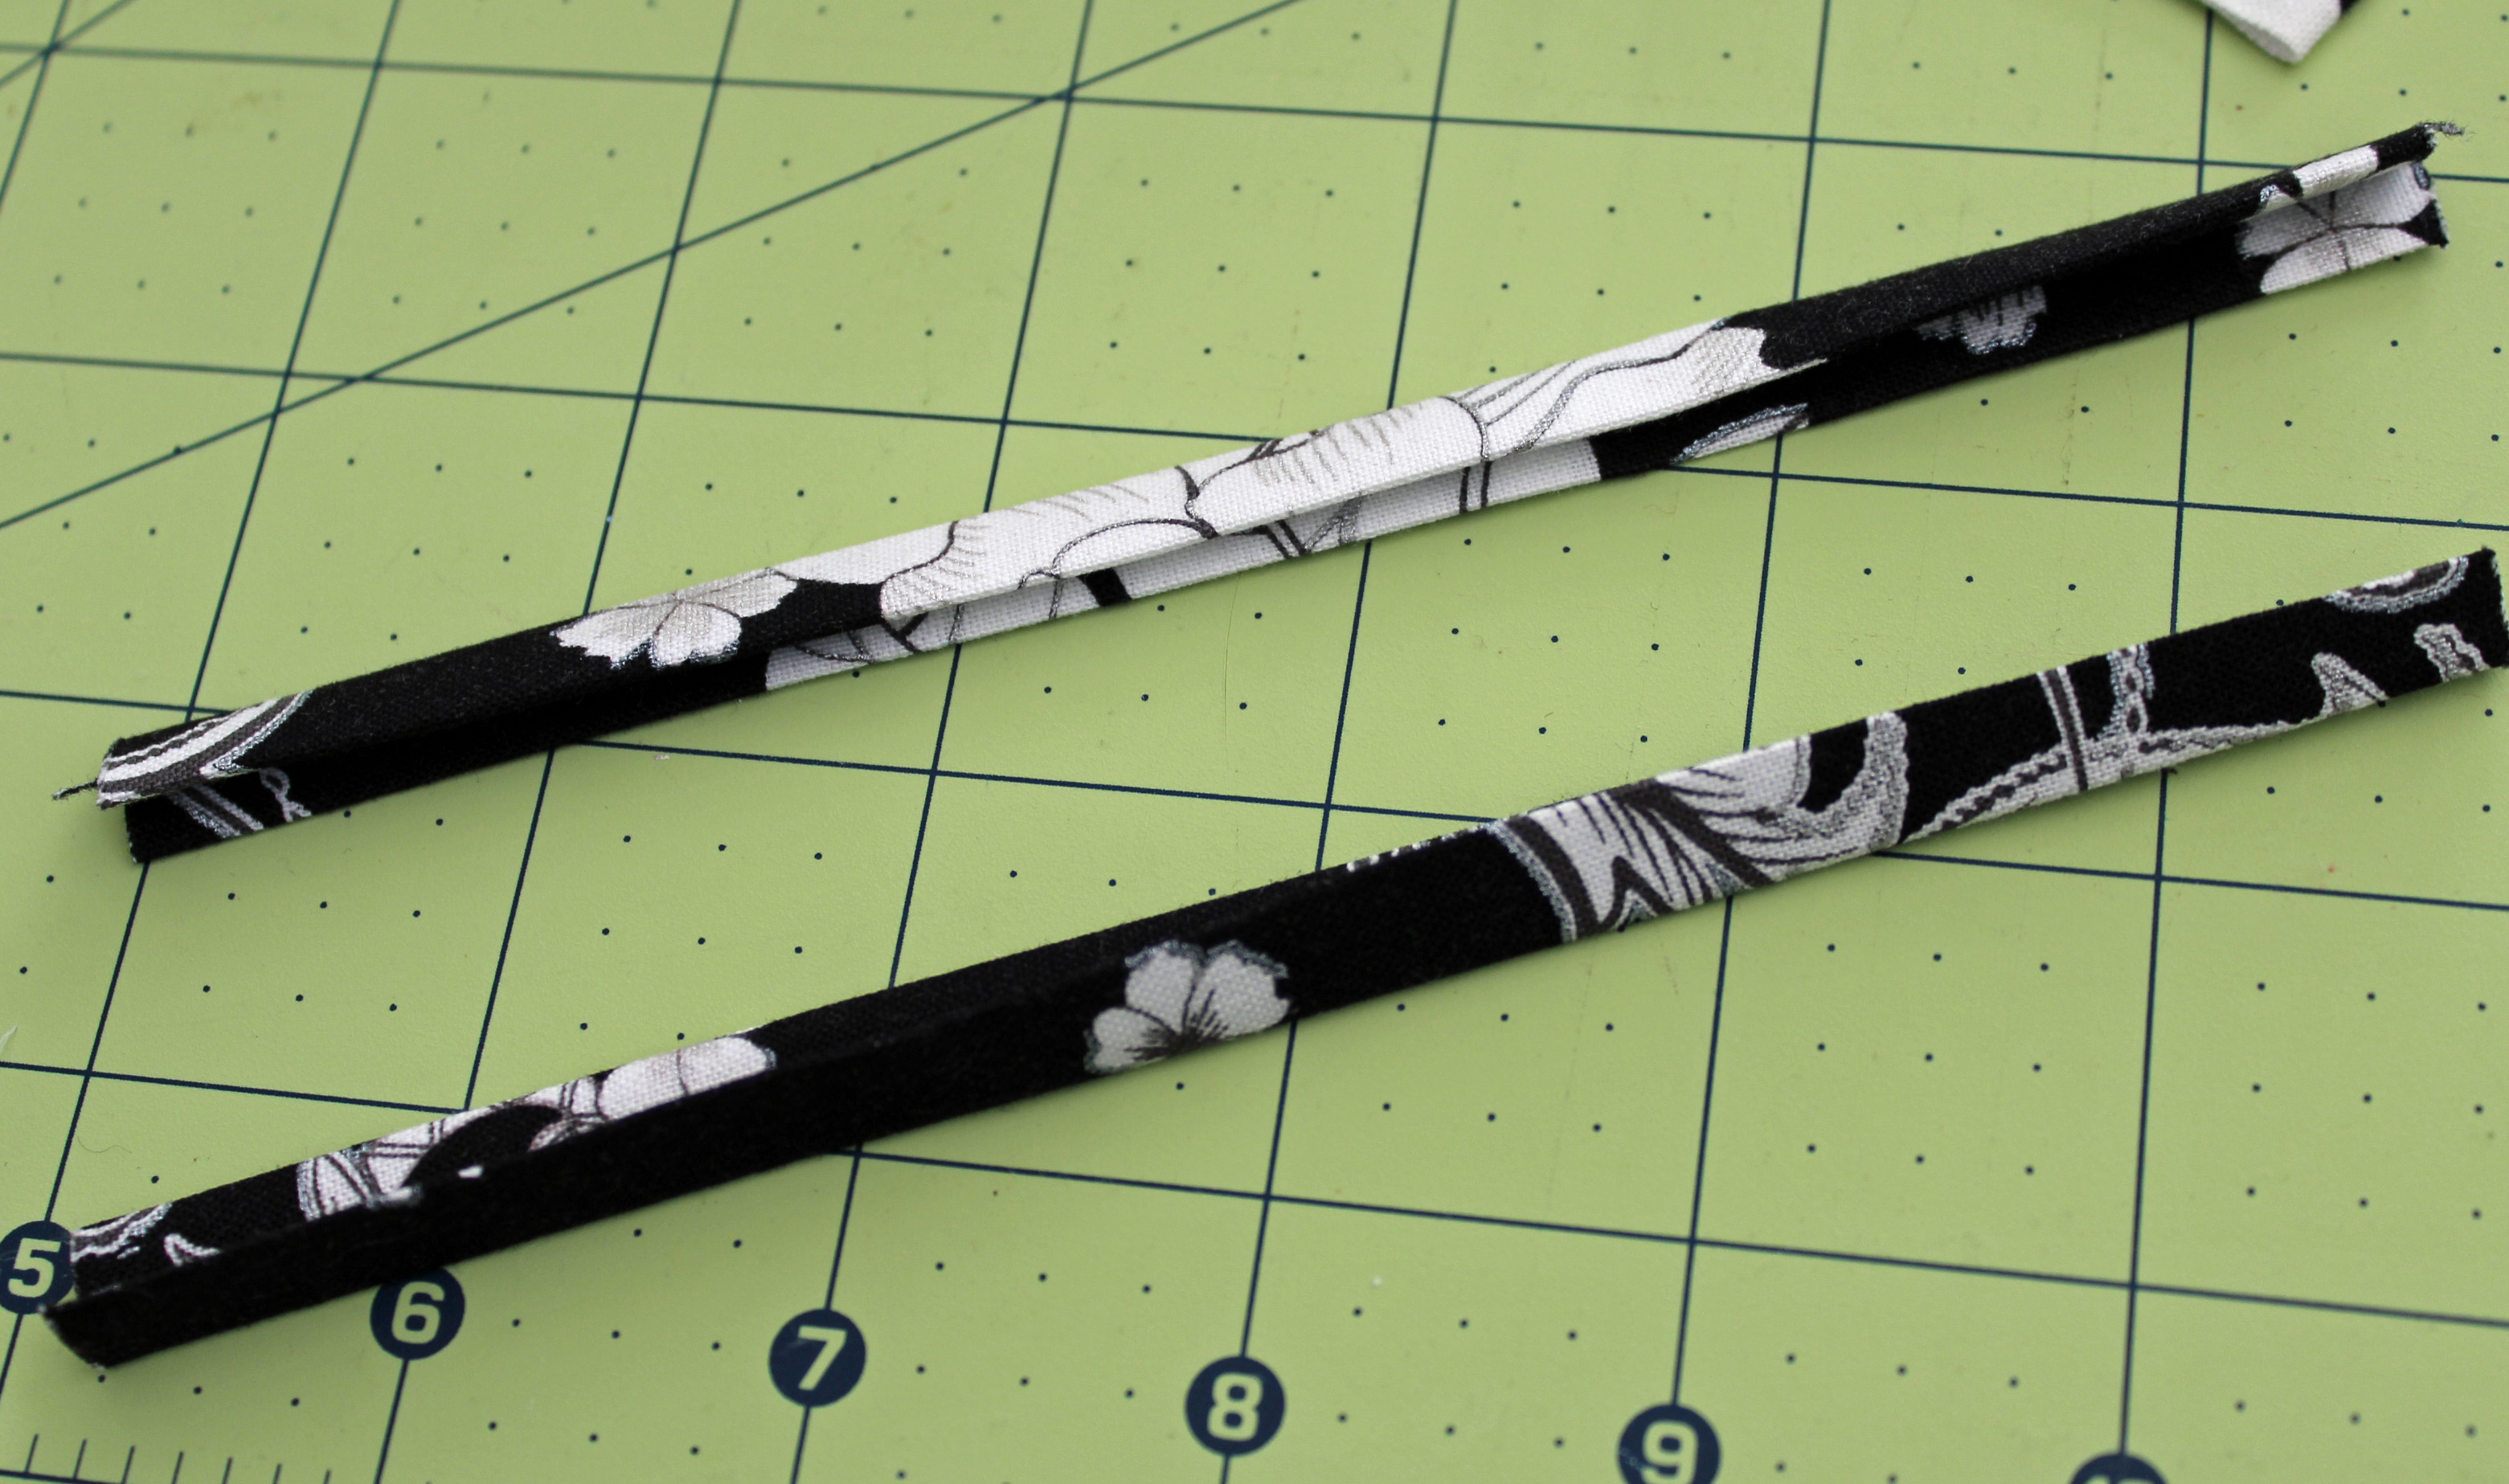
Gather the front piece of your bag as well the 3 strips that you just made. Lay the front of your bag exterior fabric side up. Now take your exterior fabric strip and layer your batting strip underneath. With the right side of your exterior fabric strip start pinning it to the top of your bag front piece. You want to start pinning in place on the middle of the hanger flap. At the same time pin the interior fabric strip to the bottom side of bag, right sides facing. Stop pinning when you have made it all the way around outer edge and your two strips are touching. You will have a bit of left over fabric so trim where the two fabrics meet. Now fold under the edges of all strip pieces 1/2". Repeat another 1/2" to cover up unfinished edge. You are doing this to cover up the unfinished edges on the strips. Make sure that the edges of the strips that are on the top of the bag line up exactly with the strip edges on the bottom of the bag . Top stitch ends of strips.                                                                Gather the two 7" x 1-1/2" pieces of fabric. Make them into bias strips.
Take one of the bias strips and pin it over the unfinished edge of the hanger flap. Again this is so that you will not have any unfinished edges in the end. Sew bias tape in place as close to the edge as possible.                          
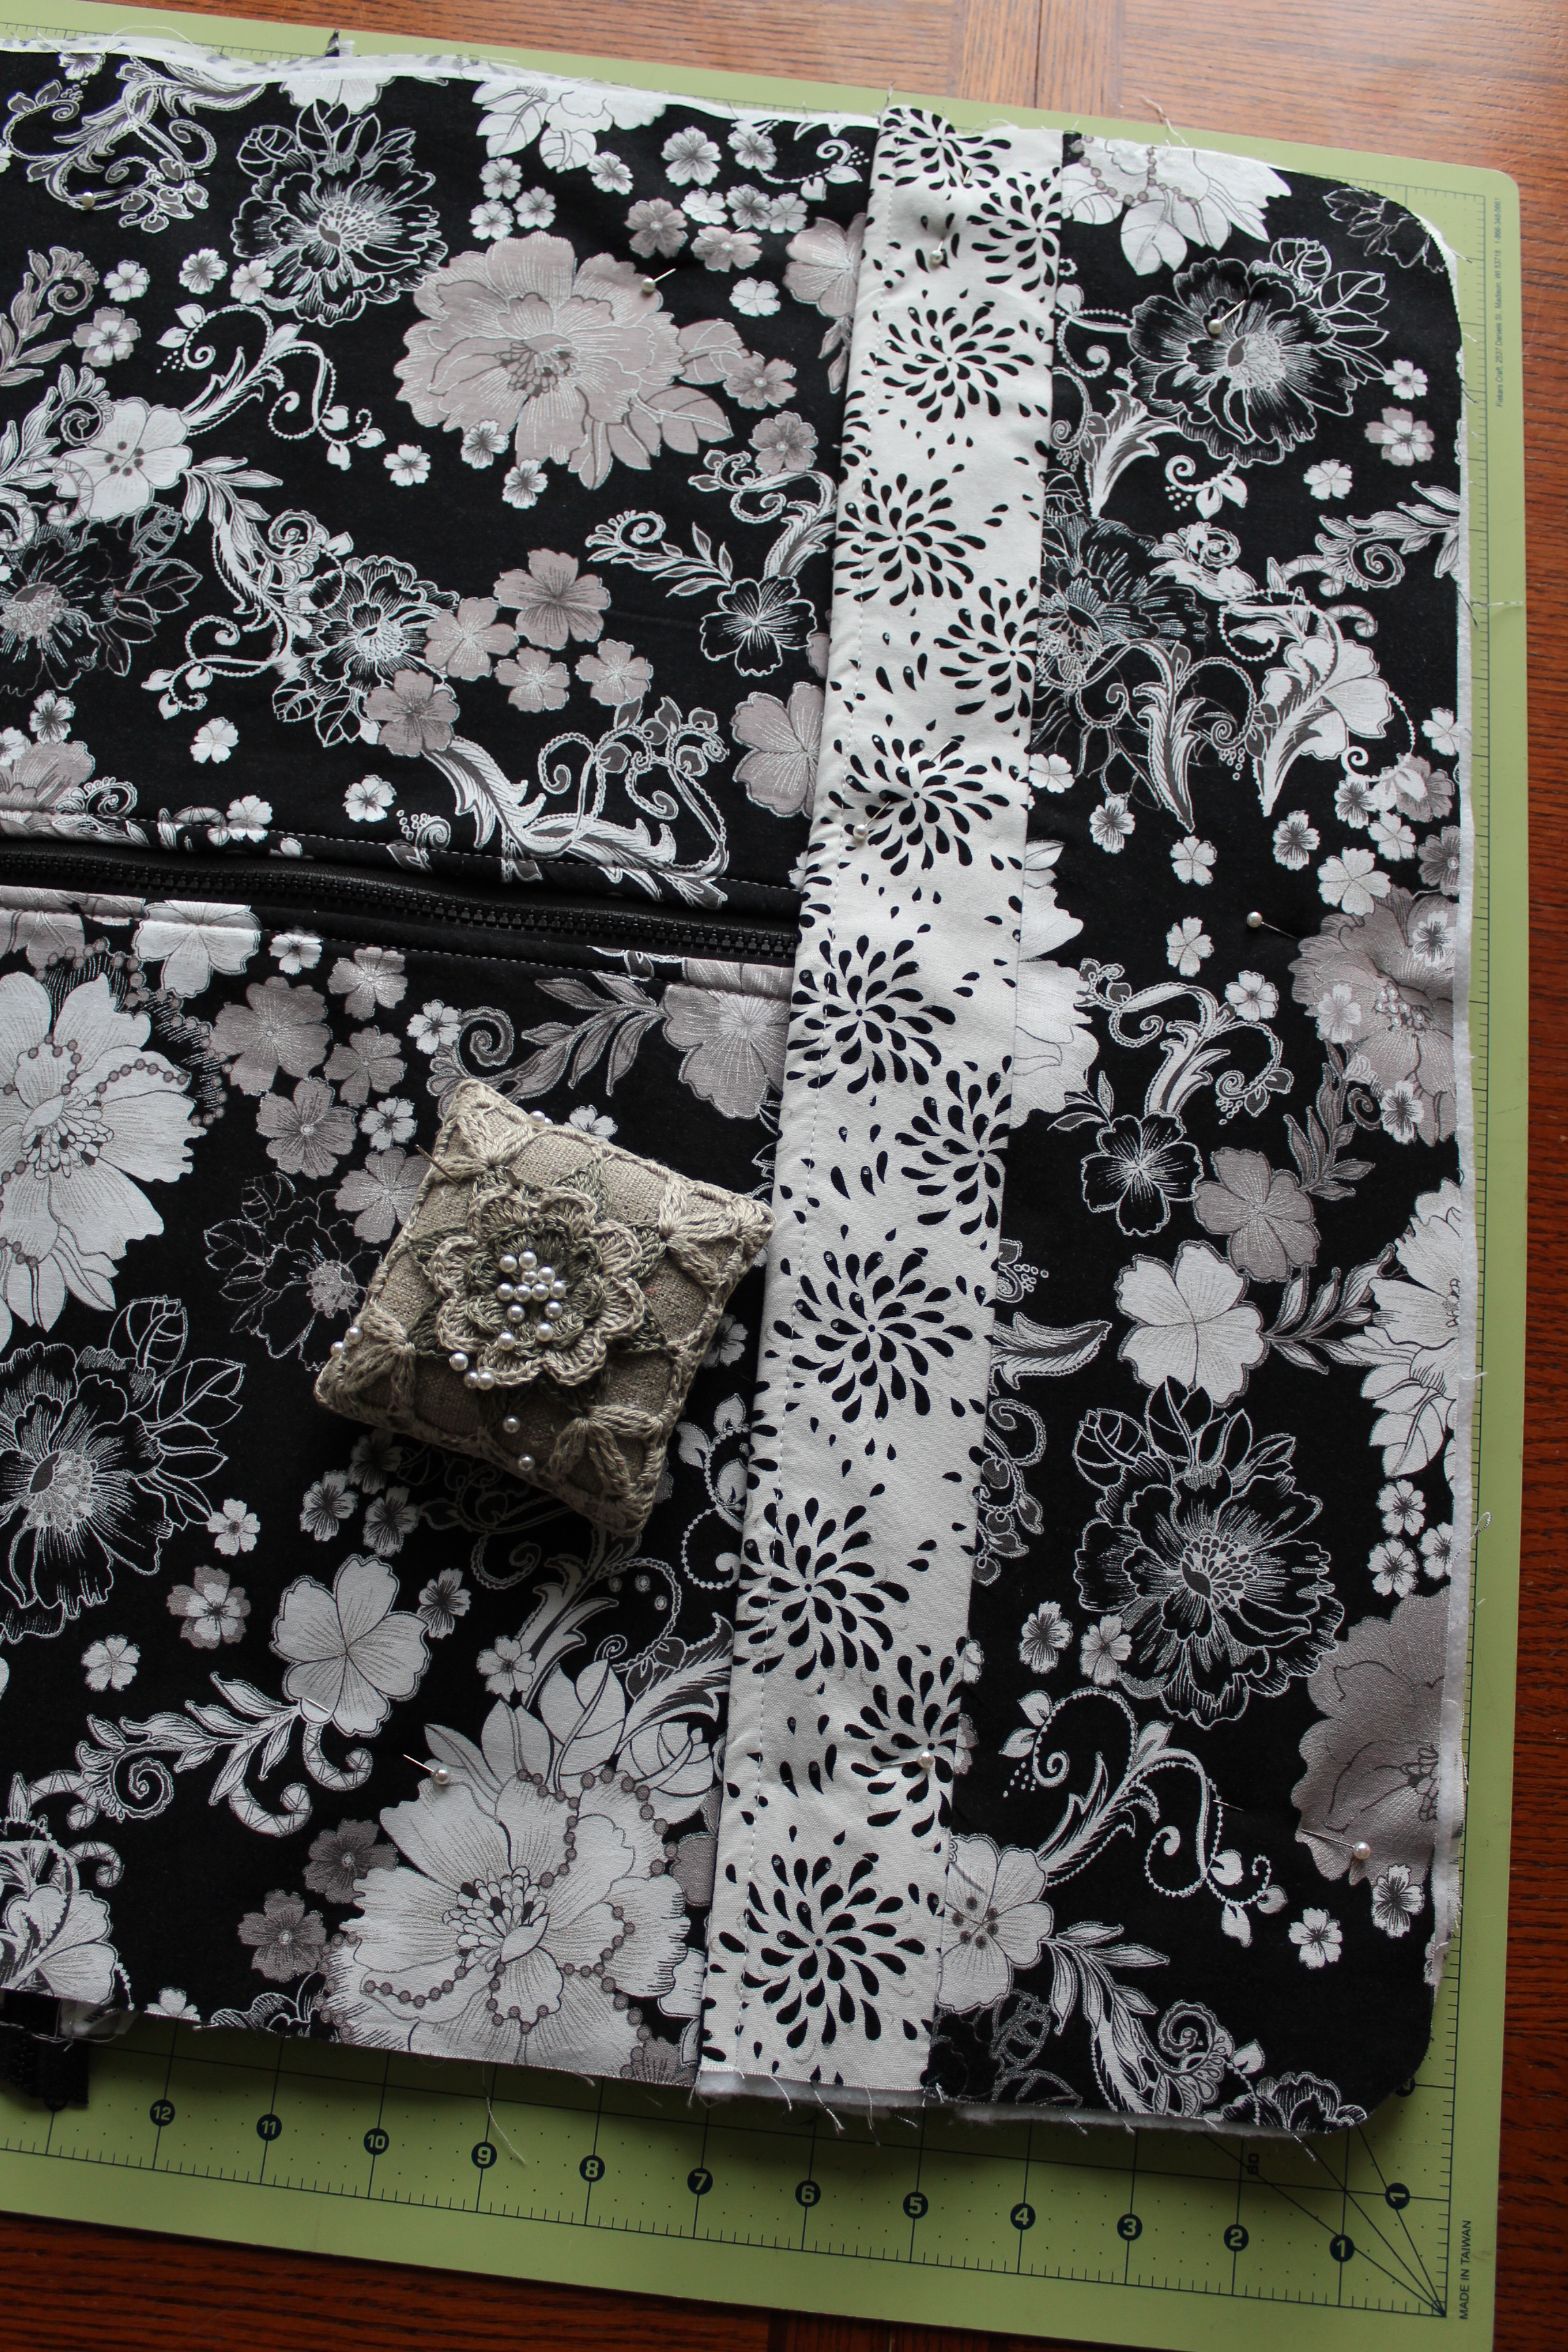
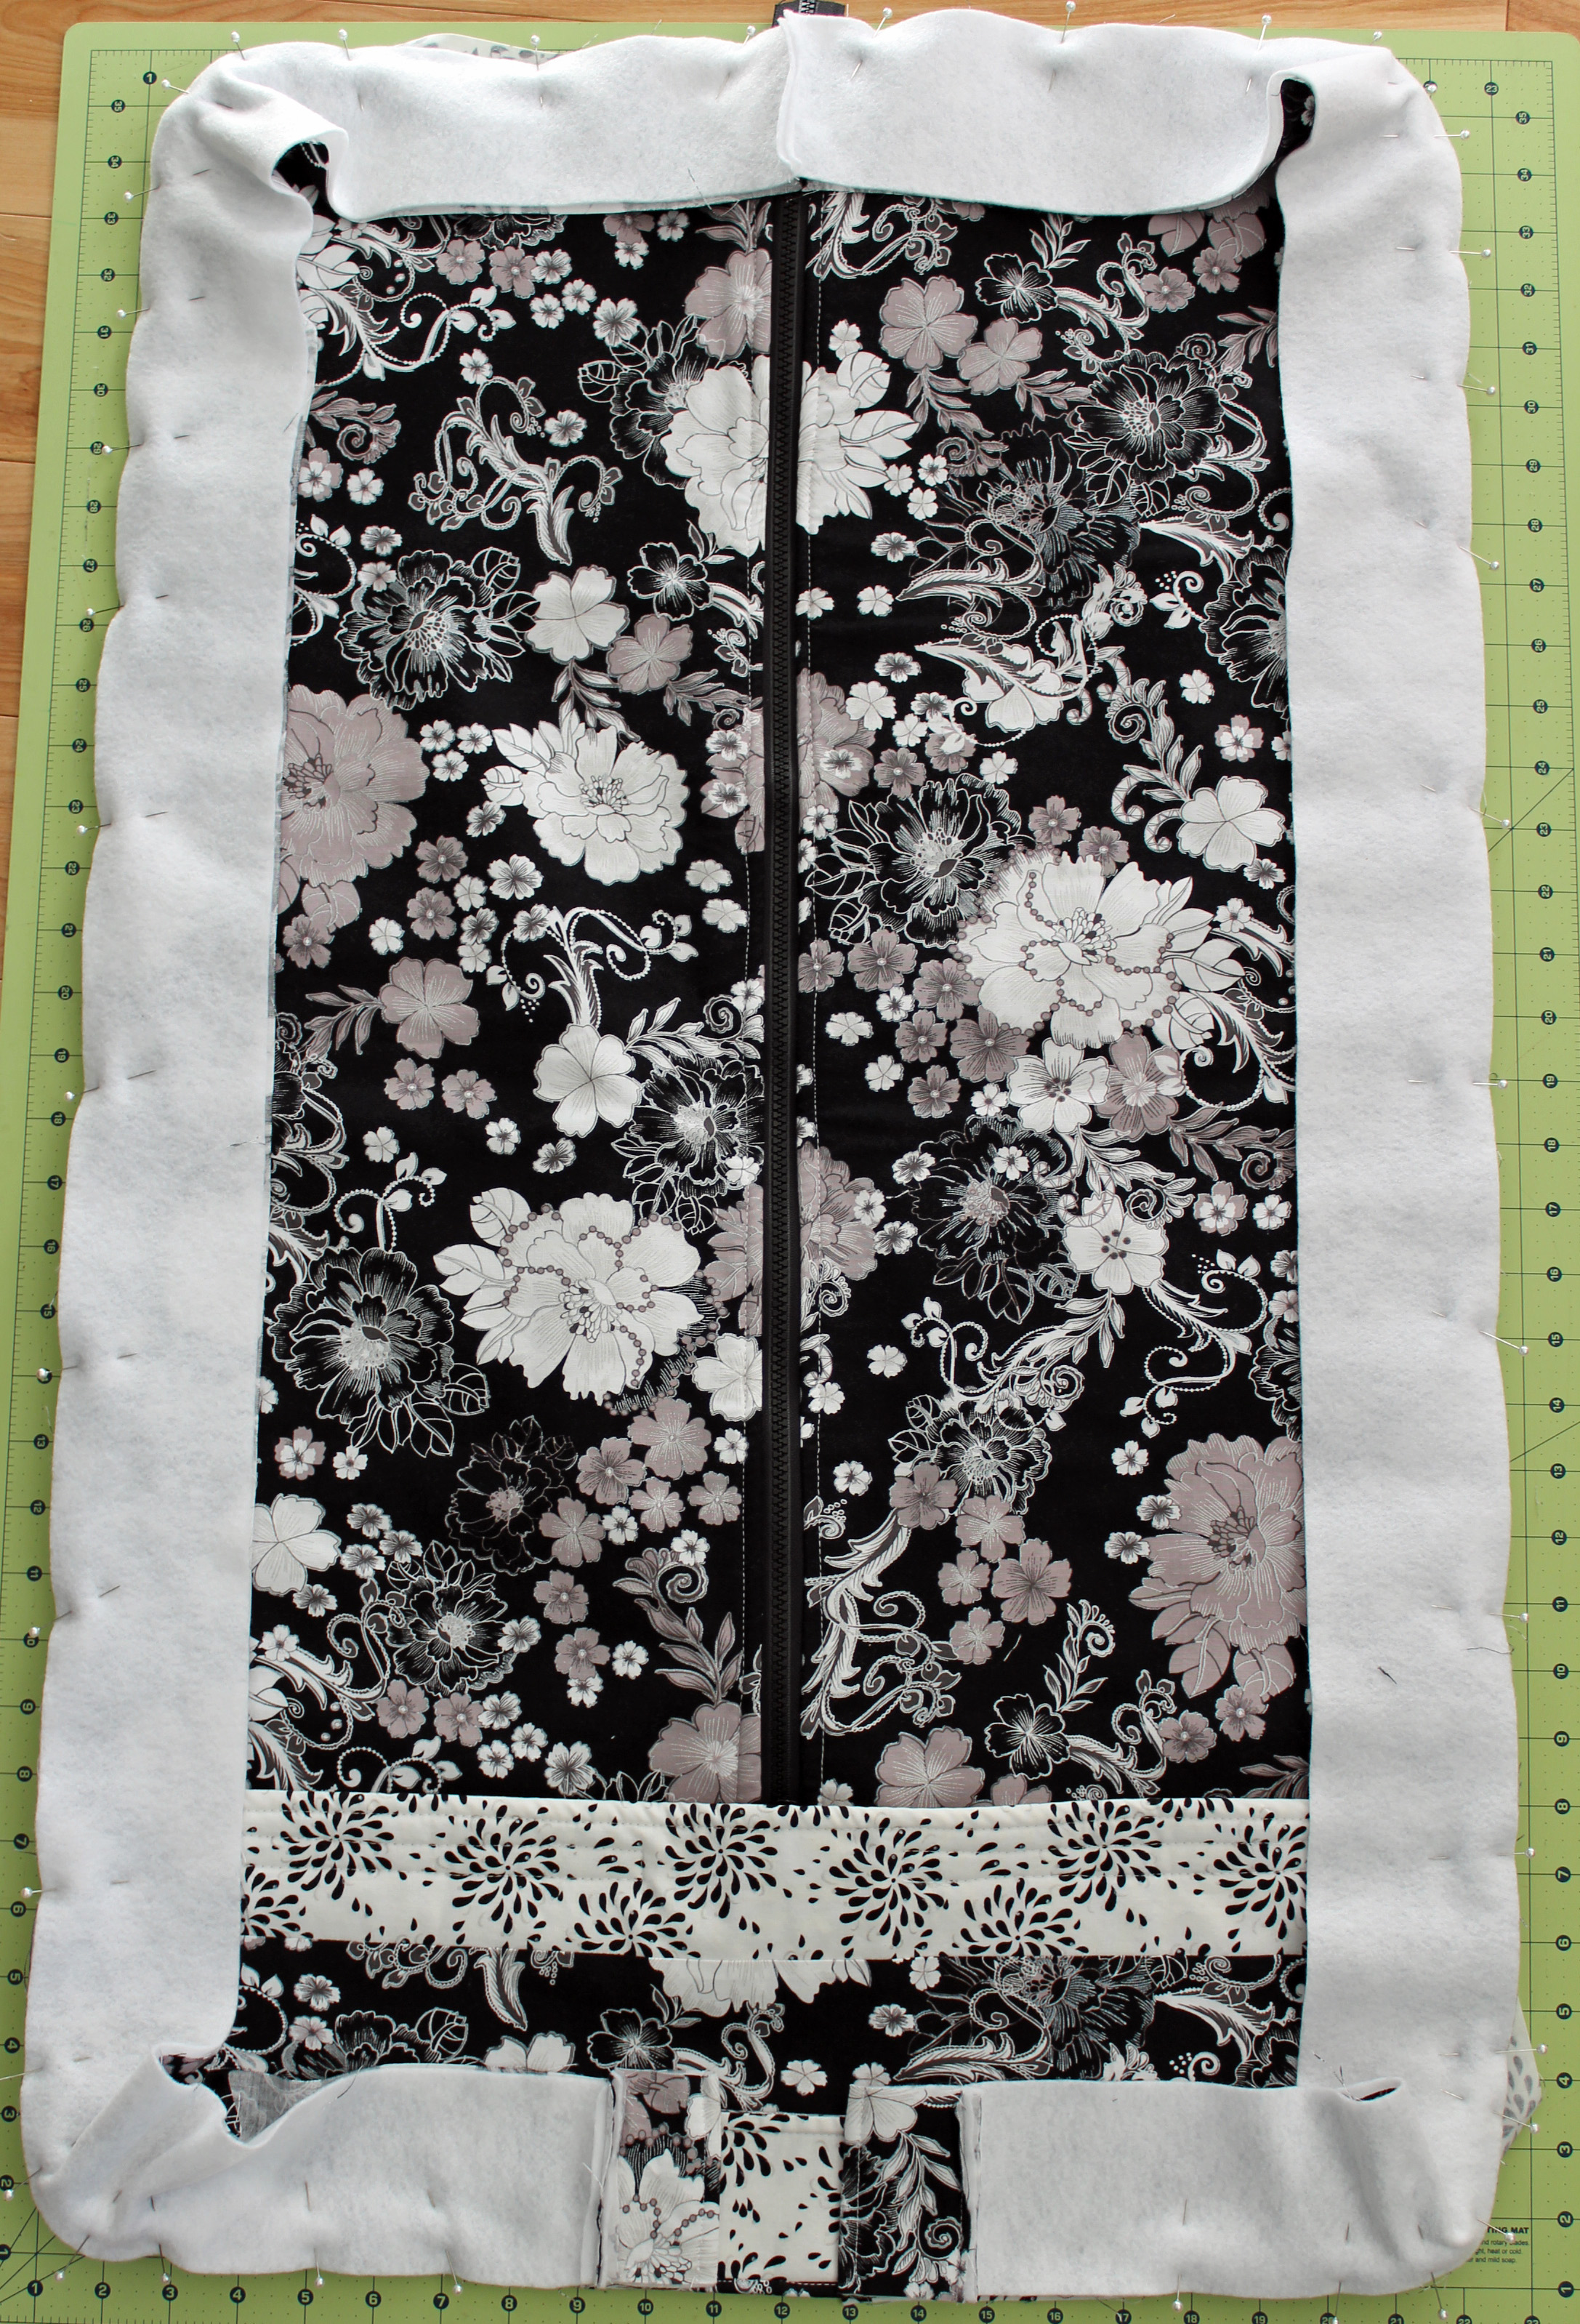
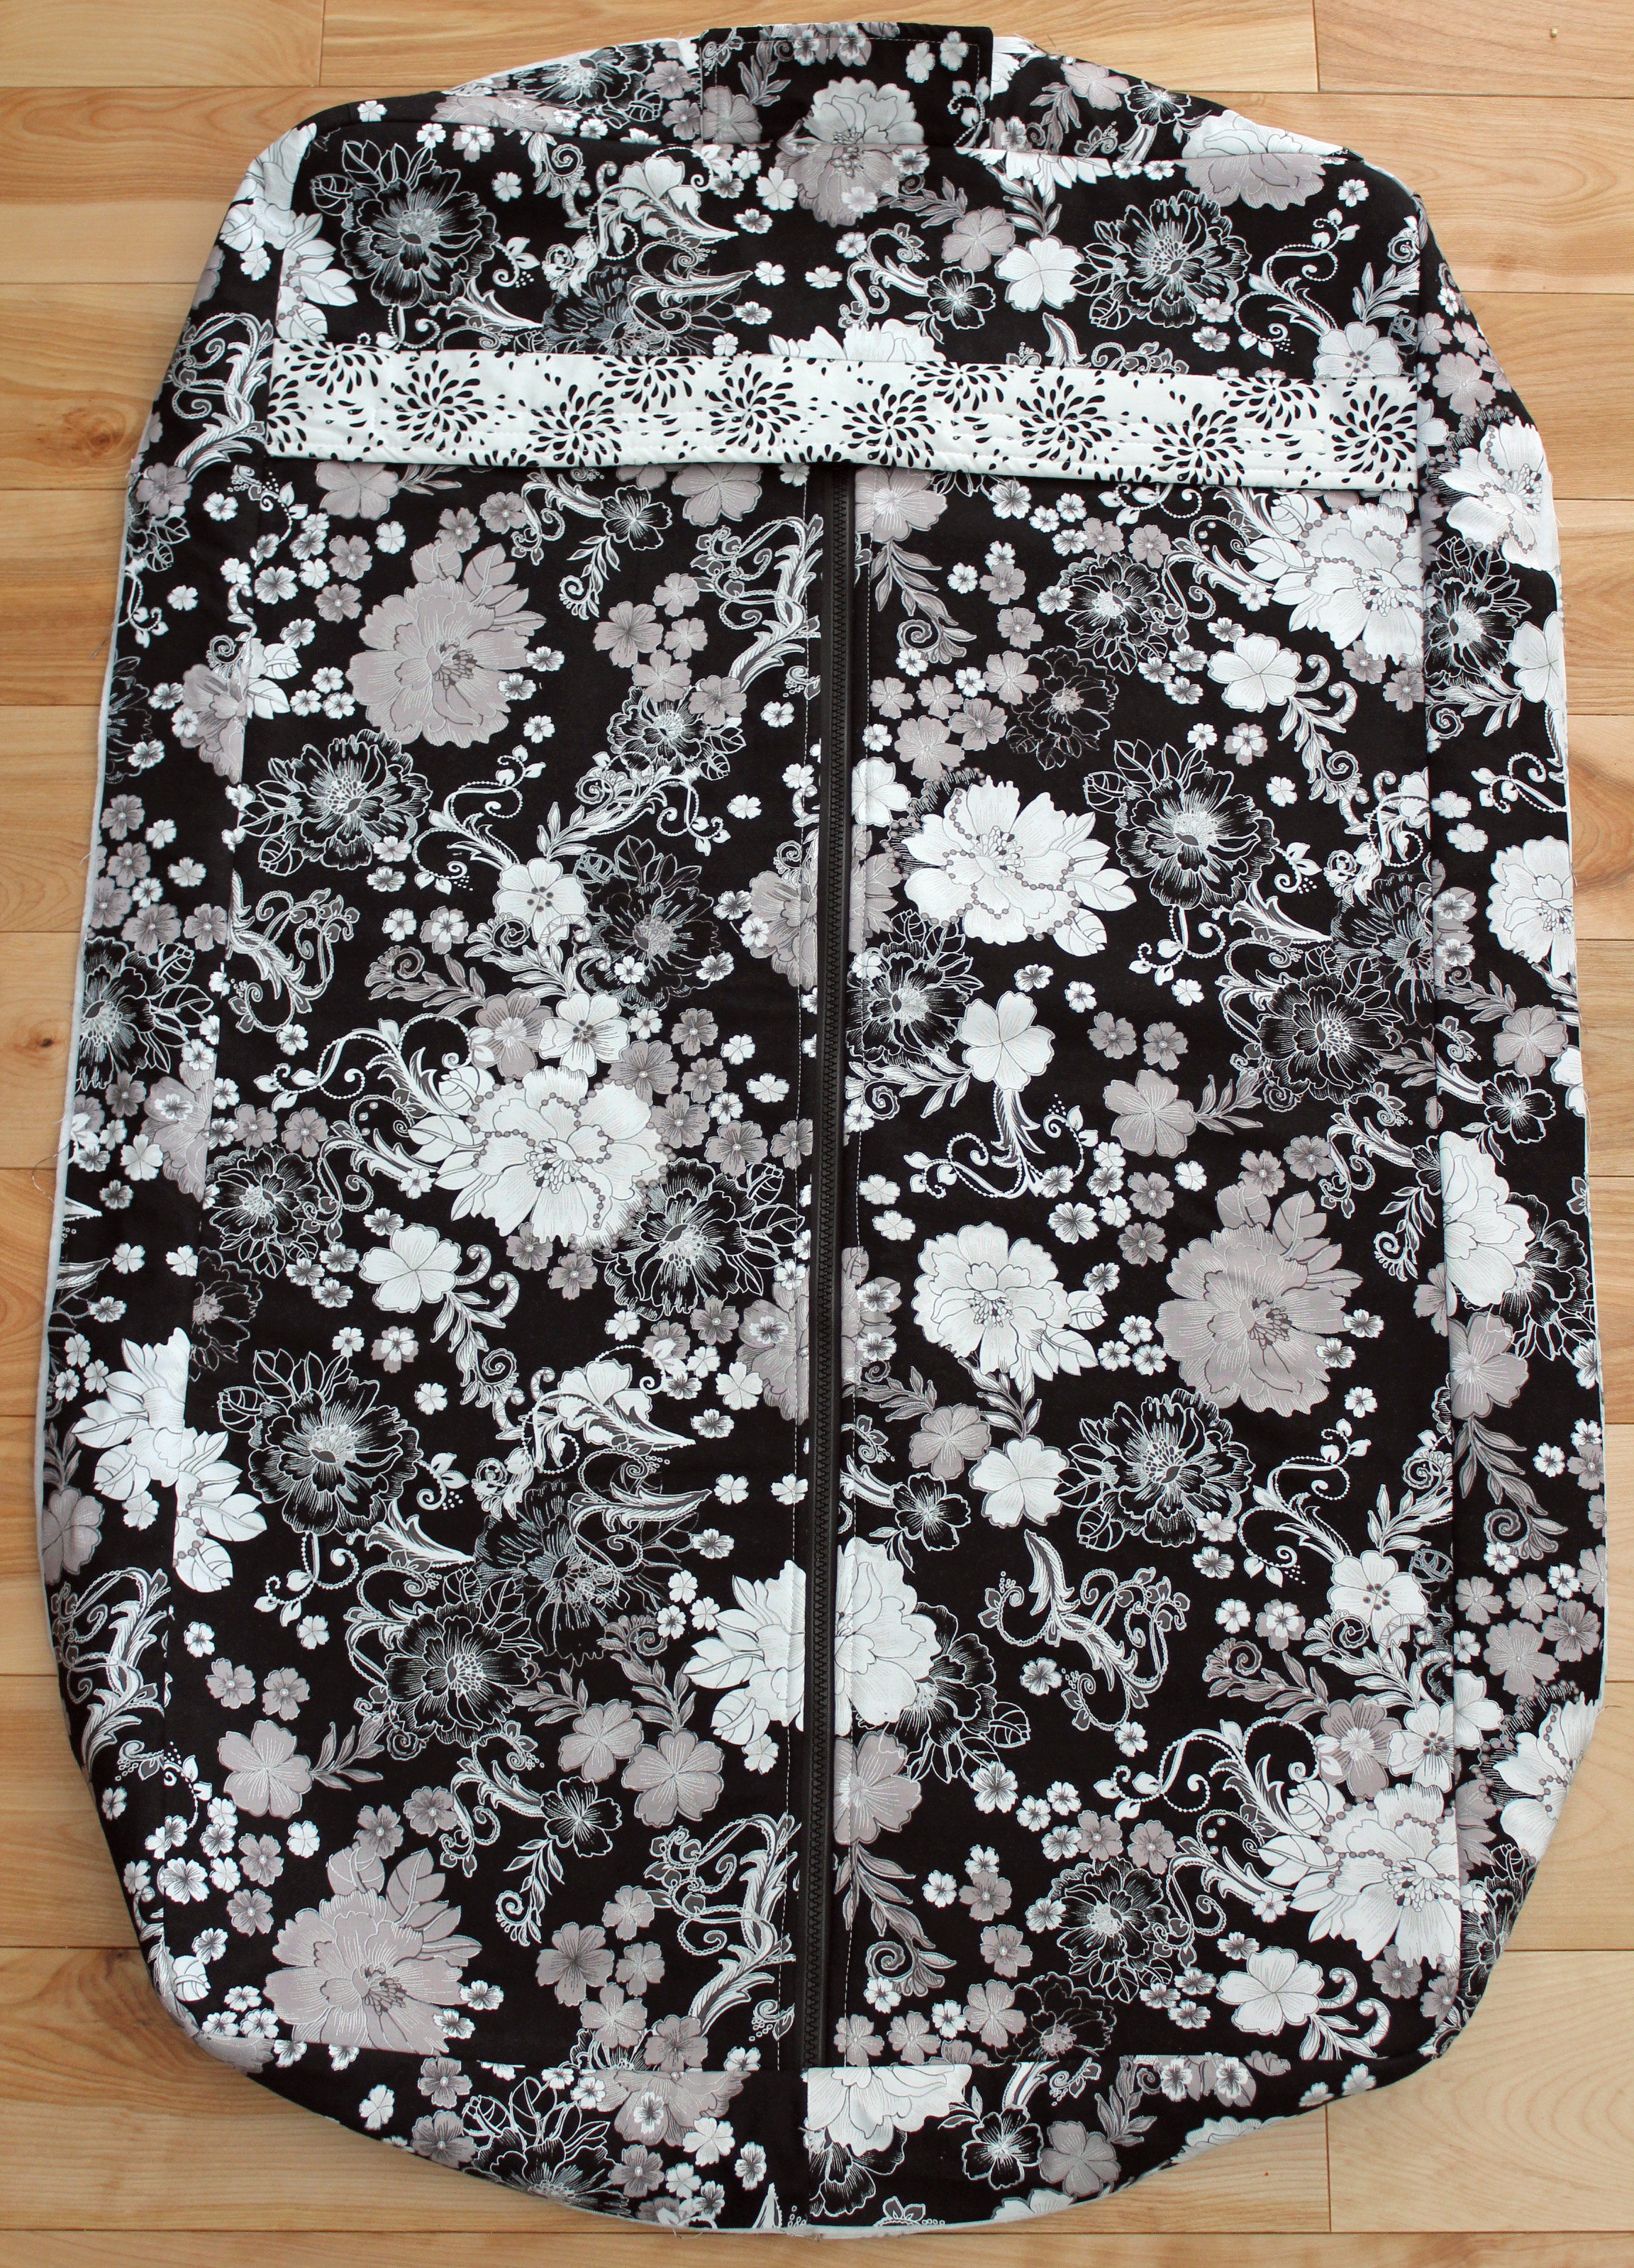
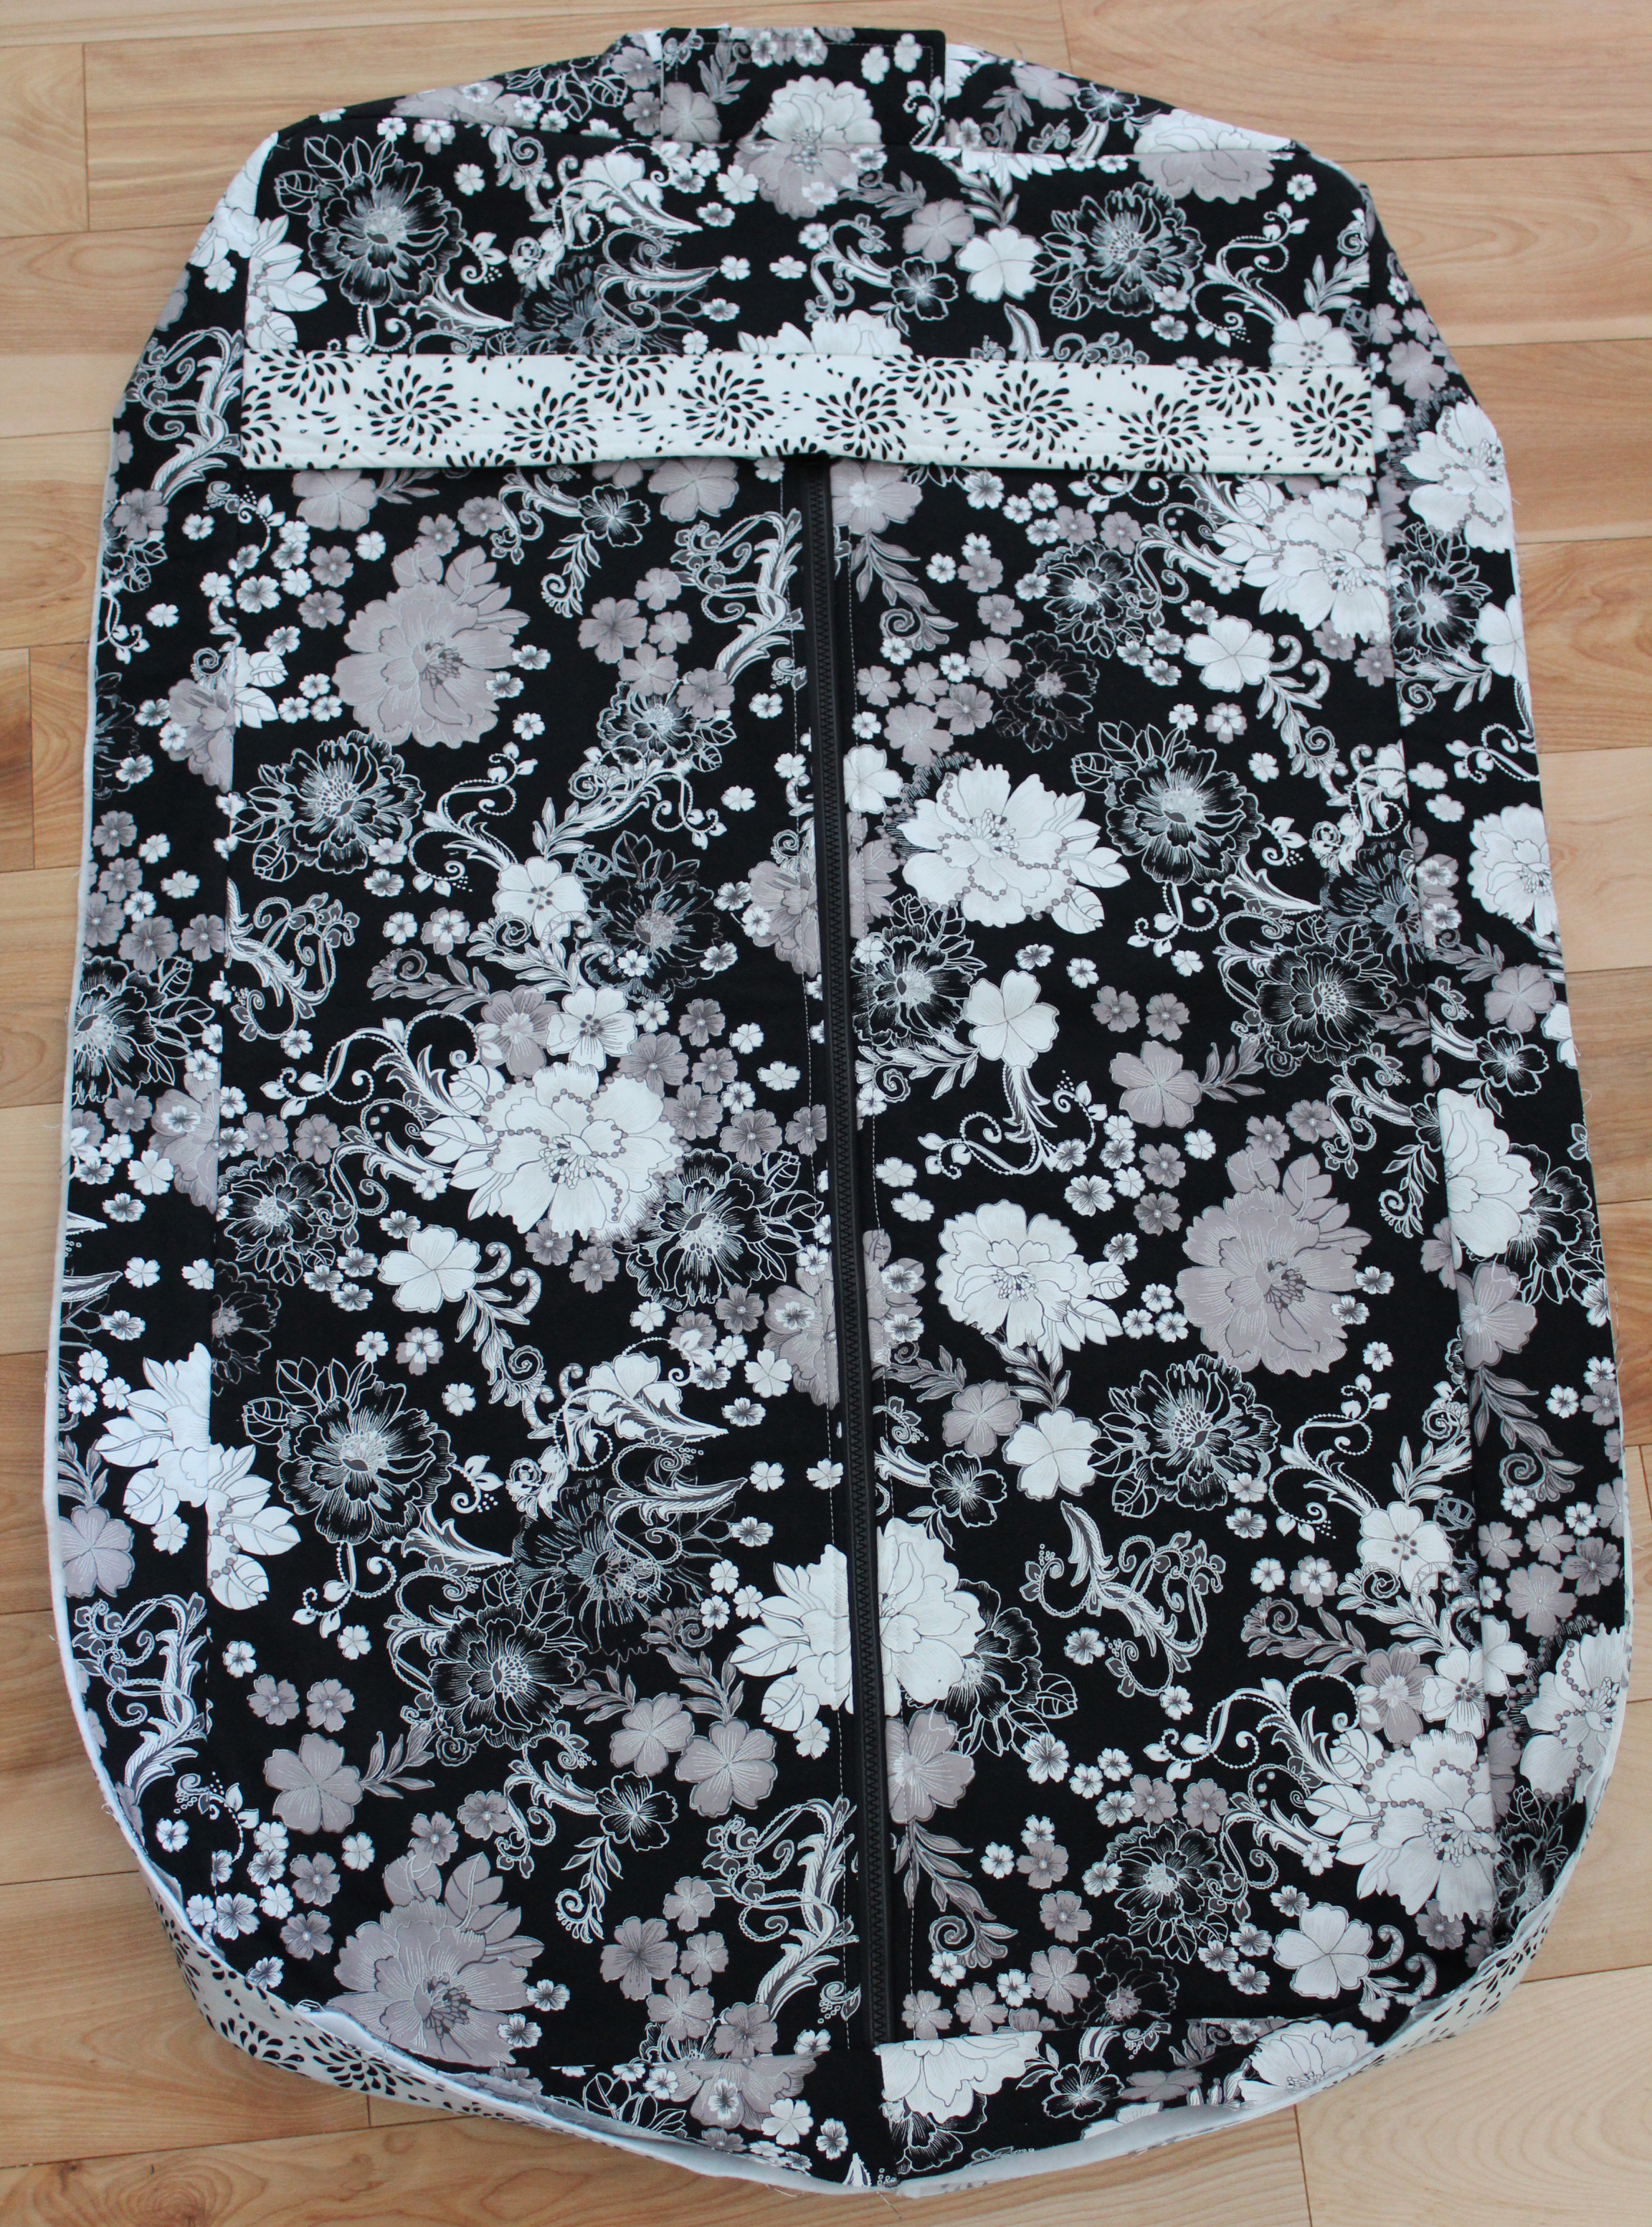
Now this is what the front of your bag should look like when it is all pinned in place.
And the back.
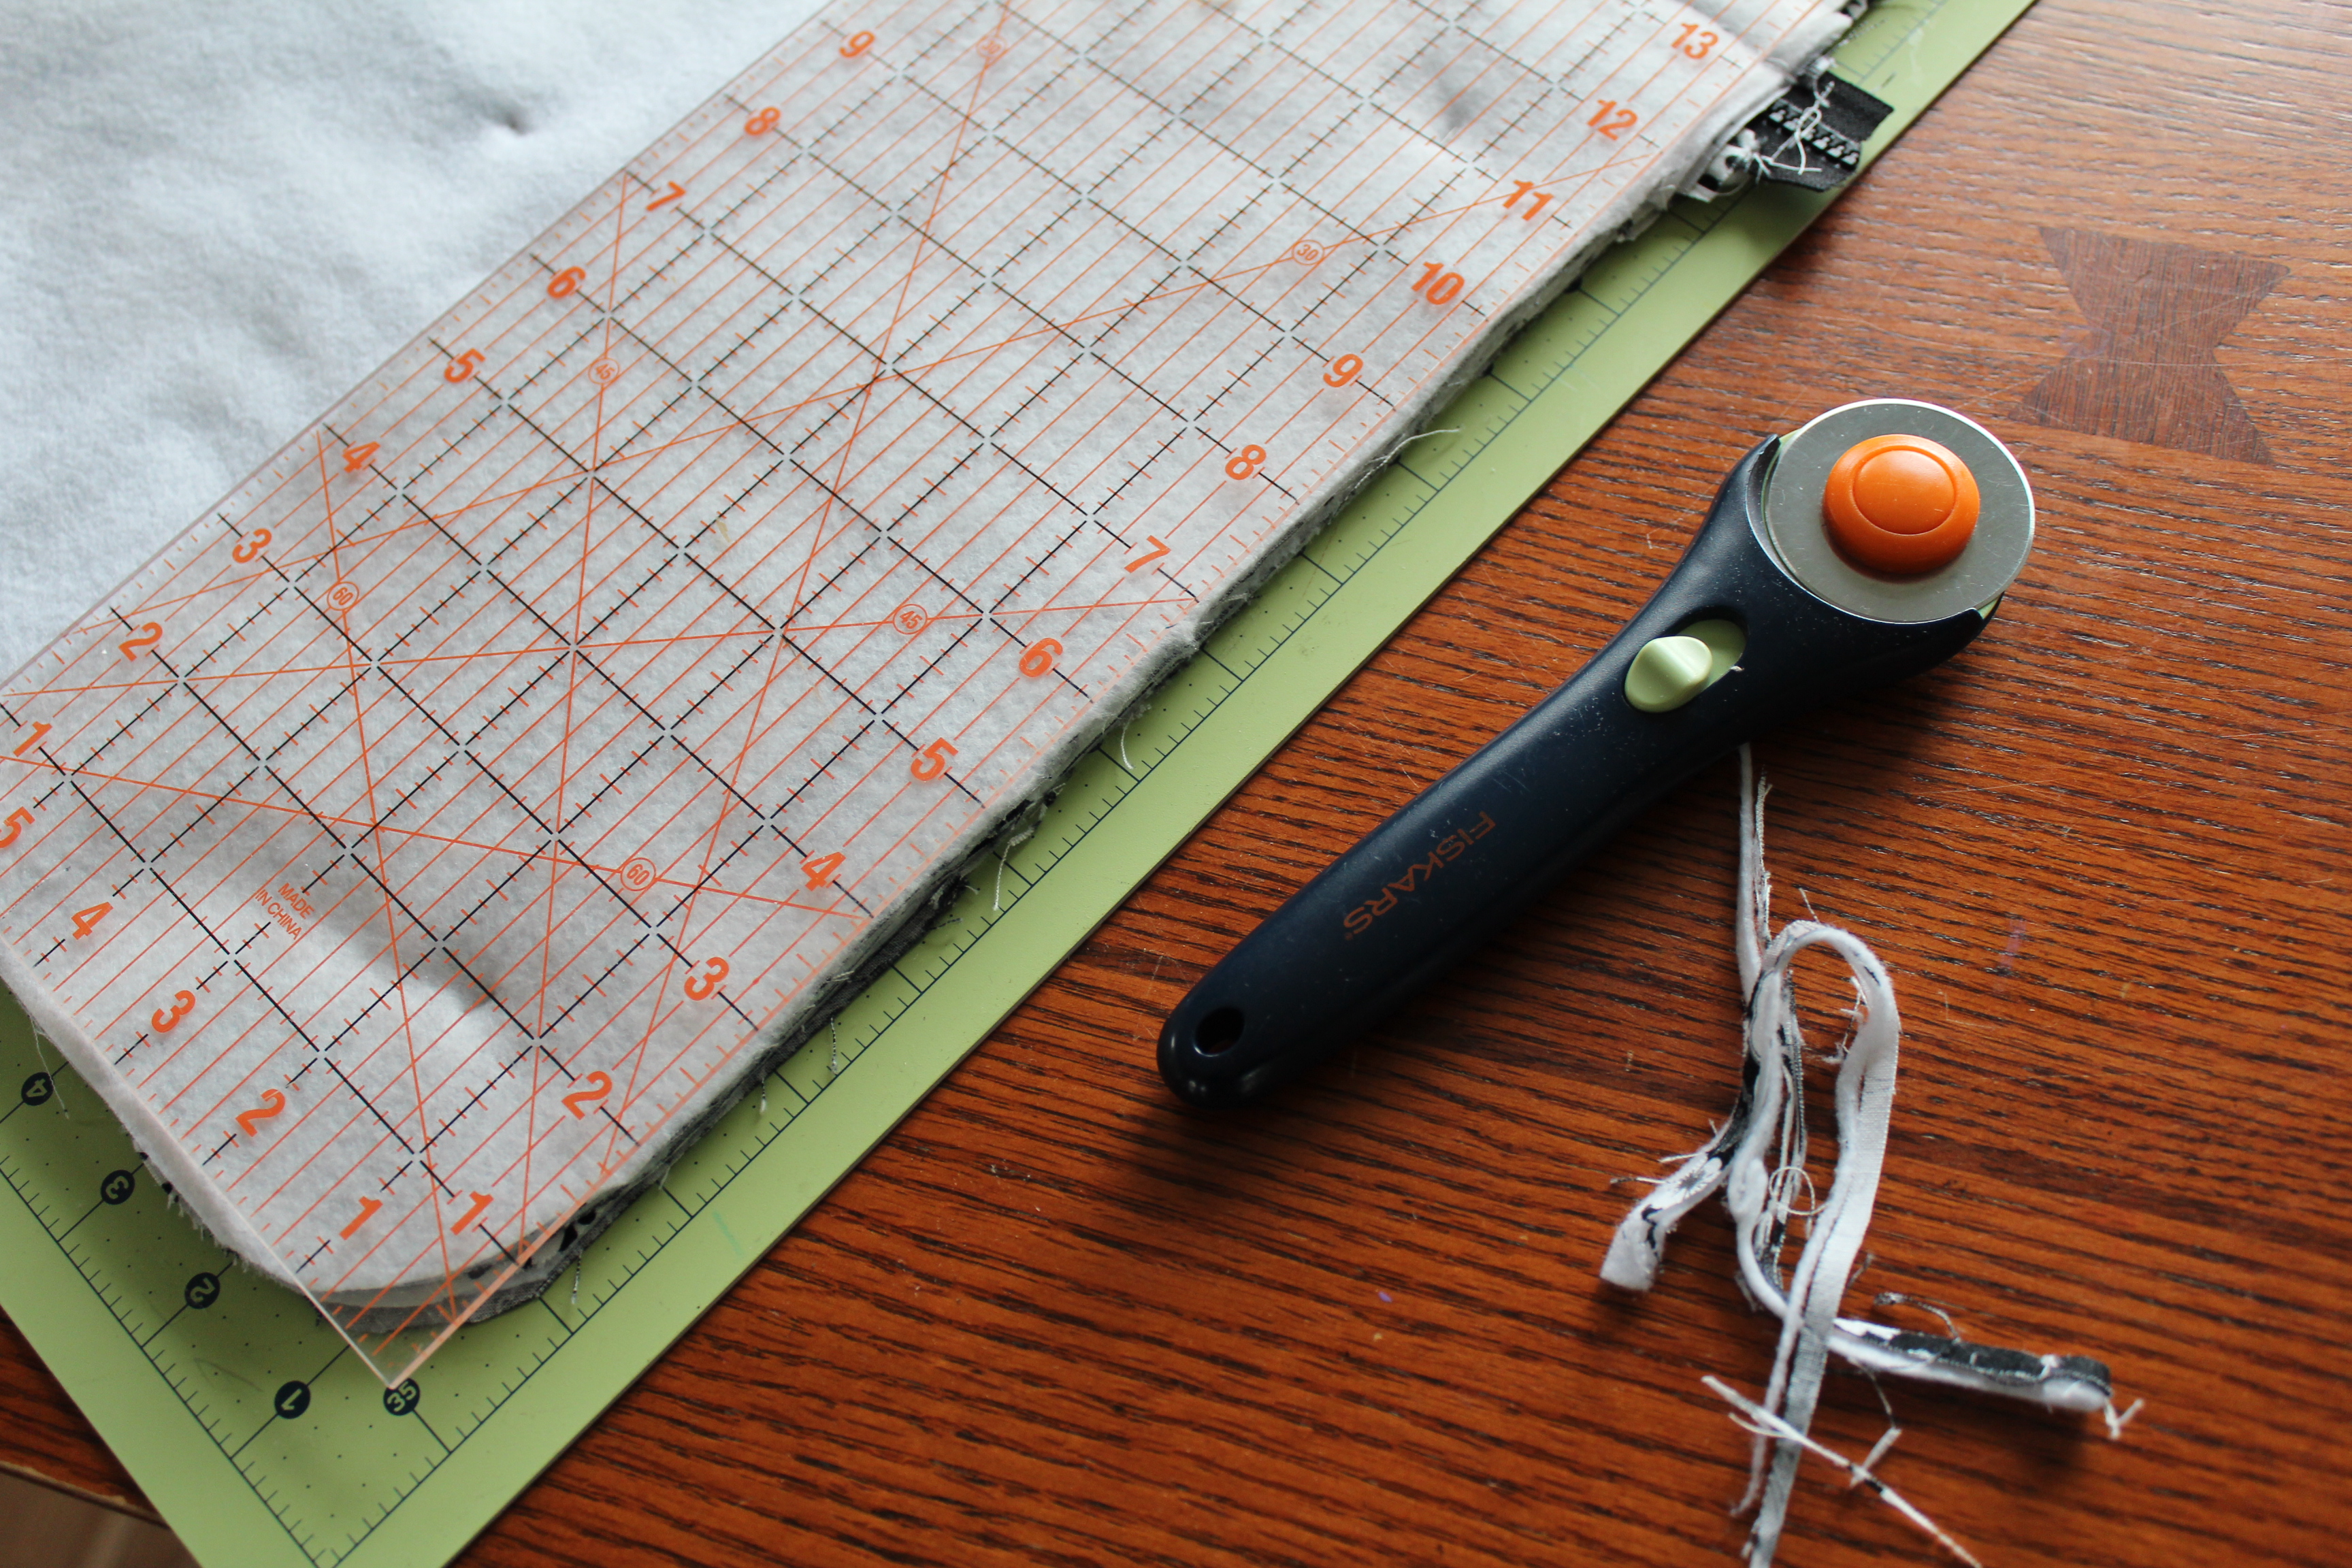
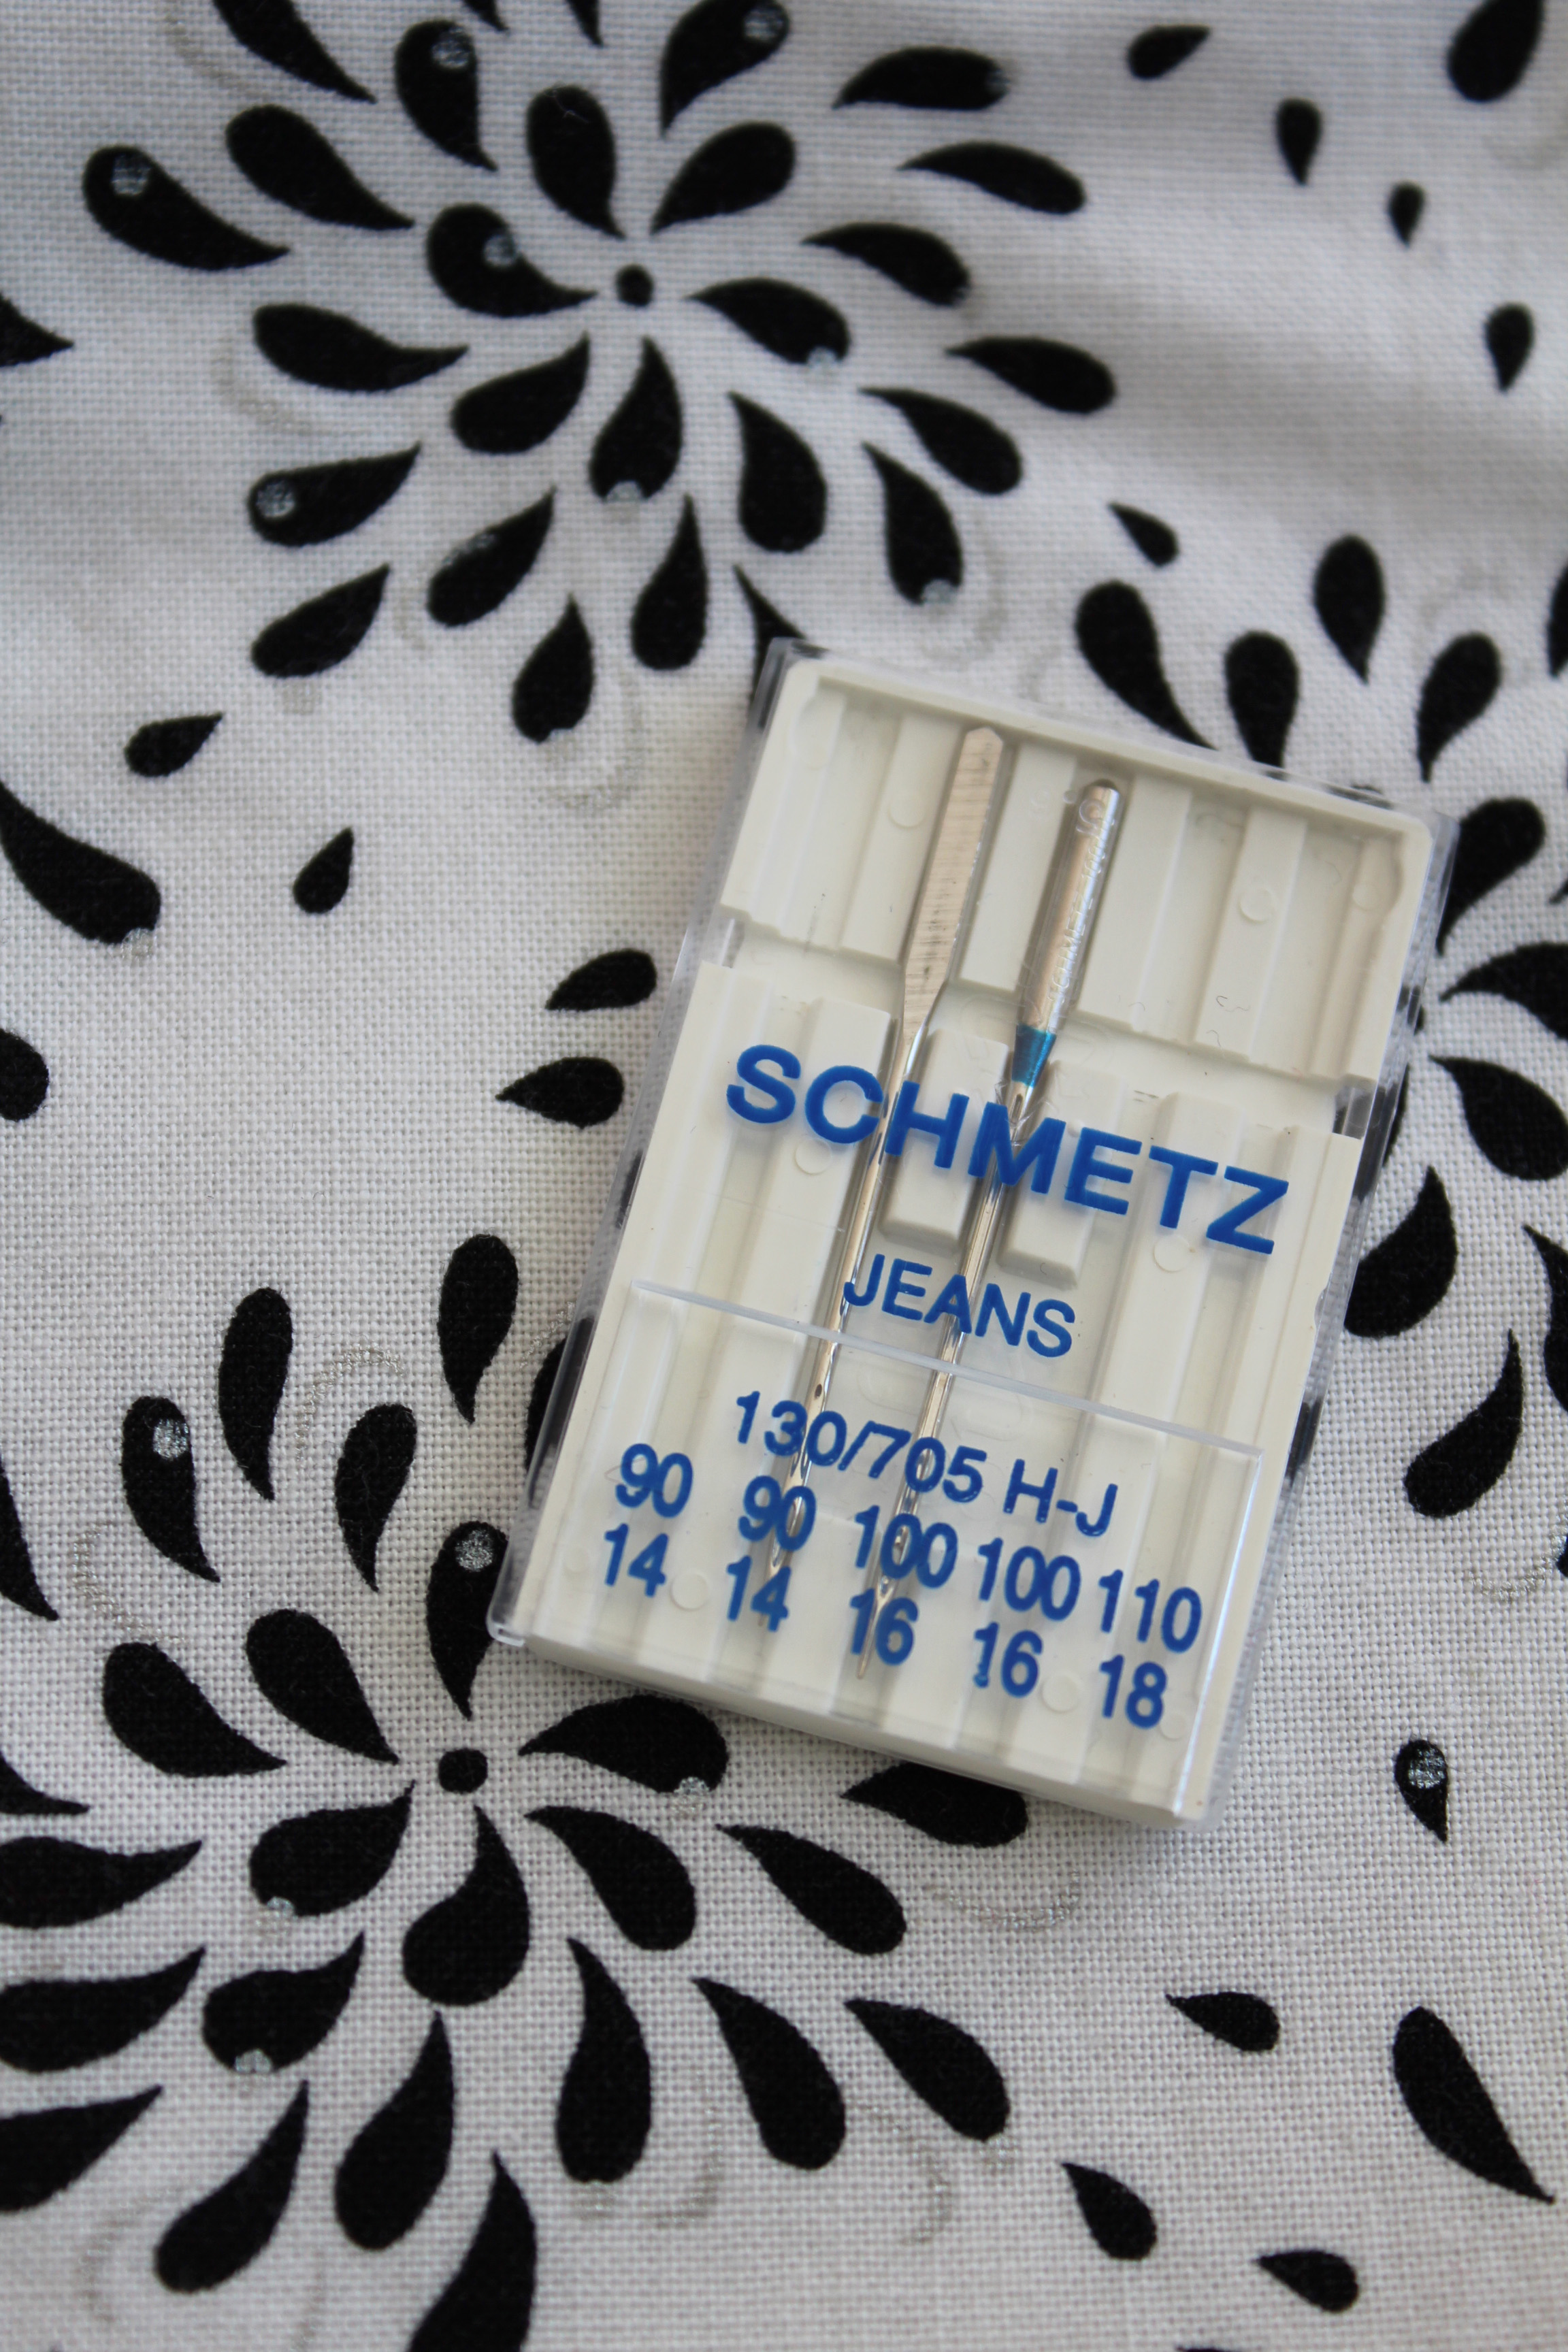
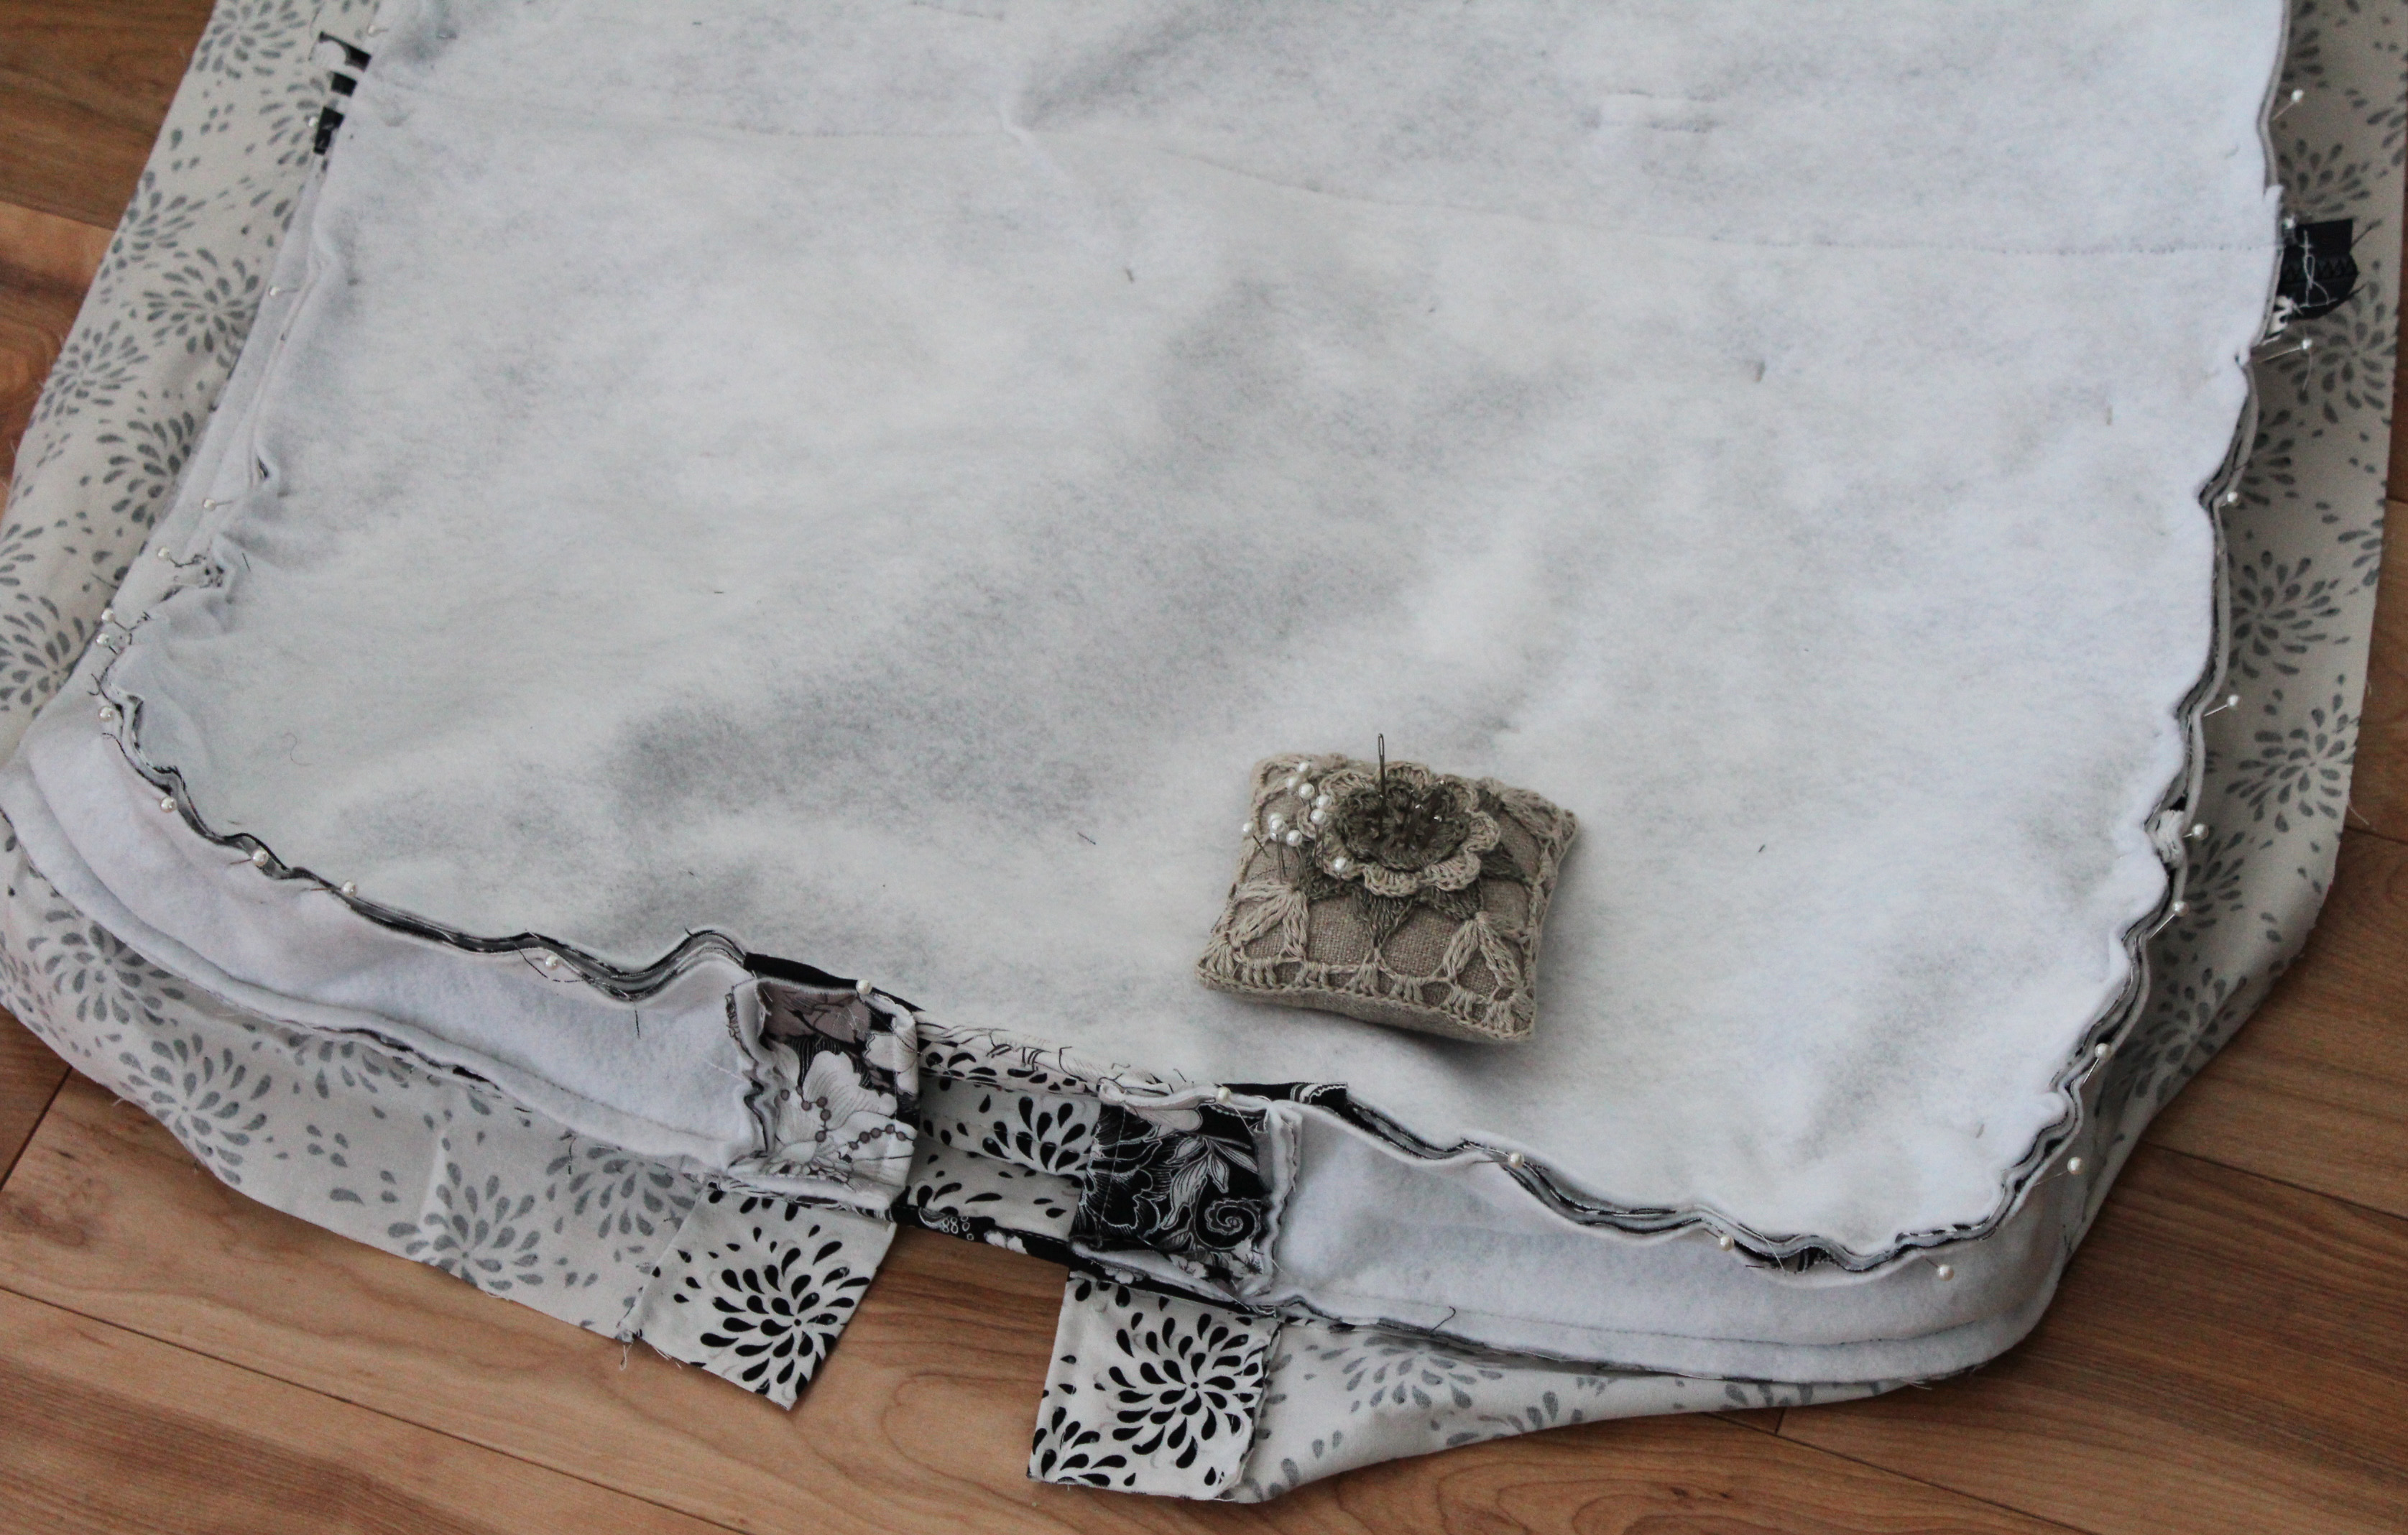
At this point you may want to switch to a different needle. The fabrics are becoming thicker and harder to sew through. Sew all around edges.
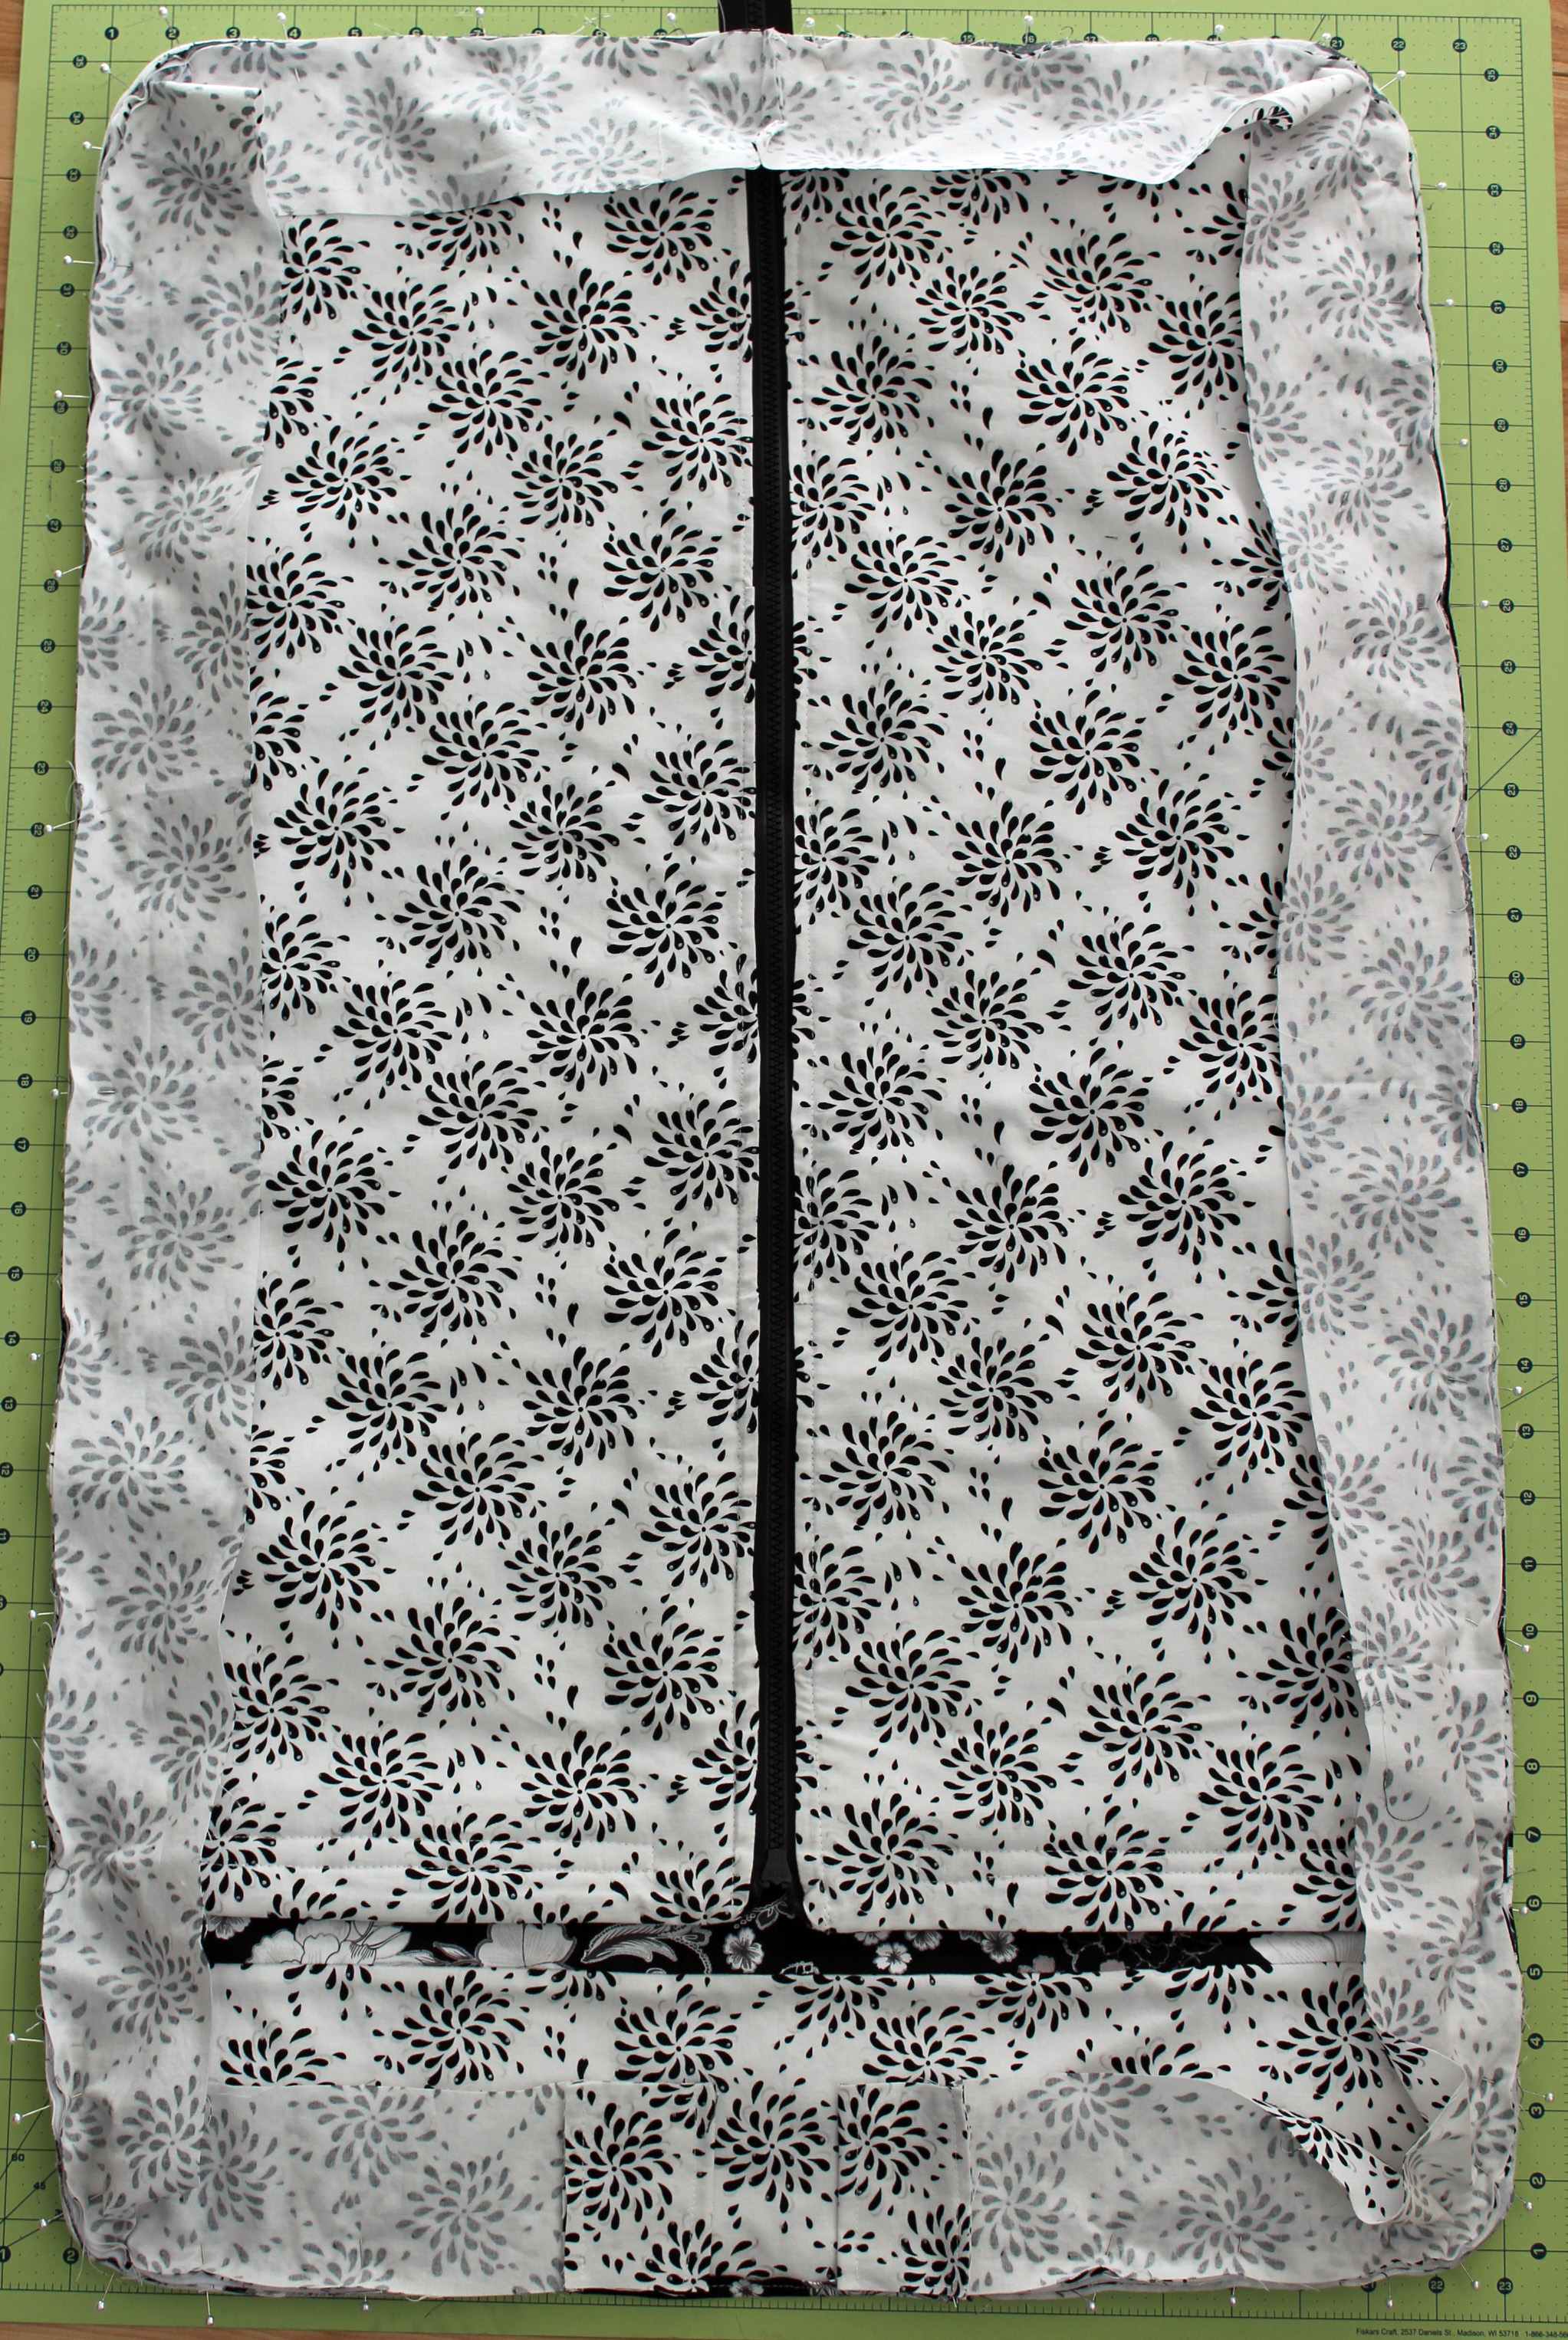
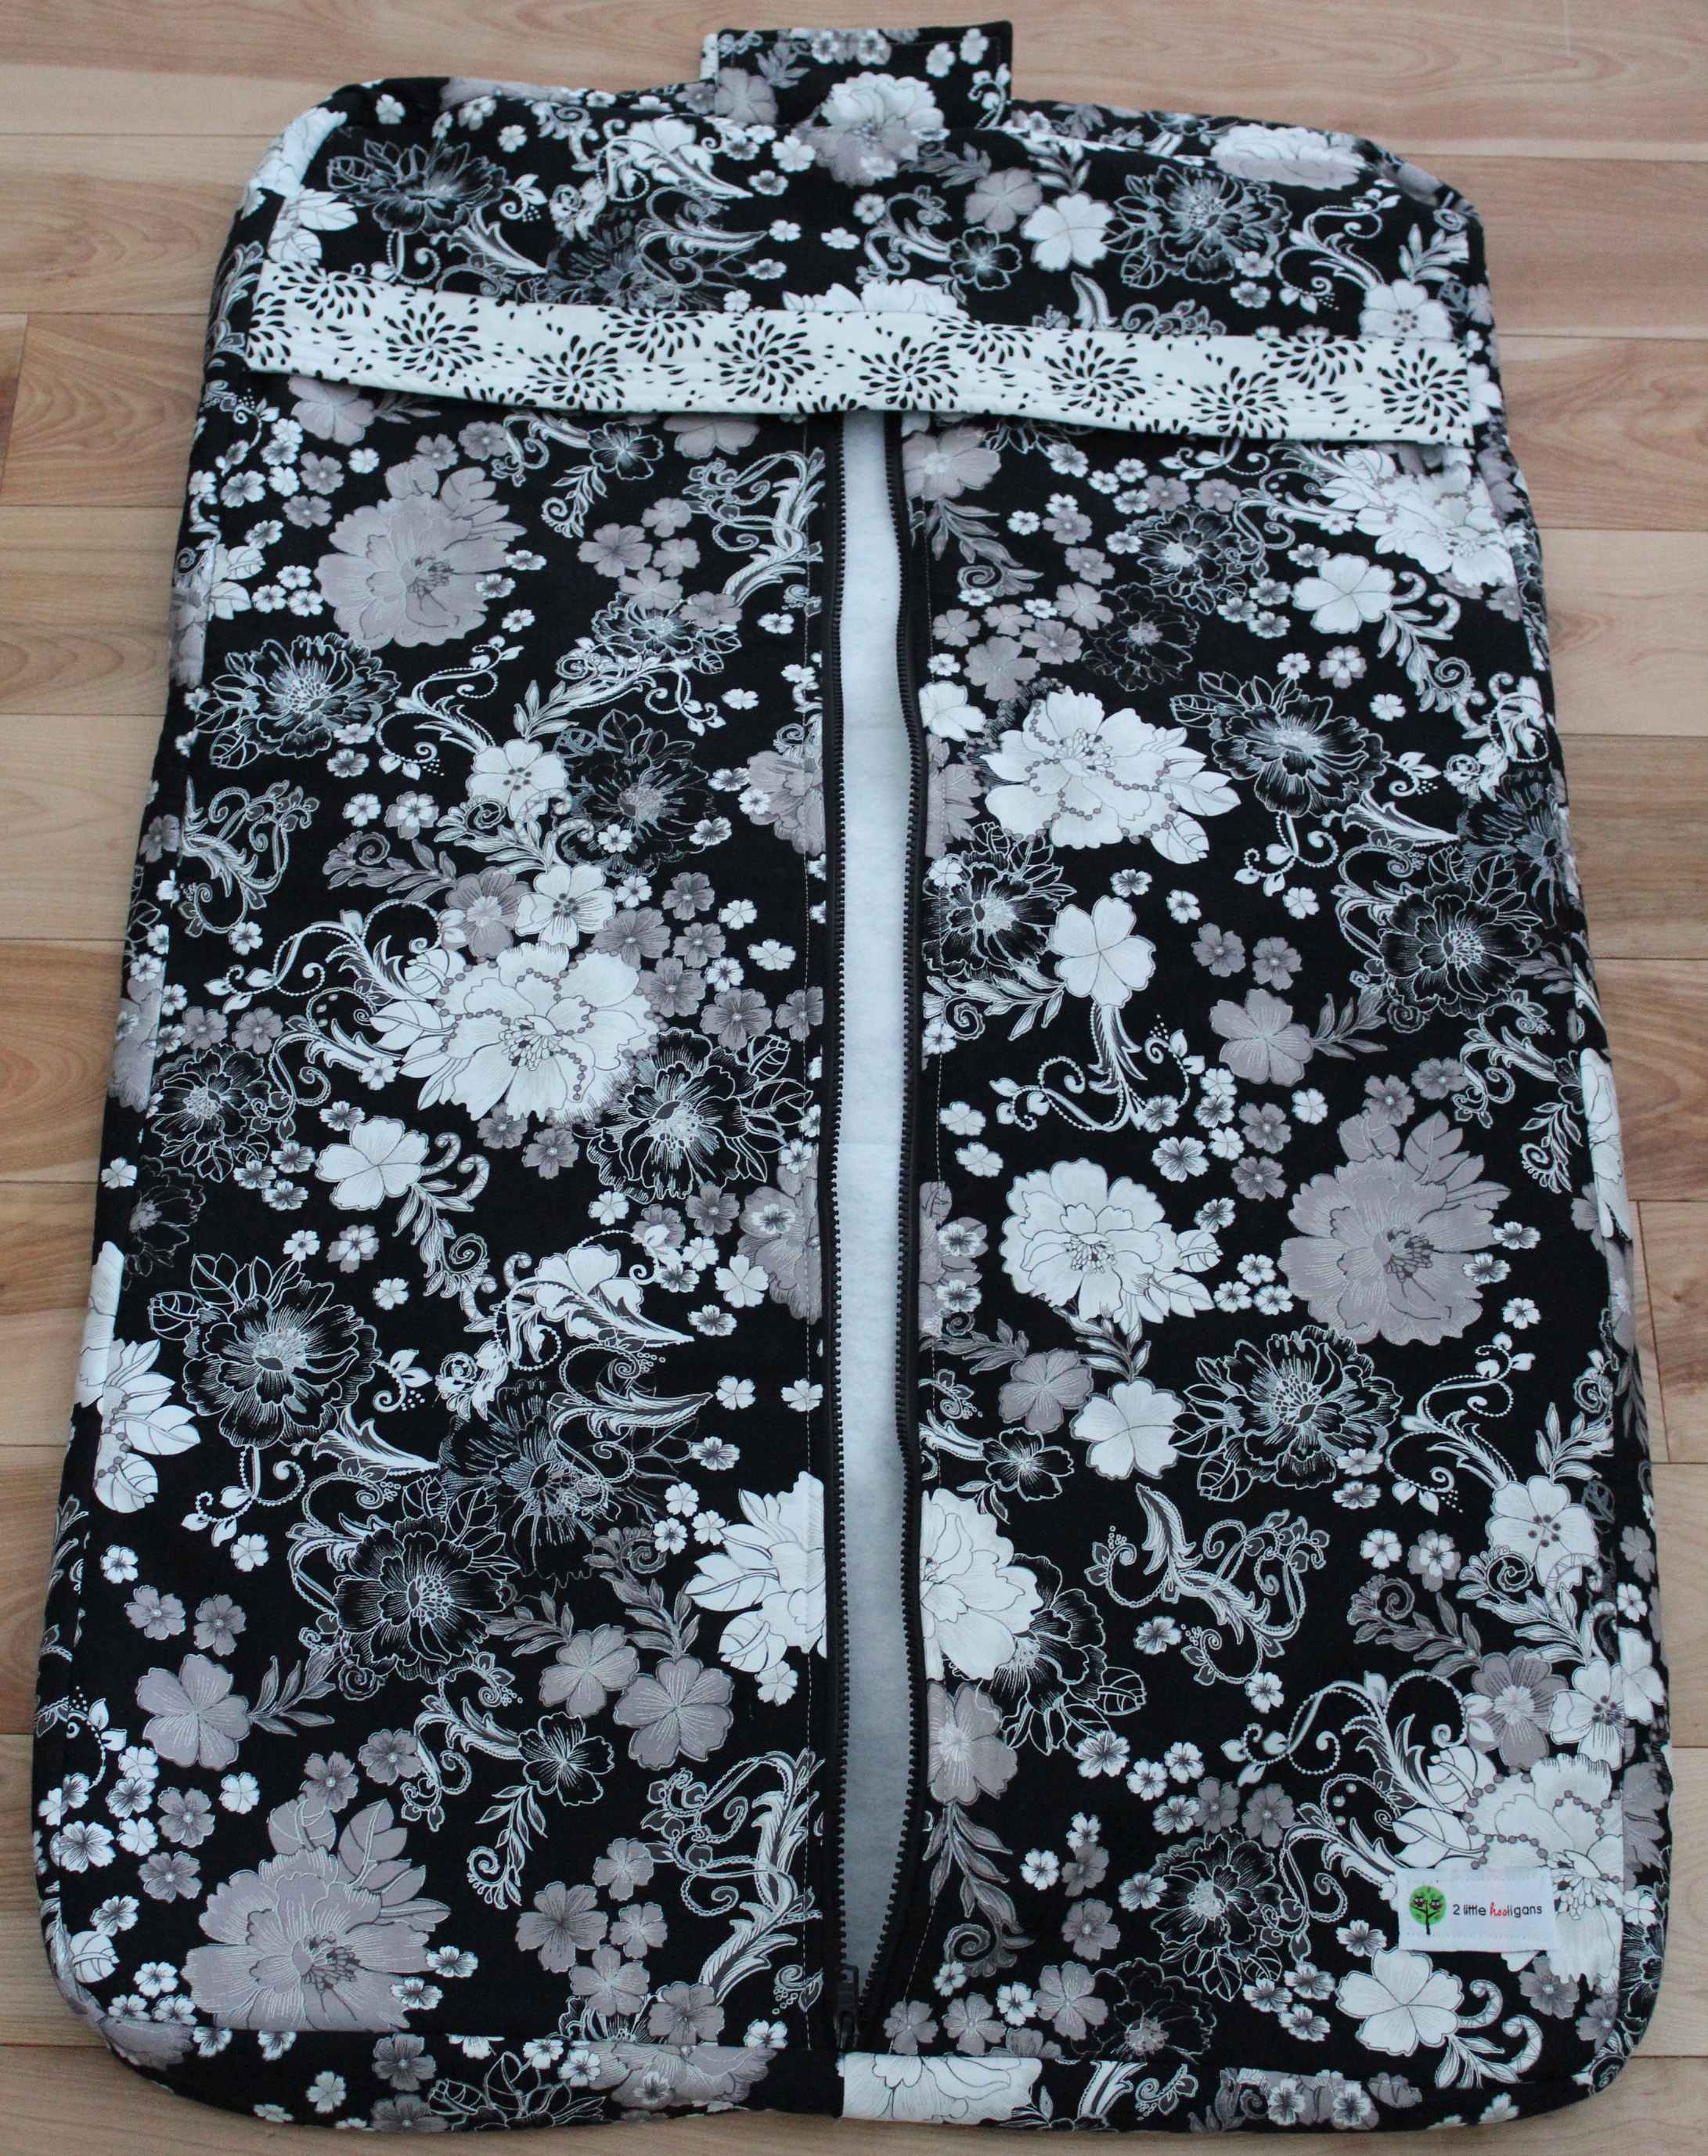
Iron flat. This is what the front of your bag looks like now.
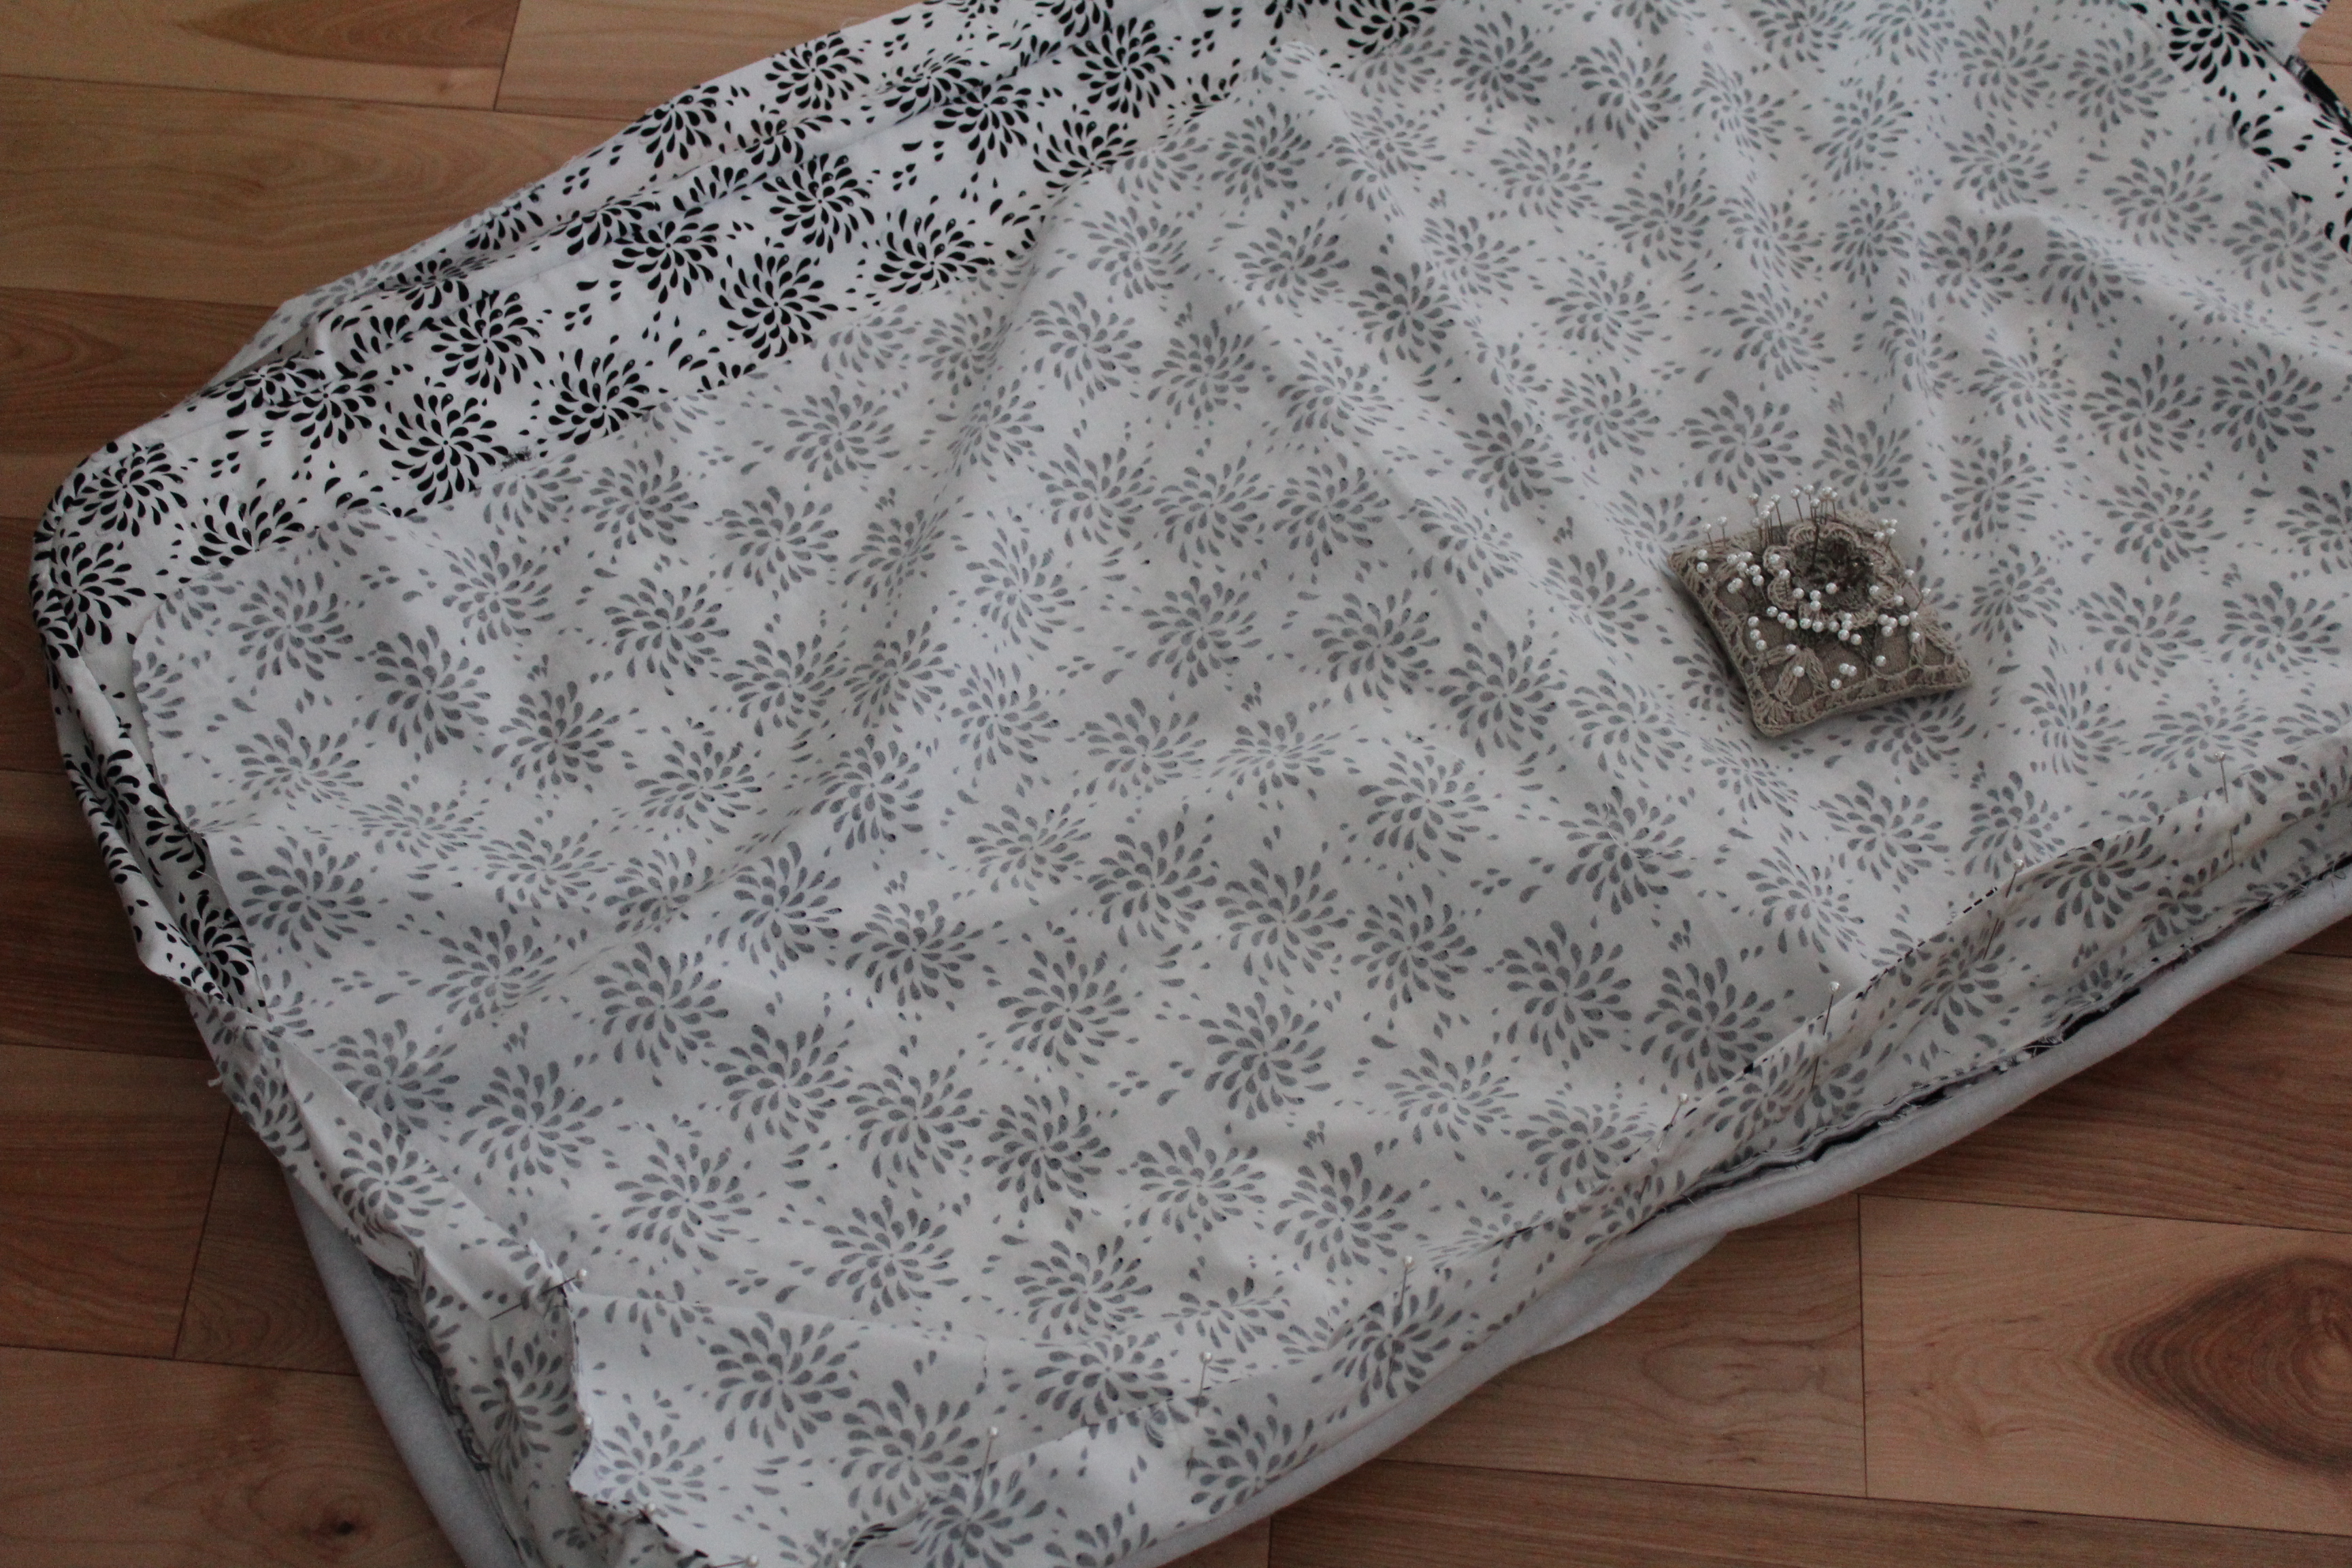
The inside of your bag.

Set the front of bag aside for now and gather the back of the bag that has the zippered pockets. You are going to want to make some handles for the bag as well as attach some D-rings for a shoulder strap to attach to.
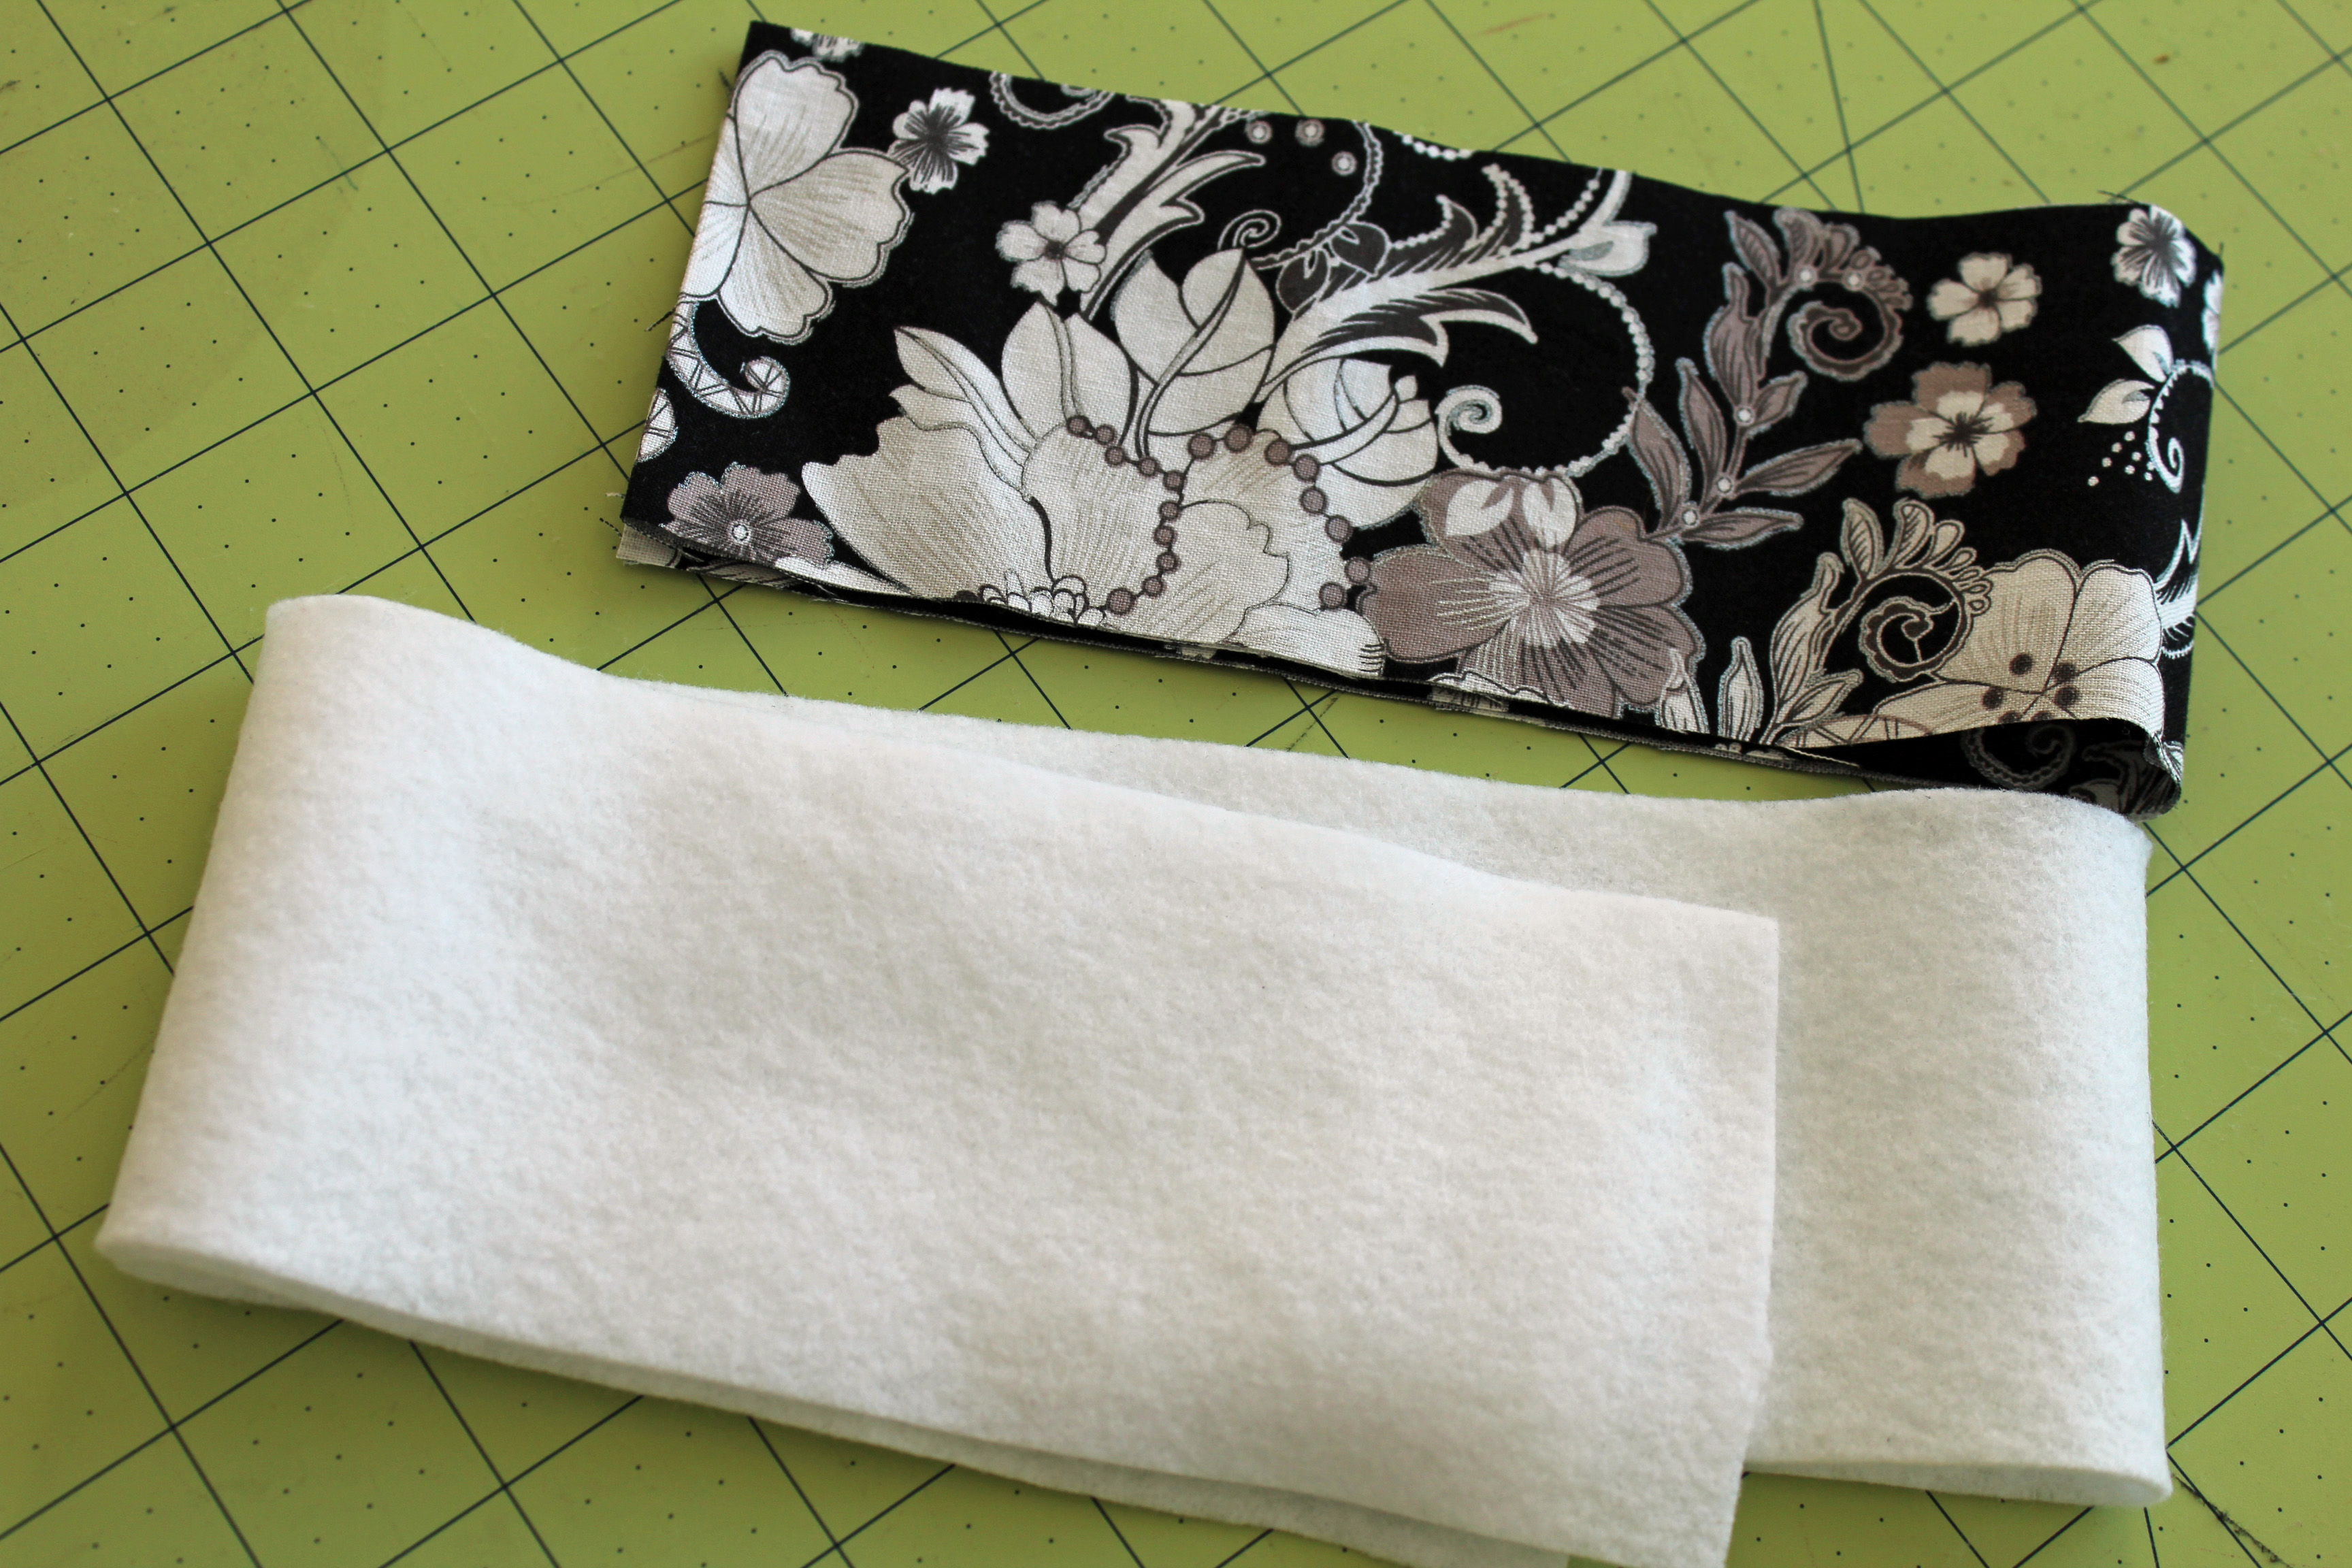
If you are going to make your handles just use your left over fabric that you cut off from the long strips. Cut one strip about 30" x 6" from the exterior fabric and batting. Of course you can make the handles longer or even use some cotton webbing instead to save time.
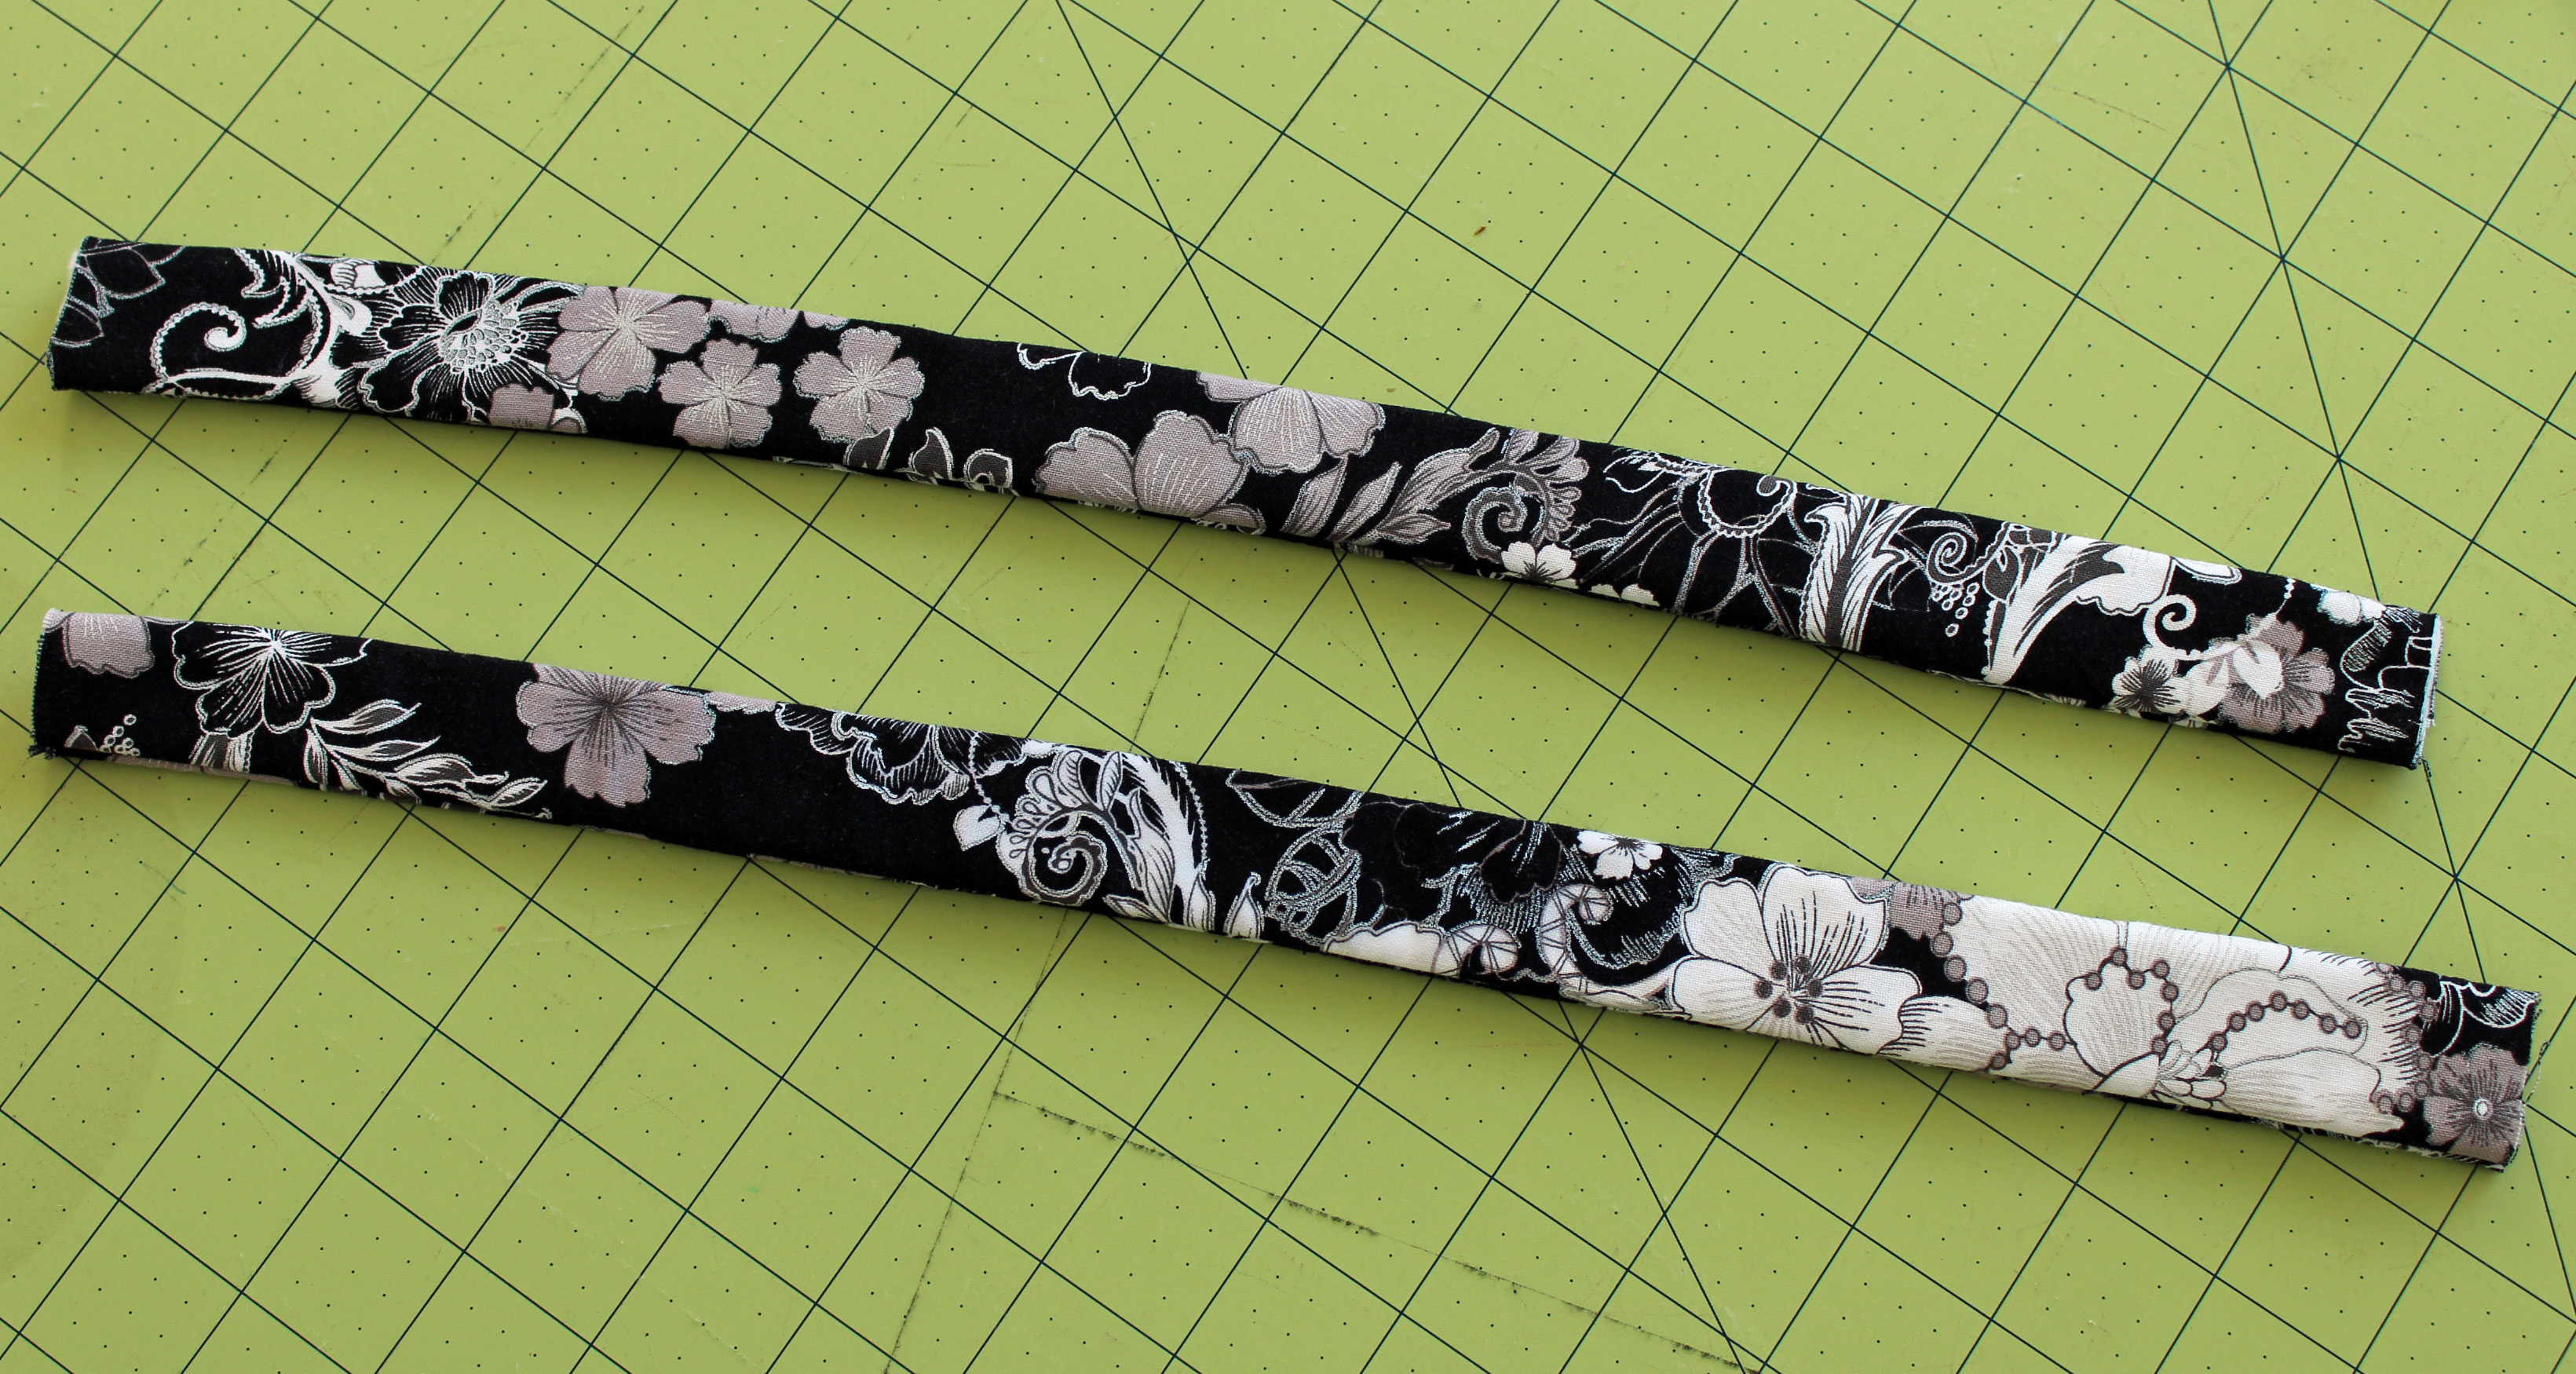
Sew into a tube. Turn right side out. Iron flat. Cut the tube into two pieces. Handles should now be about 15" x 2".                           
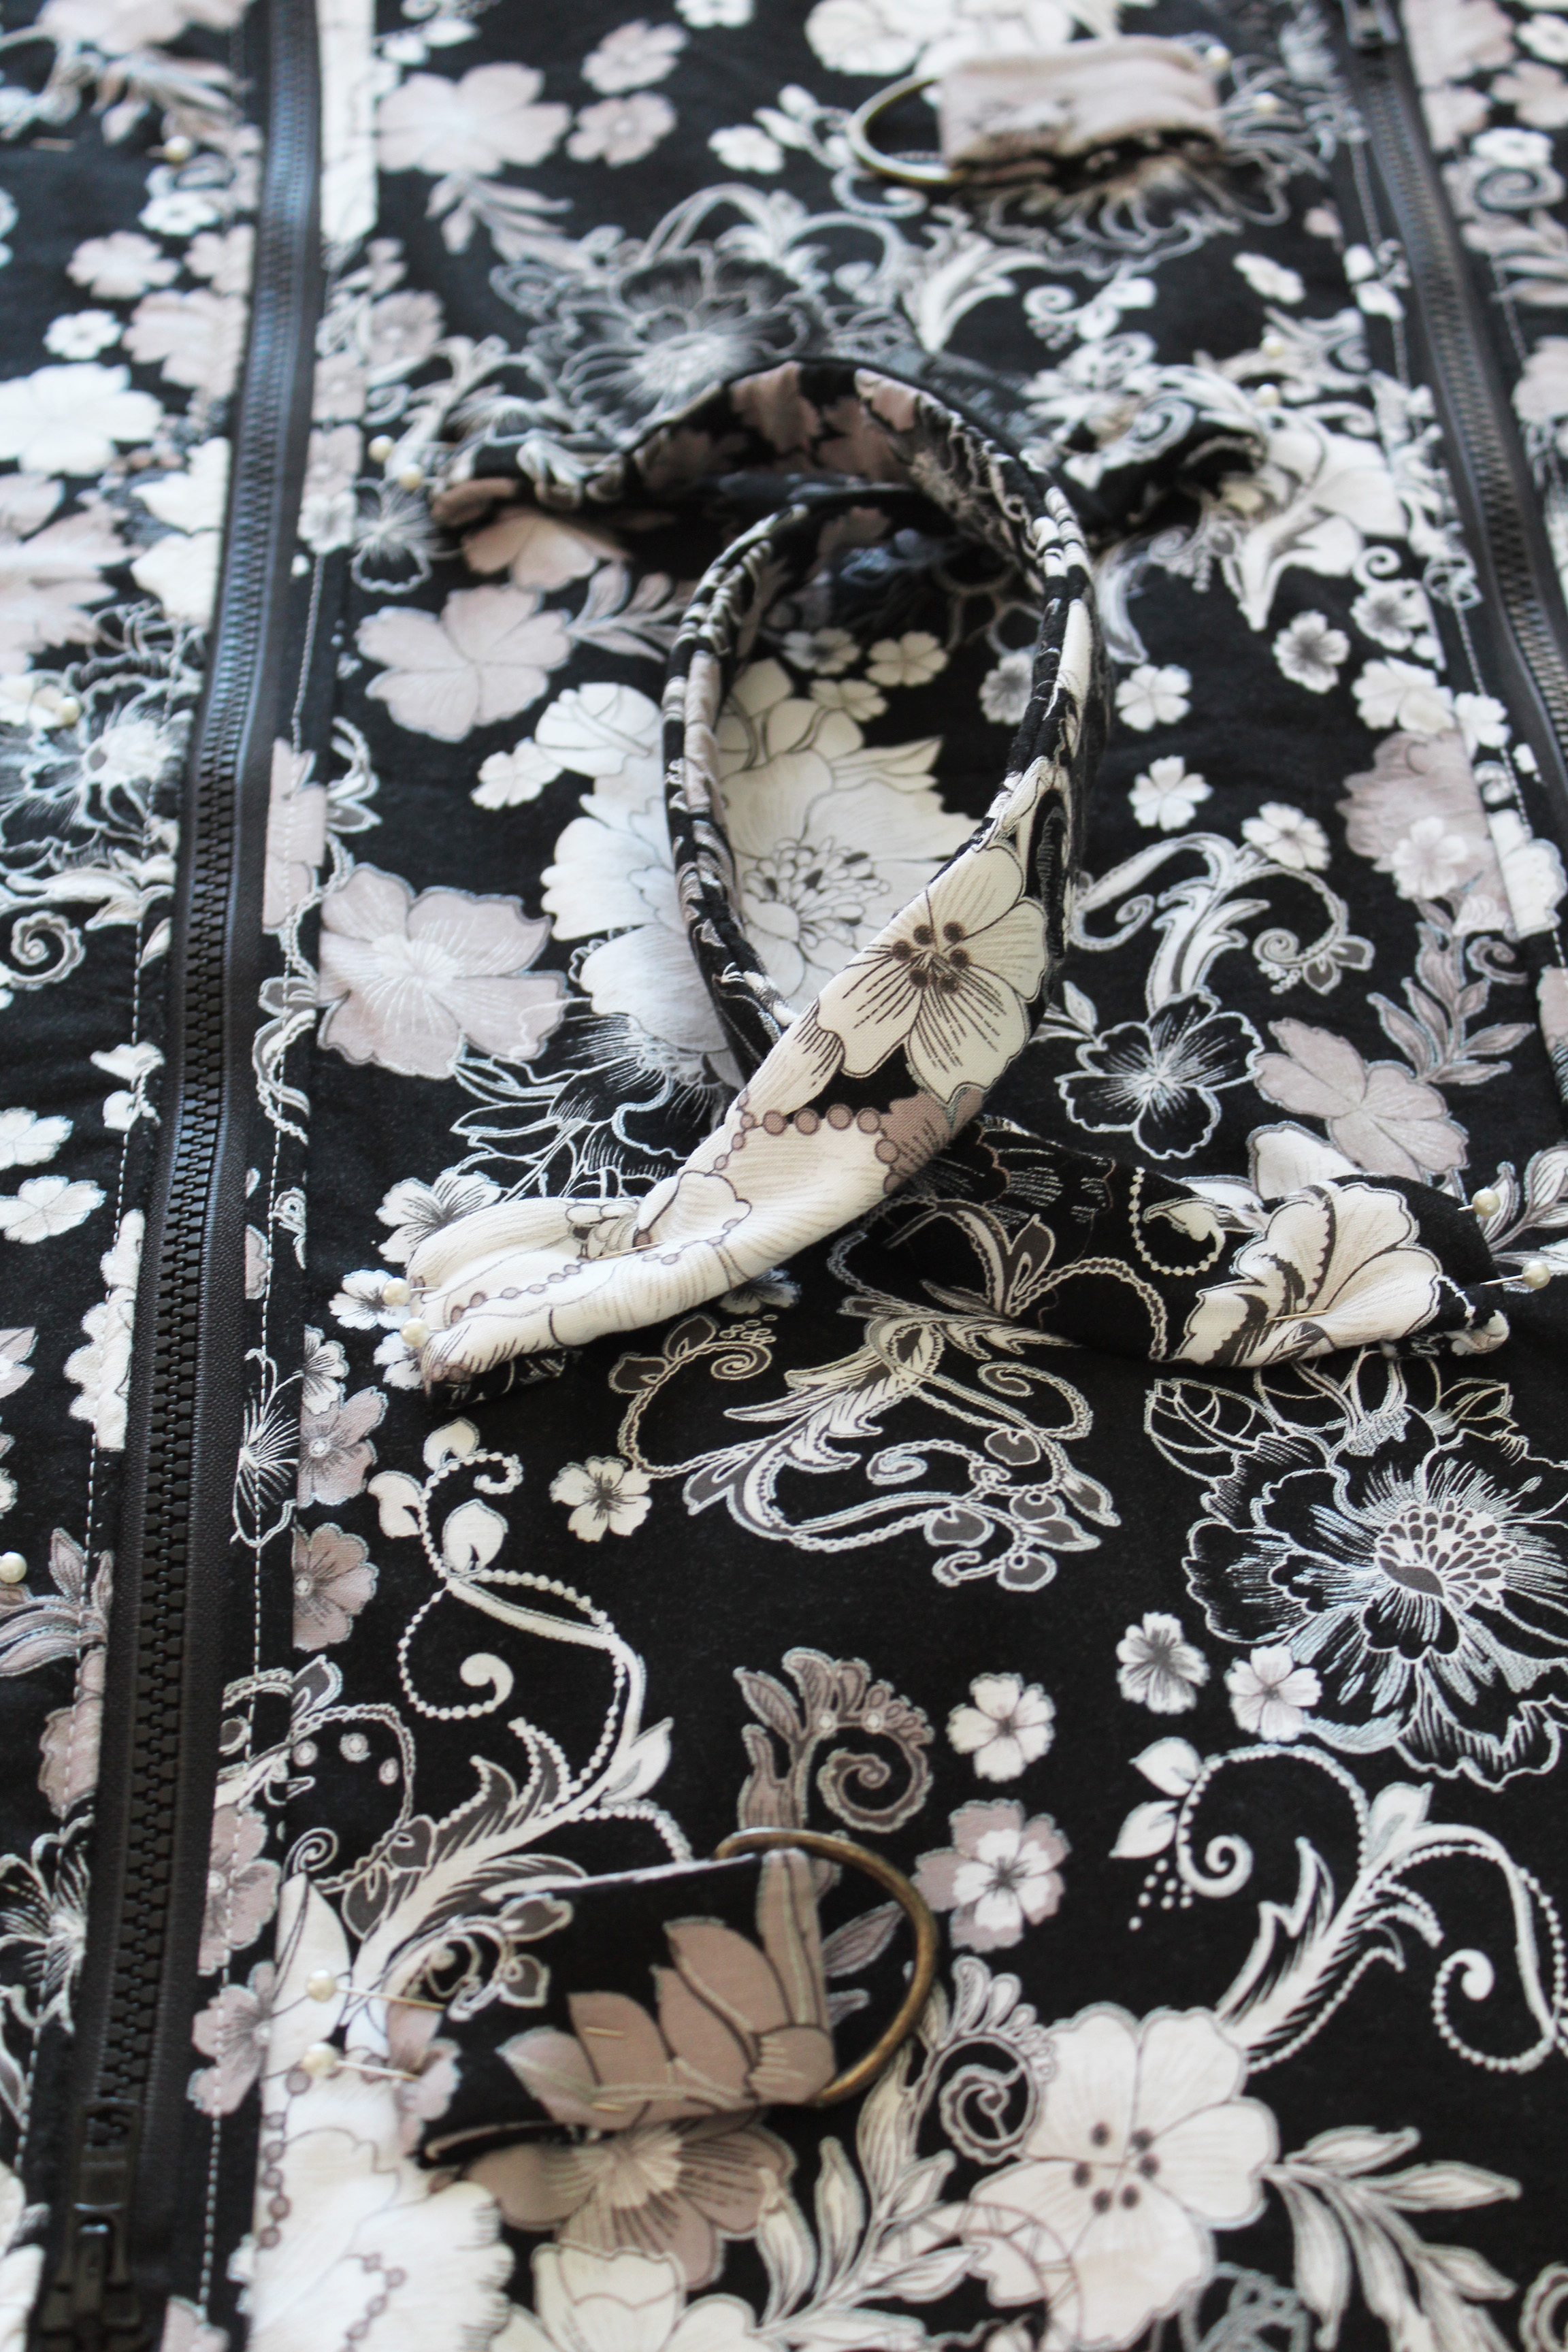
Pin the handles onto the bag in the middle in between the two zippered pockets. I placed the end of my handles in about 6" from the edge and 1" above the bias strip. Fold the unfinished ends under so that they are not seen.
 
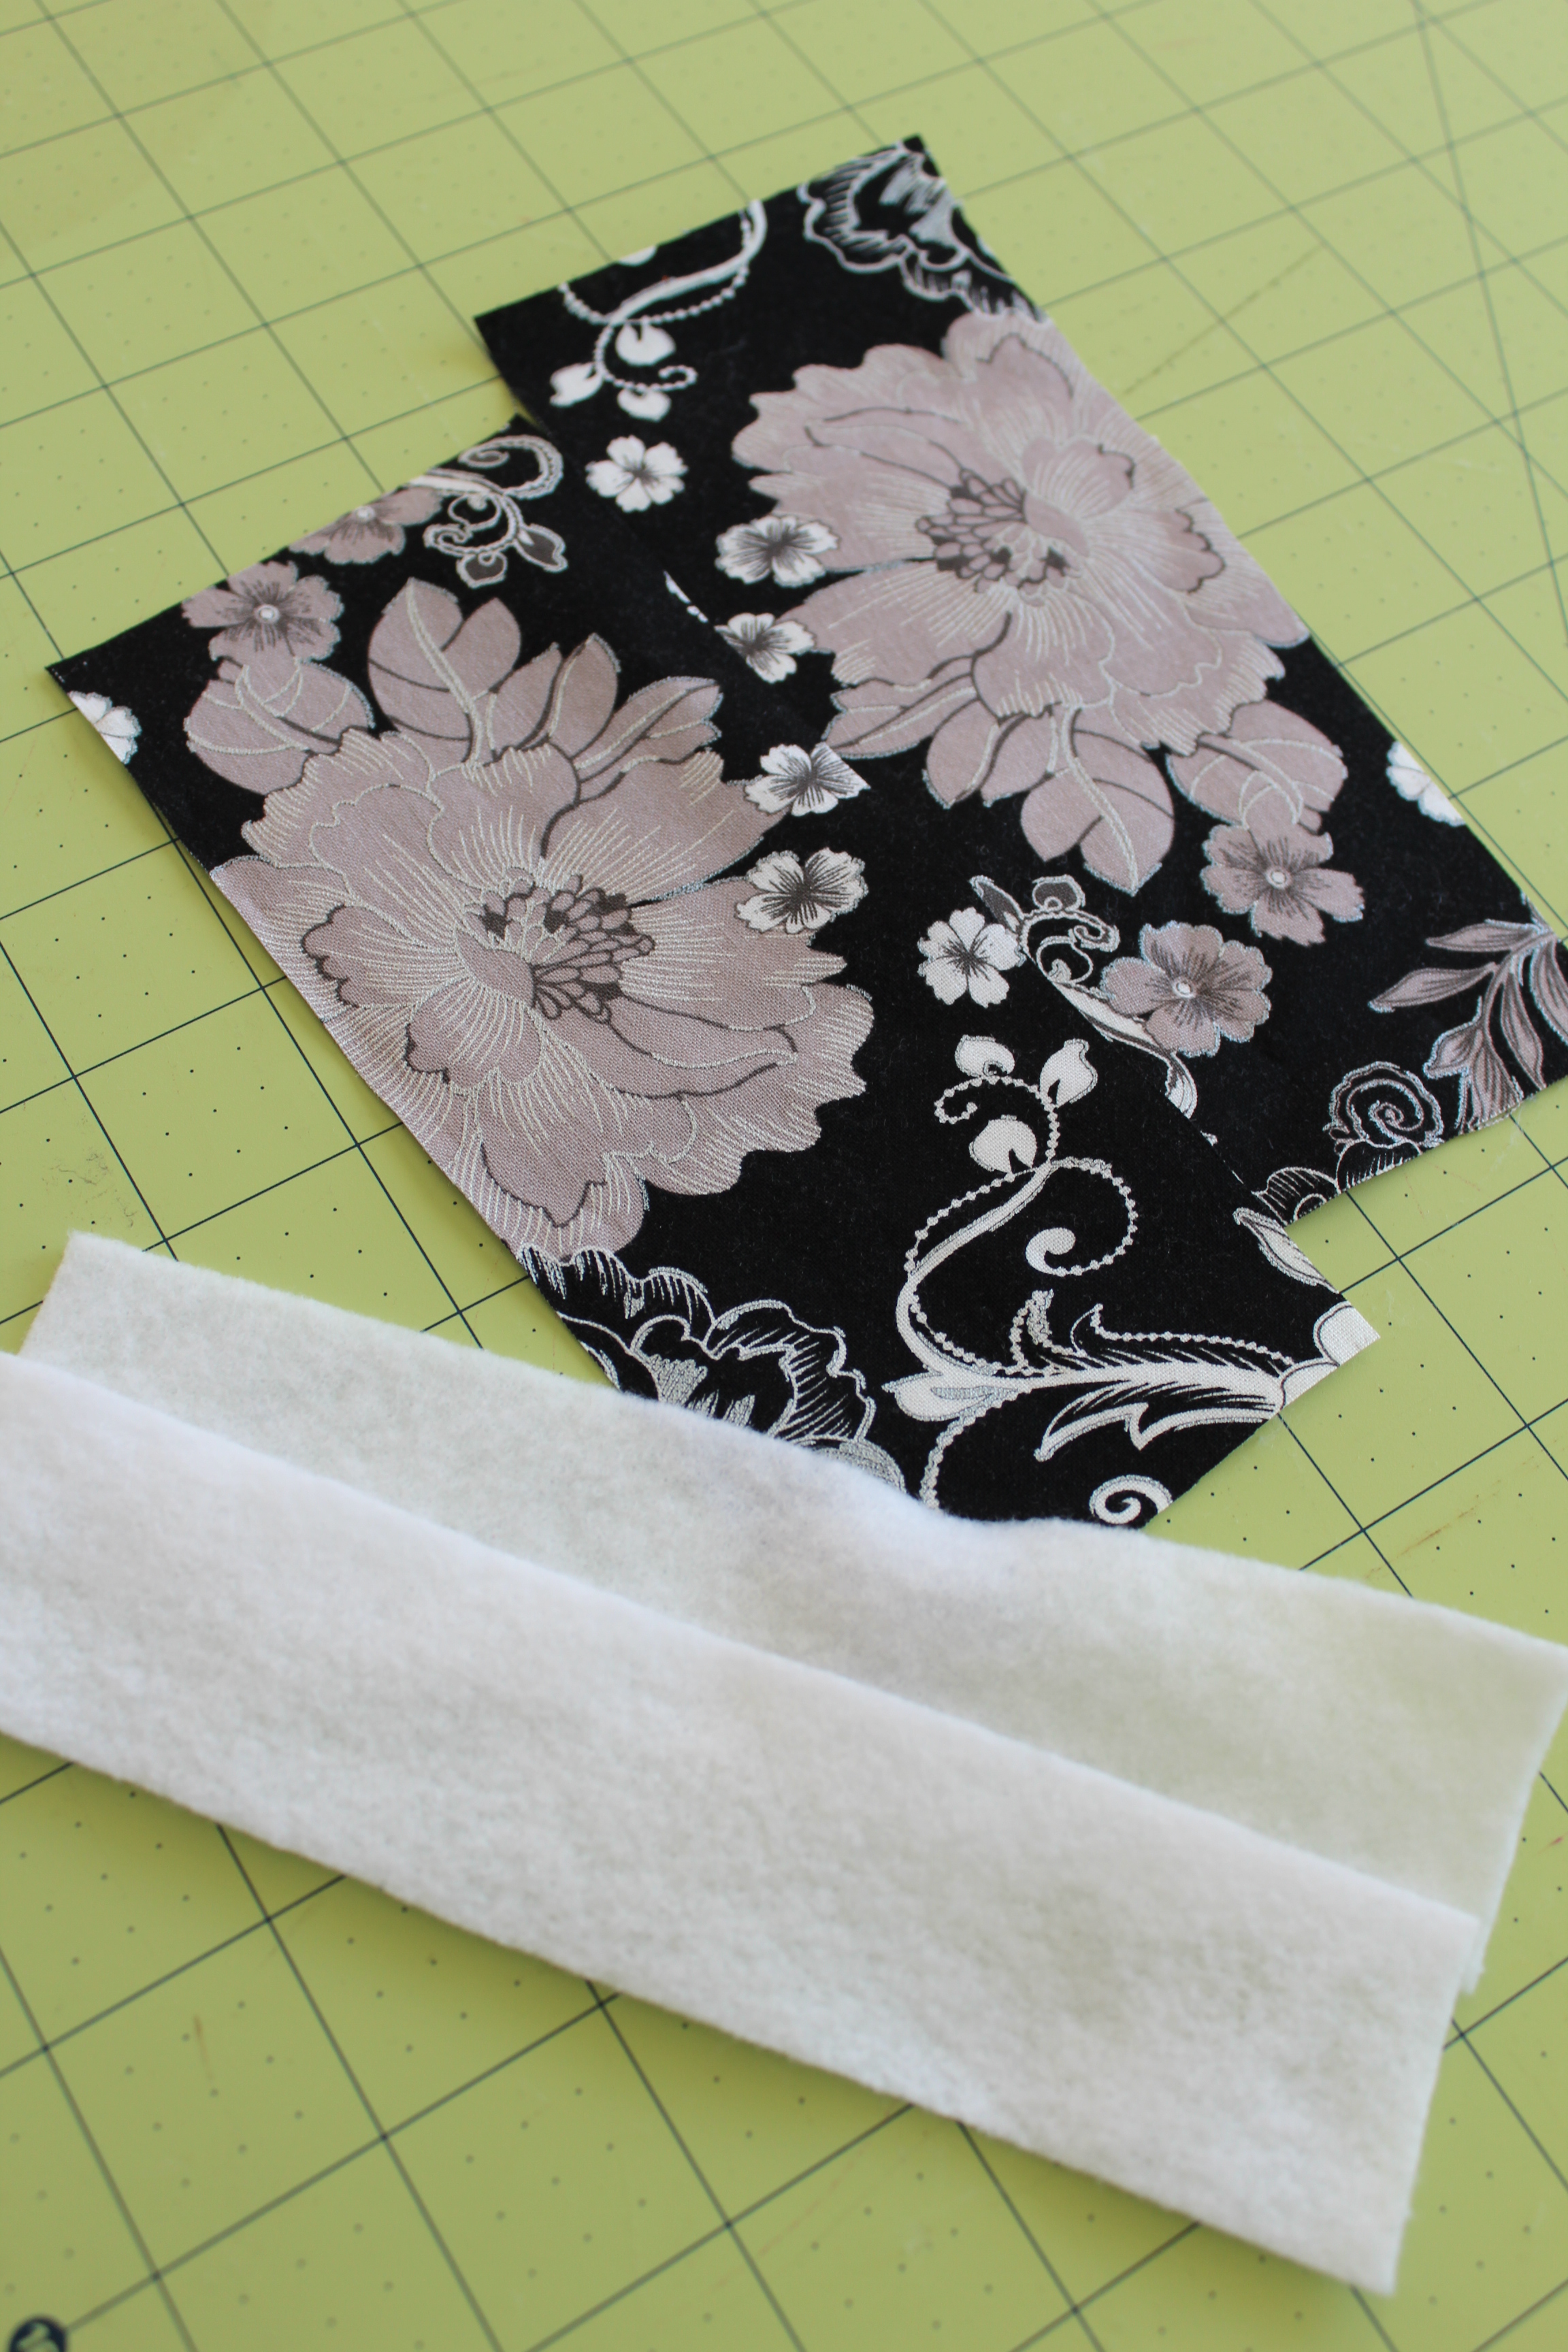
Make little tabs for attaching the D-rings to the bag. I used two scrap pieces that were about 7" x 3" and two batting pieces that were 7" x 1-1/2". Sew right sides of fabric together to make a tube. Turn right sides out. Iron flat.

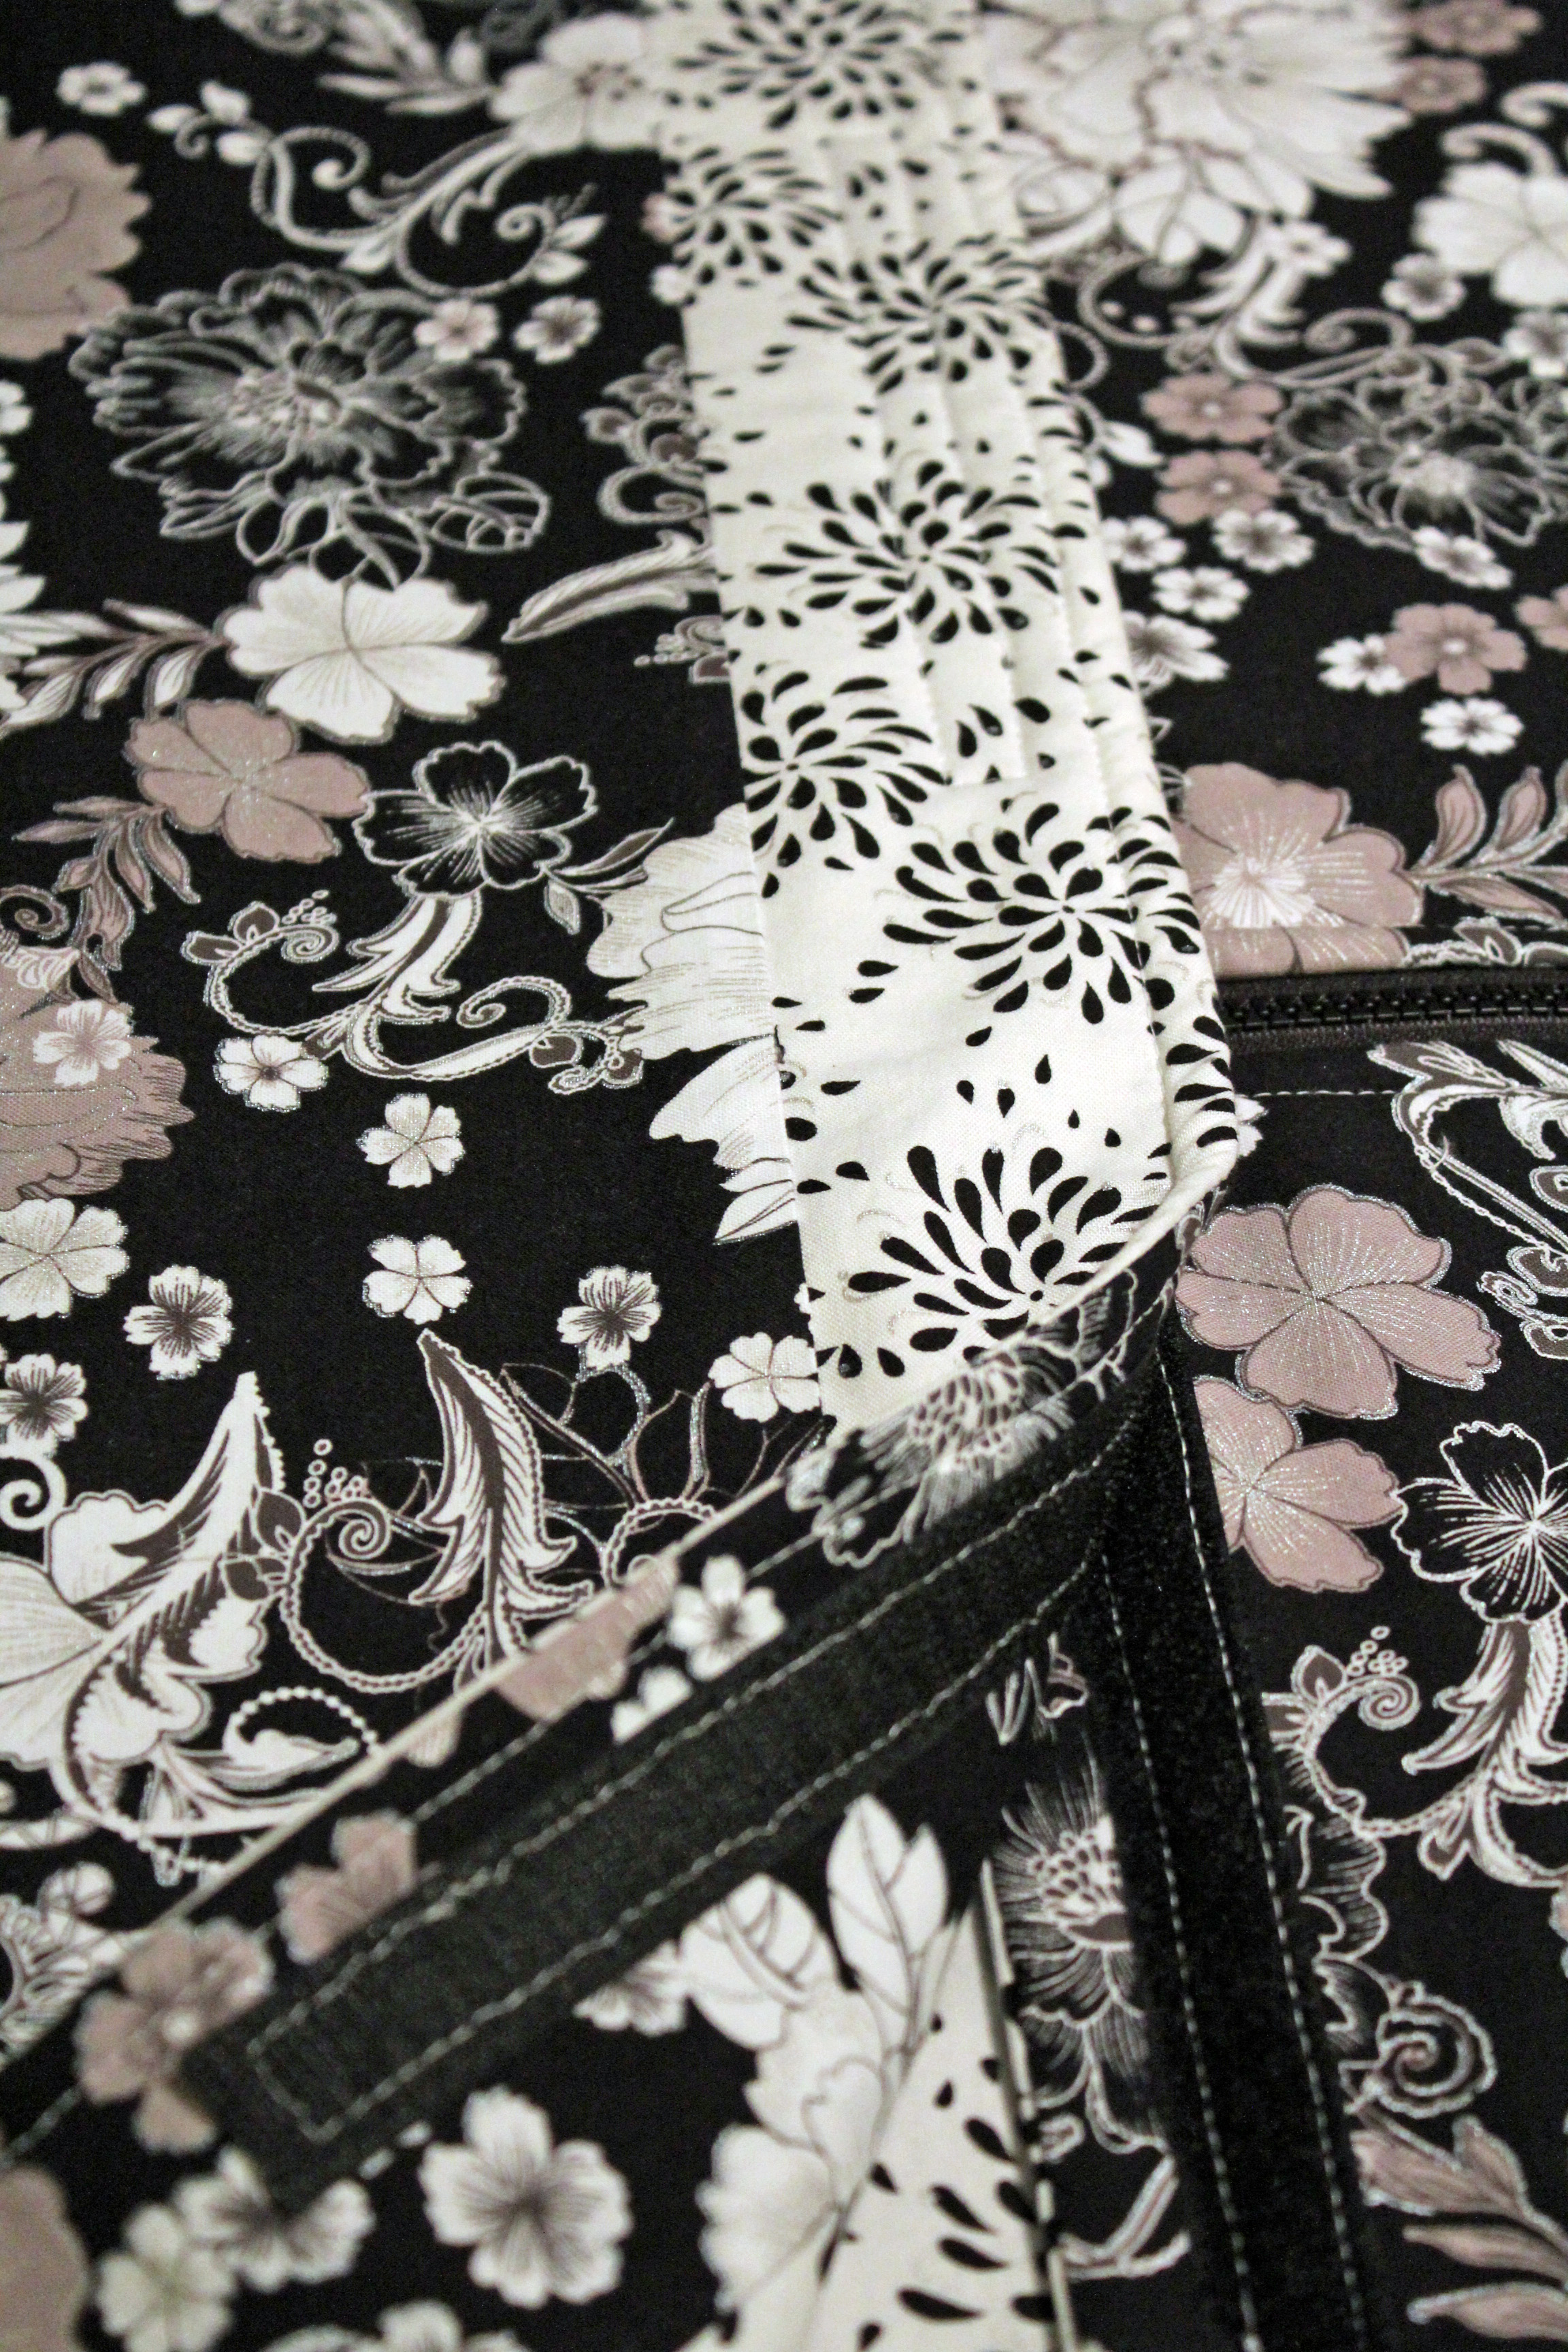
Pull fabric through D-ring. Pin D-rings in place. I placed one tab 2" in from the edge and 1" above the bias strip (that is covering the zipper) that is on the left side of the bag. Then the other tab I placed 2" in from the edge and 1" above the bias strip that is on the right side. Remember to fold under once to cover up the unfinished edge. Refer to pictures below if you are a little confused on where I placed them.
Sew handles and D-rings in place. Sew once down low and then up a little higher so that you really cover up those unfinished edges and give the handles a little more strength. Set aside.                                                                                       
Gather the other 6" x 3" piece of fabric that you made into a bias strip. Again pin over the hanger flap like before. Sew in place as close to the edge as possible. Now we are going to sew the front of the bag and the back of the bag together.
Start by laying the front piece of the bag right side up.
Now lay the zippered piece of the bag on top. Right sides are together. Make sure that the hanger flaps are on the same sides and line up evenly. Pin all around outer edges. Sew.
Turn right side. Iron. Bag should now look like this. Now turn bag back to wrong side out.
Gather your last 35" x 22" piece of interior fabric and pin rights sides together with the interior fabric strip. Sew outer edge while leaving a good 6" opening for turning right sides out.
Pull right sides out through opening. Sew opening shut.
Turn bag front side out. Press bag edges. Now you just need to stitch the two bags together near the hanger flaps. You do not want any unfinished edges. Plus this will give a little more stability to the bag where the hangers will be.
Pin edges together around opening.
Sew as close the edges as possible.
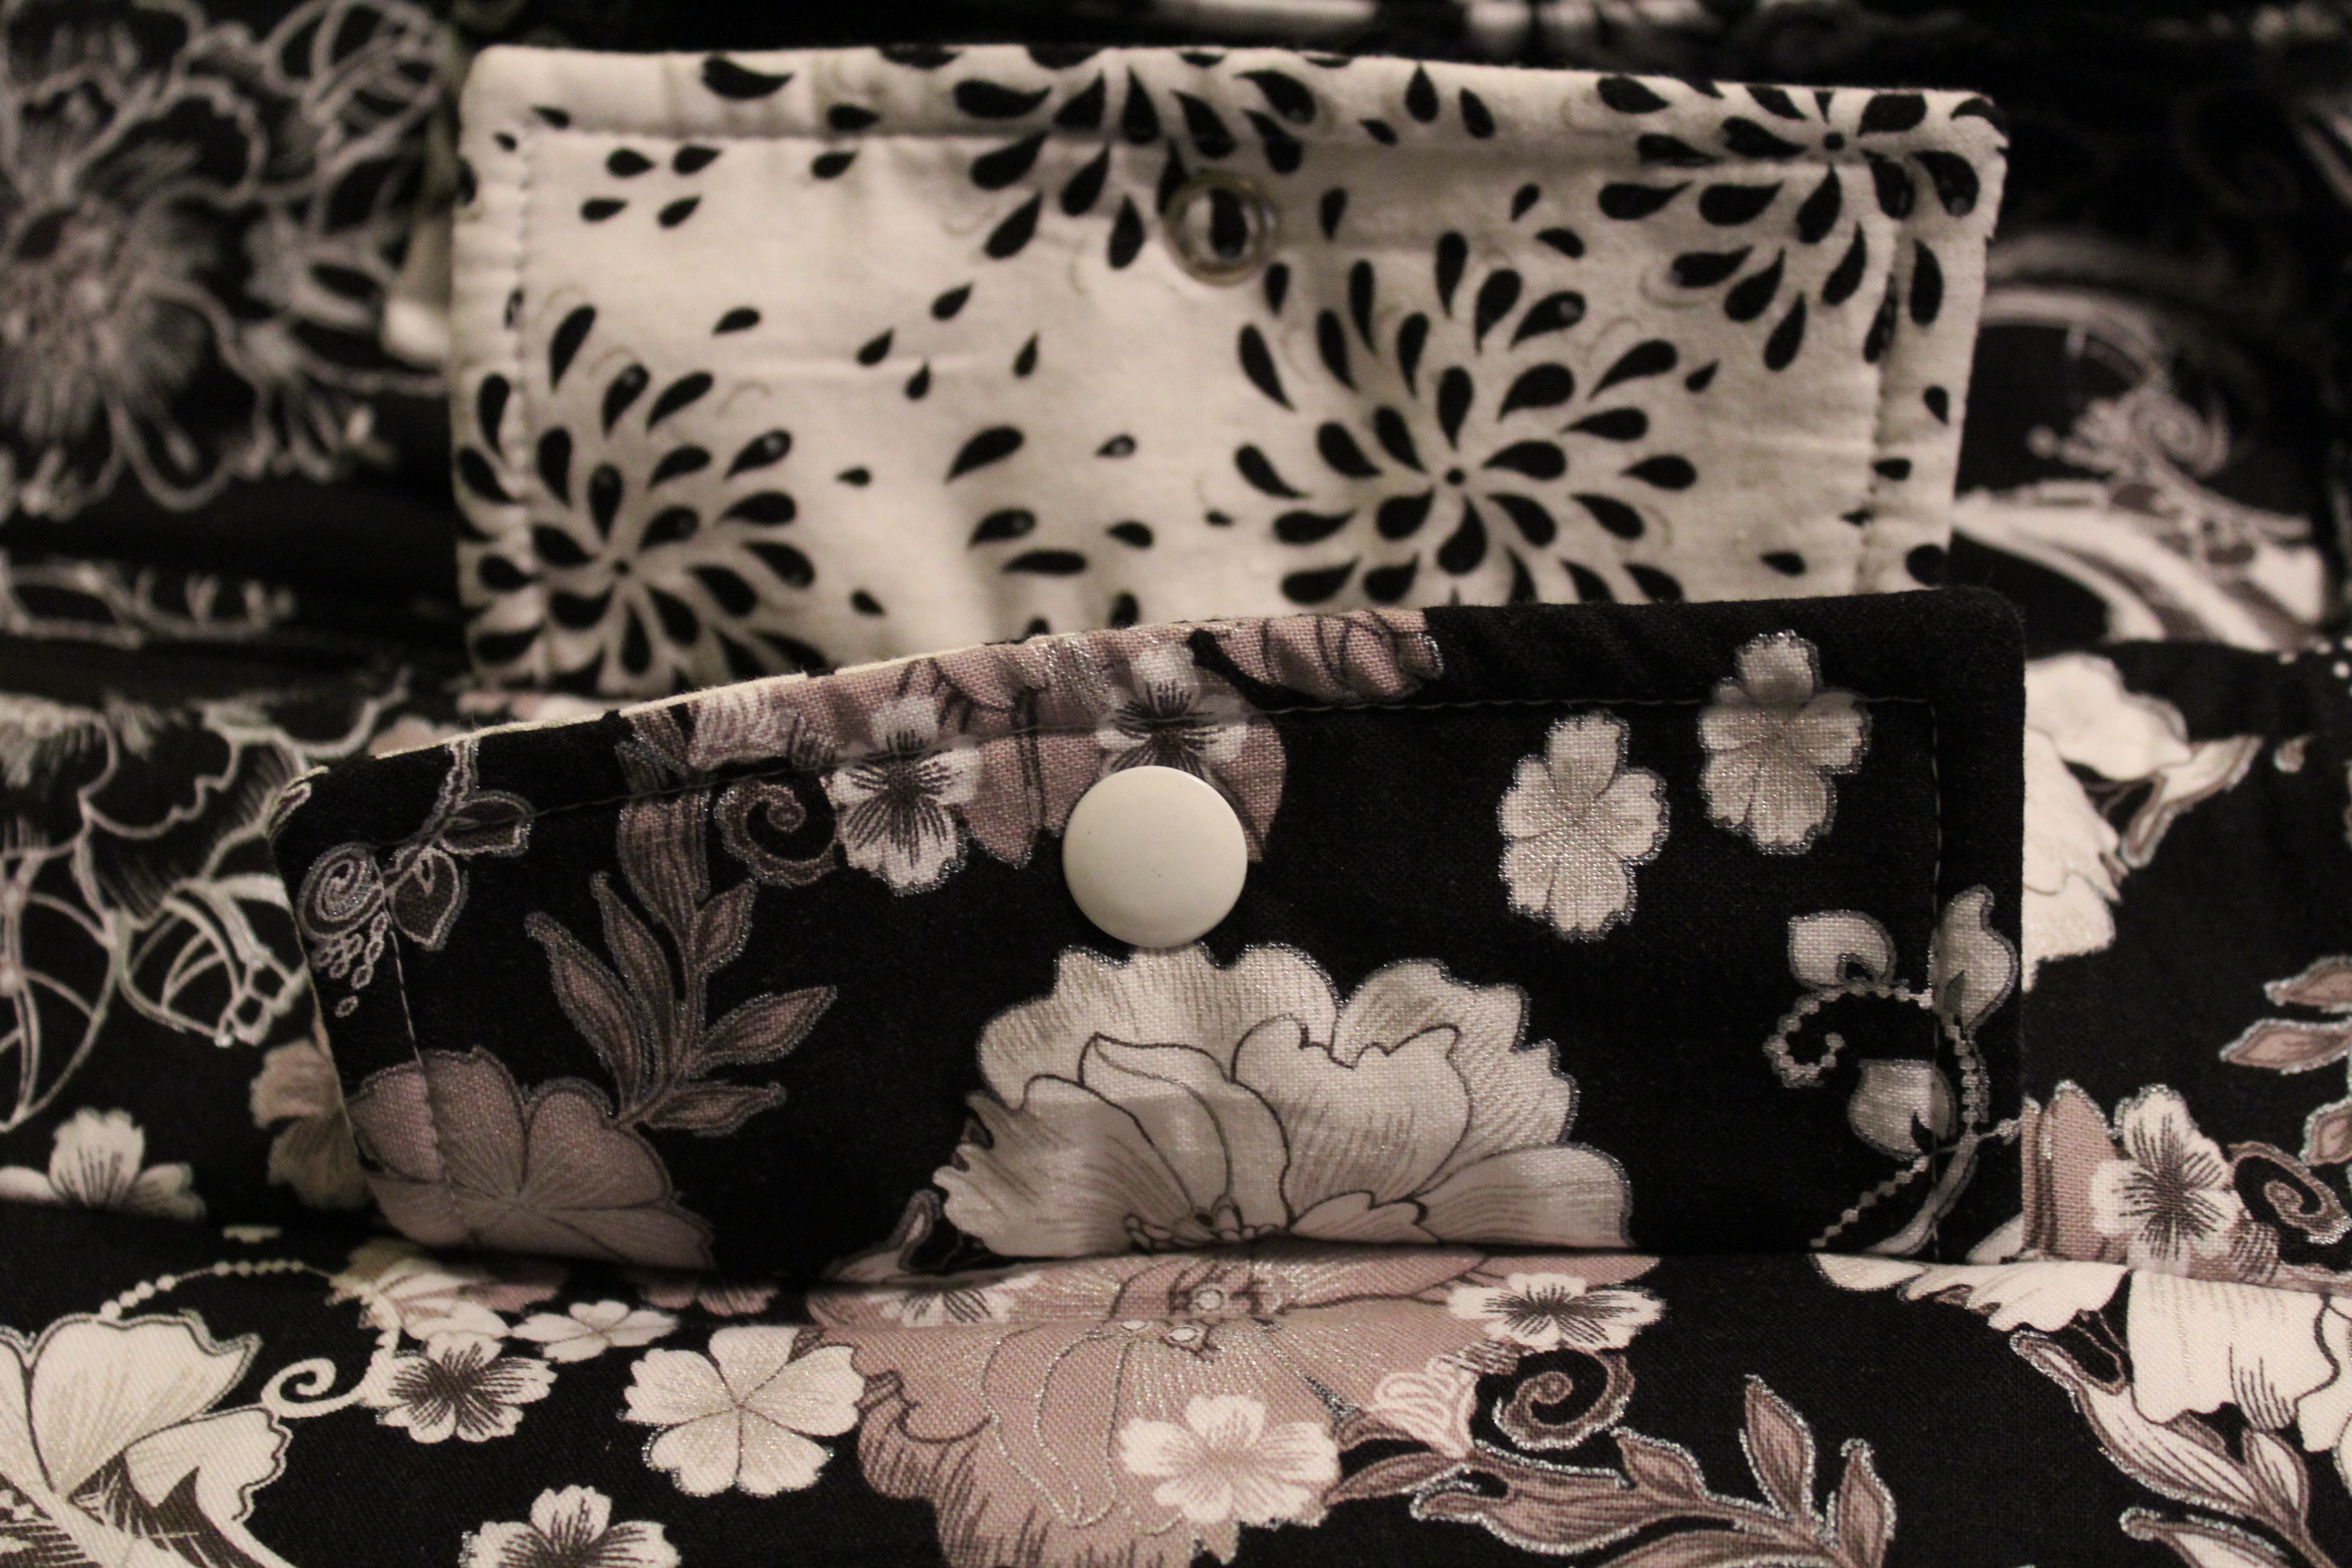
Lastly all you need to do is add a snap or velcro to keep the hanger flaps shut when in travel. Clip shoulder strap on.                          
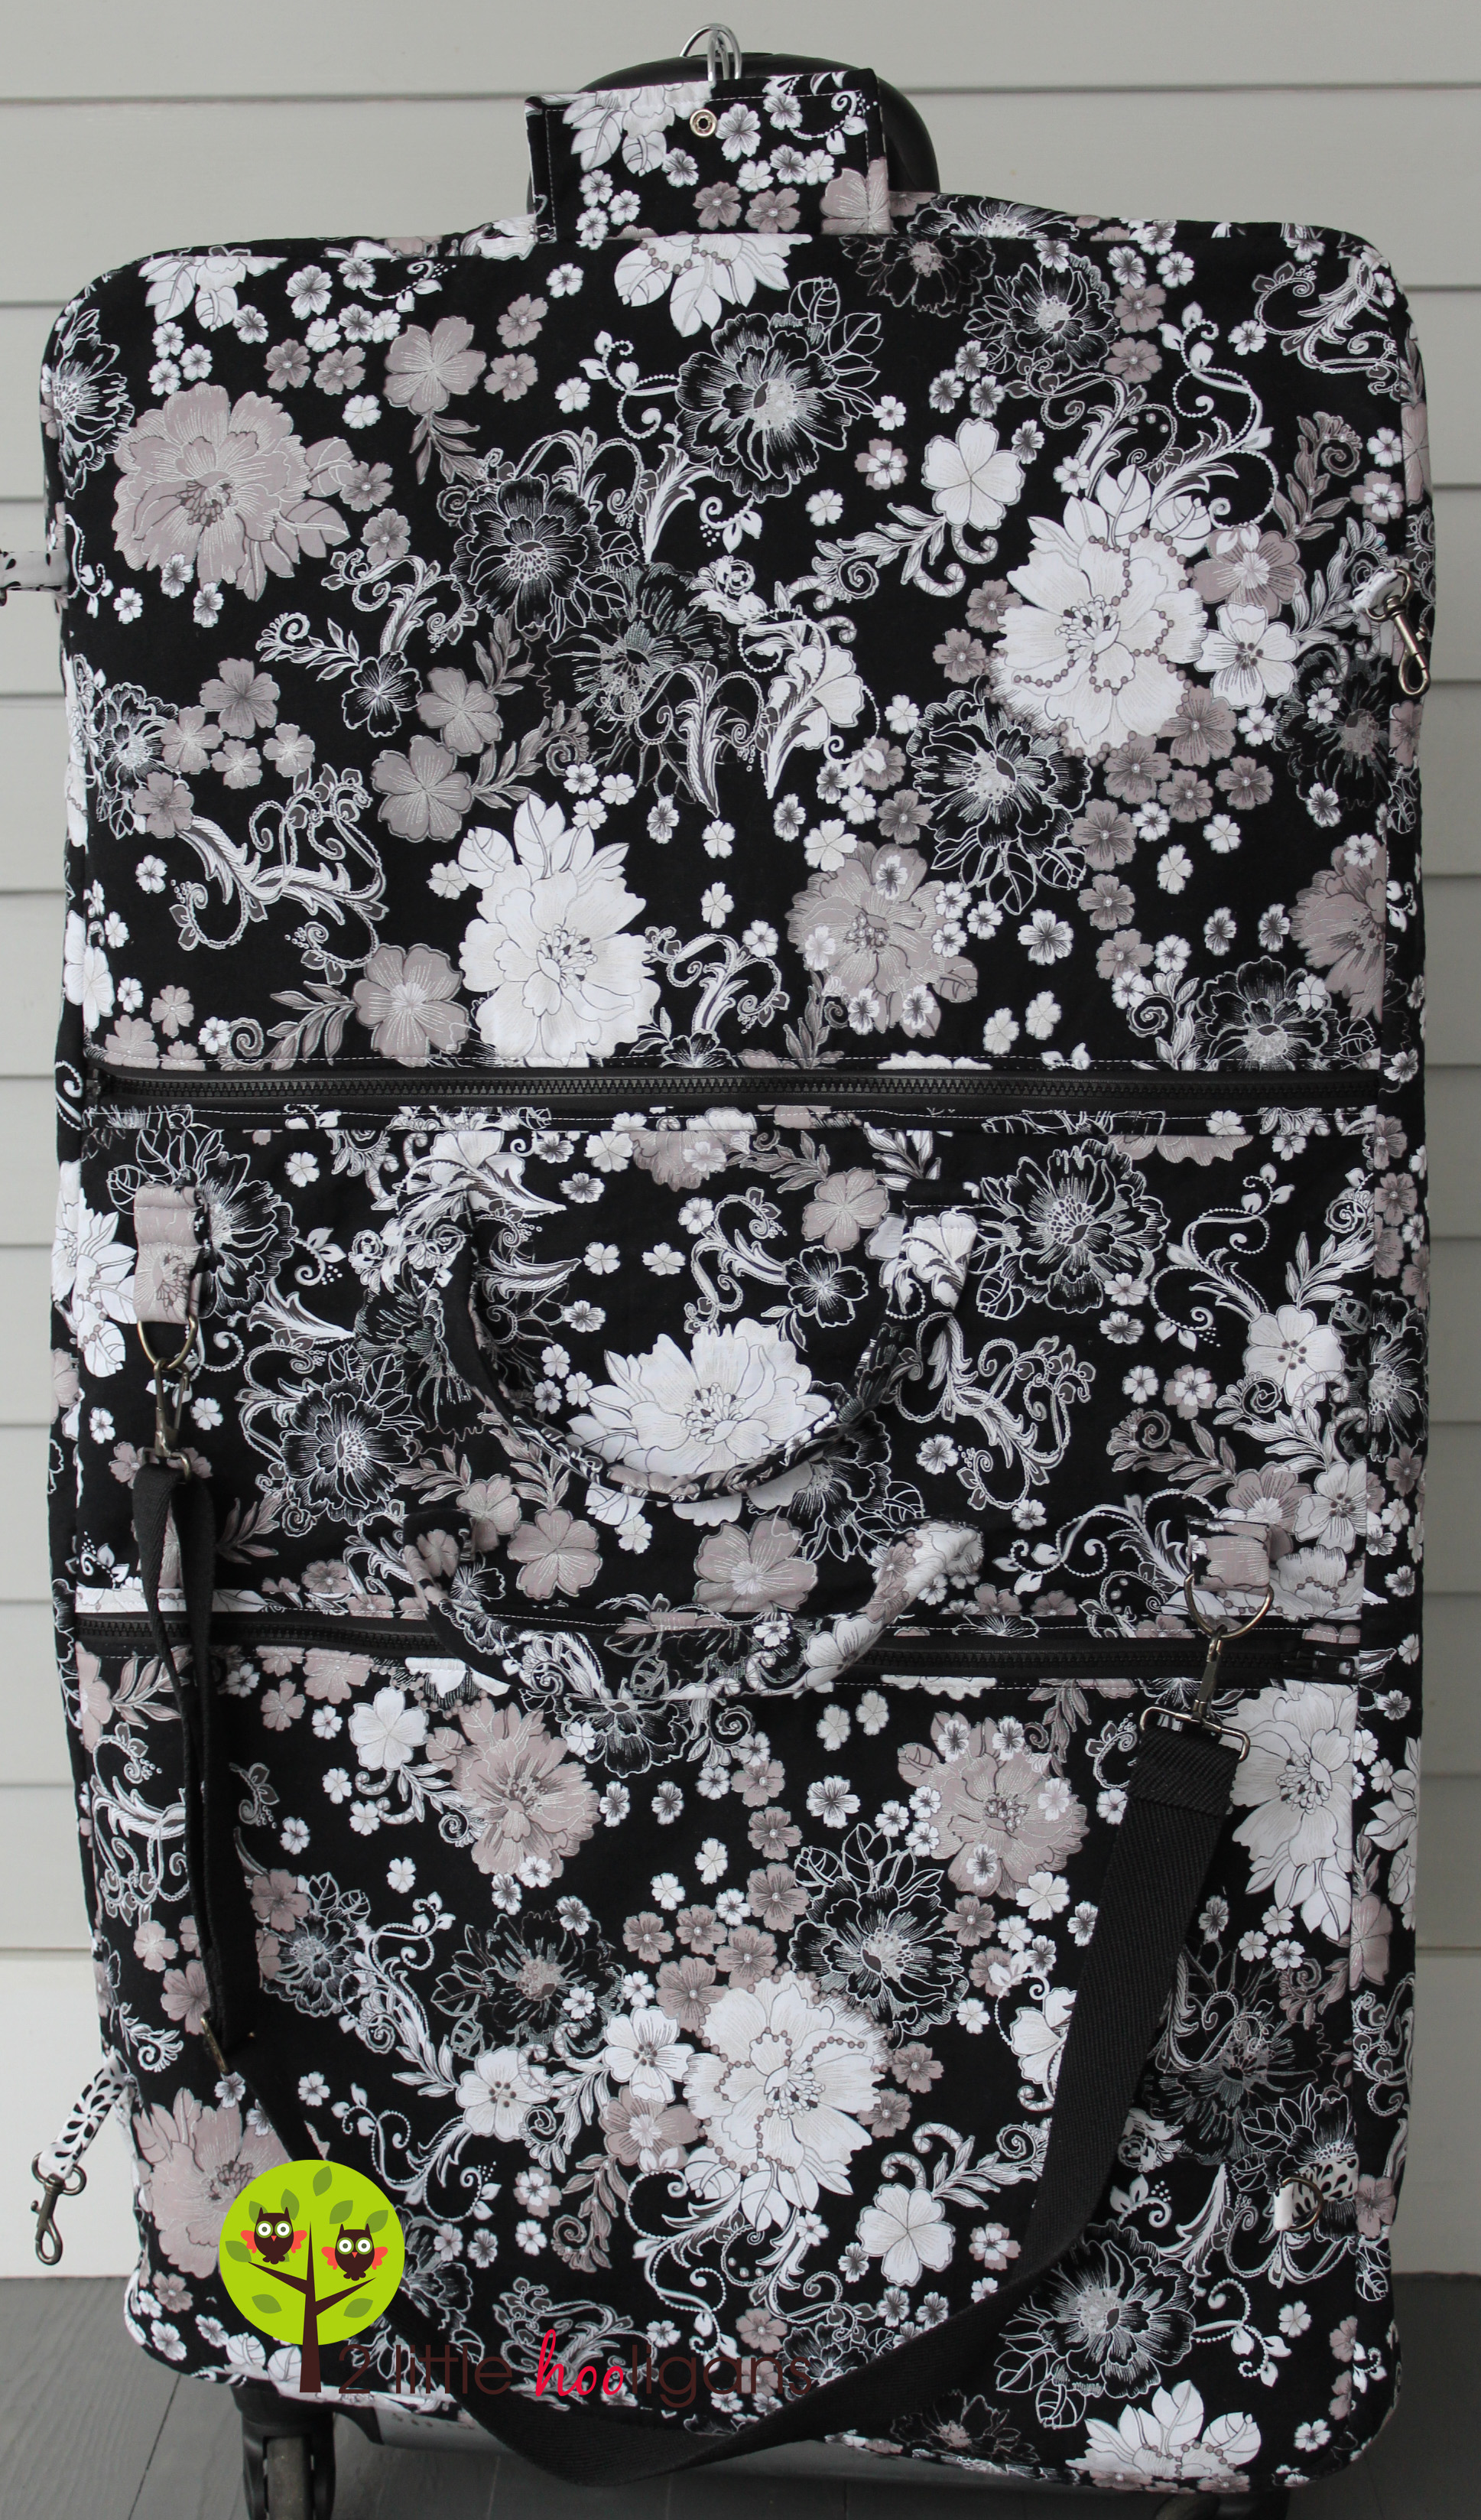
And that is it folks...your finally finished! I know it was a long tutorial and took a long time. But wasn't it worth it? You will definitely have the cutest garment bag in the whole airport!
The bag holds about 4 wooden coat hangers comfortably. You could definately carry more clothes in the bag if you used some wire hangers though. You may want to bring along a little piece of string to tie the top of the hangers together while traveling. Or if you want to get really stylish you could make a bias strip out of fabric and attach it to the top/inside of the bag for tying those hangers in place. Again, it's your bag...do want you want!

Thanks so much Christina for a fantastic tutorial! To enter a giveaway for a fat quarter bundle of the Black & White collection, head over to Christina's blog. Thanks for stopping by!