Showing posts with label Blogging Design Ring. Show all posts

Friday, August 30, 2013

Playing with PUL

Today Rebecca of Our Busy Little Bunch is sharing an easy tutorial using Mystic Forest PUL (55% Polyester Knit / 45% Polyurethane Laminate). We love this fabric--it's a waterproof knit--and we love having a tutorial to share with you using it. This type of fabric is popping up in your local quilt shop, but not everyone knows what to use it for. Rebecca's sandwich and snack bag tutorial is a great project to get you started!


Sandwich and Snack Bags Tutorial


Hi, it's Rebecca! Today I have a quick tutorial for reusable sandwich and snack bags.  The fabric used is PUL (waterproof knit) from the Mystic Forest line.  They have a selection of polka-dots to choose from:

 You will need:
  • PUL fabric - It's 56" wide, so 1/2 yard will make four sandwich bags (make sure fabric is prewashed - wash with cold or warm water, and tumble dry on low or hang to dry).
  • 1/2" or 3/4" sew-on velcro (not the fusible kind) - 6" piece for each sandwich bag, and 3" piece for each snack bag.


First, cut your fabric: 
- for sandwich bags, cut 8" x 28"
- for snack bags, cut 5.5" x 26"

The pattern is the same for both sandwich and snack bags--they're just sized slightly differently. Fold fabric in half, short ends matching, wrong sides together.  Using a 1/4" seam allowance, sew each long edge (using a walking foot on your sewing machine makes sewing with PUL a breeze).  

Turn right-side out and push out corners (I found assembly line worked best for this).

Using a pressing cloth or scrap piece of cotton, lightly iron the two long edges.  They will not go completely flat, but it will make a big difference.

Fold in unsewn short edge of bag about a half inch, and lightly press that with a pressing cloth as well.

Topstitch this short end closed, close to edge.

Sew hook (sticky) side of velcro next to topstitched edge, centered.  Sew loop side of velcro on opposite side of bag close to other top edge.

Fold bag so that you can see both pieces of velcro, positioning bottom edge 1.5" below top edge (as shown).  Topstitch sides of bag close to edge so it forms a pouch.

You're done!  These are wipeable, machine washable, and will look great in your lunchbox!

Hop on over to my blog Our Busy Little Bunch for a fantastic sponsored giveaway from Fabri-Quilt!

Monday, August 5, 2013

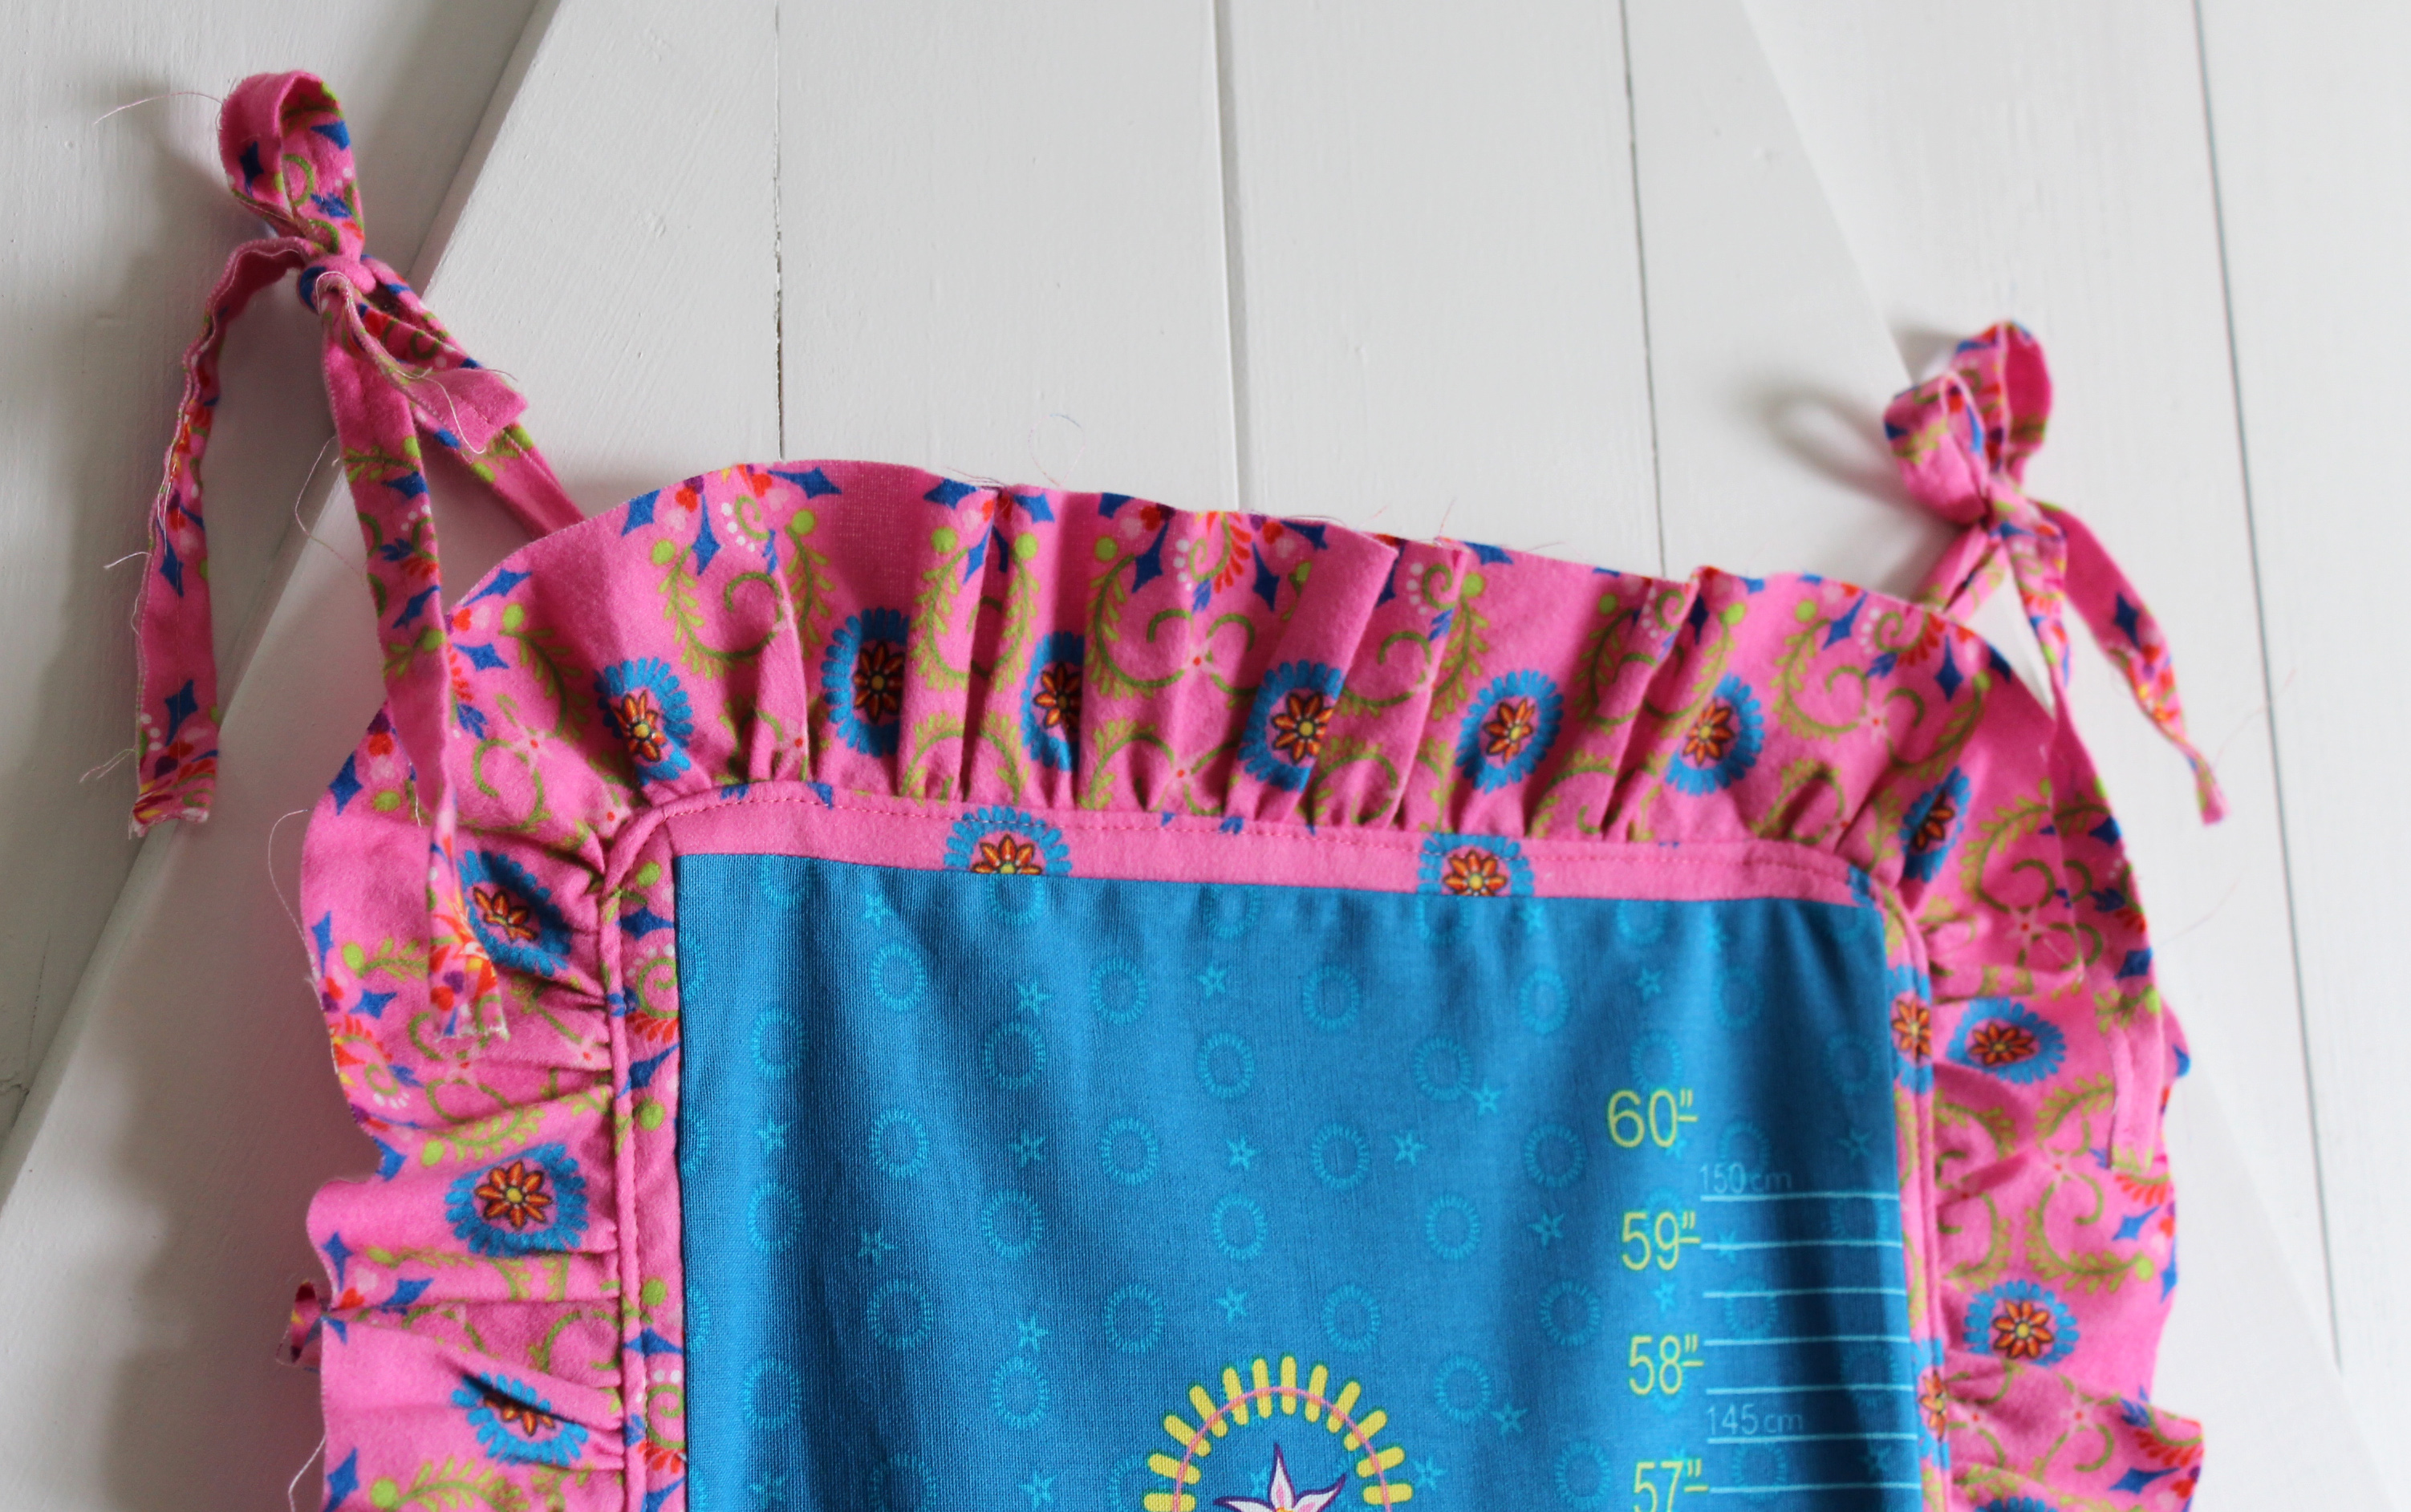
Blogging Design Ring Tutorial: Ruffled Edge Growth Chart

Happy Monday, all! Today we're back with a ruffled growth chart tutorial from Christina at 2 little hooligans. Check out her project and then pop over to her blog to see how you can enter to win the fabric to make this growth chart AND a kit for a lap-size quilt!


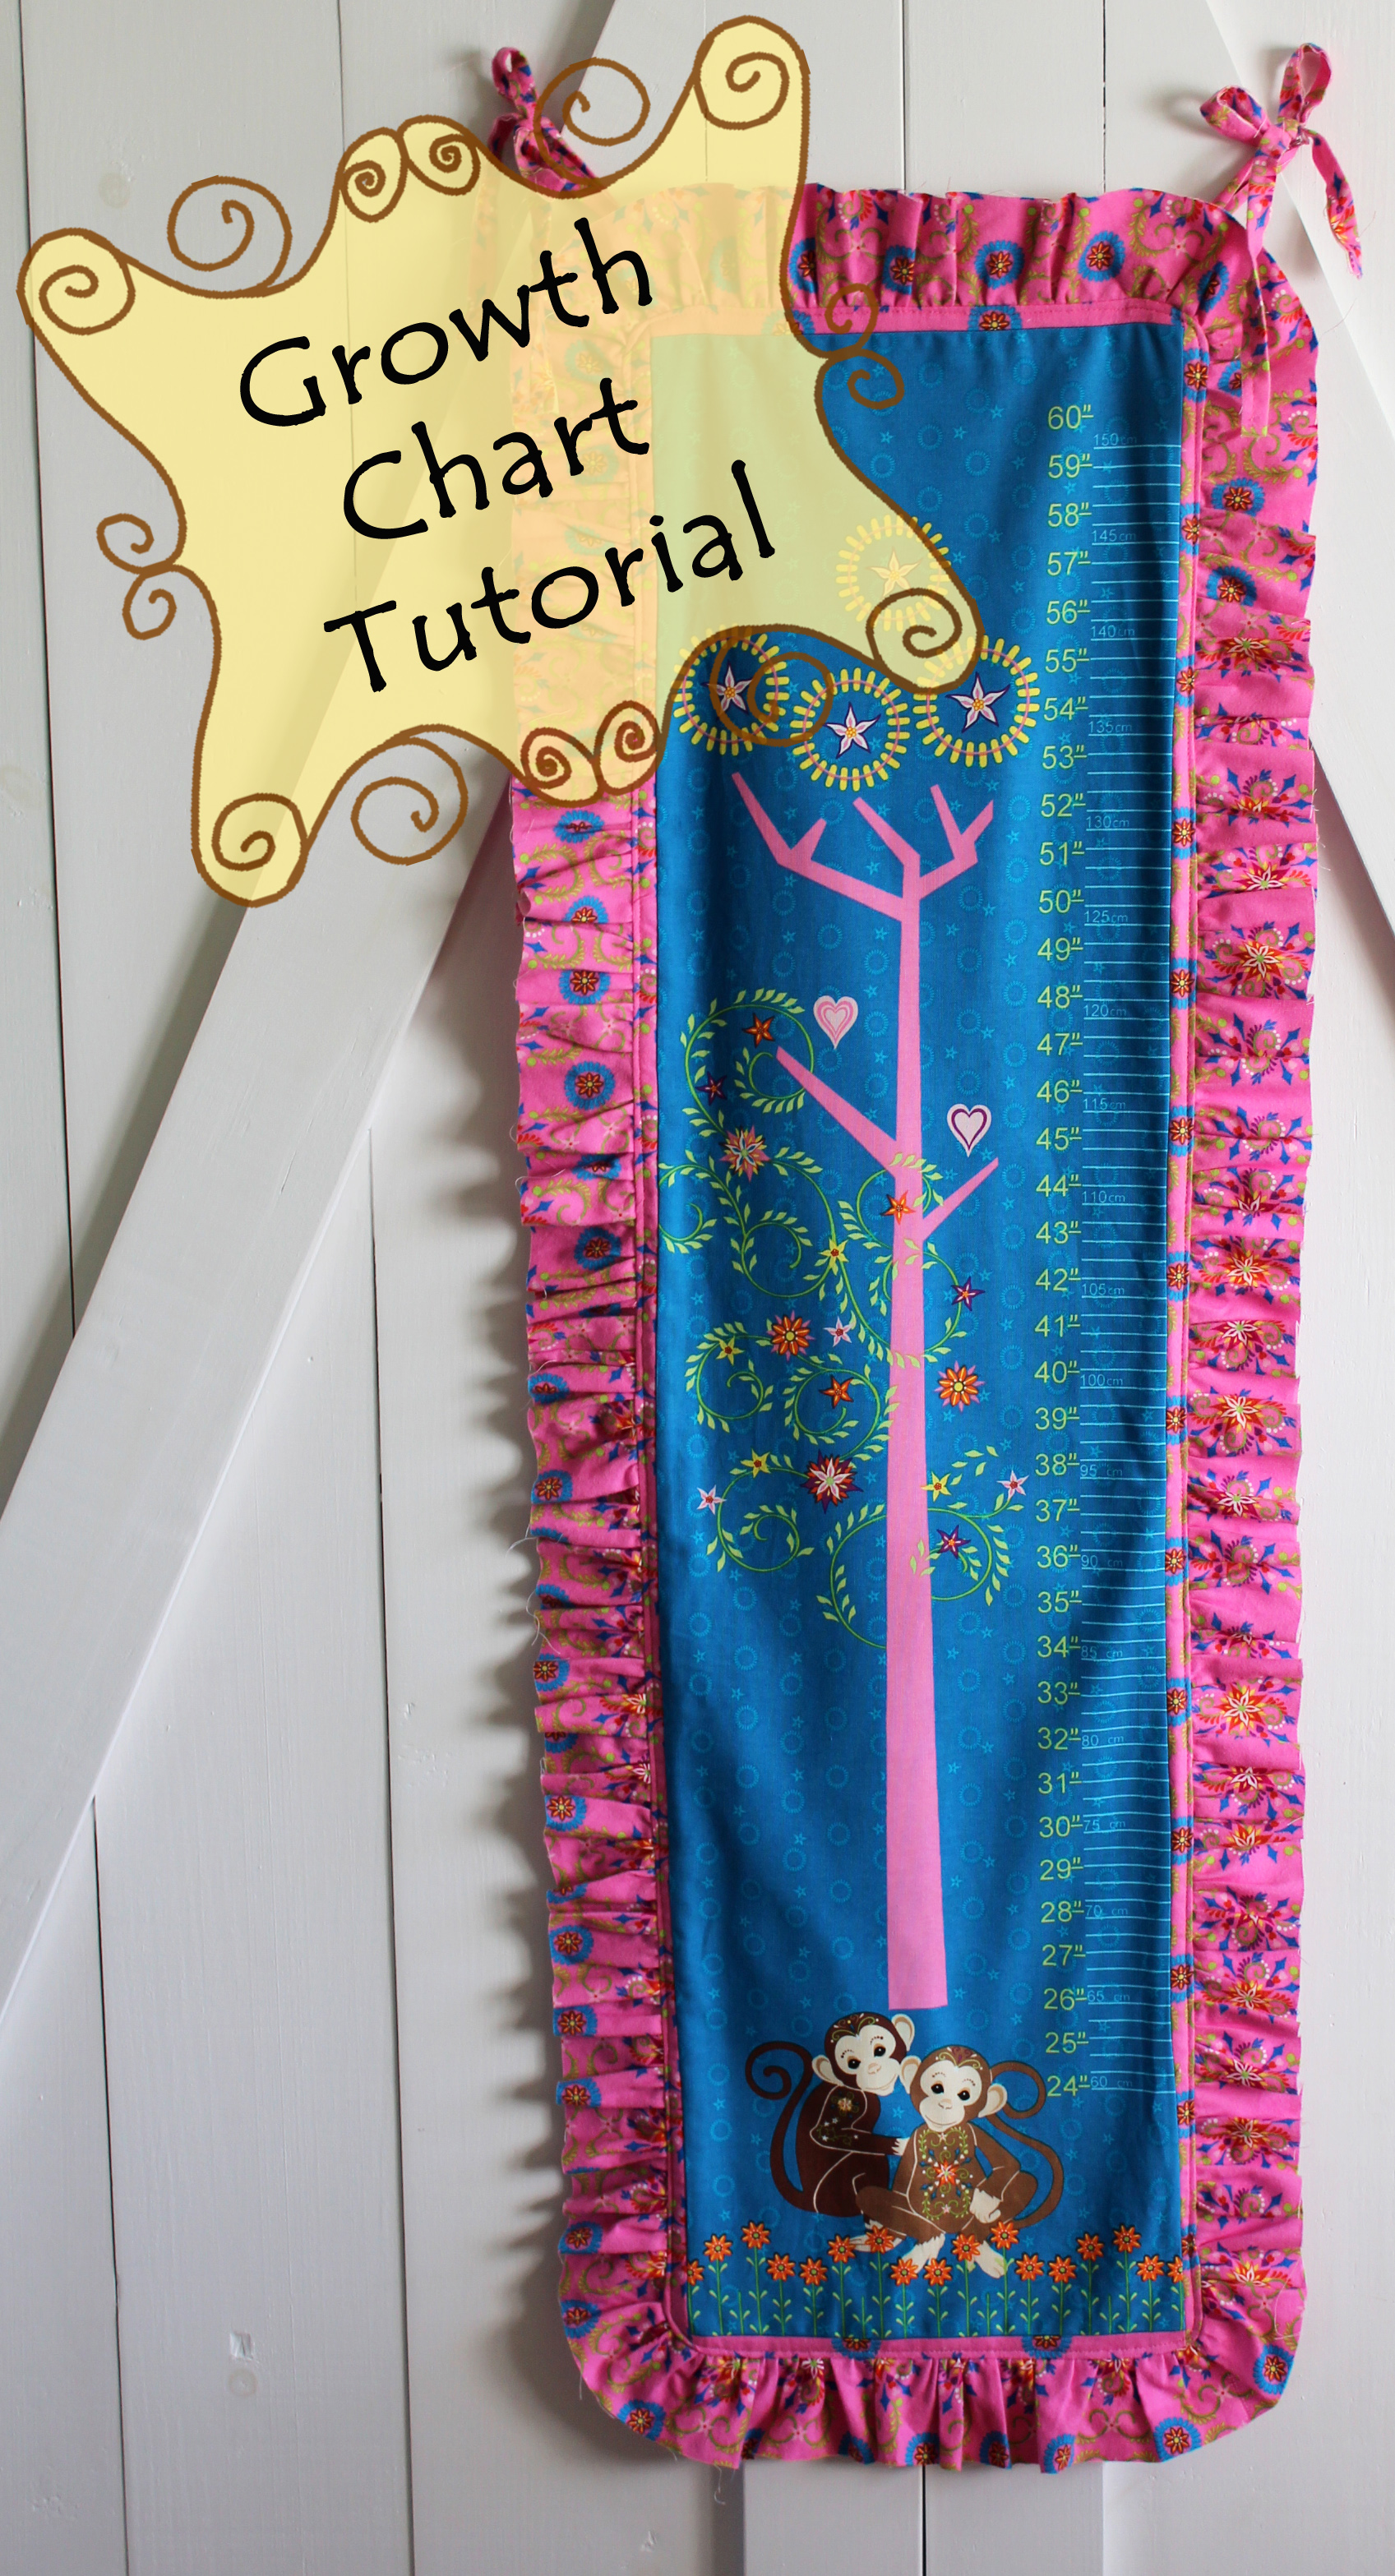
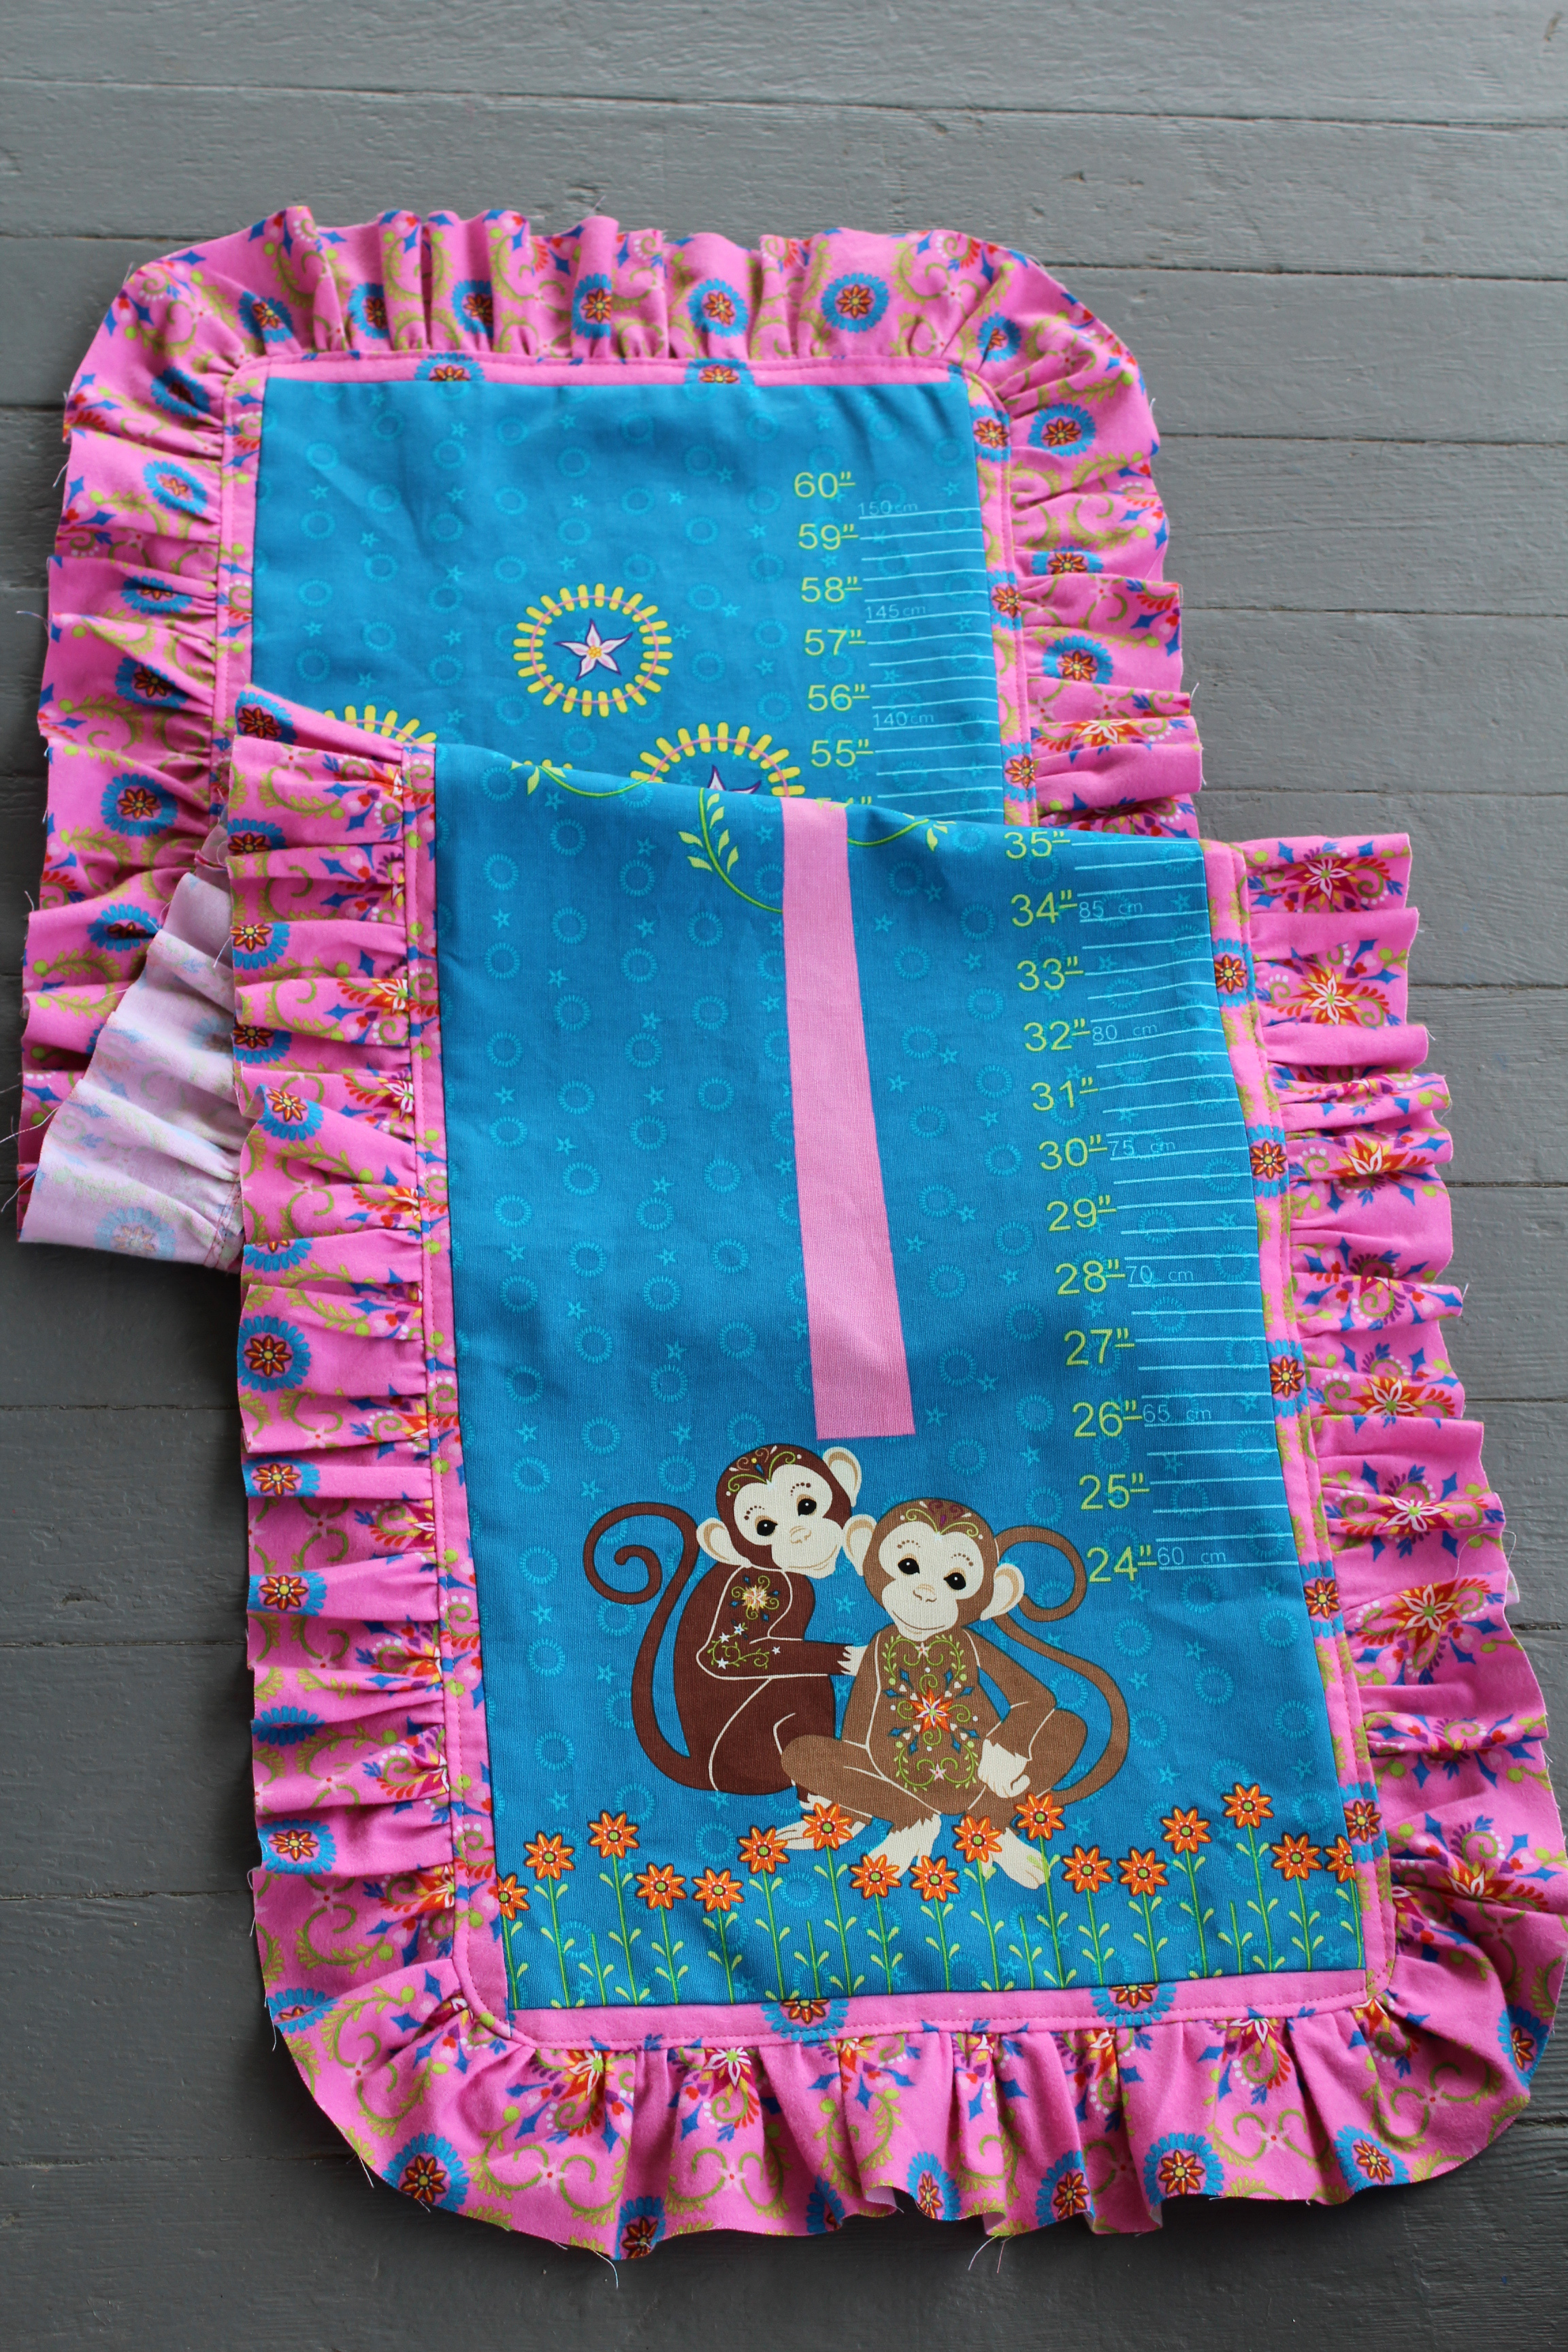
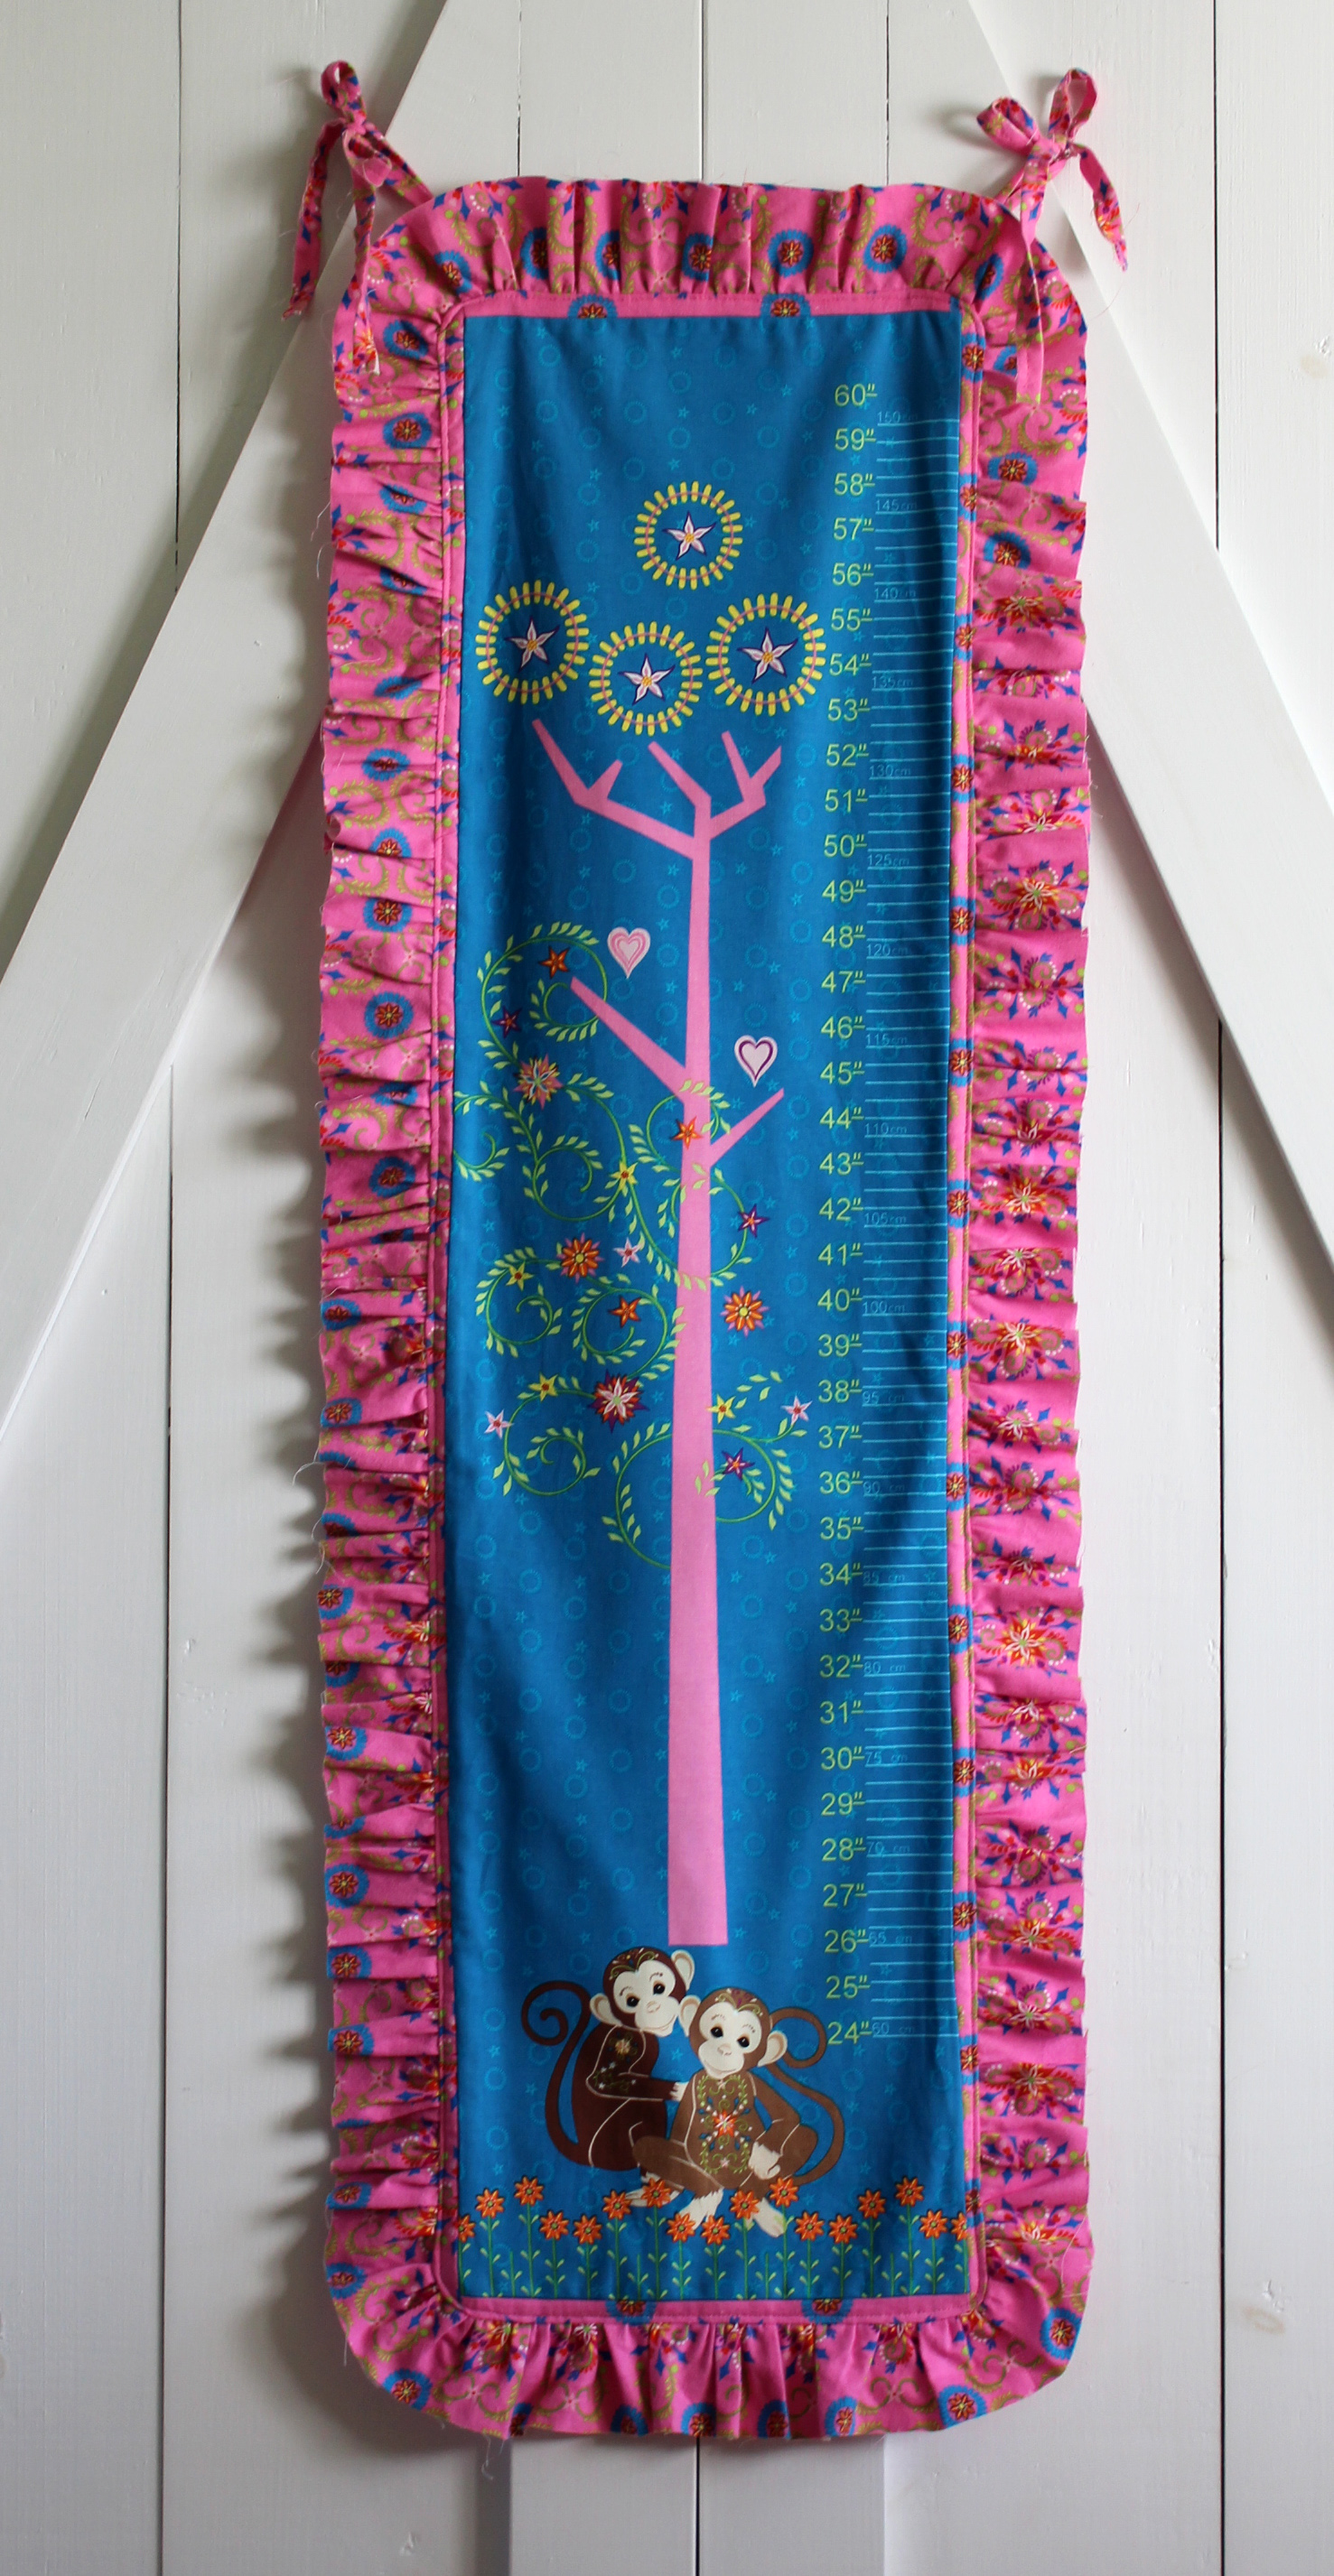
Hi, I'm Christina from 2 little hooligans and I am back again with another tutorial for the Blogging Design Ring. Today I am going to share a tutorial for making a growth chart using Fabri-Quilt's Mystic Forest collection.

growth chart 010

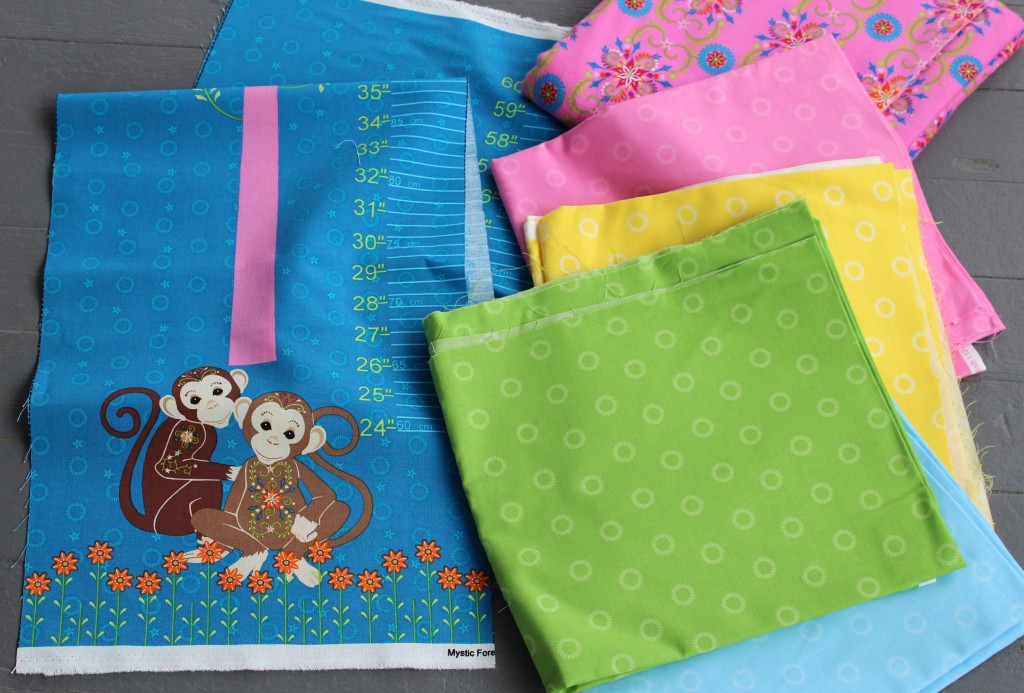
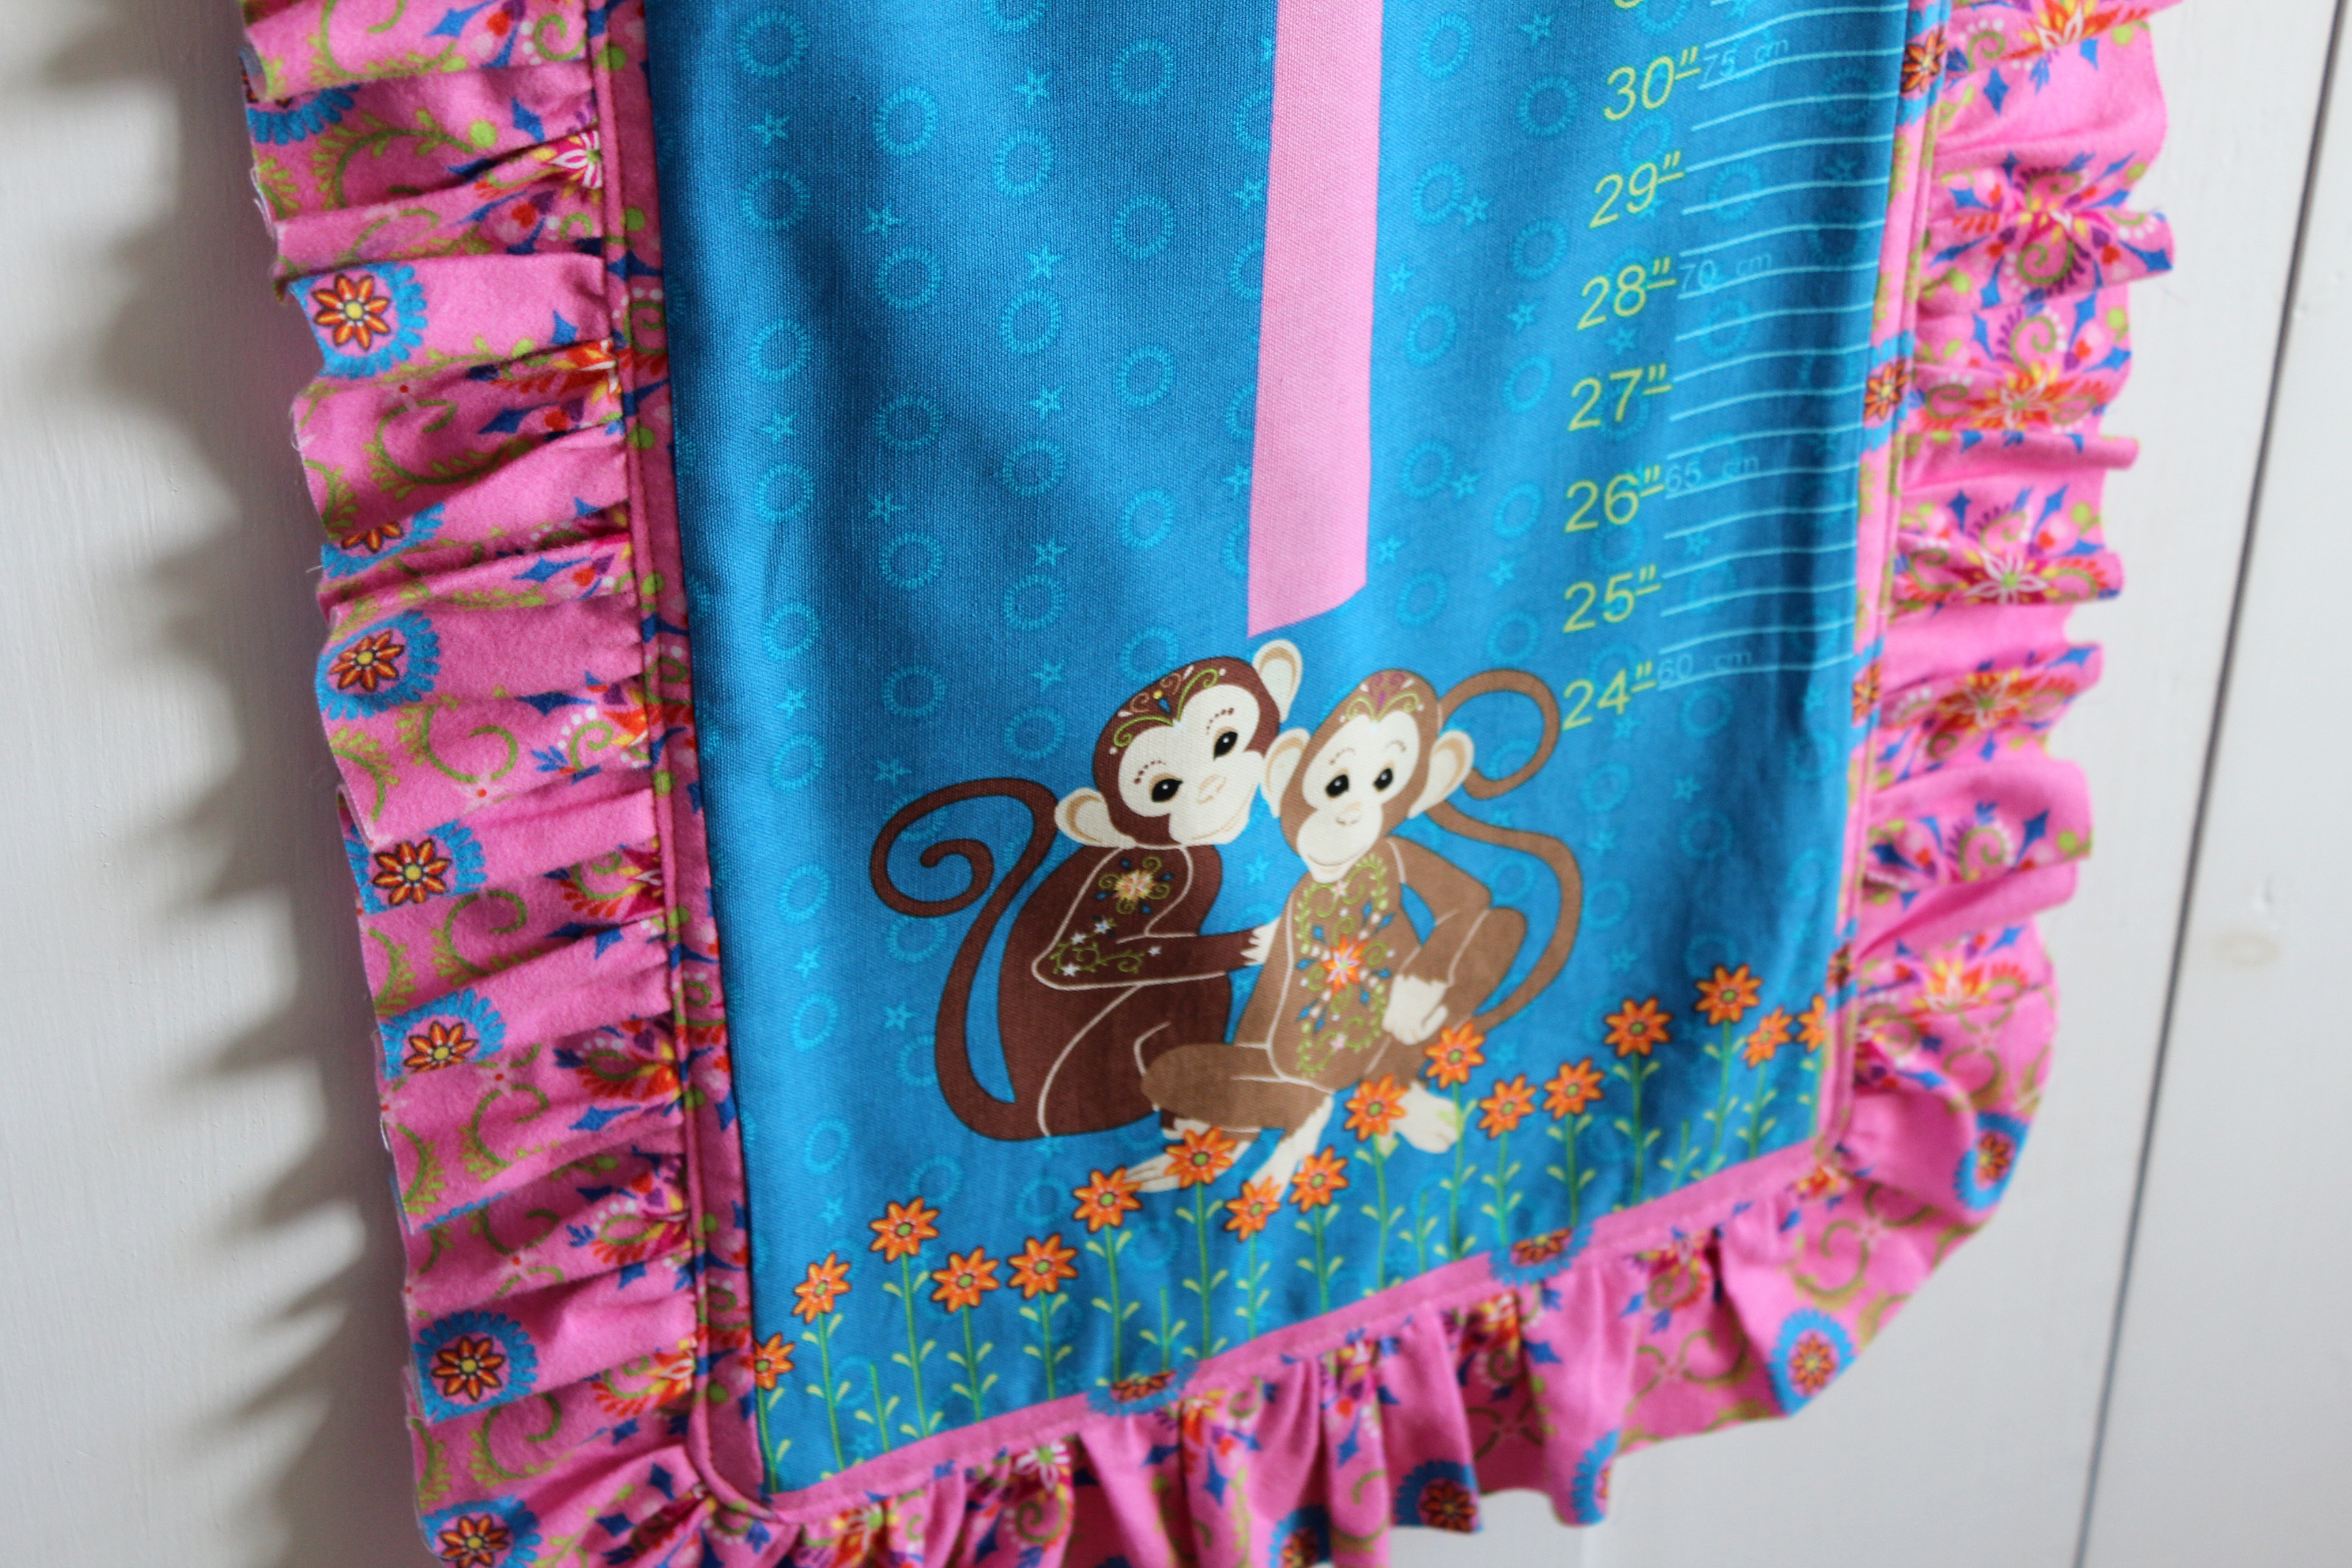
I was given the following fabrics to work with, all of which are from the Mystic Forest collection. As you can see I was given four other fabrics that never made it into the final growth chart. I changed the design of this growth chart so many times and what I ended up with was a very simple design. The monkey growth chart panel is just so cute that I wanted to leave that as the main focus instead of taking away from it at all.
july 047


Materials Needed:
*One growth chart panel from Fabri-Quilt's Mystic Forest
*2 yards of a coordinating fabric for the ruffle and the background

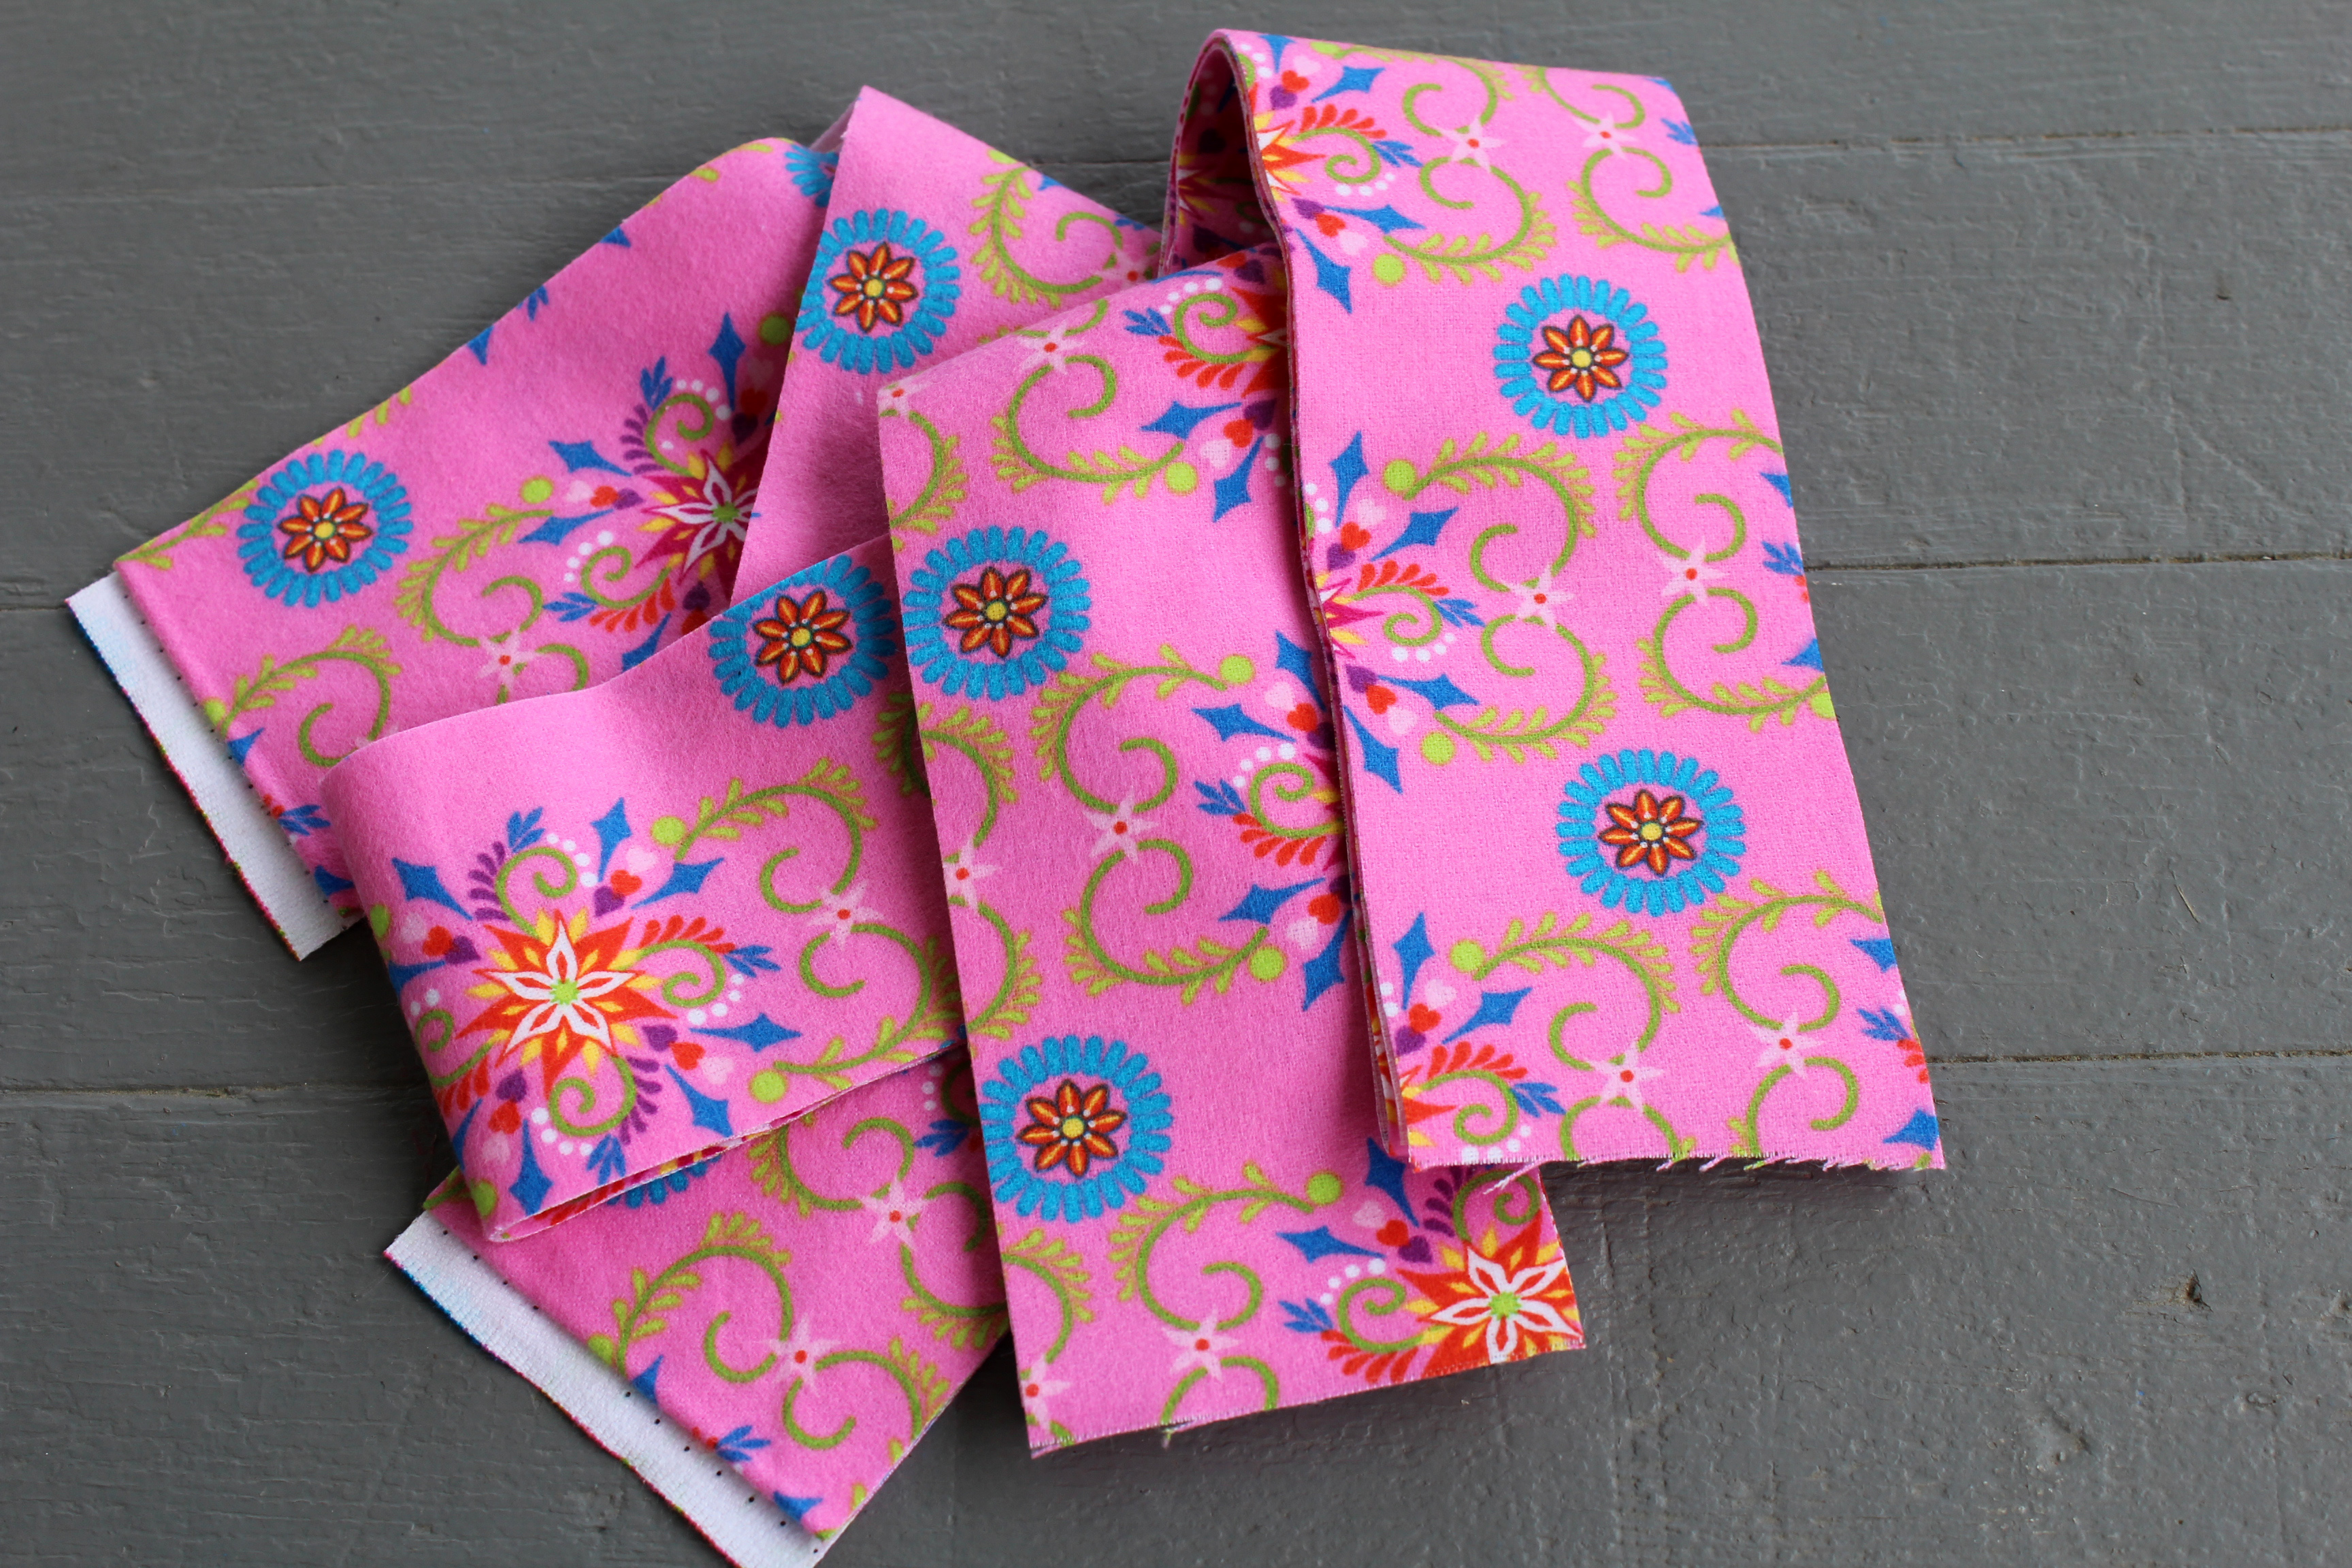
july 048

Start by cutting some strips for a border that will go around the panel. I cut my strips 1-1/2" wide by the length of the total area around the panel. july 049

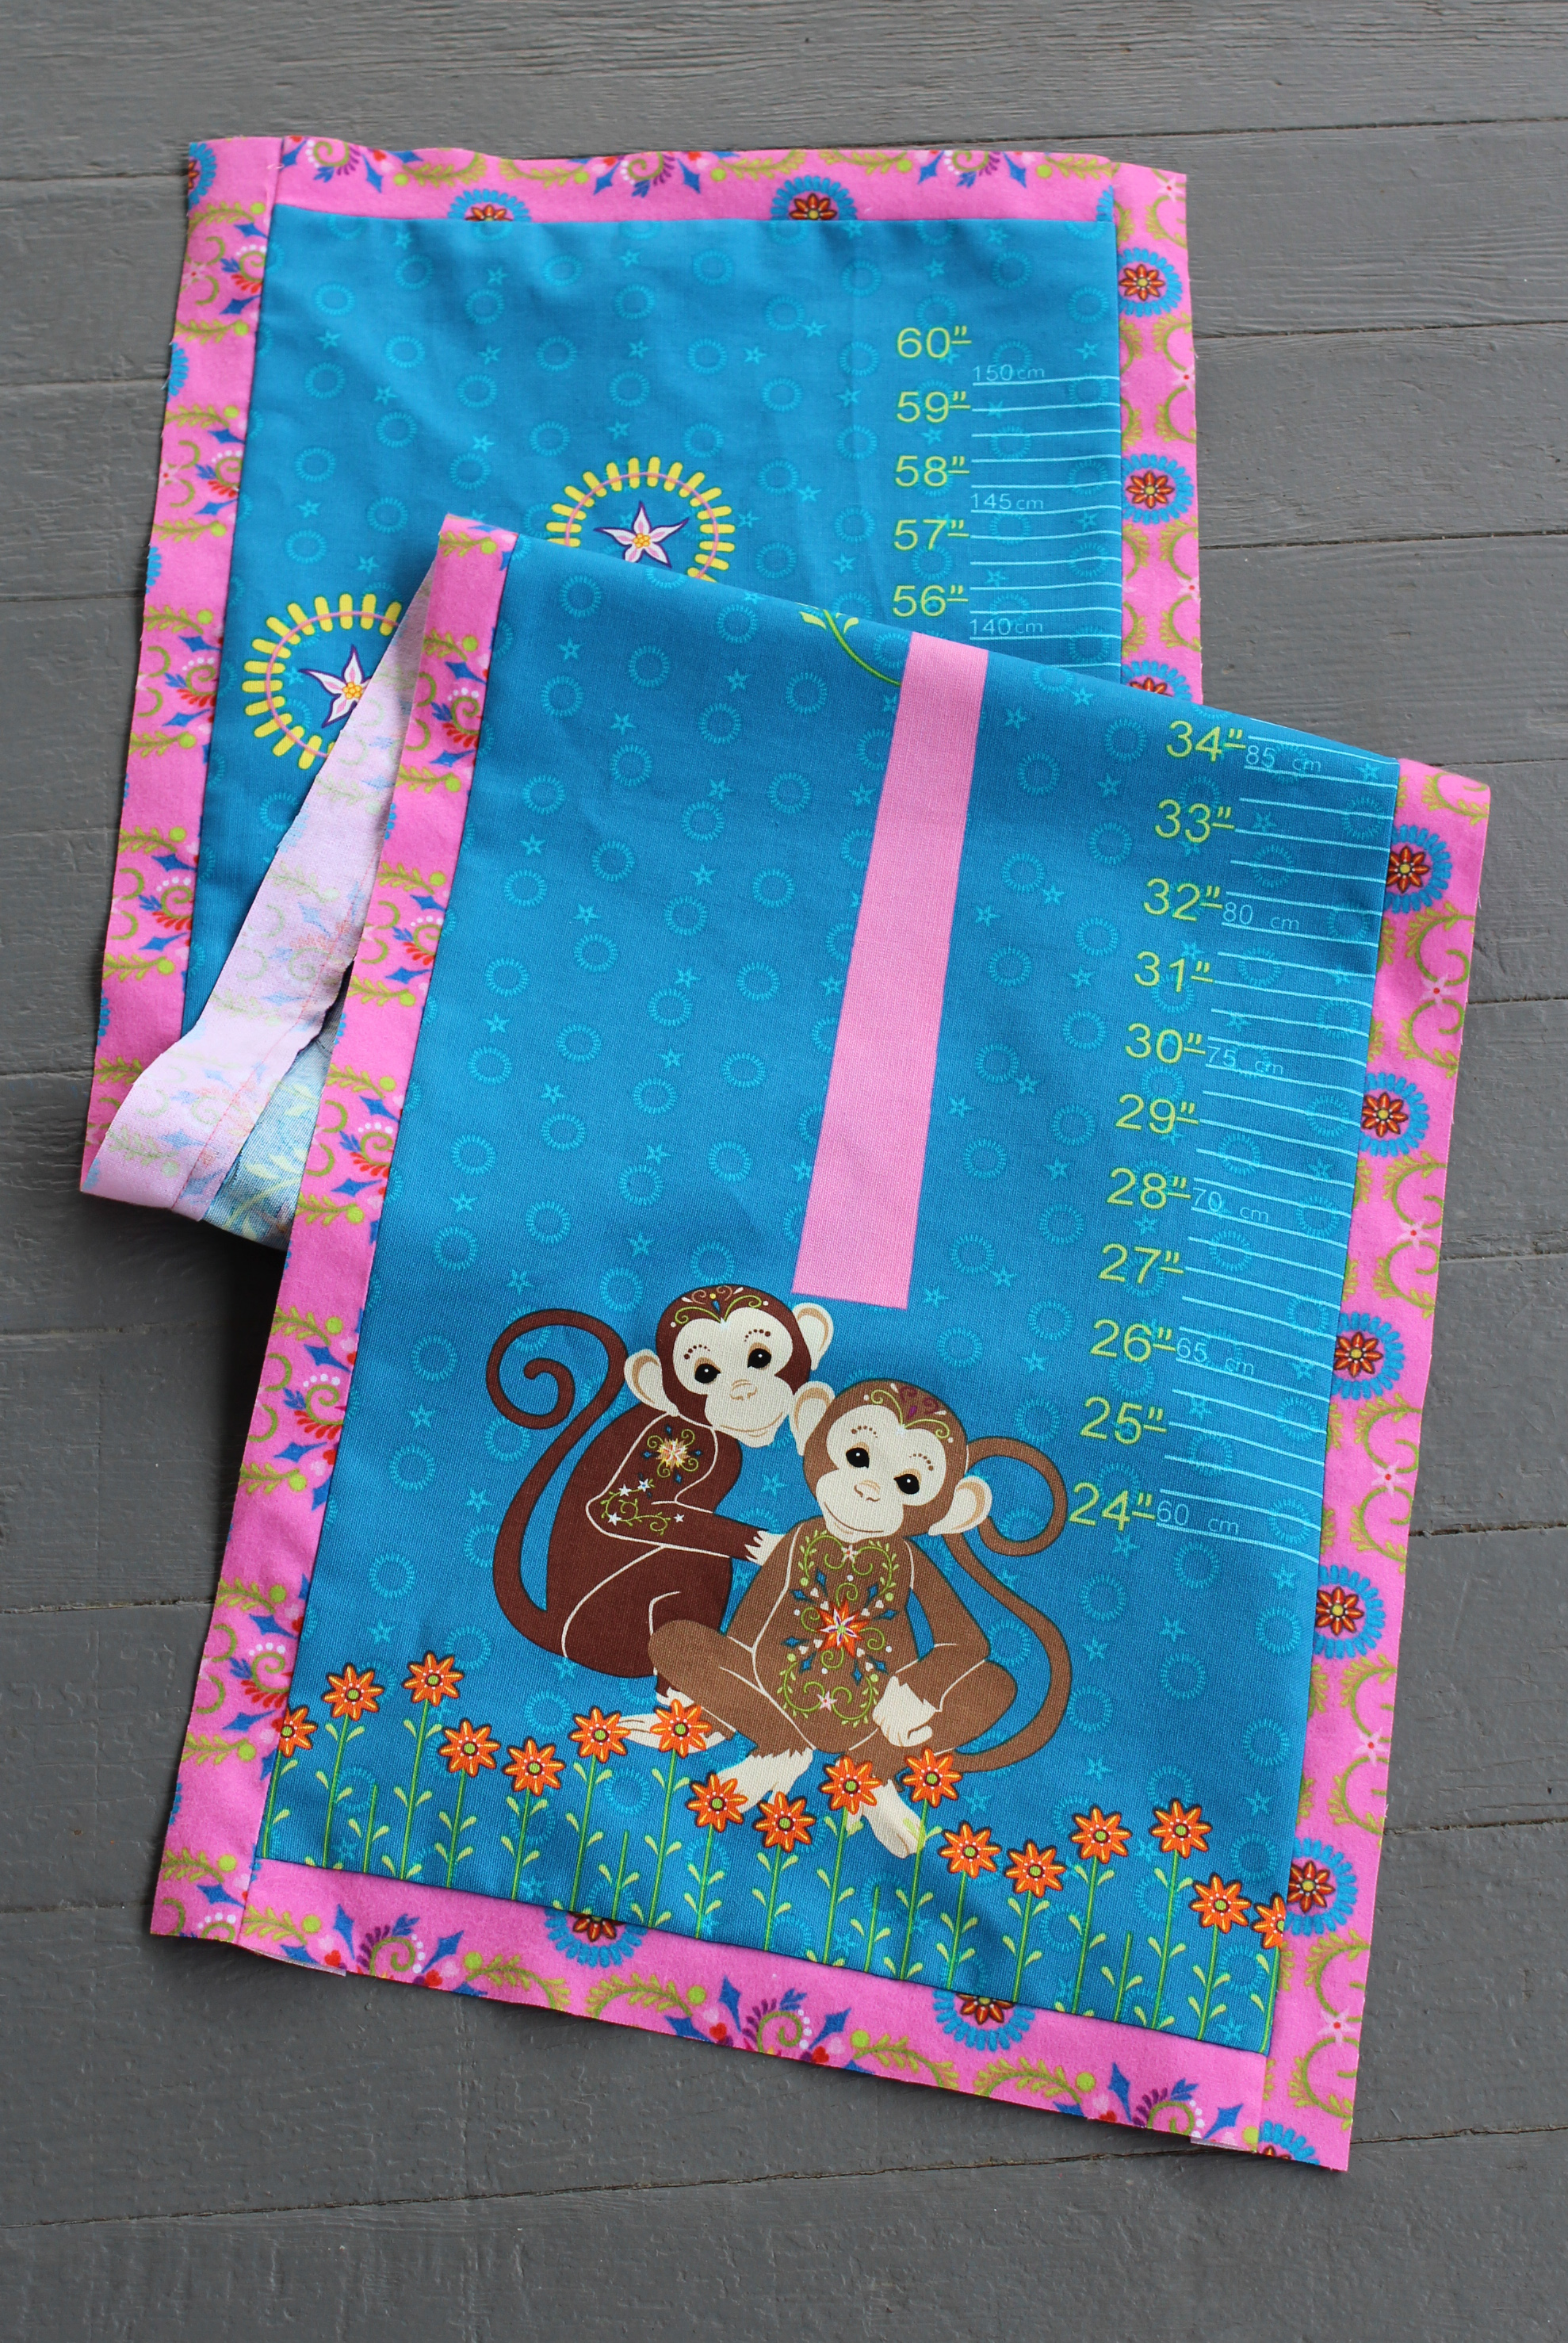
With right sides together sew the strips onto the panel. I started by sewing on the top and bottom pieces and then sewed on the sides.
  july 051

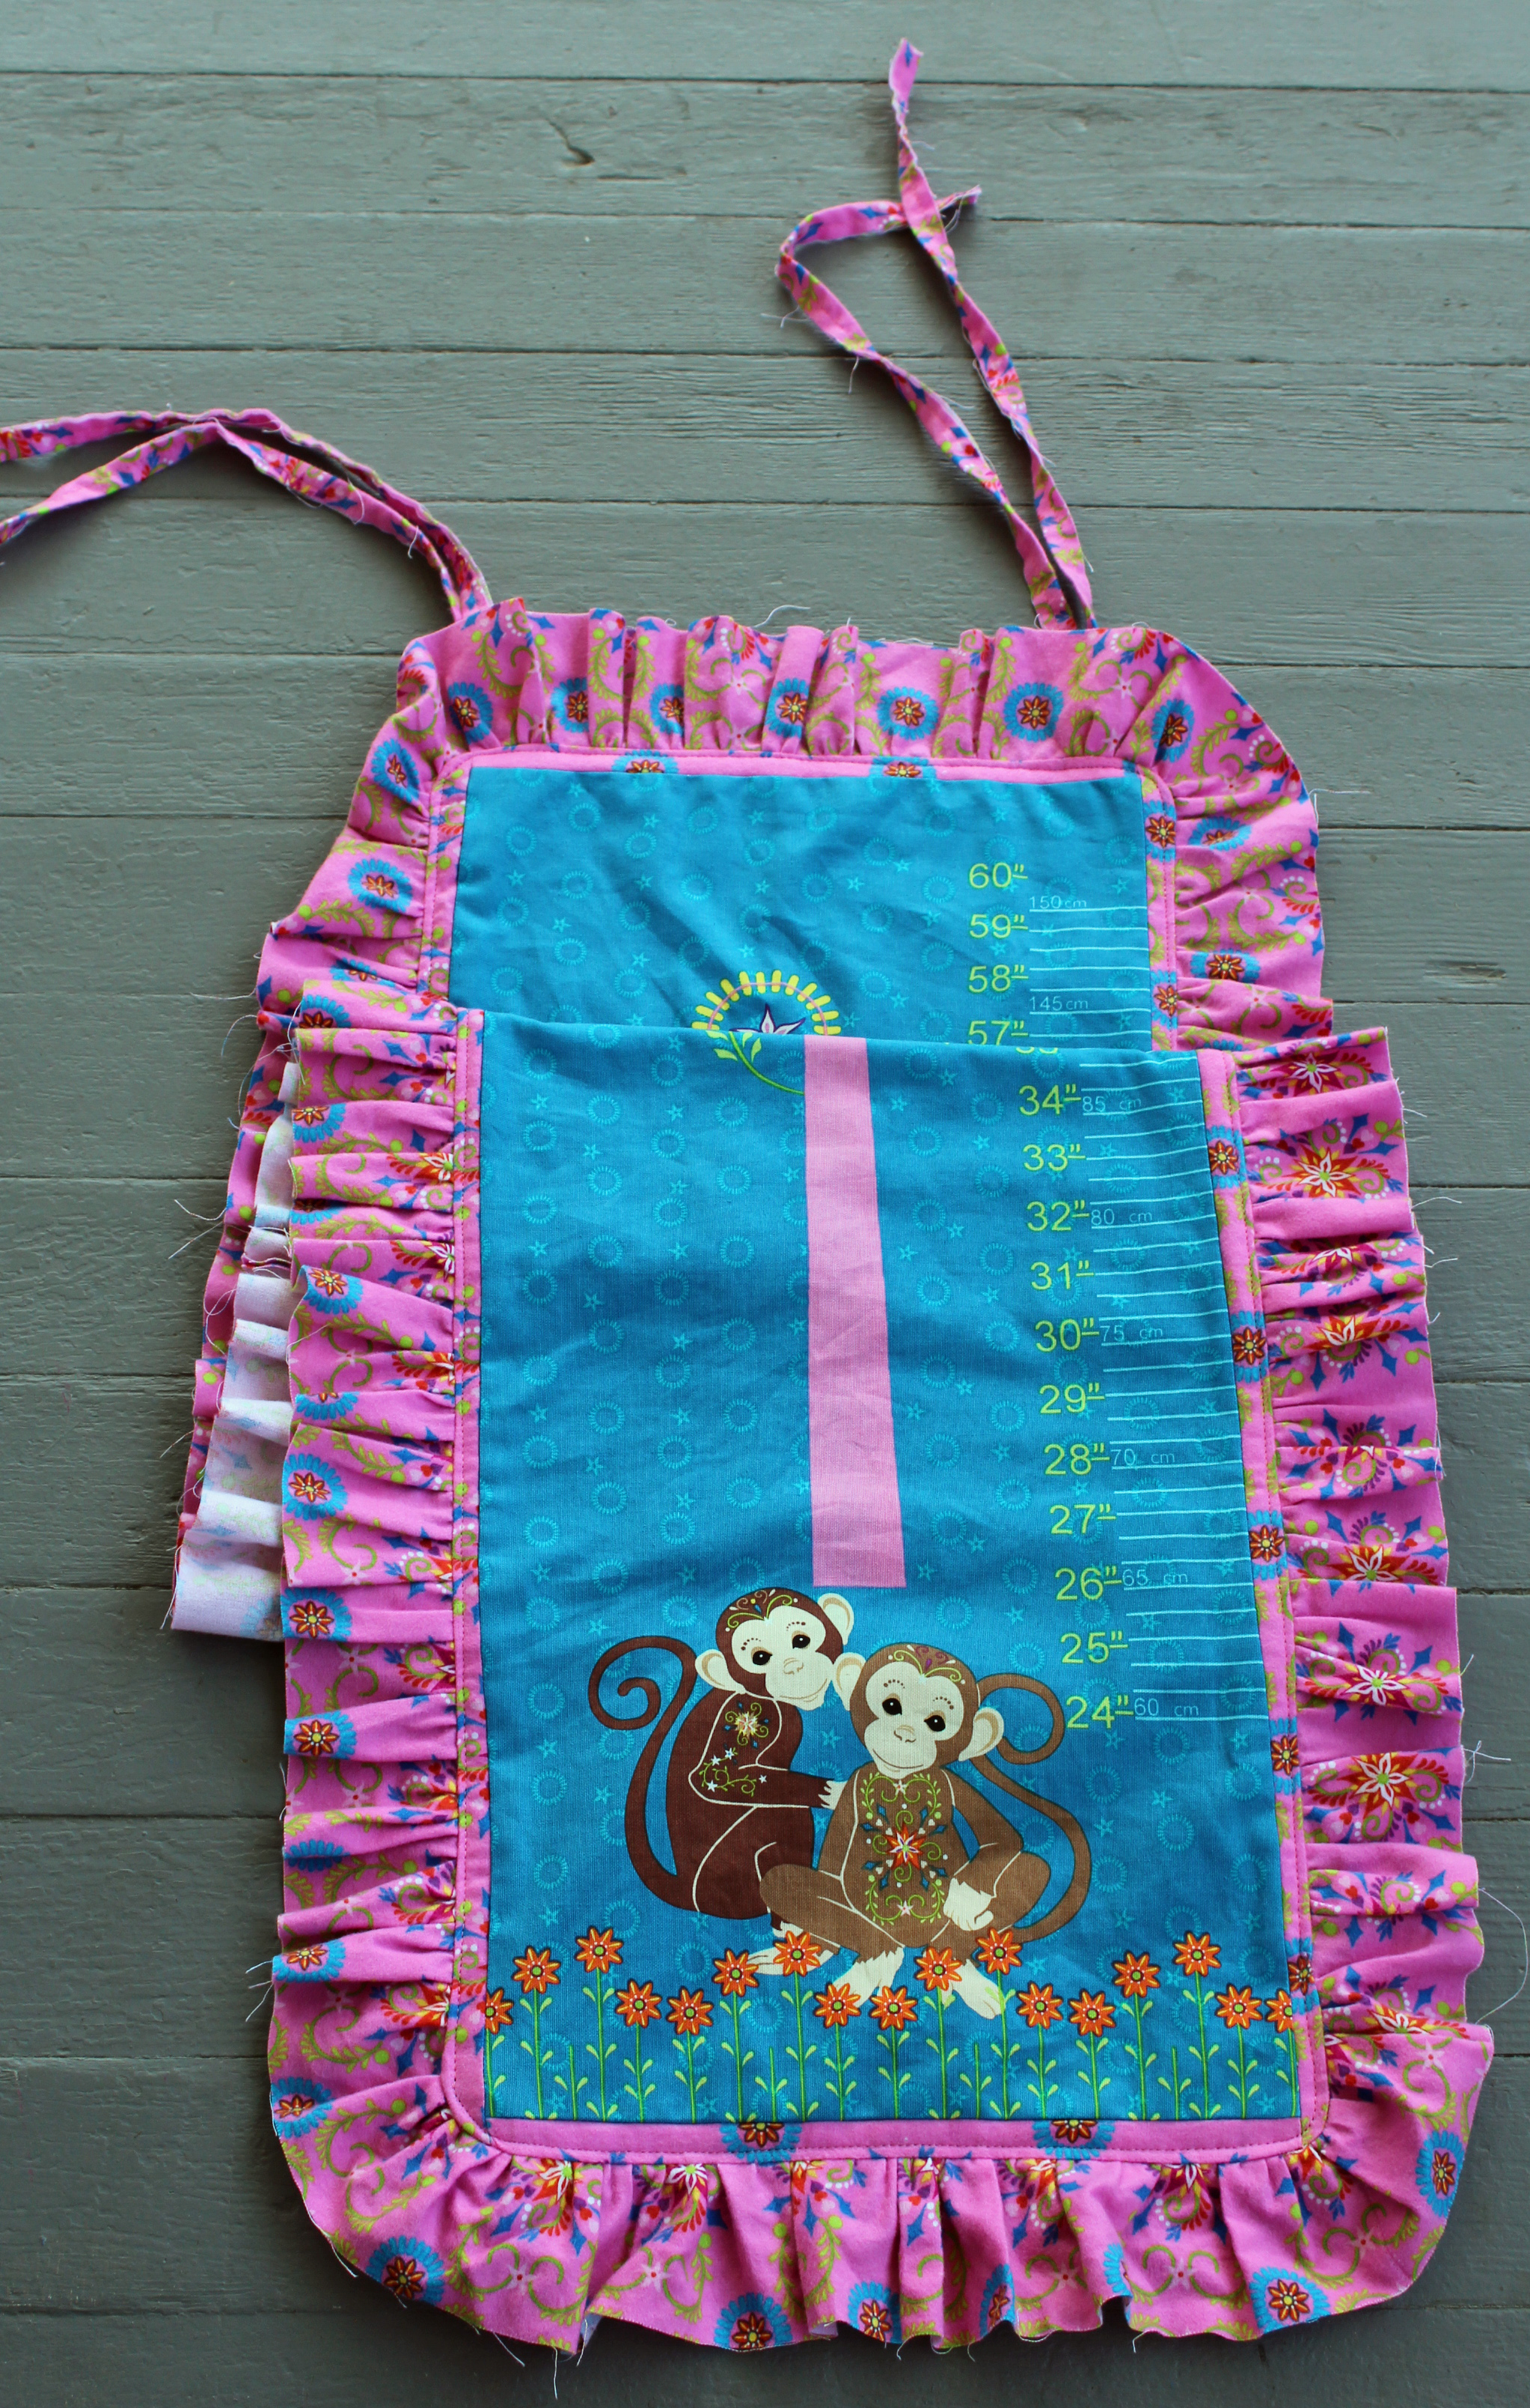
Next, cut some strips of fabric that are 2-1/2" wide by a length that is almost two times the total area around the panel. Sew the strips together on the ends to make one big strip. Now ruffle the strip. As you can see, I chose to leave the edges of my ruffle raw and scrappy. You may not want a raw edge. If that is the case, cut your strip twice as wide and fold in half with right sides out before ruffling. 
july 053

Now you are going to attach your ruffled piece to panel piece. Pin the ruffled strip to the outer edge of the panel with right sides together. Sew all around edge. Press flat.
  july 054
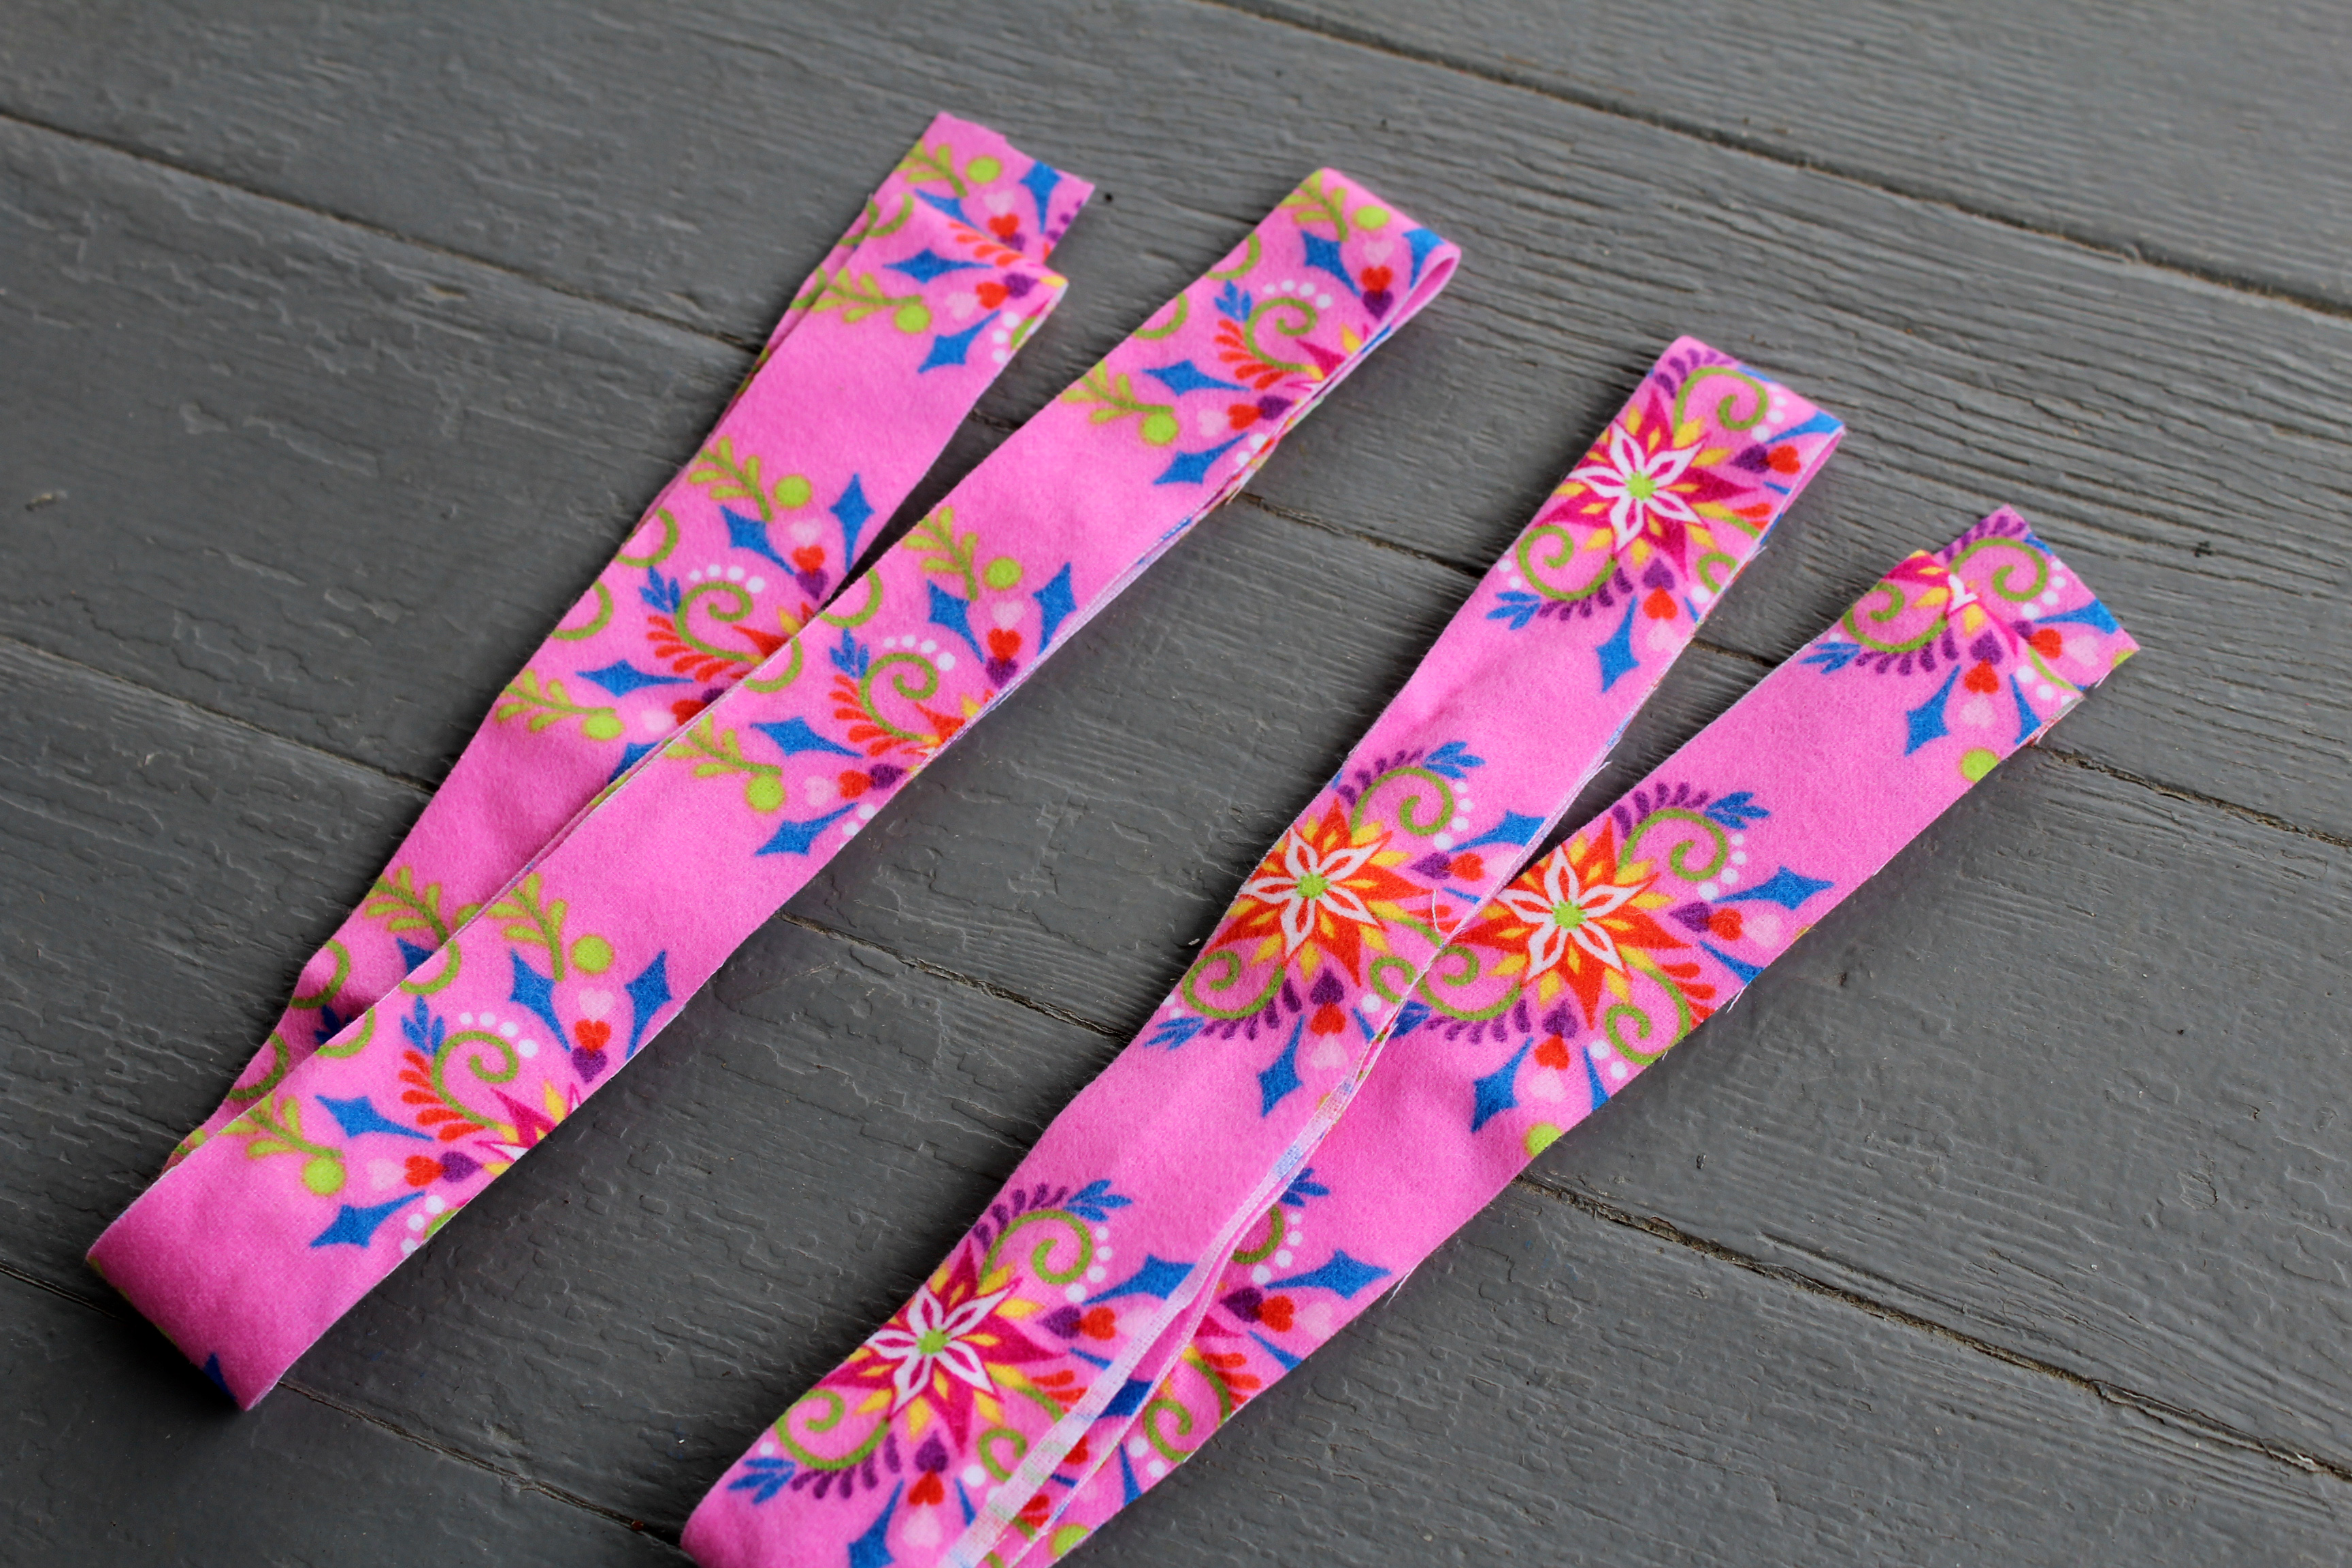
Now you are going to make some ties. These will be used for hanging the growth chart. I chose to make my strips with the raw edges exposed to match the raw edges around the ruffles. Again, it is your choice on how you make the ties and how long you want the ties to be.
growth chart 001

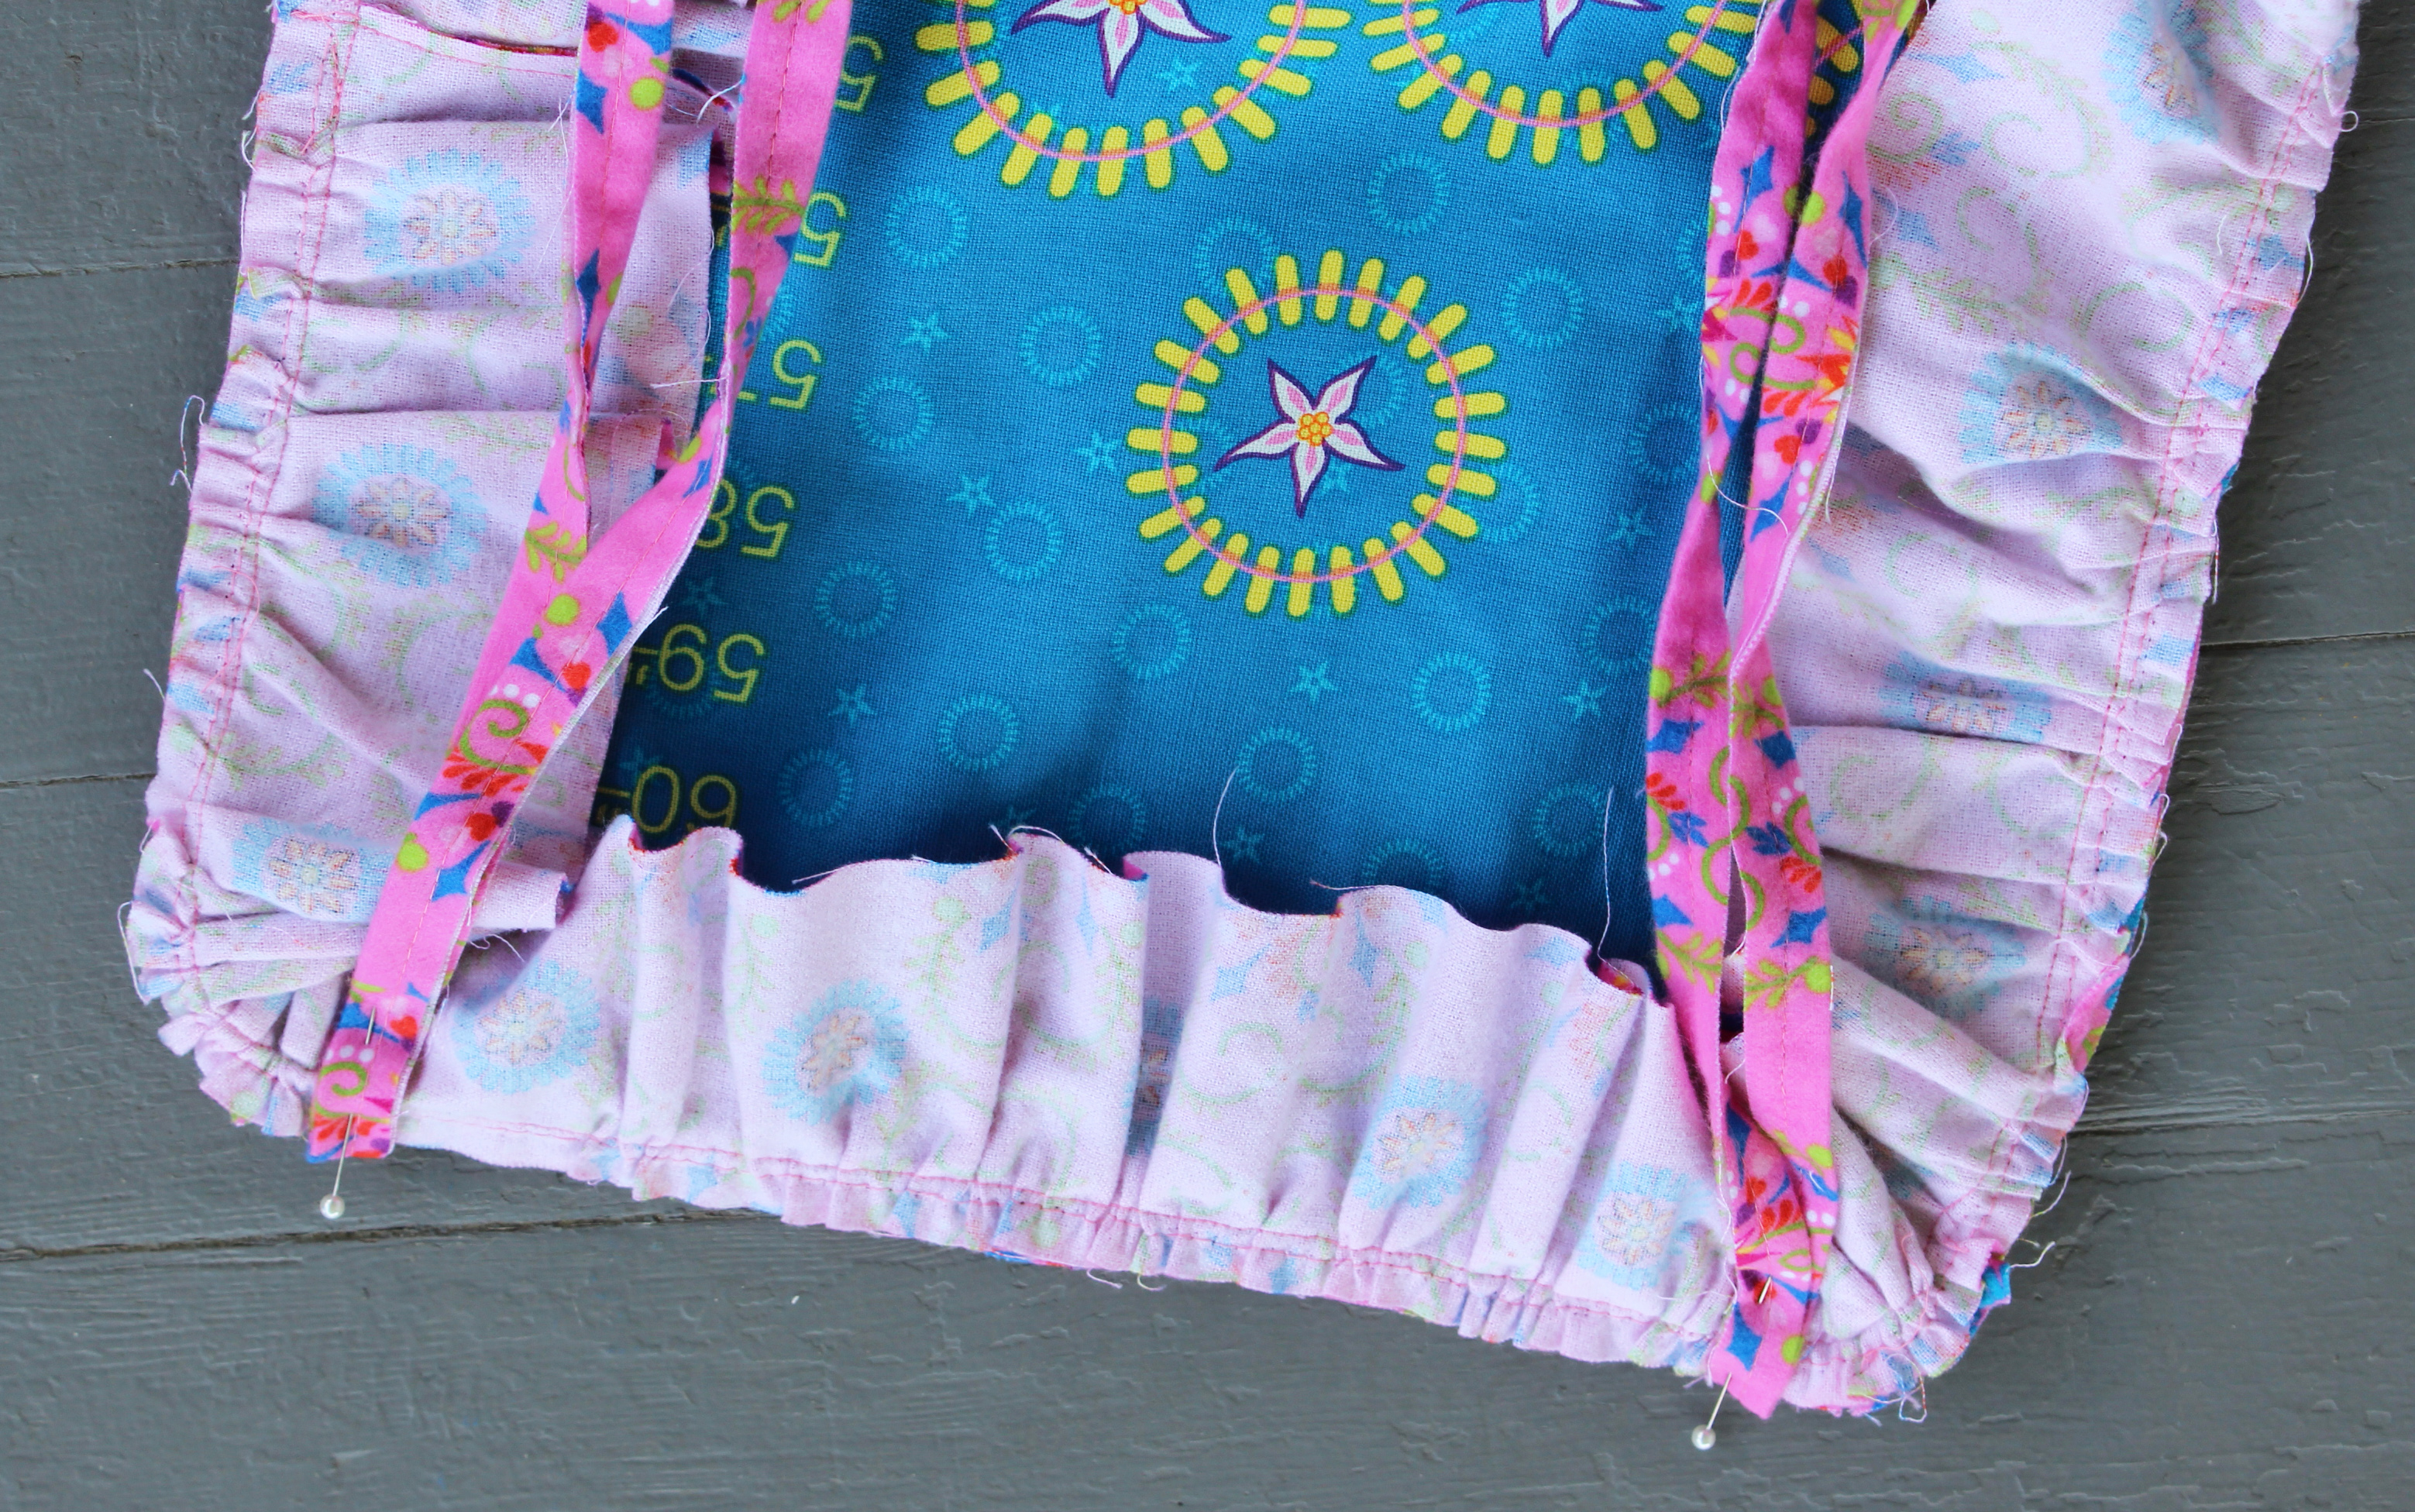
Once you have the ties made pin them in place at the desired location at the top of the growth chart. I placed mine about 1-1/2" in from the edge and I made them long enough so that I could tie them in a bow at the top. Sew ties in place.
  growth chart 004

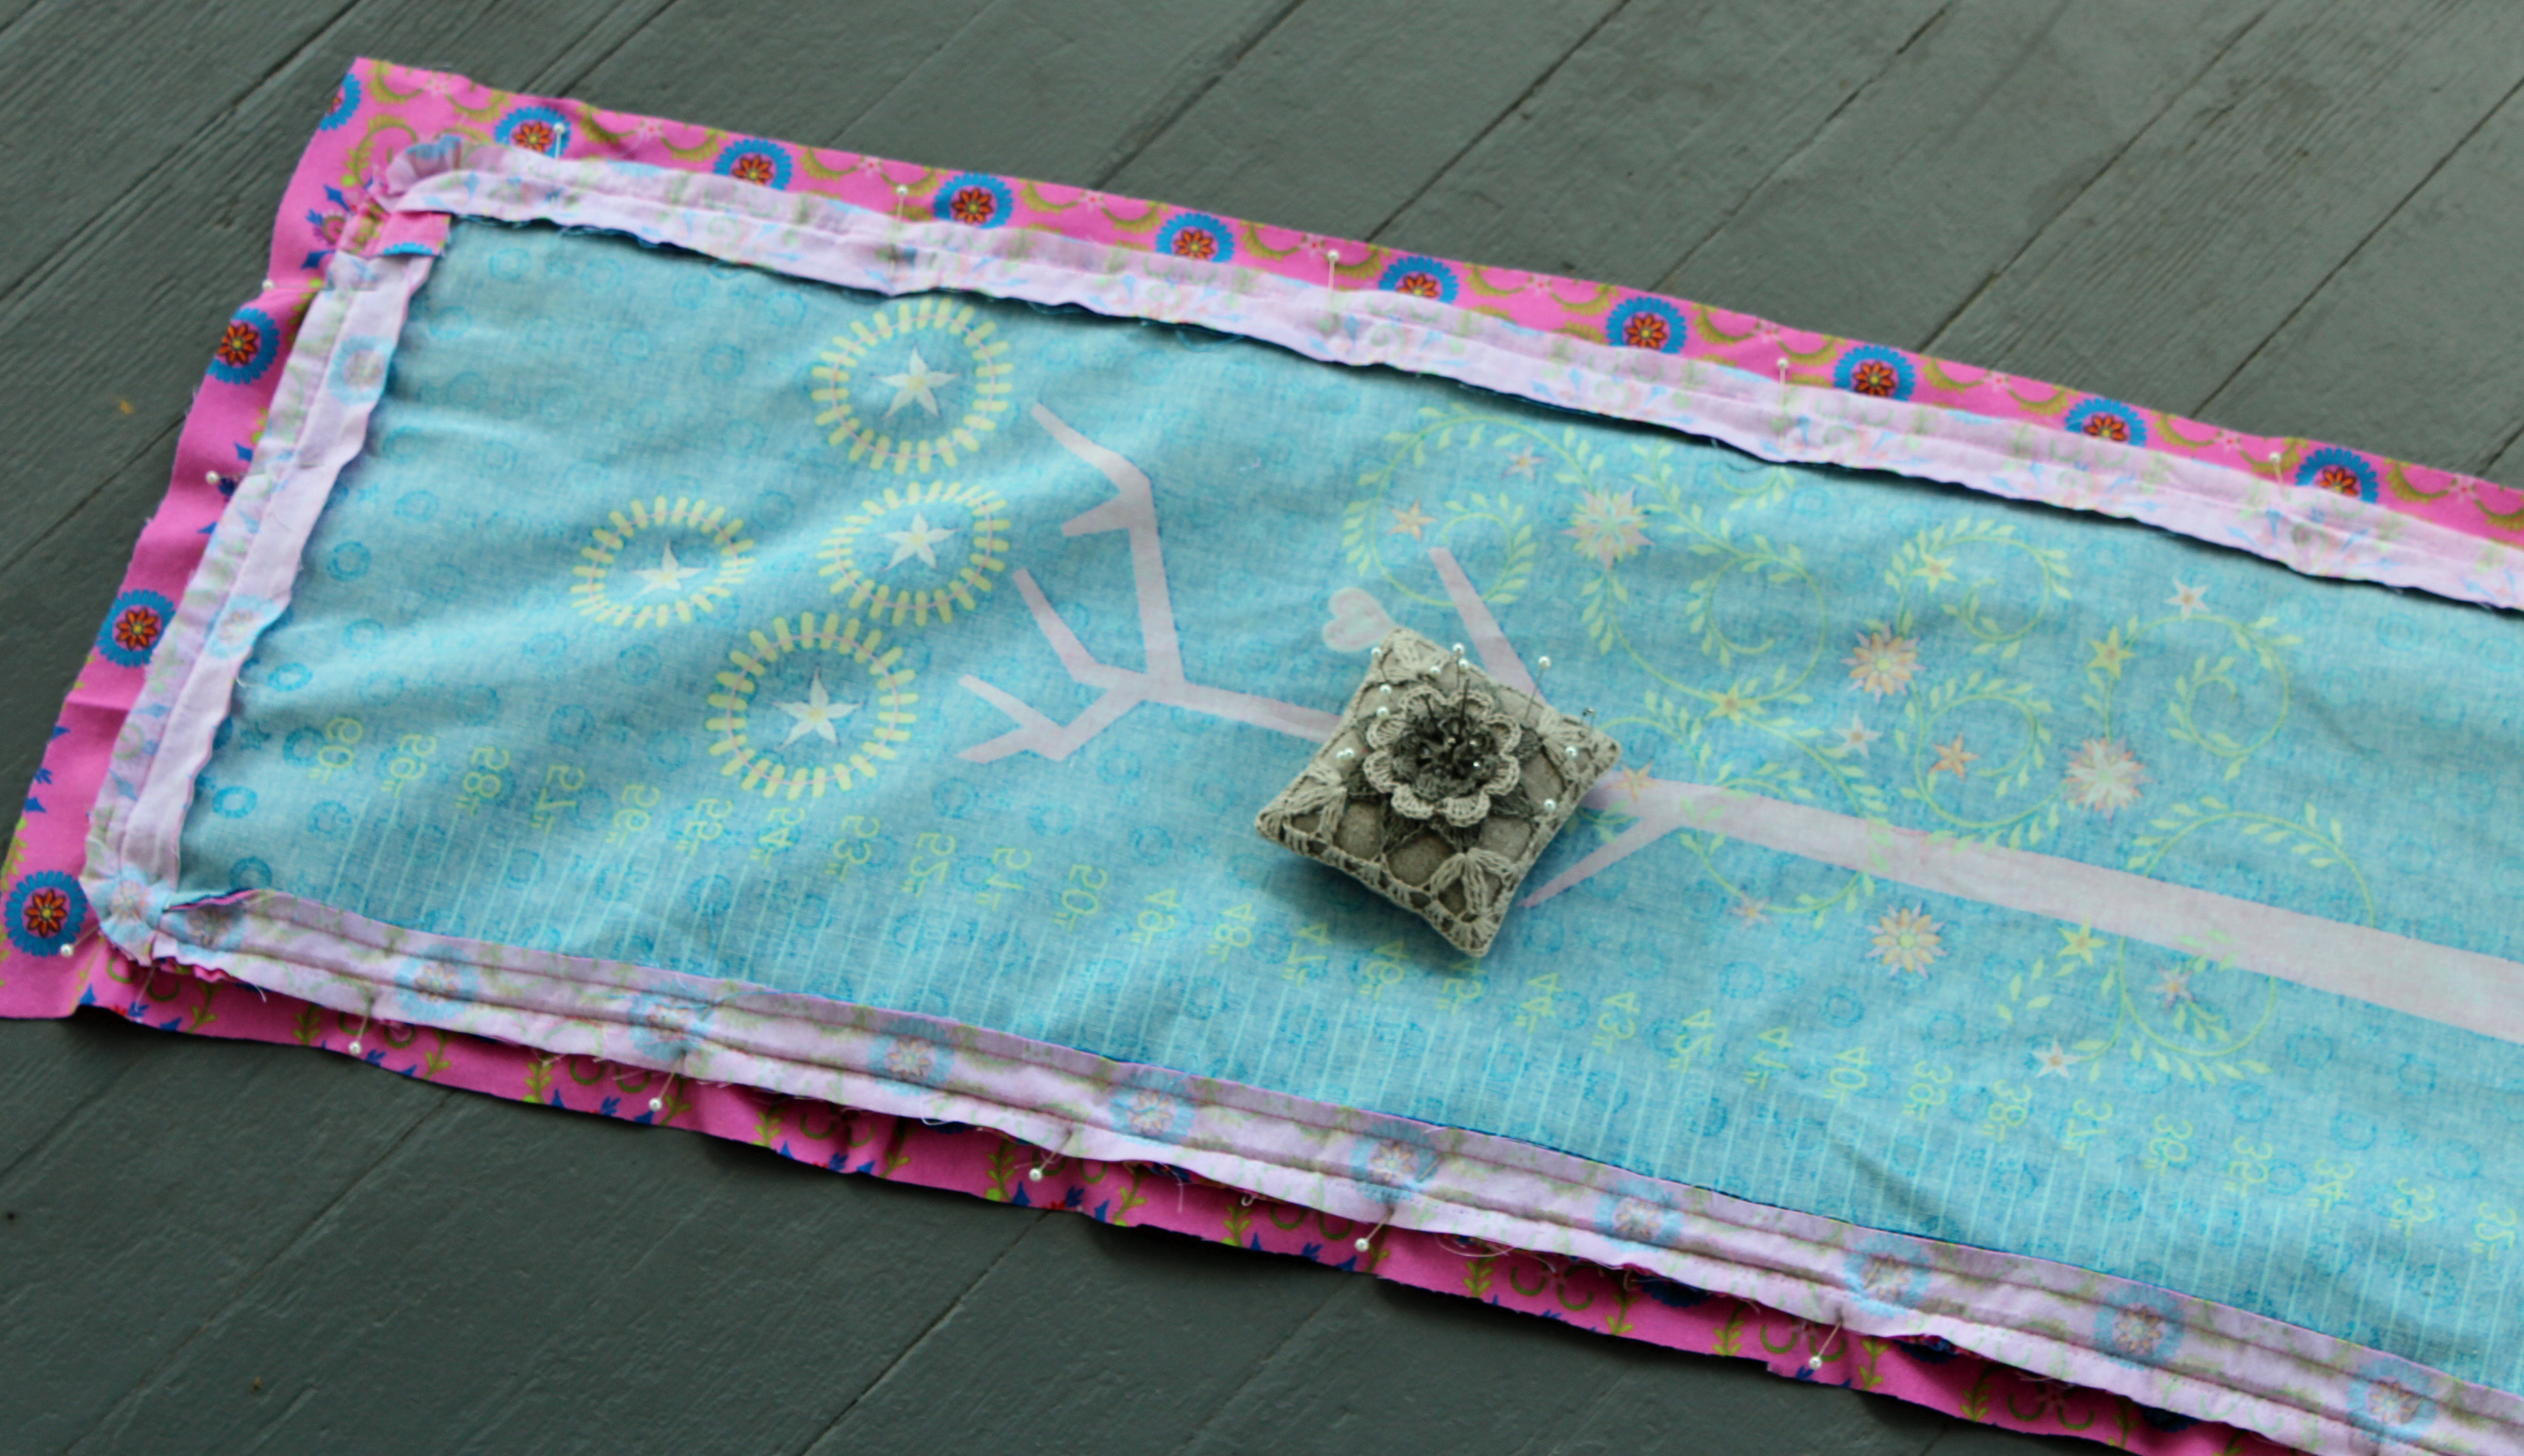
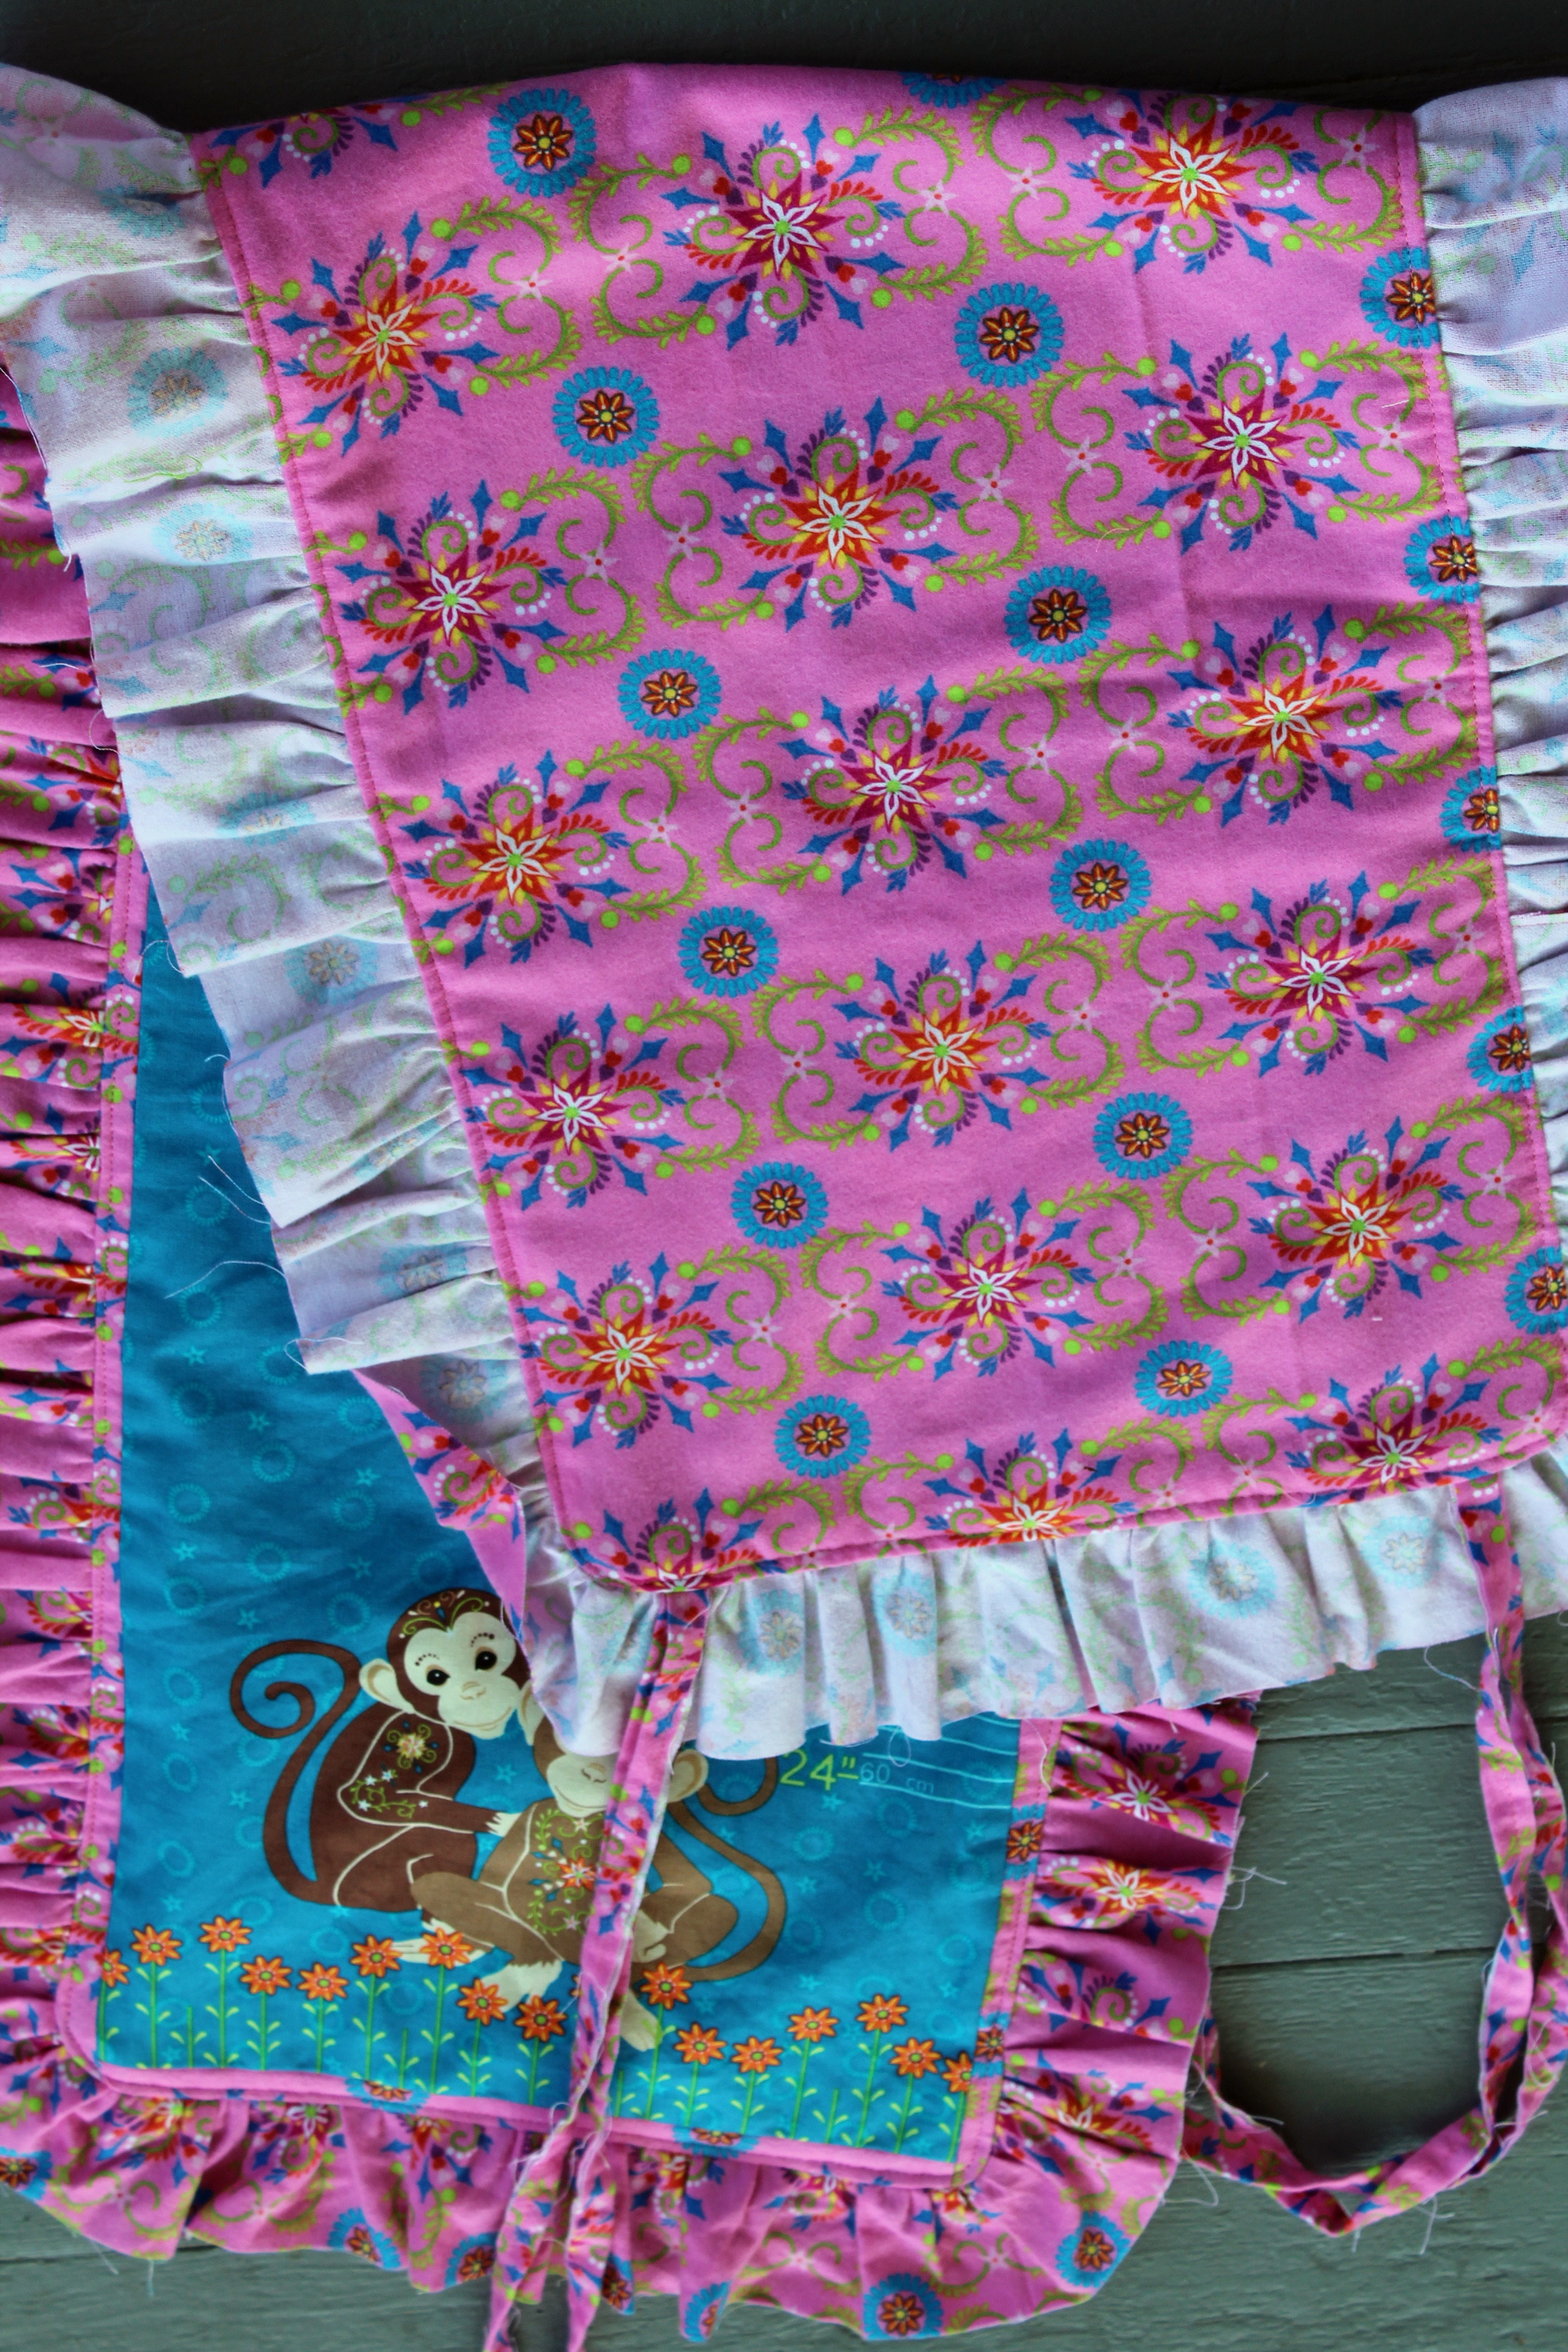
Now lay the growth chart on top of the backing fabric with right sides together. Pin in place. Sew all around edges while leaving a 3" opening for turning right side out. Make sure that your ties are tucked in.
growth chart 007

Turn right side out through the opening. Press flat and top stitch all around the edge right before where the ruffle attaches onto the panel.
growth chart 008 growth chart 009

Now find the perfect spot to hang it! The kiddos are loving this growth chart and measuring themselves daily with it.
  growth chart 006 growth chart 007 growth chart 008

Thanks, Christina! Don't forget to visit Christina's blog to see how to enter the giveaway for TWO different prizes:
1) the fabric to make the growth chart featured in Christina's tutorial (you choose the color you'd like from the options below)
2) the fabric to make this quilt, Traffic Jam by Jessica Toye, offered as a free pattern on our website. (again, you choose the colorway you'd like--see the entire Mystic Forest collection here.)


Monday, July 8, 2013

RWB Bundle Winner

Thanks to everyone who stopped by and commented on Roseann's "Sparklers!" quilt tutorial last week!


To go along with Roseann's tutorial, we asked readers to leave comments for a chance to win a red, white and blue fat quarter started bundle. Courtesy of Mr. Random, our winner is:

Which translates to:

Congratulations, Simplesew! We have sent you an email to get your mailing address. And we hope you enjoyed your holiday weekend of piecing and quilting! 


Monday, July 1, 2013

Blogging Design Ring: The 20-Minute Block

Happy July!

We'll be sharing a few summery, patriotic projects with you in honor of the July 4th holiday. First up is a pinwheel picnic quilt by Blogging Design Ring member Roseann Meehan Kermes of Rosebud's Cottage. This quilt design uses oversized pinwheel blocks to create a quick quilt top, and the red, white and blue palette makes the "Sparklers!" name just right. 

Here's Roseann! 


Hi, I'm Roseann over from Rosebud's Cottage. If you need a table covering for your picnic, a place to nap under a tree, or a throw to snuggle under while you watch the fireworks, "Sparklers!" is for you! With its fast piecing method, and large pieces, it is perfect for a last-minute Fourth of July project. Best of all, the directions are linked below in pdf form, so you can print them out and take them with you!

Tonal prints create the perfect backdrop for beautiful machine quilting. Visit Roseann's blog for some alternative quilting ideas, as well as helpful tips for creating this red, white and blue beauty.


The fabrics used--all small tonal prints--come from a variety of Fabri-Quilt collections:
This quilt uses a great shortcut method to make half-square triangles--try it, you'll love it!
Download the pdf directions to make Roseann's Sparklers! quilt here.

Thanks Roseann, for sharing this summer pattern with us!
You can win a starter bundle of red, white and blue fat quarter prints like Roseann used to make your own Sparkler! quilt. Just leave a comment below telling us your favorite 4th of July tradition. This giveaway is open through Friday, July 5th at 11:59 EST. We'll post the winner's name on Monday, July 8th. 

p.s. Whether you're new here or an old friend, we hope you'll sign up to follow us via Bloglovin' or to receive updates by email. You can find both options in the righthand sidebar. That way you'll be the first to know when we feature tutorials like this one!

Monday, May 20, 2013

Tutorial: Oversized Beach Tote


Rebecca from Our Busy Little Bunch is back today with another Blogging Design Ring tutorial--a huge tote, perfect for summer! Check out her tutorial and then at the bottom, see how you can enter to win a fat quarter bundle of Belle of the South, the collection Rebecca used here. 


Here's a fun tutorial for you - just in time for trips to the beach, the park, and all those other fun summer outings that require a lot of STUFF to be packed.  And don't let the size intimidate you - this bag can be sewed up in no time!  But if you like the look of a smaller bag, just decrease the cutting sizes, and these simple instructions are easy to use for any size bag. The fabrics are from the Belle of the South collection.


FABRIC REQUIREMENTS:
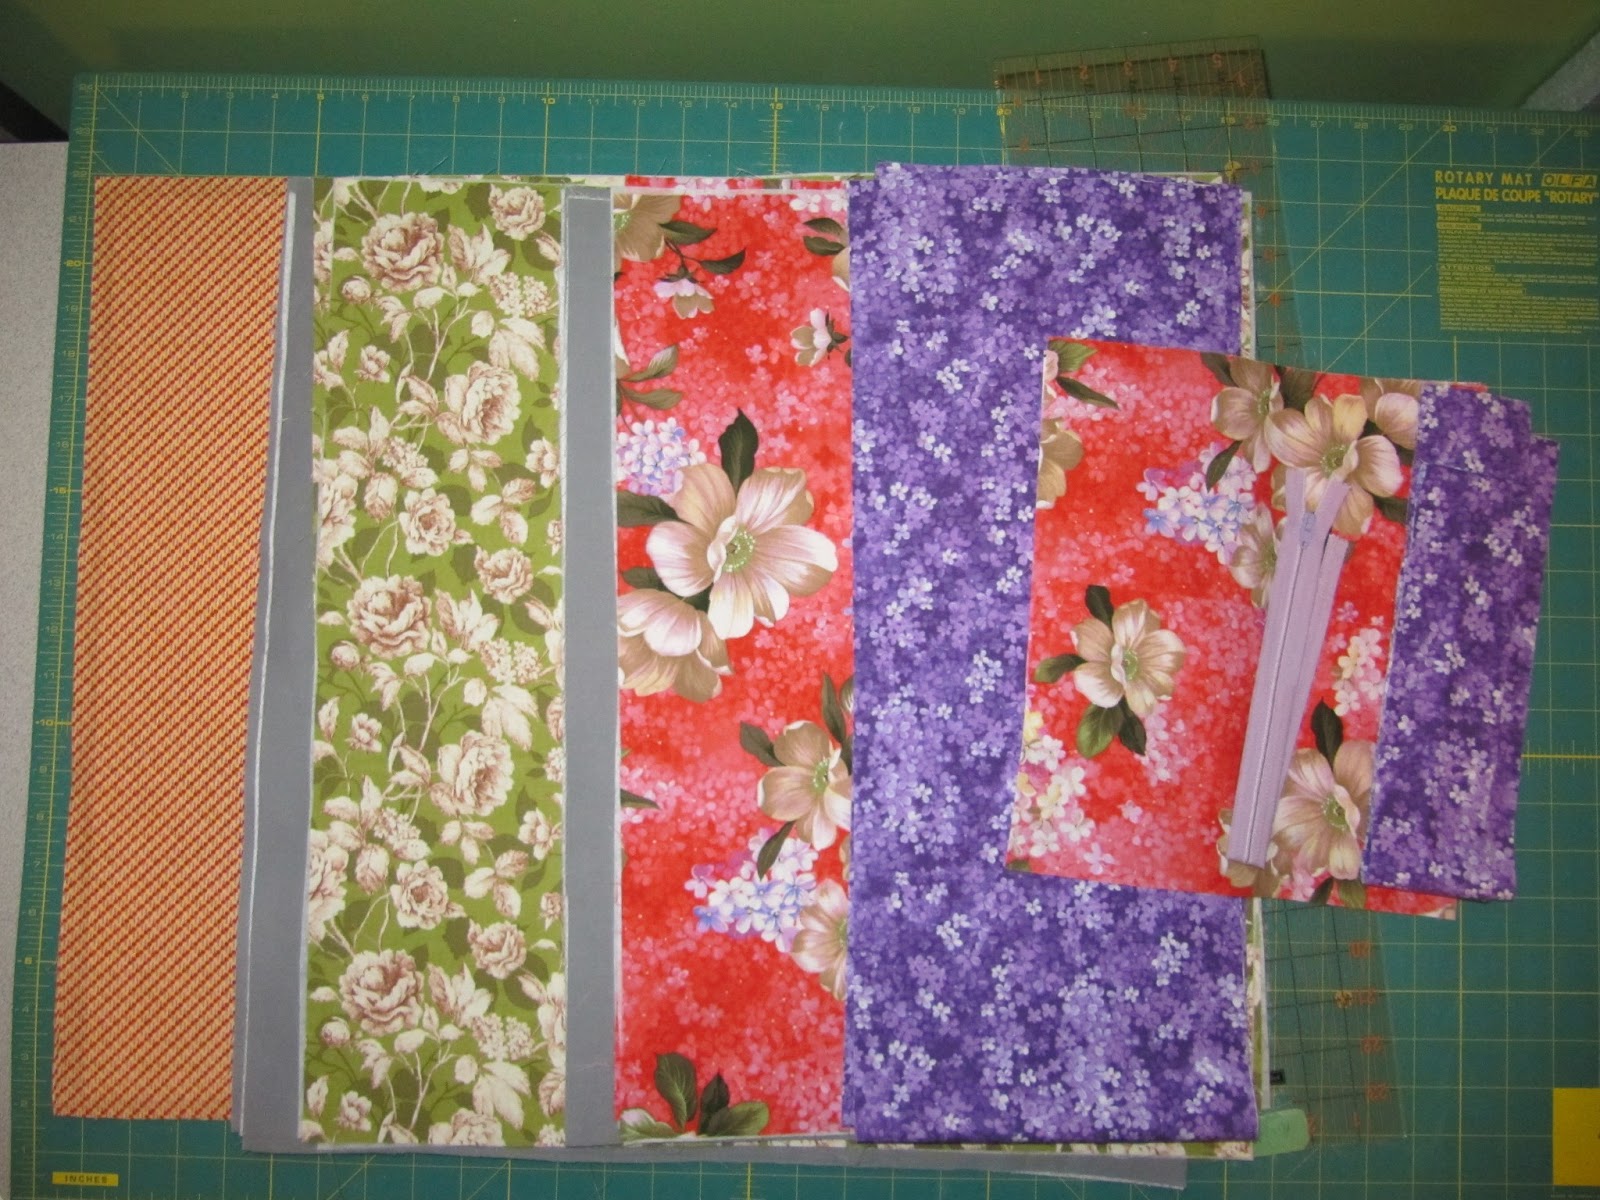
  • 2/3 yard main outer fabric
  • 1 yard fabric for side panels and exterior zippered pocket
  • 1 yard fabric for straps and binding at top of bag
  • 1 yard fabric for lining
  • 1/2 yard fabric for bottom of bag
  • Interfacings (these are my recommendations, but there are lots of options out there: a heavyweight fusible interfacing for exterior bag pieces, a fusible fleece for interior bag pieces, and a thick fusible interfacing for base of bag.
  • One 10" zipper (or larger, cut down to size later)

CUT YOUR FABRIC:
  • Main panels 20" (h) x 20" (w) - cut 2 from main fabric and 2 from lining
  • Side panels 20" (h) x 12" (w) - cut 2 from side panel fabric and 2 from lining
  • Bottom 20" (w) x 12" (depth of bag) - cut 2 from fabric selected for bottom of bag
  • Binding for top of bag - 2.5" x 70" (two strips pieced together)
  • Exterior zipper pocket - cut two pieces 10" x 10" and one piece 10" x 6"
  • Straps 60" x 8" (cut 2)

Before beginning, fuse interfacings to main panels, side panels, and bottom piece.

* please note: all seam allowance are 1/2"*


MAKE EXTERIOR ZIPPERED POCKET:
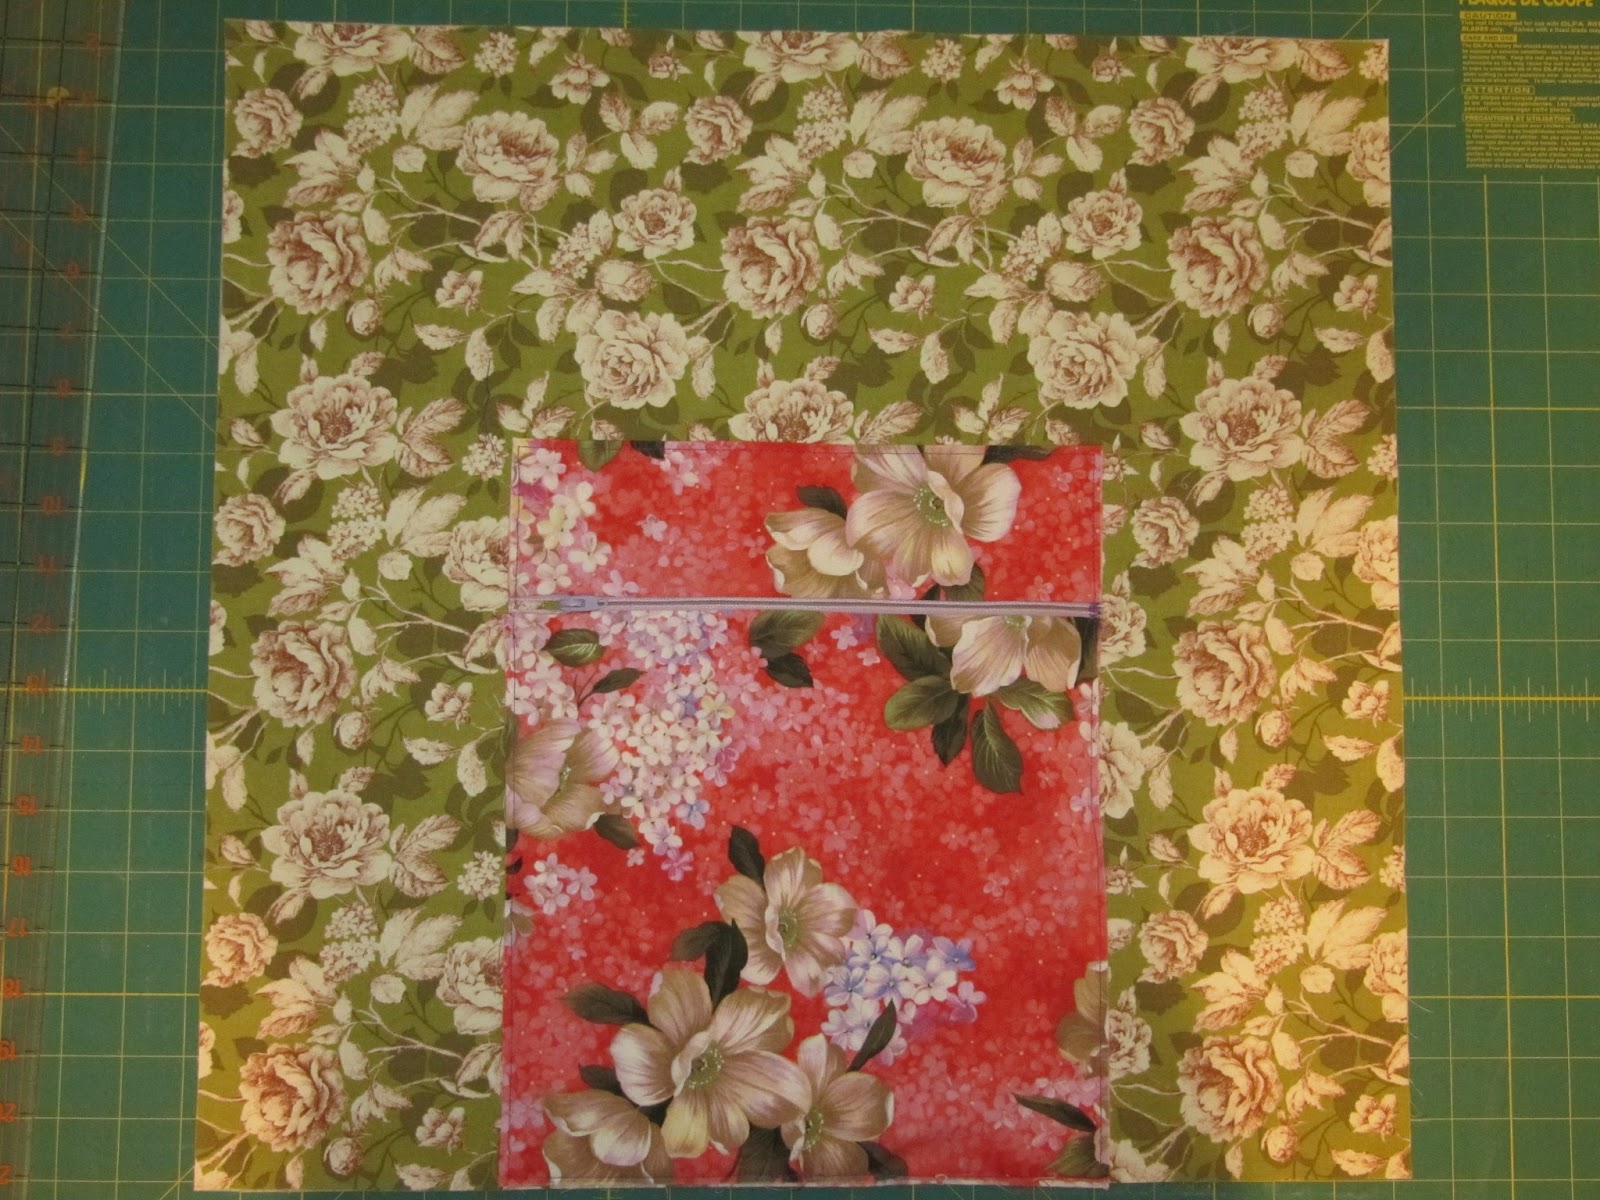
  • Take your 10" x 6" piece of fabric, and place zipper on one long edge.

  • Fold fabric over top of zipper, so zipper is sandwiched between the two right sides of the fabric. Pin in place.
  • Using zipper foot, sew top edge.  Be sure to stop and move zipper tab out of your way as you sew so you get a nice straight stitch line.

  • Turn piece of fabric right side out.

  •  Press in half, and make sure zipper opens and closes easily.

  • Take your two 10" square pieces of fabric and layer unfinished zipper edge between the right sides of fabric.  Pin and sew edge just like you did for other half of zipper.  Press fabric away from zipper.

  • Center finished zipper pocket on one of the main exterior panels. Baste unfinished side edges to hold in place.  Set piece aside.


 MAKE AND ATTACH STRAPS:
  • Take straps, and iron in half.  Then iron halves again to center, creating 2" wide straps.

  • Sew close to each long edge, and approx every 1/4" beside that, creating nice strong straps with lots of stitch lines.


  •  Pin straps to main panels of bag, completely covering raw edges of zippered pocket, and using your ruler to pin them on nice and straight.  Stitch on top of stitch lines on both long edges of straps, stopping 1" from top of bag.


ASSEMBLE BAG EXTERIOR:
  • Sew your main panels to your side panels, right sides together.  BUT, stop your stitch line and backstitch 1/2" from bottom of bag.


  •  Pin one of your bag bases to your exterior pieces, right sides together. On corners, fold back seam allowances as shown below and pin in place.  When stitching over corners, reinforce them by backstitching on either side of corner pivot. 

  • Turn bag right-side out.


ASSEMBLE LINING:
  • Using the same method as bag exterior, sew main and side panels together, and attach bag base.
  • Do NOT turn right-side out.

COMPLETING YOUR BAG:
  • Place bag lining inside of bag exterior, making sure to push corners in place and line up seams.
  • Pin upper edge of bag, and baste close to raw edge.


  • Press your binding in half, and then edges to centers, creating a narrow binding.  

  • Use your favorite method of attaching binding to sew it to top of bag - you can do this by machine, or a combination of machine and finishing it off by hand.  I prefer to use lots of pin and pin it to top of bag, and then machine stitch it. Make sure to conceal your unfinished edges or start and stop sewing with 6" of binding left on either end - sew those ends together and cut off excess, and then sew down last section.  


 ENJOY YOUR FINISHED BAG!

And there you have it - an oversized beach tote.  This will fit all our towels, sunscreen, sand toys, and snacks.  And the exterior pocket is great for my wallet and phone.  I'm looking forward to toting one bag for everything this summer!


And wouldn't you know, the first thing my little guy asked when he saw this bag was if he could climb in.


Thanks, Rebecca! Head over to Rebecca's blog to enter for a chance to win a fat quarter bundle of Belle of the South. The giveaway is open through Monday, May 27th.