Today Christina is sharing a fantastic project with us. Check out her tutorial (1 of 3 to make the whole set!) and don't miss entering the giveaway for a fat quarter bundle--we tell you how at the bottom of this post!
Hi, I am Christina from 2 little hooligans and I am so excited to be back with my second project for the Blogging Design Ring.
Hi, I am Christina from 2 little hooligans and I am so excited to be back with my second project for the Blogging Design Ring.
Right now my little girls are obsessed with tea parties and play food. And while I have seen a ton of play food made out of felt, I have not seen any make out of fabric. So I thought I would attempt to make some cakes and cupcakes out of fabric. Every little girl needs a bakery of her own right? I am so happy with this little bakery of ours! And my little girls...well they couldn't get their hands on it fast enough.
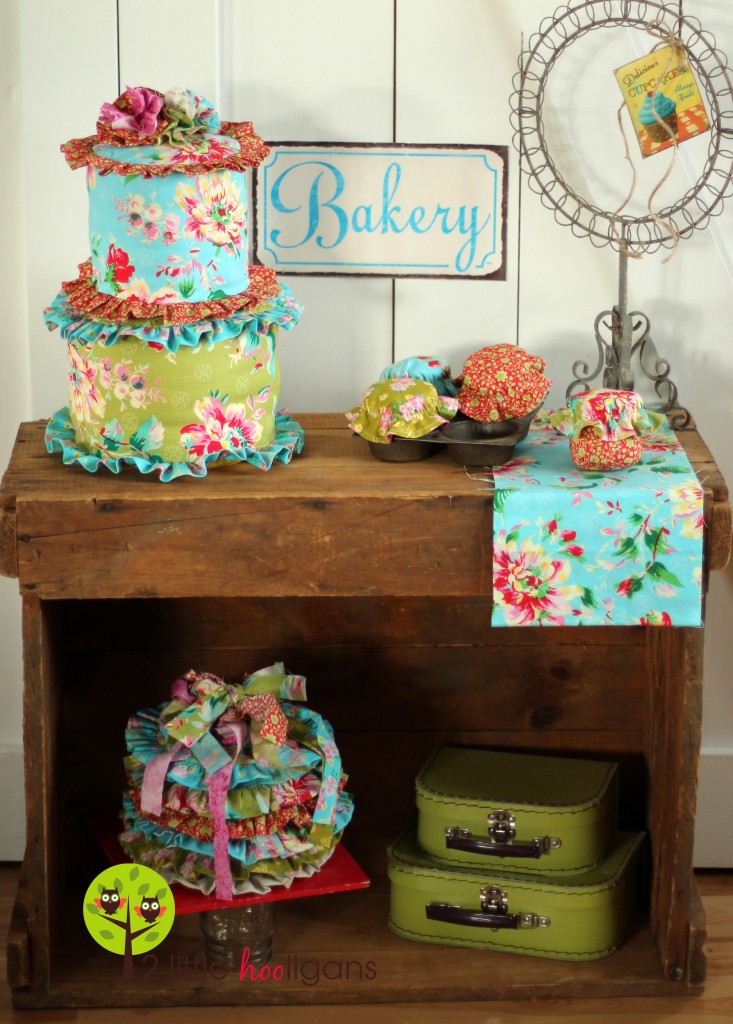
I decided to break up our little bakery items into three different posts. Hopefully this way it will be easier to explain and easier for all of you to follow along. Today I will be sharing the tutorial for the tiered cake.
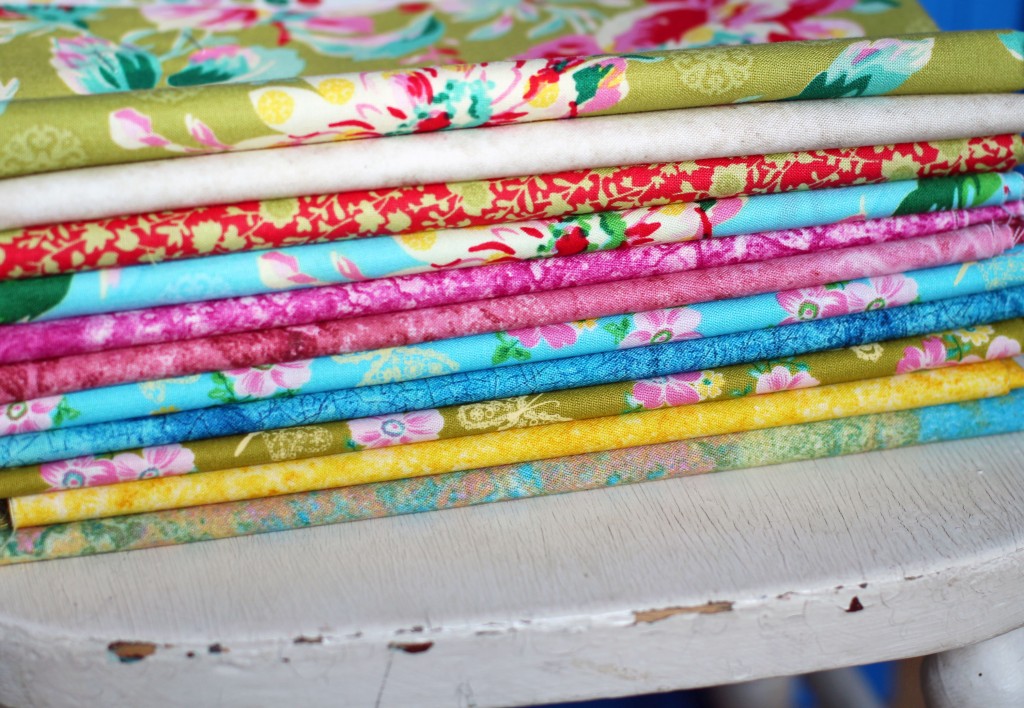
Let me start off by saying how much I love this fabric! It has a vintage look to it, but still has bright colors...something I happen to love! The fabric is Peggy Sue by Ro Gregg, with a few Marblehead tonals mixed in. I was given 1/2 yards of each and I would recommend buying half yards to work with as well. I used four 1/2 yards to make this one tiered cake and still had a lot of fabric left over to make ruffles for another cake as well as some cupcakes.
Materials Needed:
*1/2 yard pieces of fabric (again, how many 1/2 yards you buy depends on how many cakes you want to make and how you want to embellish them.)
* 1 bag of batting or more depending on number of cakes and how firm you make them.
Start off by printing the templates for the circle pieces. You will need to print off all three. Page 1, Page 2 and Page 3. They are labeled as nesting baskets but just ignore that. They are the same templates that I used to make these. I did notice that when I printed the templates off that the margins on the circle templates were a tiny bit off. Don't line up the circles right next to each other. Just line them up as close to a complete circle as you can.
When I made my cakes I used the two smallest templates. The larger circle just seemed a little too big for the kiddos to play with. Once you have printed off the circle templates, piece them together and then cut out the middle-sized circle out. Now figure out which fabrics you want to work with for your first cake. You are going to need a main fabric for the cake and then another fabric for the ruffles. You are also going to need another fabric for the cake insert or you can use the same fabric as the cover of the cake. The choice is yours. You will start out by making a cover for the insert and then the insert later. I did it this way so that once the cover got dirty you could simply take it off the insert and throw it in the washer. Let's face it--fabric will get dirty when paired with kids' play!
To make one medium sized cake cover you will need to cut out:
*From the main fabric cut out one medium sized circle and one piece of fabric that measures 27" x 6" for the sides.
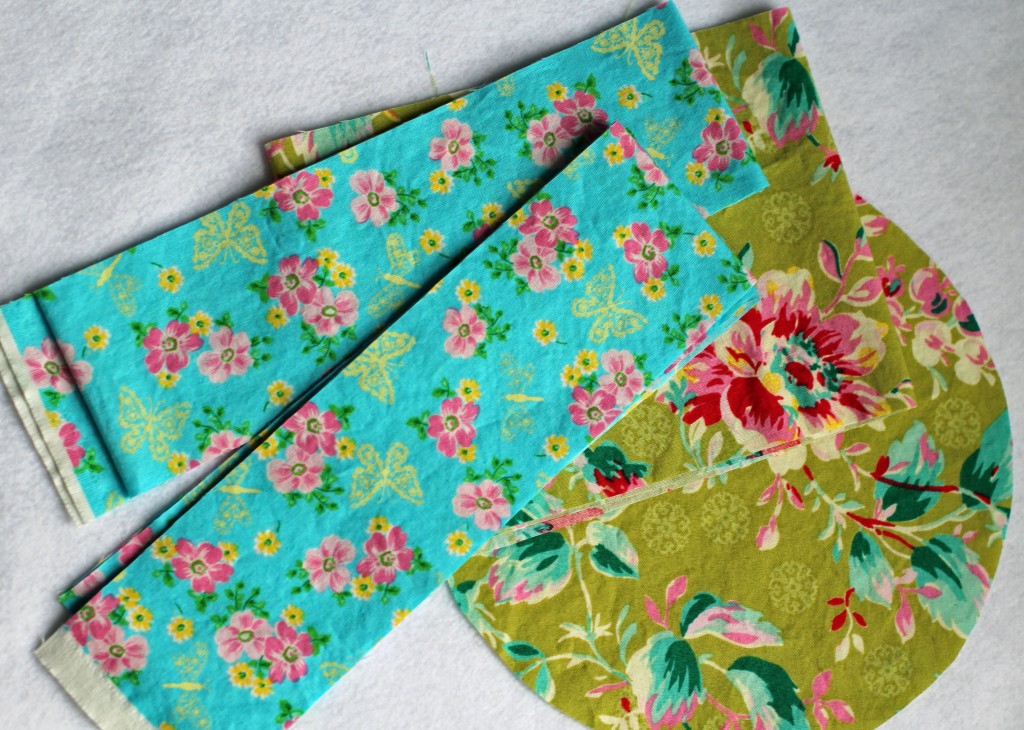
*In the contrasting fabric cut two pieces that are 52" x 3" long for the ruffles. Since you cannot get a piece of fabric 52" long from one half yard you will need to piece two pieces of fabric together to get that length. And if you want your ruffles rufflier, just cut your length longer then 52" long.
Start by pinning the two short ends of the 3" x 52" fabric pieces together. Sew ends.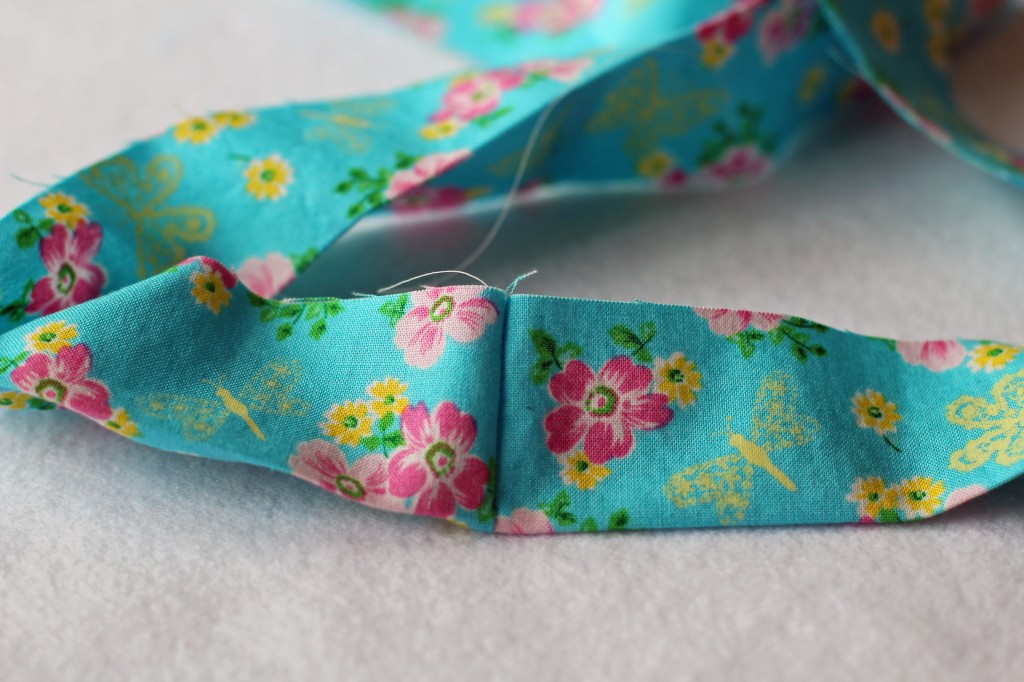
Iron the seam flat and then fold the whole tube in half. Iron flat.
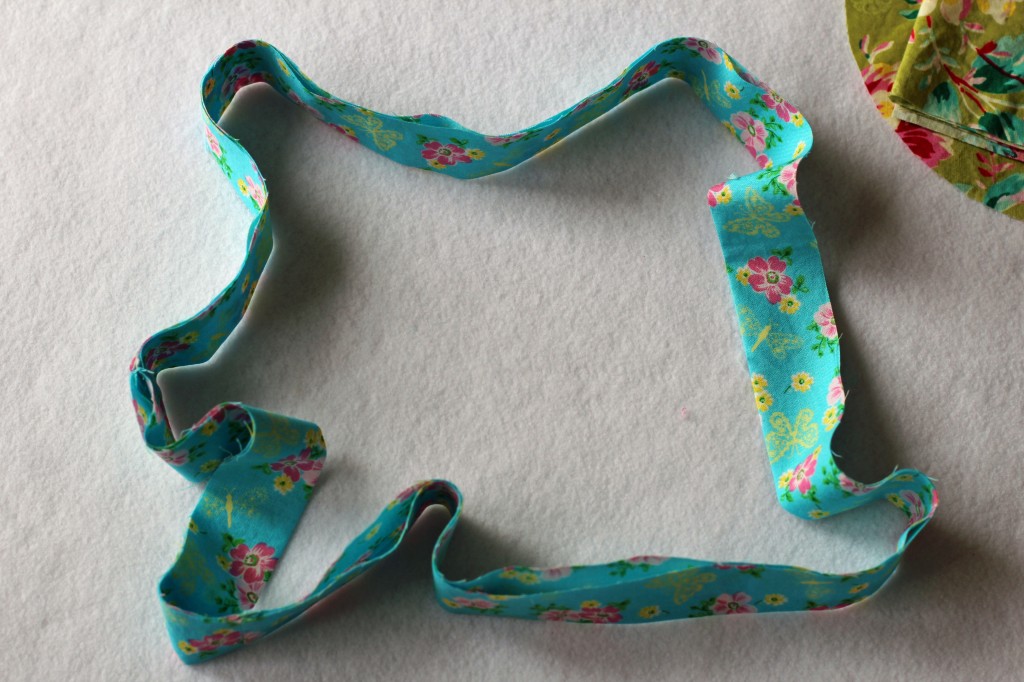

Iron the seam flat and then fold the whole tube in half. Iron flat.

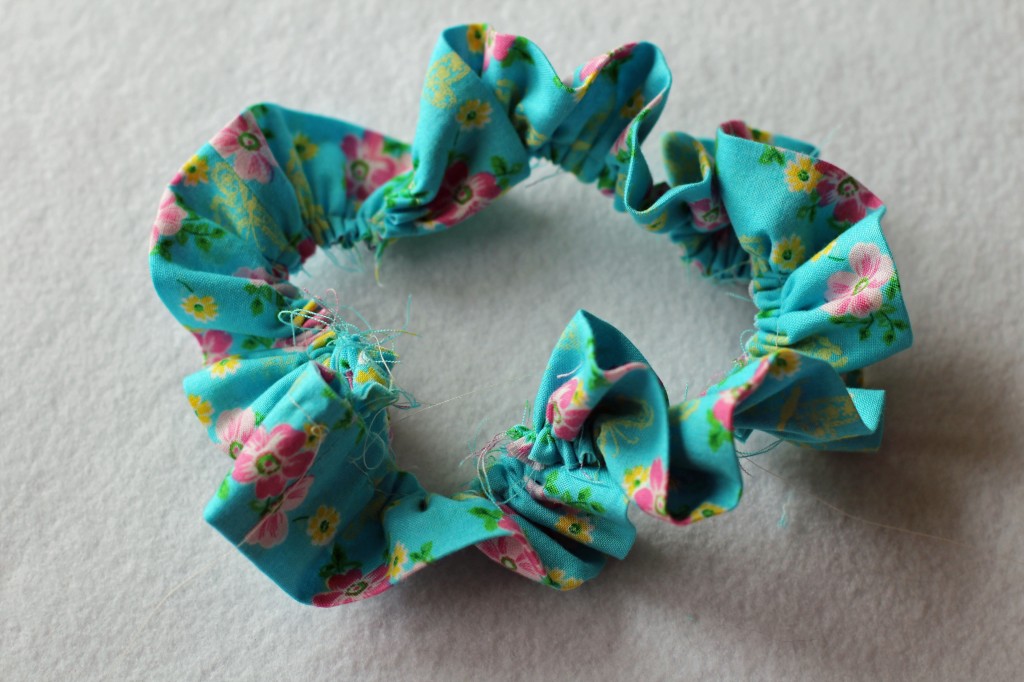
Now ruffle the tube with your sewing machine. On the raw edge just sew with your machine on the largest stitch length. Then gently pull one of the threads to make the fabric ruffle.
Use the circle piece of the main fabric as a guide to see how much you should ruffle your piece of fabric.
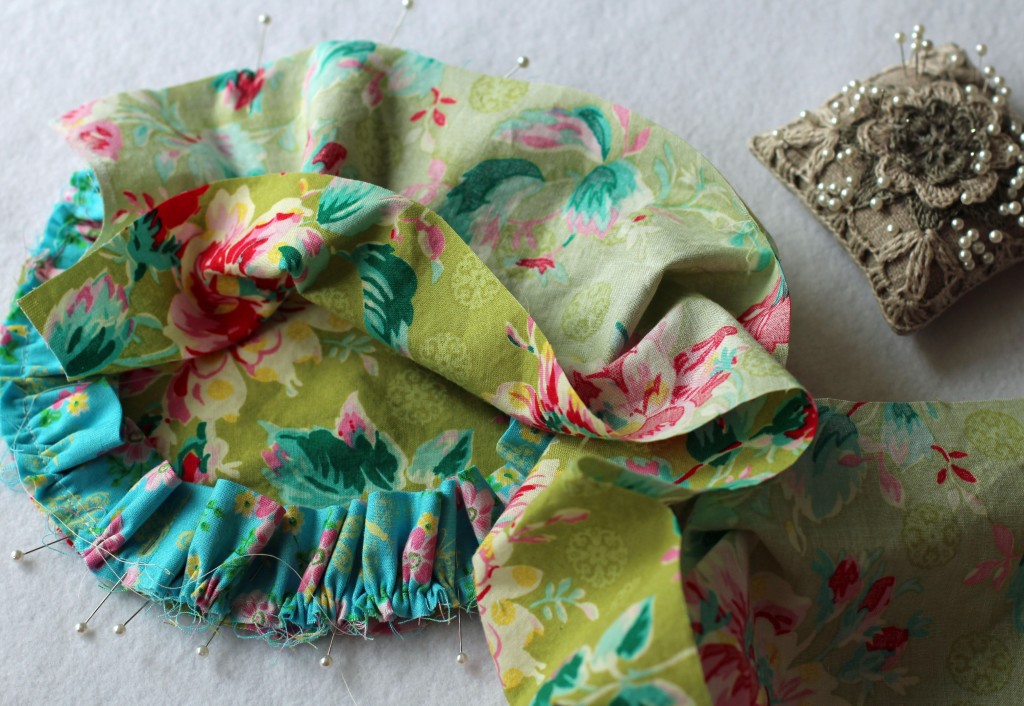
Now line up your ruffled piece all around the circle piece. Also pin your 6" x 27" piece of fabric on top of your ruffled piece right side down.
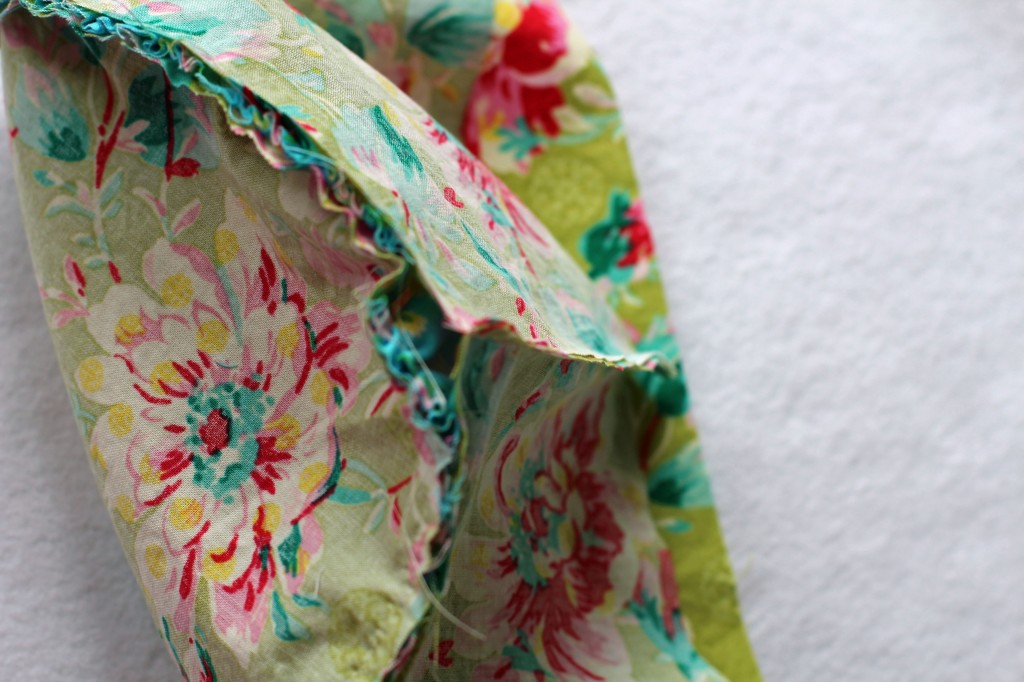
Now this part is a little tricky to explain but it is really easy to do. Find the spot where you started pinning the 6" x 27" piece of fabric around the circle. Measure in about 1" from the end of that side piece. This is where you want to start sewing around the circle. Then stop stitching about 2" from where the two side pieces will meet. Now pin the remaining fabric around the circle until the two ends meet. From the middle where they meet, measure in your 1/2" sew seam and then trim away any excess fabric. Now sew the two ends of the 6" x 27" piece together sew. Now that the ends are sewn together you can finish sewing the side onto the circle piece. I explain it this way because no matter how many times I measure it out and sew the sides together before I attach them to the circle they never seem to line up perfectly around the circle, except when I do it this way.
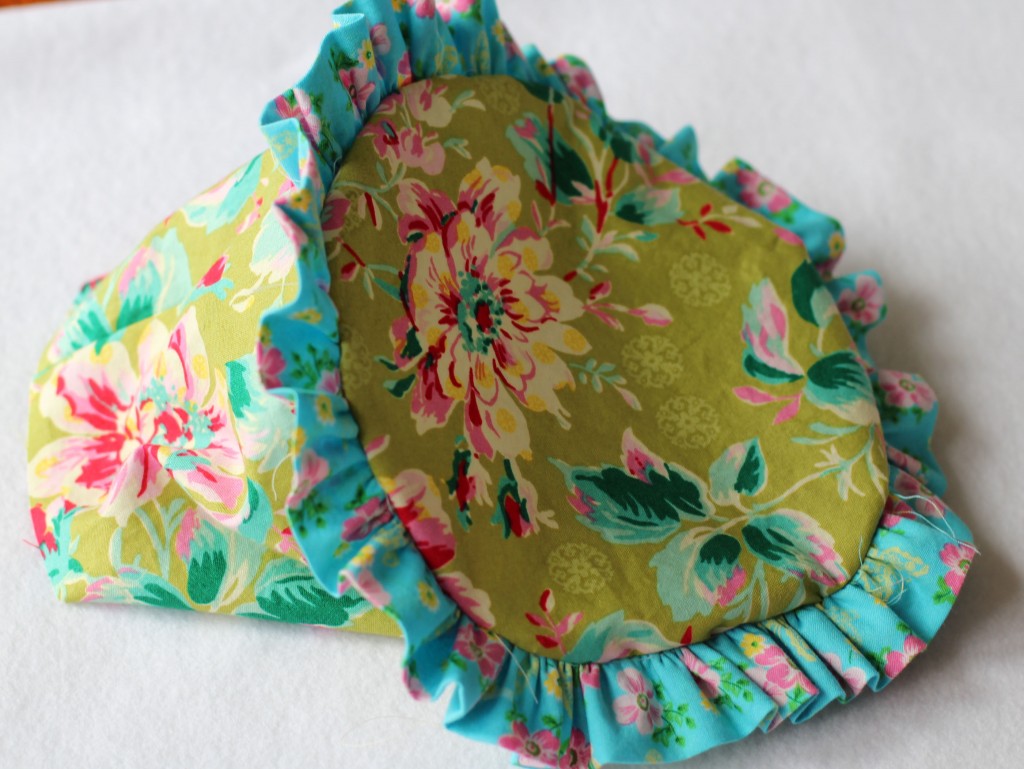
Now take the other ruffled piece of fabric and pin it onto the side piece of fabric with raw edges lining up.
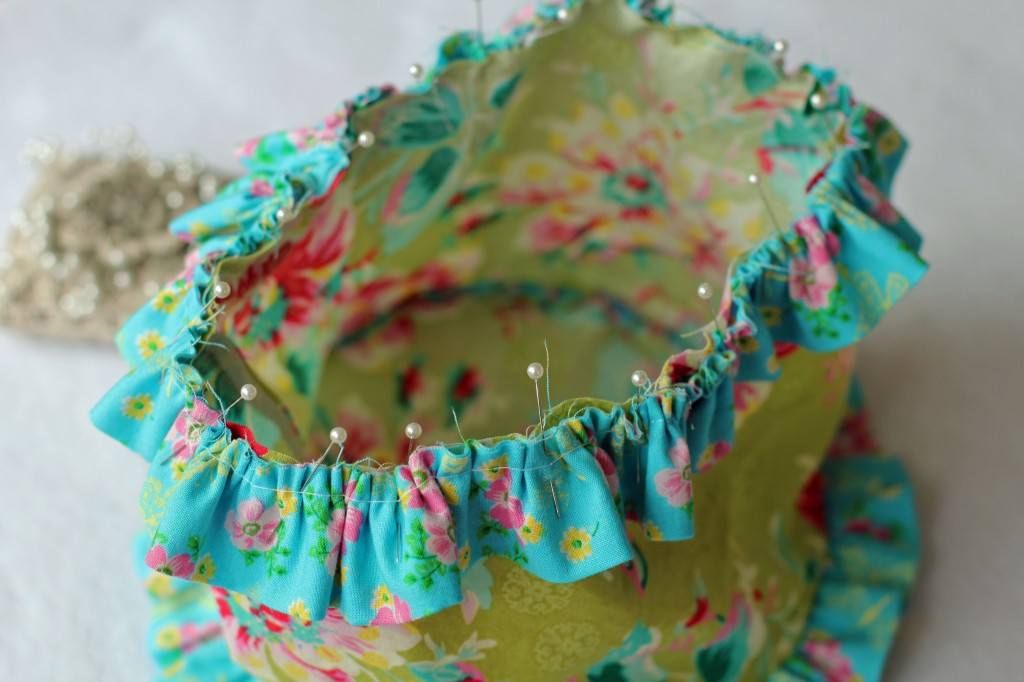
Sew in place. Zig-zag or serge all the unfinished edges. Fold out and iron seams.
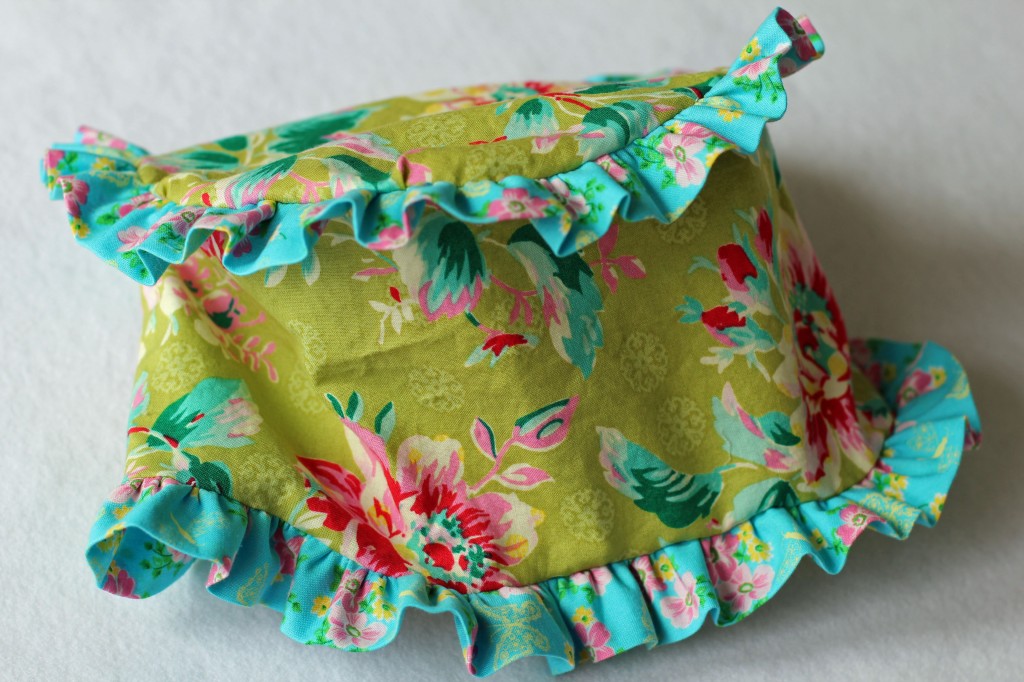
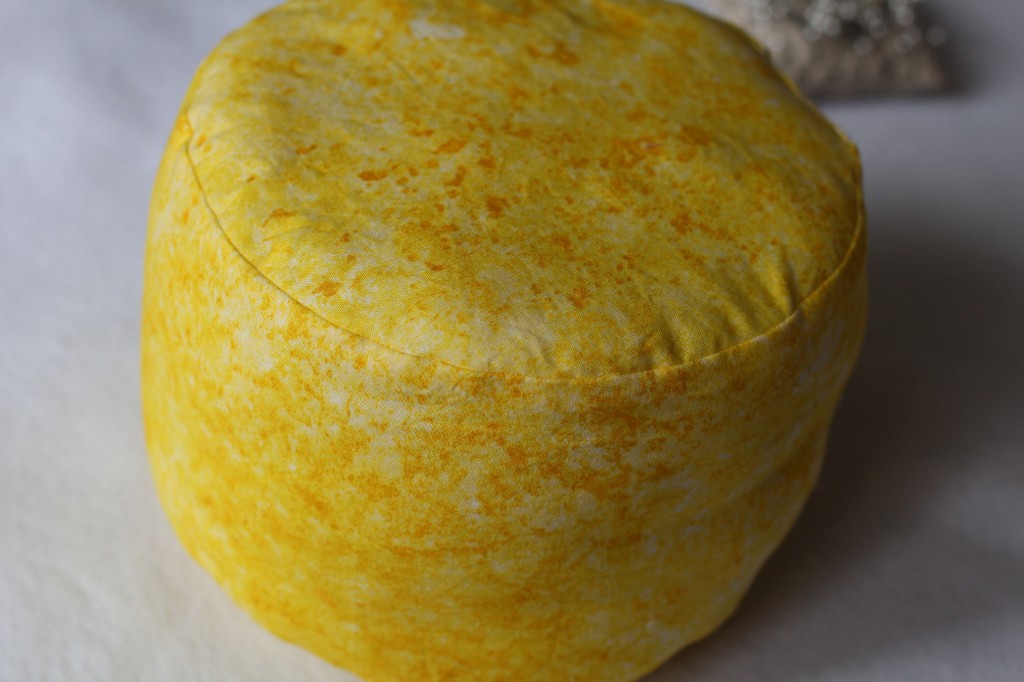
Now you have just made your cake cover. Super easy right?! Now we are going to make the insert for your cake. It is done the same way we made the cake cover but instead we are going to add one more circle to give it a bottom as well as be filling it with batting to give it shape.
You will need to cut the following pieces to make one medium-sized insert:
*Cut out two medium-sized circle pieces.
*One piece of fabric that is 6" x 27".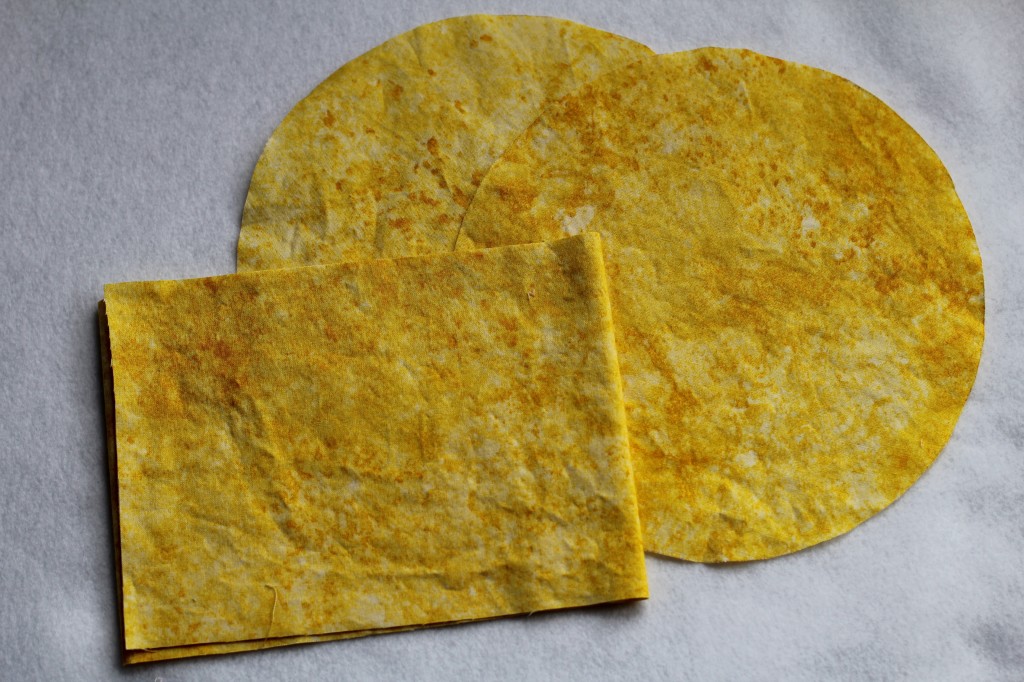
You are going to assemble the insert just like we did above. Pin the 6" x 27" piece of fabric around the circle piece.
Find the spot where you started pinning the 6" x 27" piece of fabric around the circle. Measure in about 1" from the end of that side piece. This is where you want to start sewing around the circle. Then stop stitching about 2" from where the two side pieces will meet. Now pin the remaining fabric around the circle until the two ends meet. From the middle where they meet, measure in your 1/2" sew seam and then trim away any excess fabric. Now sew the two ends of the 6" x 27" piece together sew. Now that the ends are sewn together you can finish sewing the side onto the circle piece.
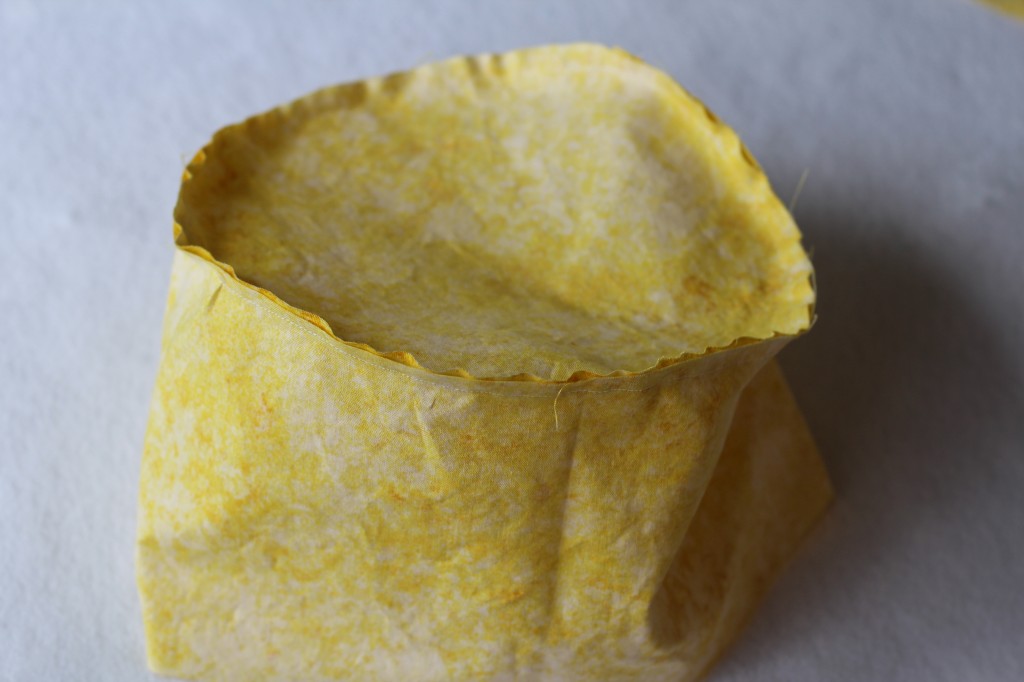 Pin the other circle piece to the side piece. Sew all around leaving a 1" opening for turning right sides out.
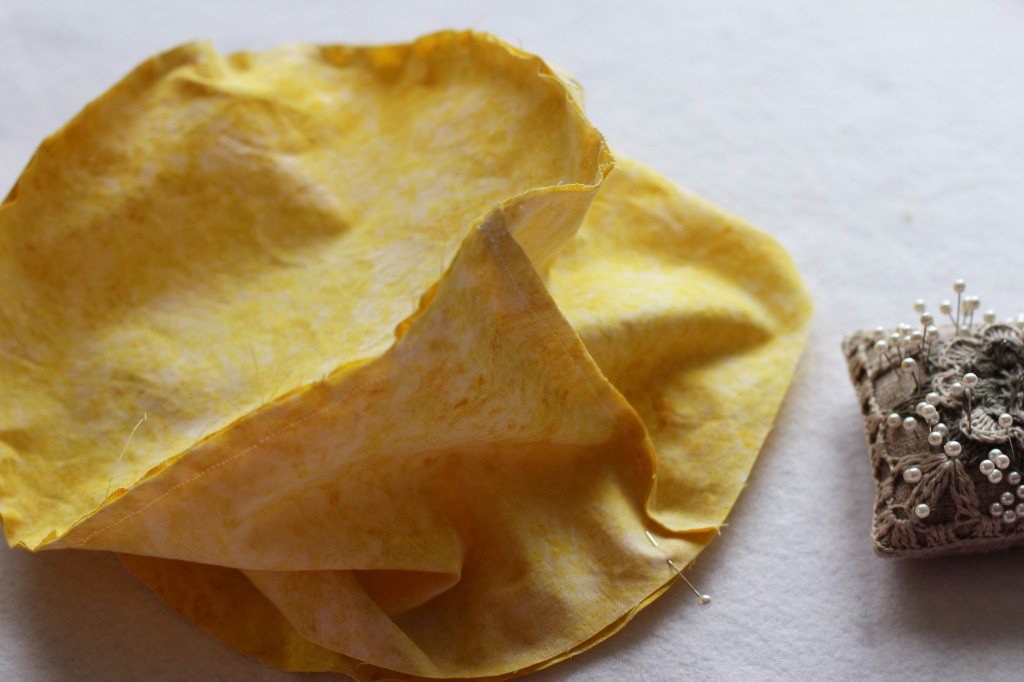
Turn right sides out. Iron seams. Start stuffing. Work in small bunches. It will give you a more even look. Keep stuffing until you get the firmness you want. I made mine fairly firm.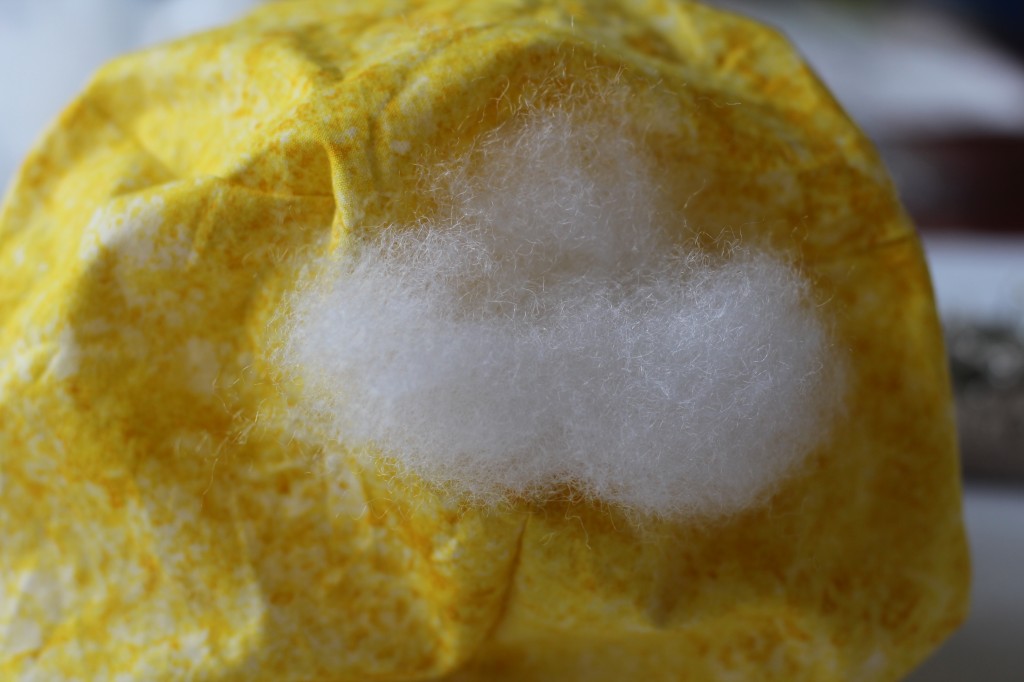
Stitch opening closed.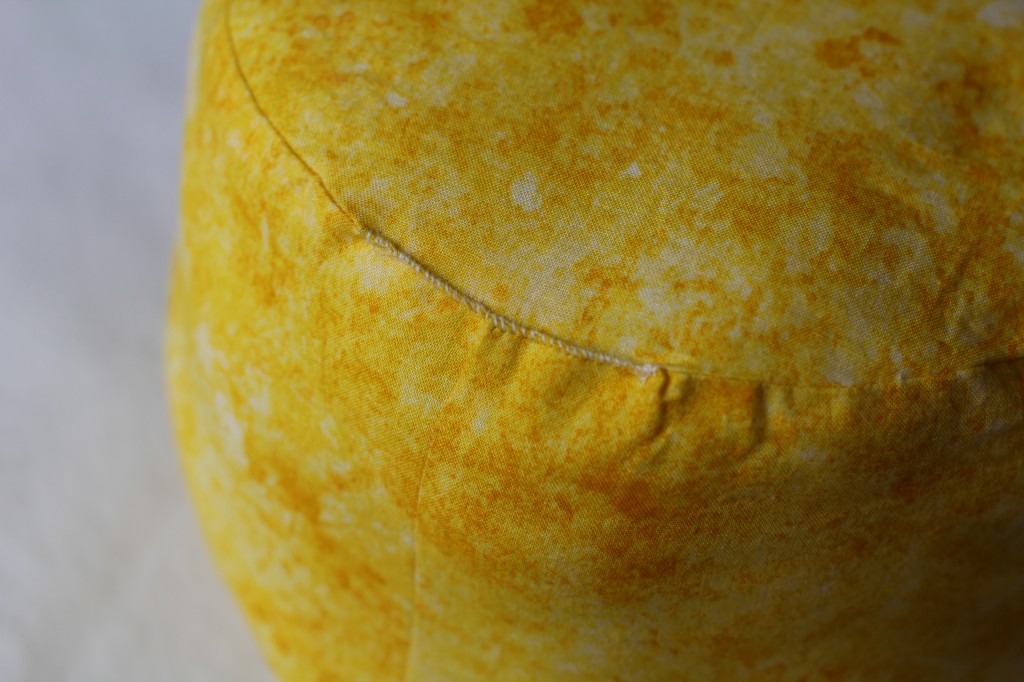 Now place the insert inside of the cake cover piece. Pretty darn cute?
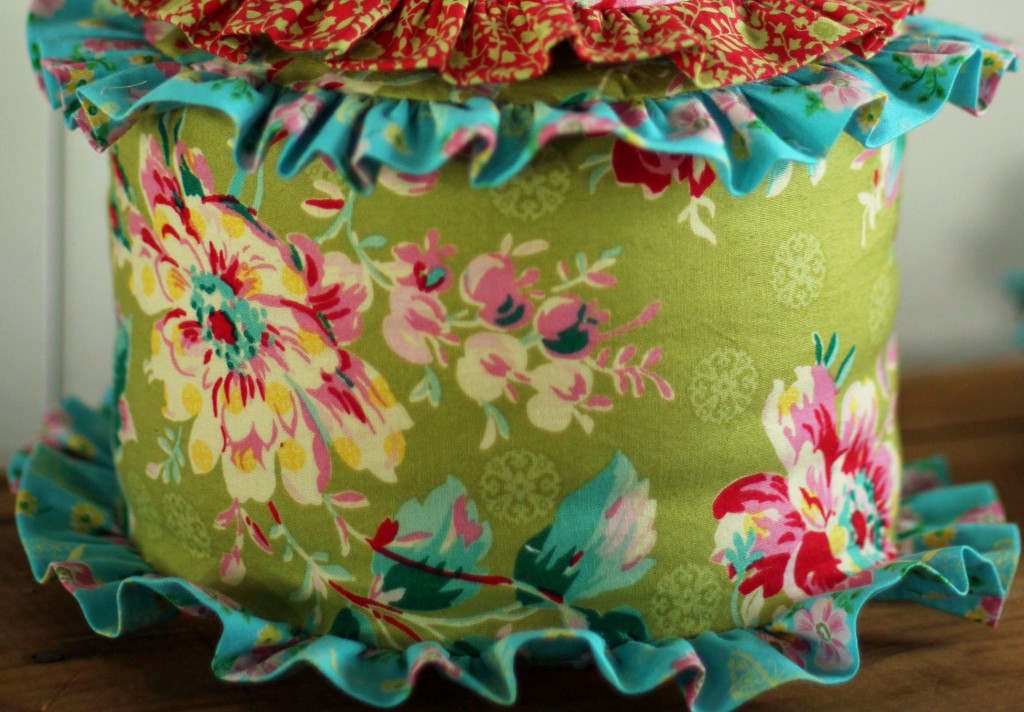
To make the smaller cake, you will follow the same steps as above but with different dimensions. In order to make the smaller cake you will want to use the smaller circle template. Then cut out the side pieces at 6" x 22". And cut the ruffled pieces out at 3" x 40".
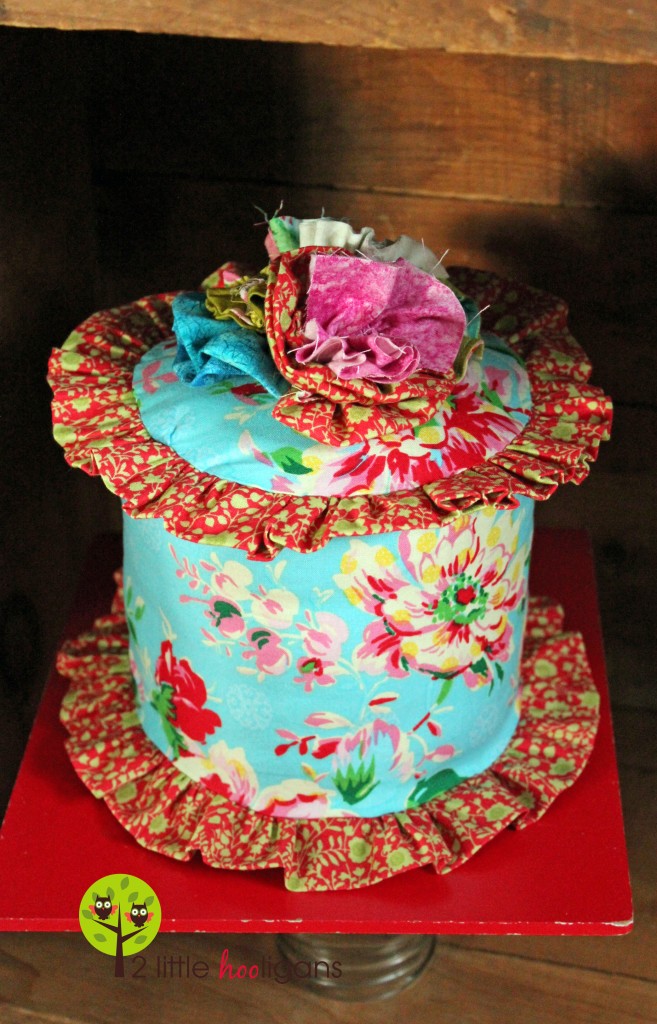
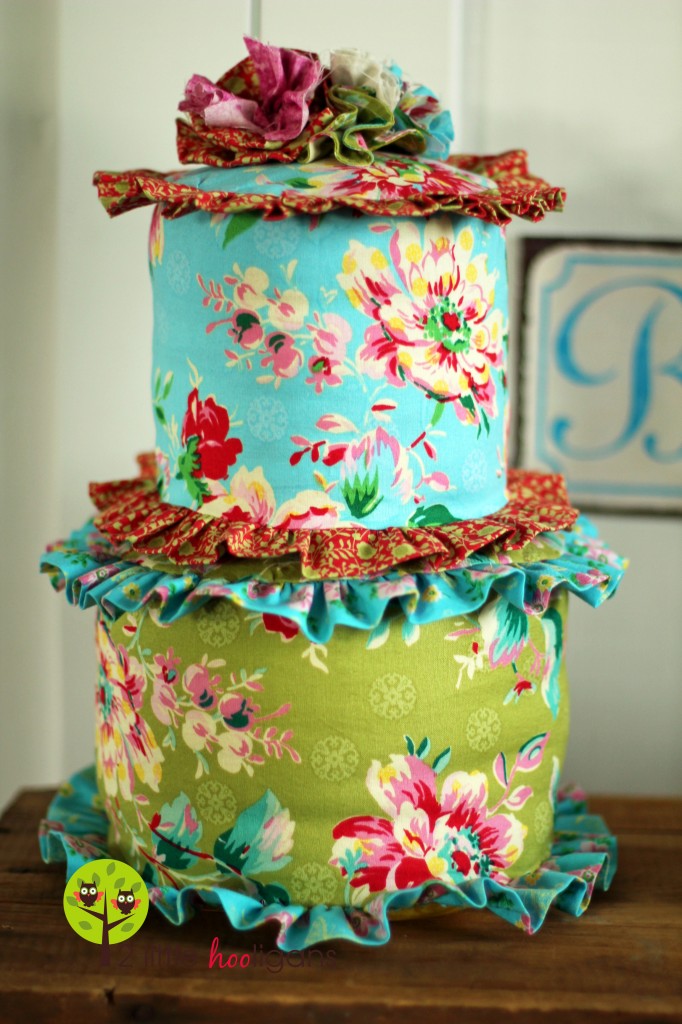
The cakes are cute all by themselves but I think they are even cuter stacked.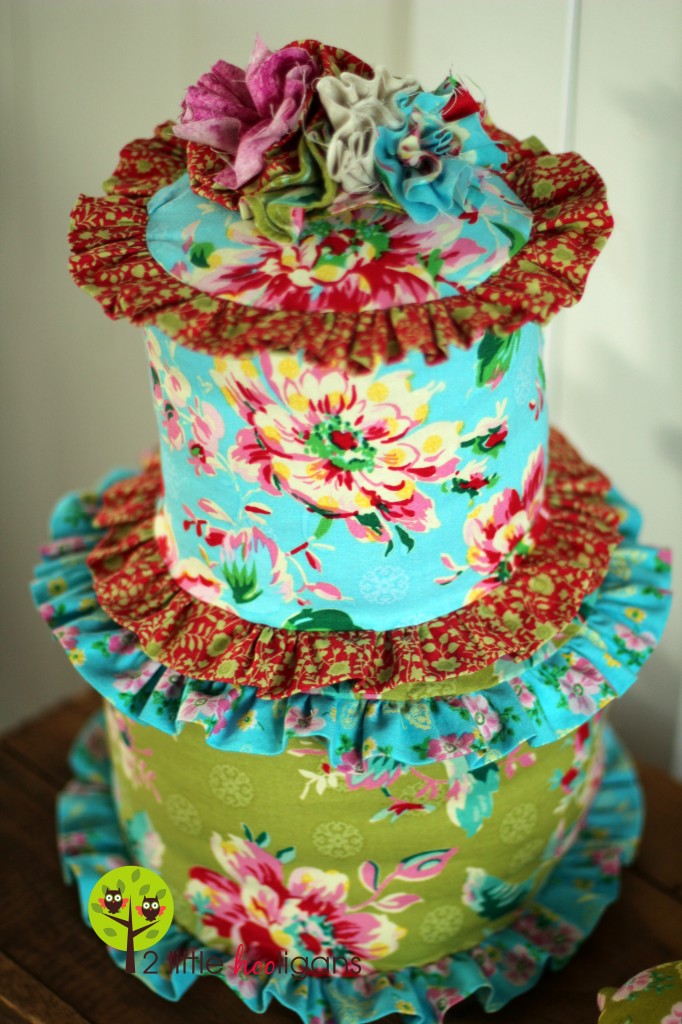
Stop back soon for the next tutorial, which will show you how to make the ruffled cake and the scrappy flowers.
If you have any questions please email me at: twolittlehooligans@yahoo.com.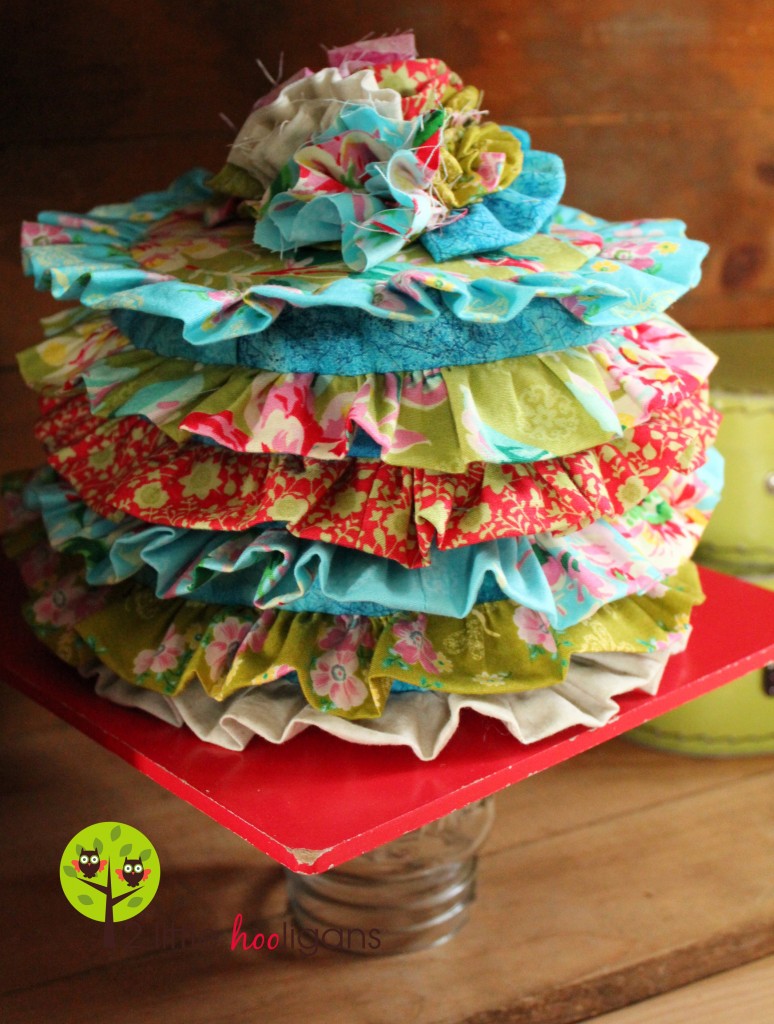
Thanks Christina! These are so adorable! Make sure you head over to Christina's blog for a chance to win a fat quarter bundle of Peggy Sue!

You are going to assemble the insert just like we did above. Pin the 6" x 27" piece of fabric around the circle piece.

Find the spot where you started pinning the 6" x 27" piece of fabric around the circle. Measure in about 1" from the end of that side piece. This is where you want to start sewing around the circle. Then stop stitching about 2" from where the two side pieces will meet. Now pin the remaining fabric around the circle until the two ends meet. From the middle where they meet, measure in your 1/2" sew seam and then trim away any excess fabric. Now sew the two ends of the 6" x 27" piece together sew. Now that the ends are sewn together you can finish sewing the side onto the circle piece.
 Pin the other circle piece to the side piece. Sew all around leaving a 1" opening for turning right sides out.
Turn right sides out. Iron seams. Start stuffing. Work in small bunches. It will give you a more even look. Keep stuffing until you get the firmness you want. I made mine fairly firm.

Stitch opening closed.
 Now place the insert inside of the cake cover piece. Pretty darn cute?
To make the smaller cake, you will follow the same steps as above but with different dimensions. In order to make the smaller cake you will want to use the smaller circle template. Then cut out the side pieces at 6" x 22". And cut the ruffled pieces out at 3" x 40".

The cakes are cute all by themselves but I think they are even cuter stacked.


Stop back soon for the next tutorial, which will show you how to make the ruffled cake and the scrappy flowers.
If you have any questions please email me at: twolittlehooligans@yahoo.com.

Thanks Christina! These are so adorable! Make sure you head over to Christina's blog for a chance to win a fat quarter bundle of Peggy Sue!


No comments:
Post a Comment