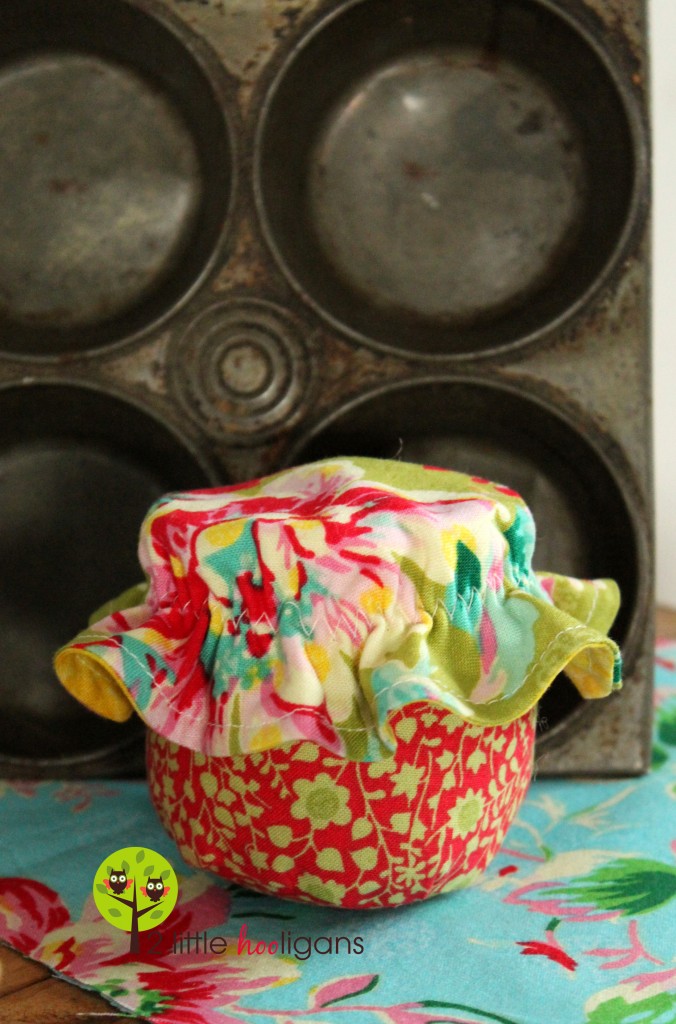
Today Christina from 2 Little Hooligans is back with her third and final Tasty Treats tutorial: cupcakes!
Hi, I'm Christina from
2 little hooligans and I'm back again to share the third and last tutorial for my little fabric bakery items.
Today I am going to show you how I made these cute little cupcakes.
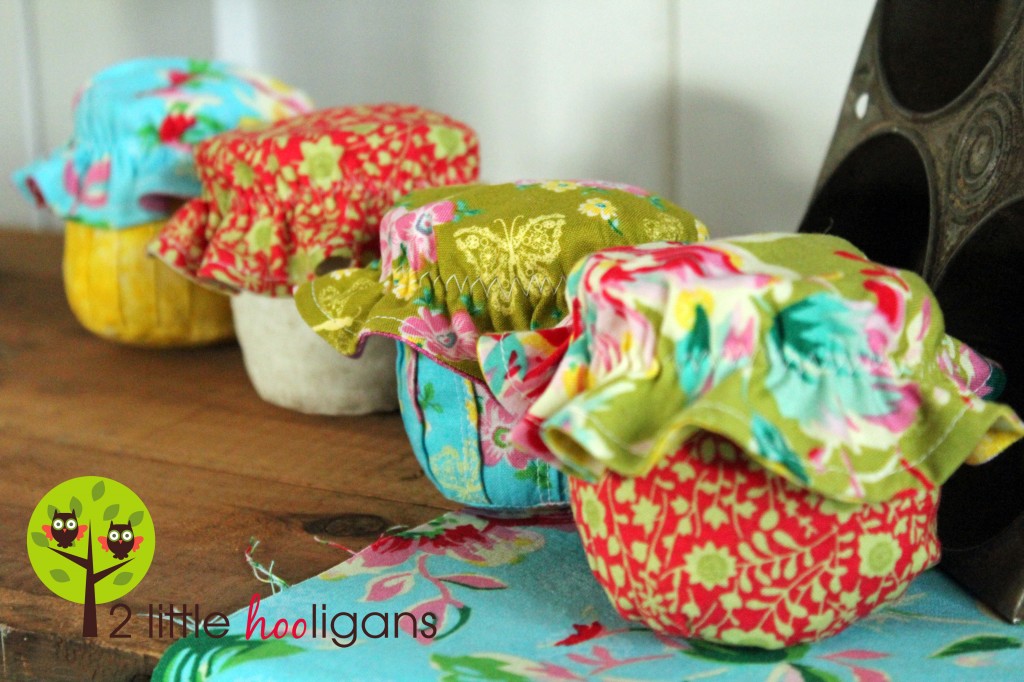
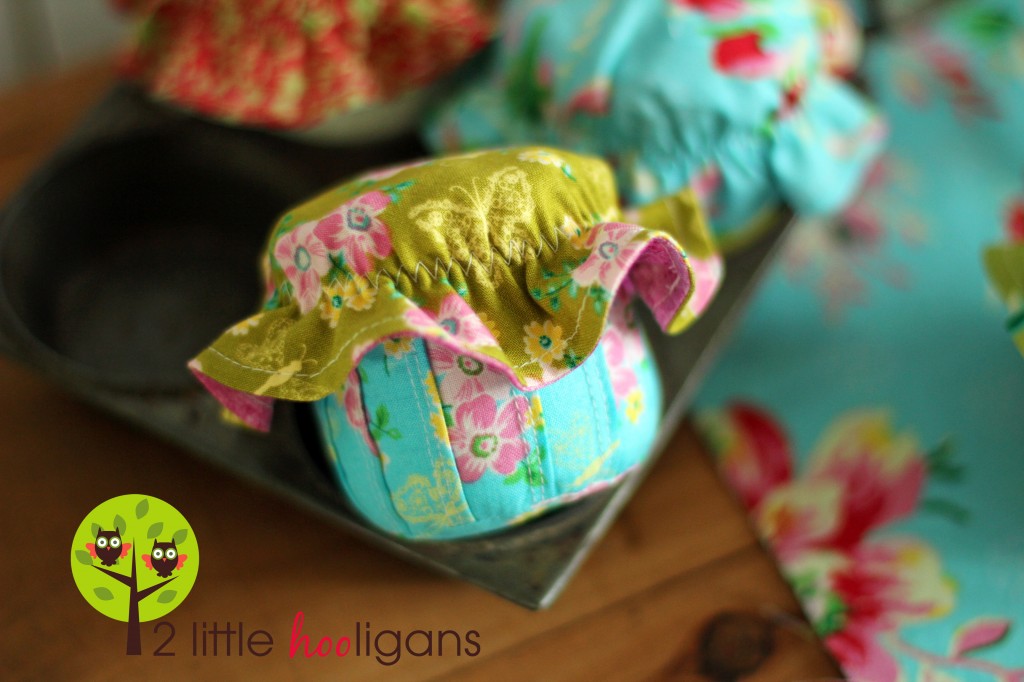
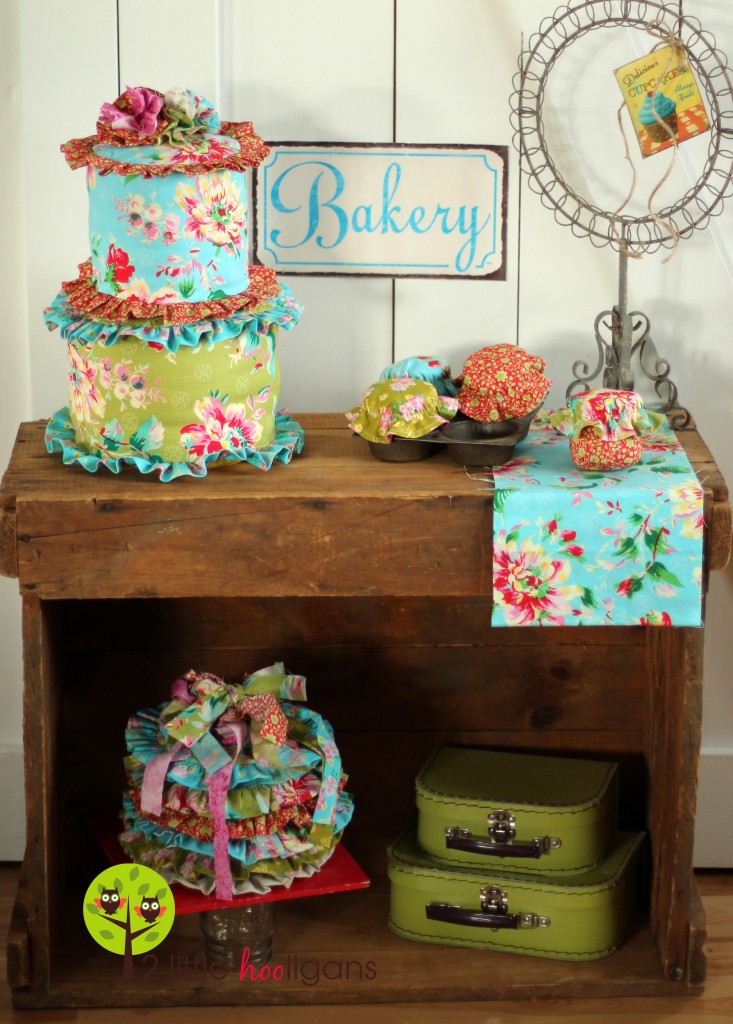
Each cupcake consists of a rounded body with a removable cupcake top. You can mix and match these little cupcakes however you want. And to make them even cuter you could add some embellishments to the tops. How cute would some little fabric flowers look on top? And just like with the cakes these are machine washable. I would just recommend air drying them.
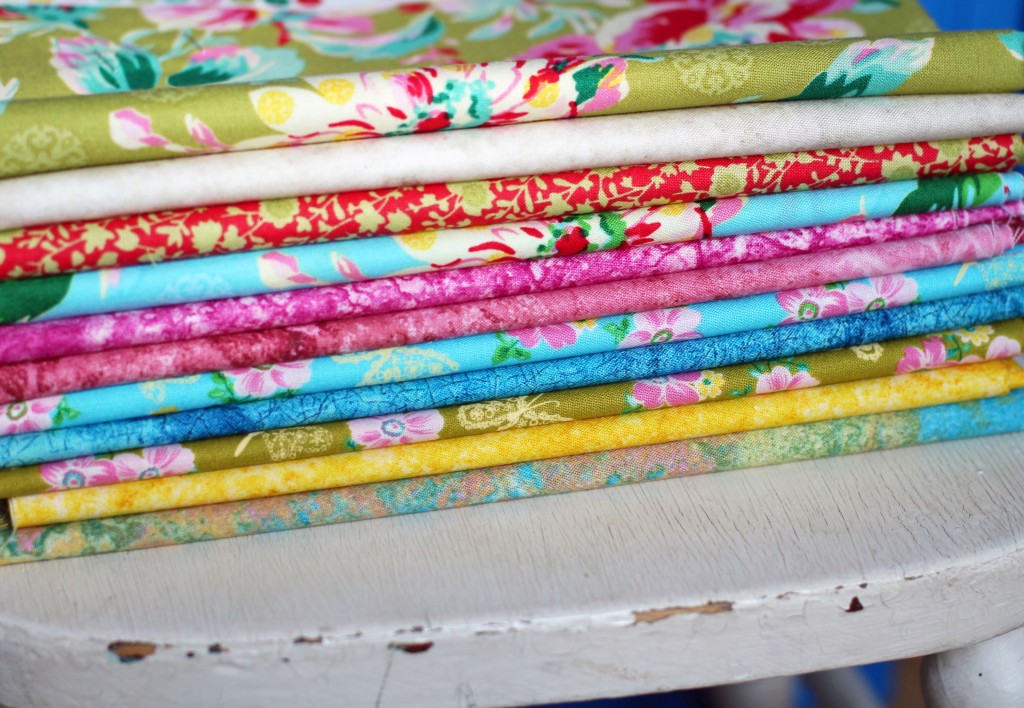
The fabric I was given to work with was
Peggy Sue from Ro Gregg, as well as some of the
Marblehead fabrics. Isn't is simply beautiful?! I was given 1/2 yards of each fabric, which is pictured below. I recommend buying half yards to work with if you are going to make a few cakes (from my other tutorials) as well as some cupcakes. But if you are just going to make the cupcakes, then fat quarters and large scraps will be just fine.
Materials Needed: (to make one cupcake)
* Fat quarters or large scrap pieces of fabric.
* 1 bag of batting (don't worry, you will not use a whole bag)
* 8 1/2" of 1/2" wide or smaller anti-roll elastic
*Regular mouth canning jar lid to use as a template for the cupcake
*Templates for the cupcake top (see links below)
Start by printing off the template for the cupcake top. You will need to print off all three pages.
Page 1,
Page 2 and
Page 3. They are labeled as nesting baskets at box, but just ignore that. They are the same templates that I used to make
these. I did notice that when I printed the templates off that the margins on the circle templates were a tiny bit off. Don't line up the circles right next to each other. Just line them up as close to a complete circle as you can. To make the cupcakes you will be using the smaller circle template only. Once you have printed off the circle templates, piece them together and then cut out the smallest circle.
Now figure out which fabrics you want to work with. You are going to need one main fabric for the cupcake and then another fabric for the cupcake top. The kids love being able to mix and match the tops. So think of them while you are making it.
Cut the following pieces out of fabric:
*Two circle pieces from your main fabric. Use a regular mouth canning jar for the template.
*One piece of your main fabric cut 17" x 3"
*Cut two circle pieces from the smaller circle template (use a different fabric then what you used above)
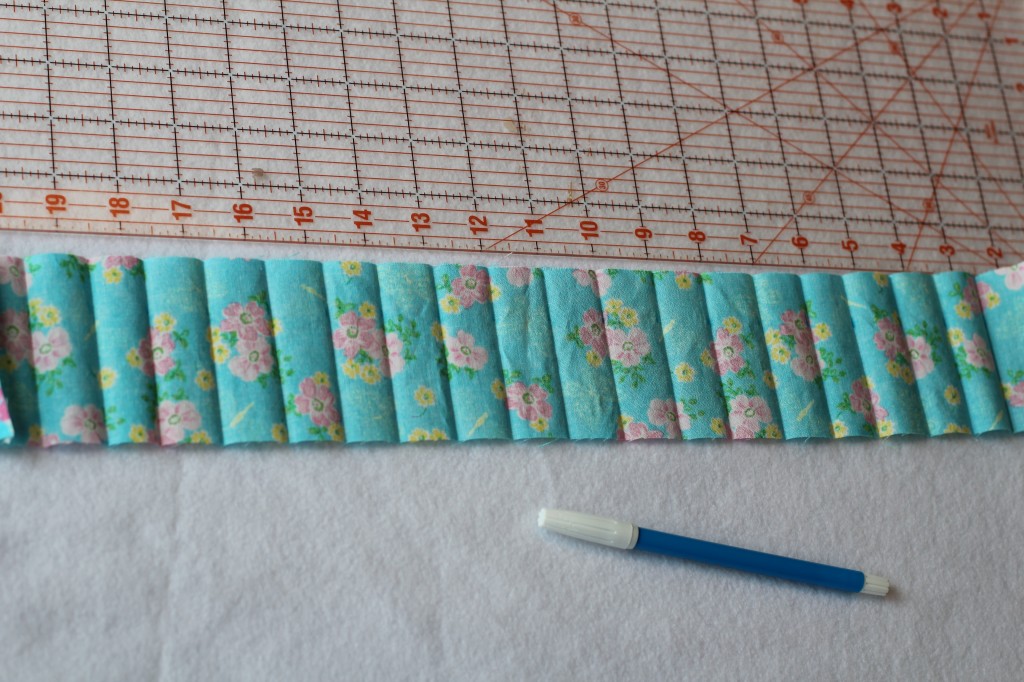
Gather the 17" x 3" piece of fabric. On the right side of fabric measure and iron at 1" increments. You want the ironed points to be on the right side of fabric. You are doing this to make little pin-tucks. They will give the "cupcake wrapper" more detail. Pictured below is the wrong side of fabric. It shows you what the wrong side of the fabric will look like once ironed.
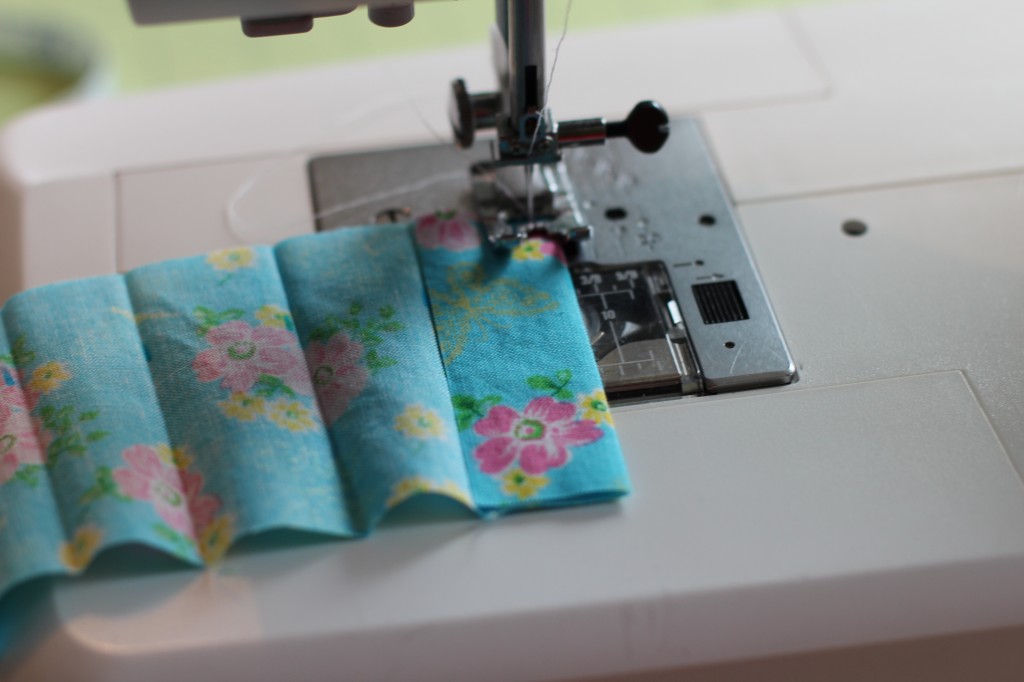
Using the folded edge as your guide sew on each folded edge. I used a sew seam slightly smaller then a 1/2" but if you do use a 1/2" sew seam that is fine too. I made sure the piece of fabric is large enough for you to do so. Iron flat again. Make sure all of the edges are going in the same direction.
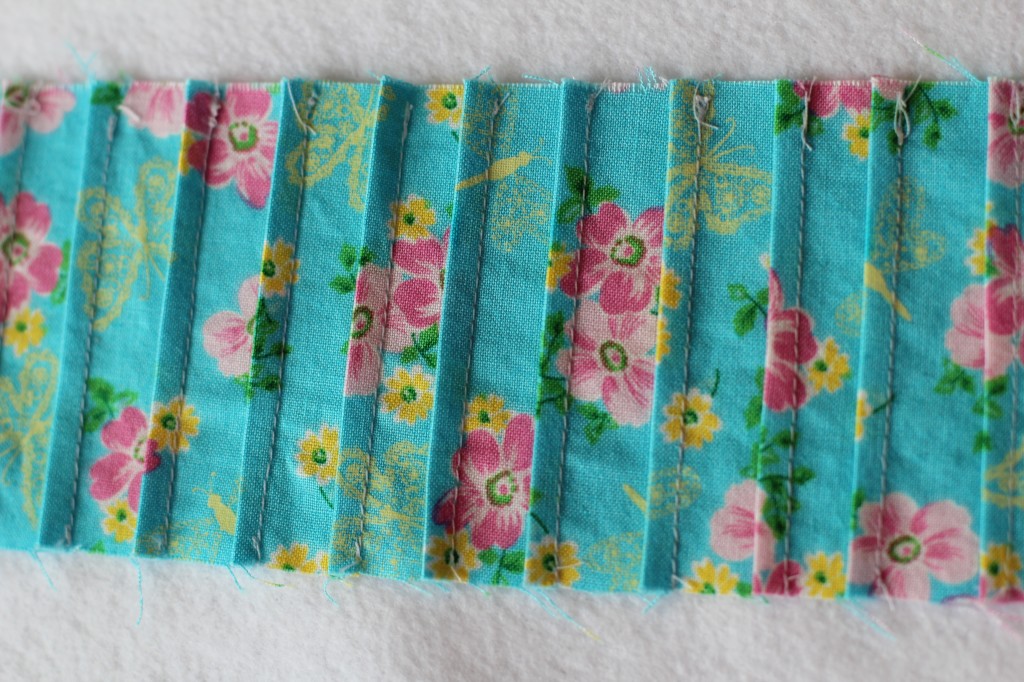
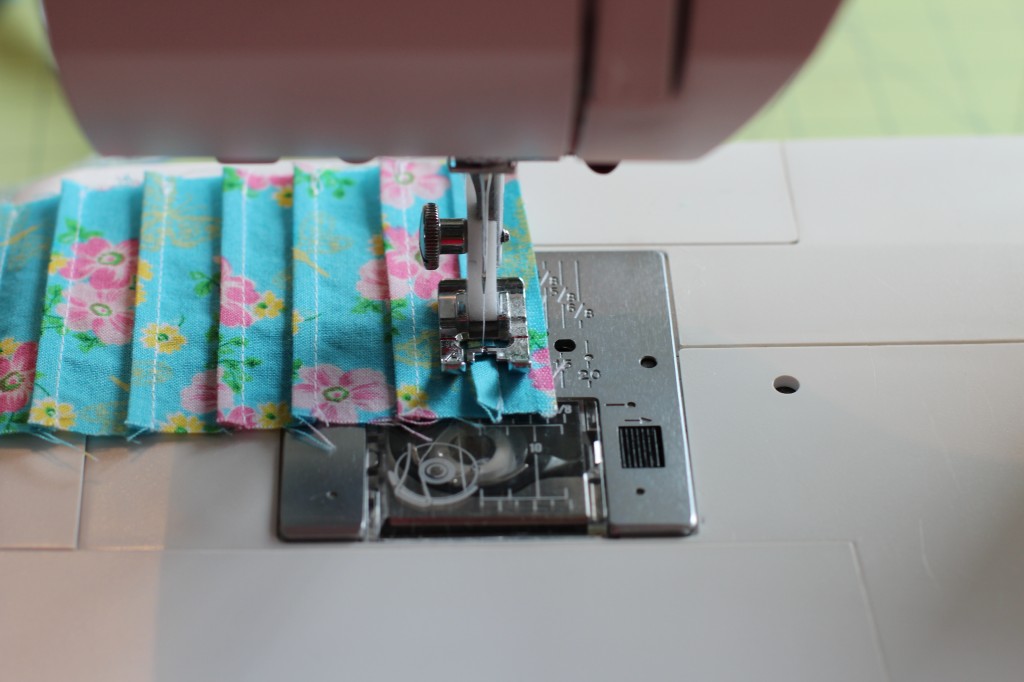
Now sew the seams down so that they do not "flap."
Now gather the two smaller circles and the long strip you just made.
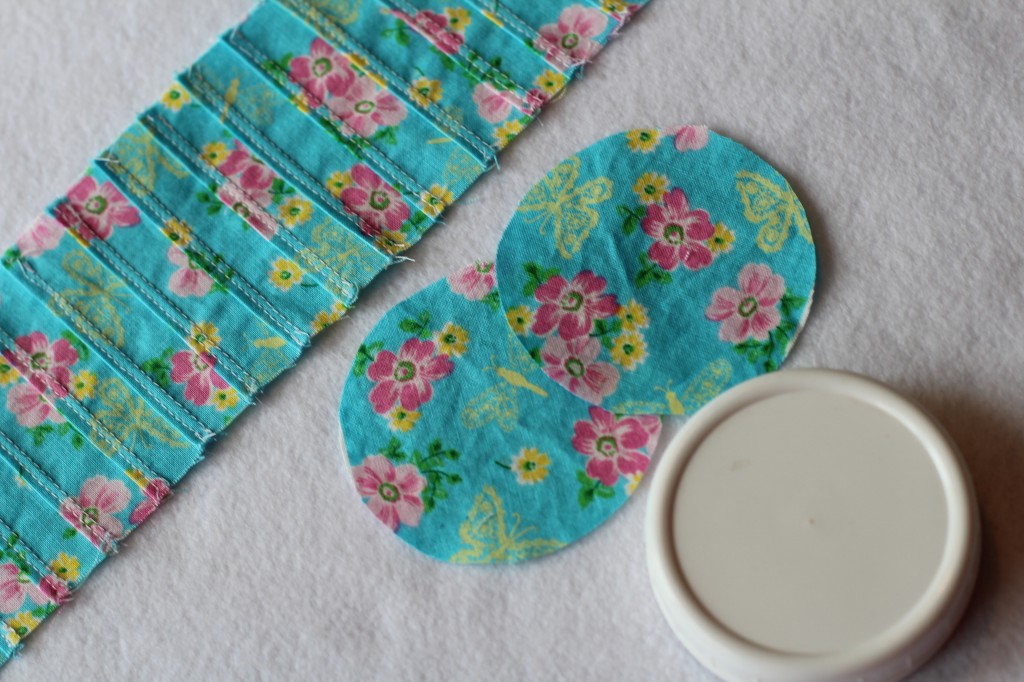
Start pinning the strip around one of the circles. Right sides together.
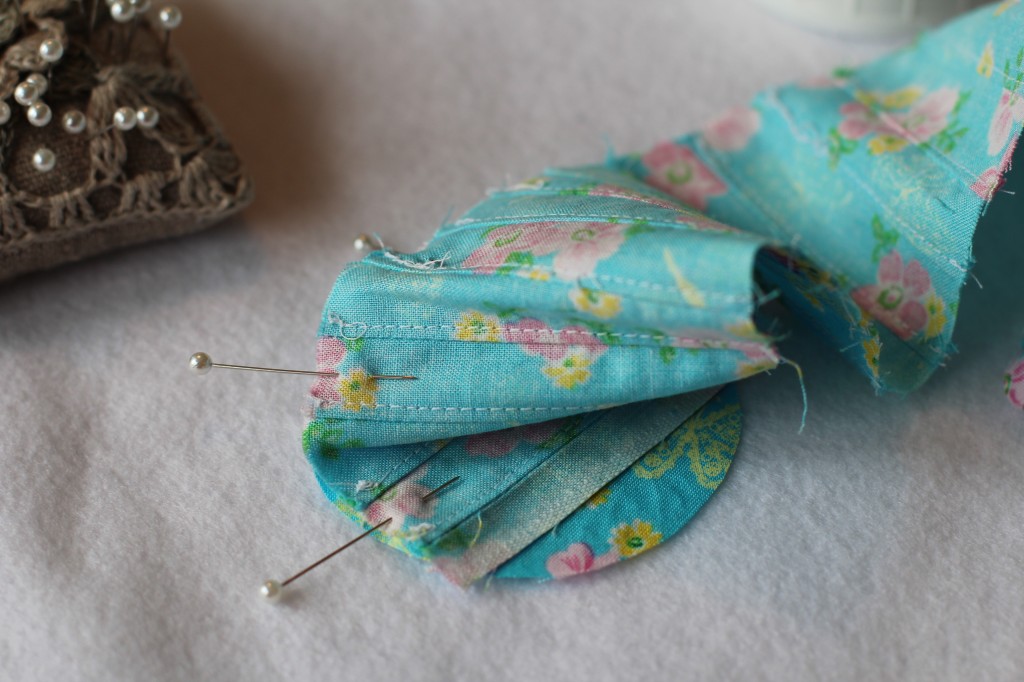
Now find the spot where you started pinning the long strip of fabric around the circle. Measure in about 1" from the end on the strip piece. This is where you want to start sewing around the circle. Stop stitching around the circle about 2" from where the strip piece will meet. Now pin the remaining fabric around the circle until the strip piece meets. From the middle of where they meet measure your 1/2" sew seam and then trim away any excess fabric. Now sew the two ends of the strip piece together. Now that the ends are sewn together you can finish sewing the strip piece onto the circle piece. Trust me, it is way harder to explain then to do! Now repeat the steps above with the other small circle piece. This time just remember to leave a 1" opening for turning right side out.
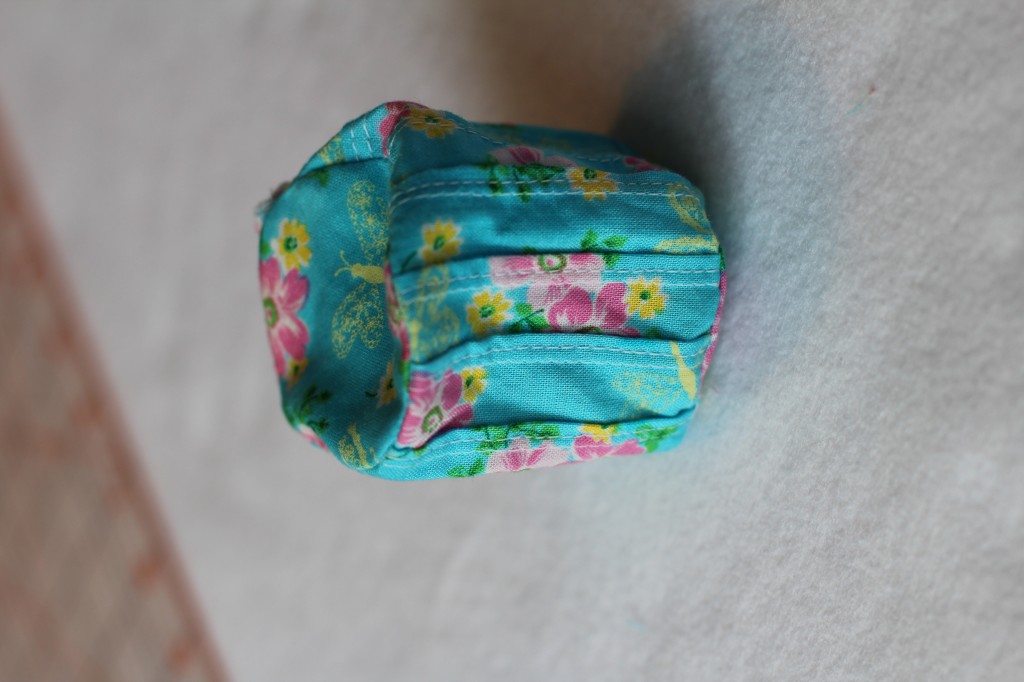
Turn right side out and iron. Working in small batches, fill the cupcake with batting. Hand stitch the cupcake closed.
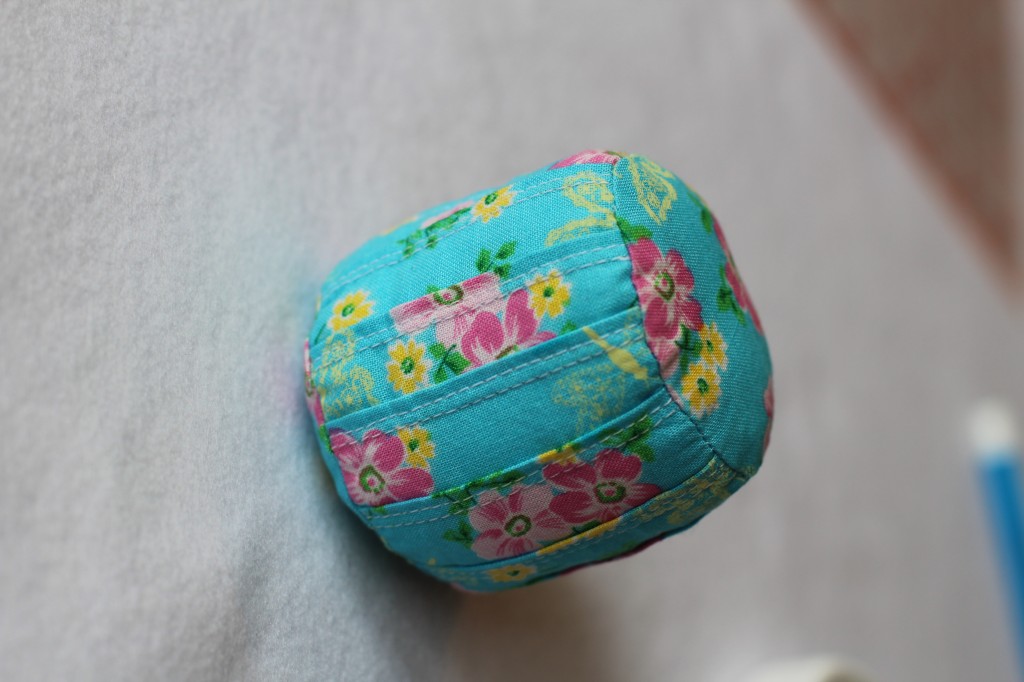
Now to make the cupcake top. Cut out two pieces of fabric using the small template that you printed off. Sew right sides together. Leaving a 1" opening for turning right side out.
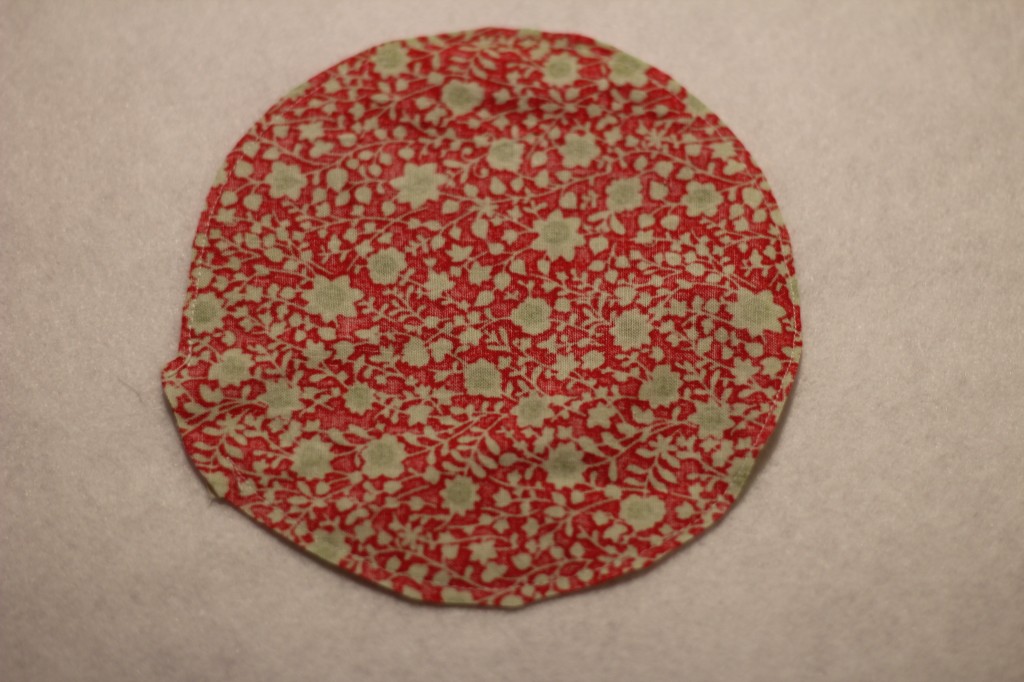
Turn right side out and iron flat. Top stitch all around circle.
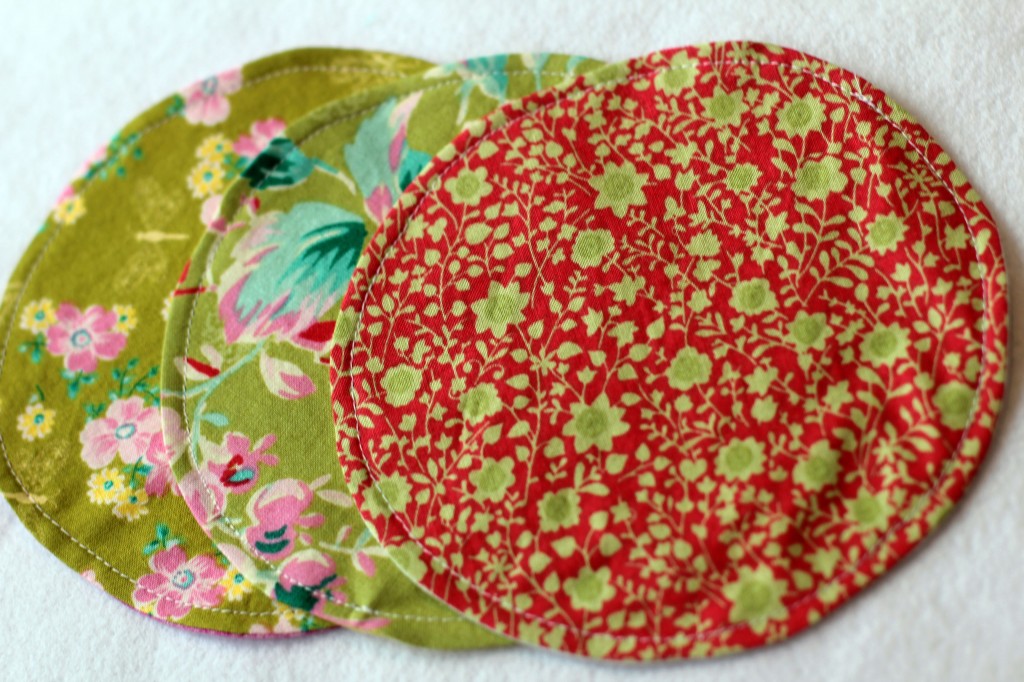
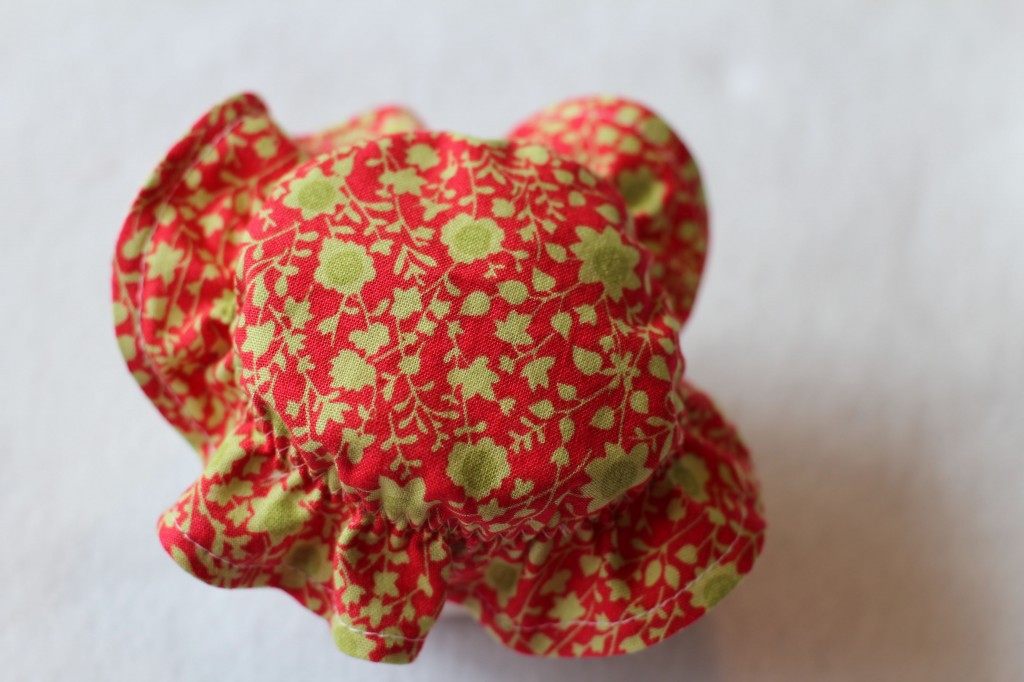
Take your 8-1/2" piece of elastic and pin it about 1/2" in from the edge. Now you want to start sewing (with a zig-zag stitch) while you are pulling on the elastic and much as you can. This is a little tricky. Just take your time and work in small sections. I usually sew a few stitches and then pull the elastic tight again. Make sure your needle is down and in the fabric when you go to pull the elastic tight, if not it will pull your stitches and fabric out of place.
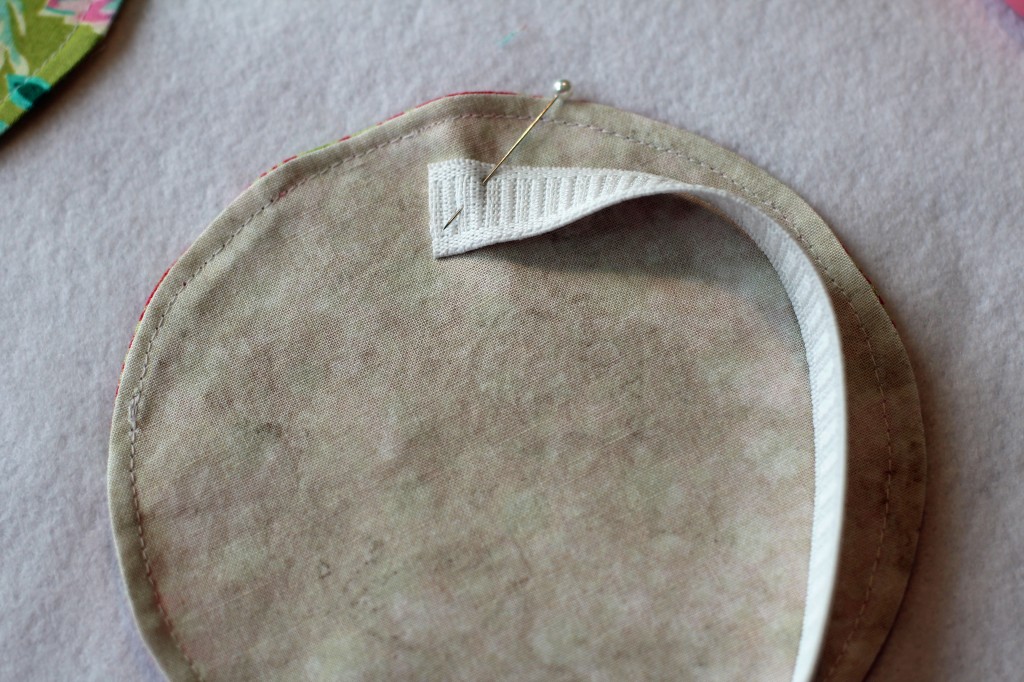
Trim off the excess elastic on the end.
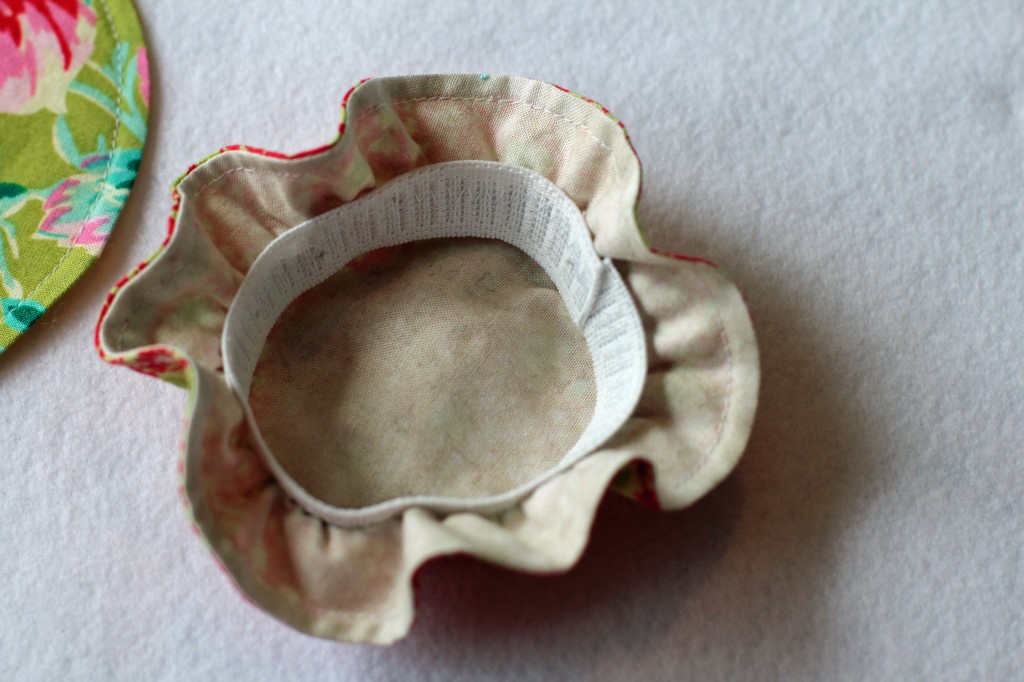
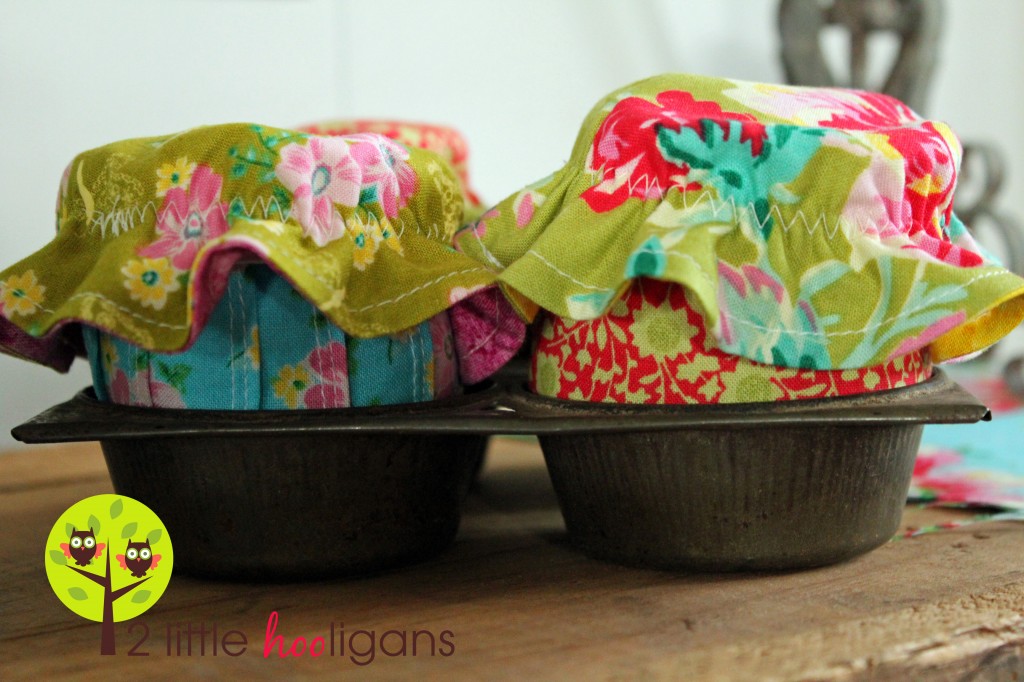
Now place on top of your cupcake.
Aren't they cute? The girls love being able to mix and match with all the different tops and bottoms.
Don't forget to check out these other tutorials for the handmade fabric bakery:
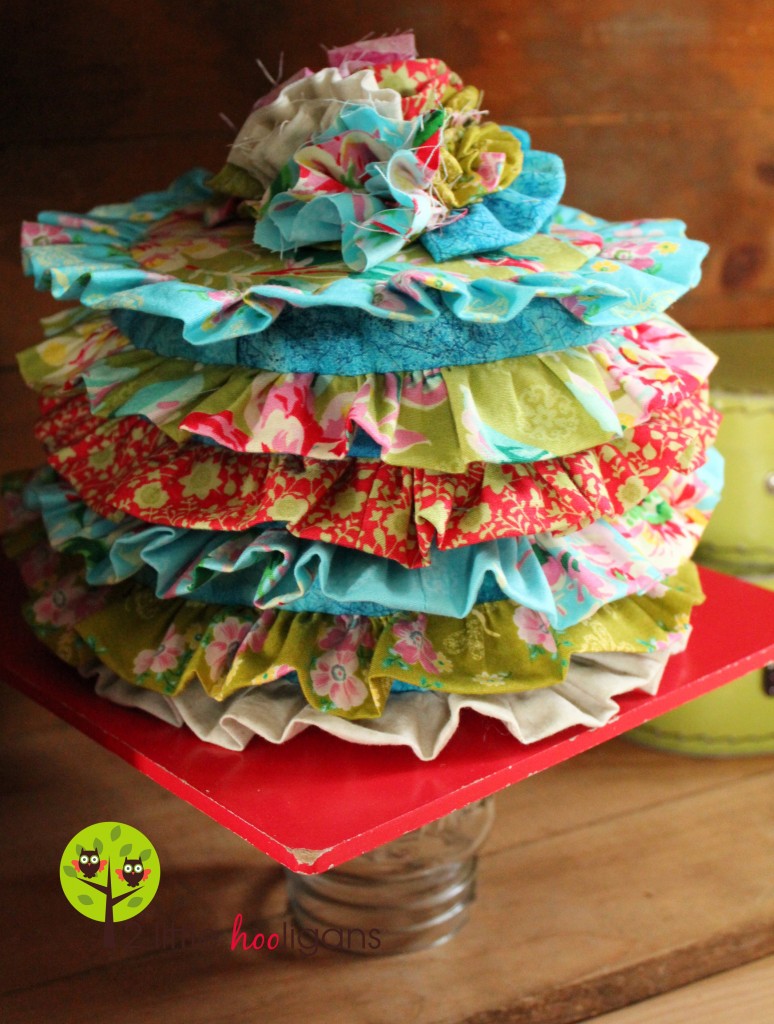 Ruffled Cake Tutorial
 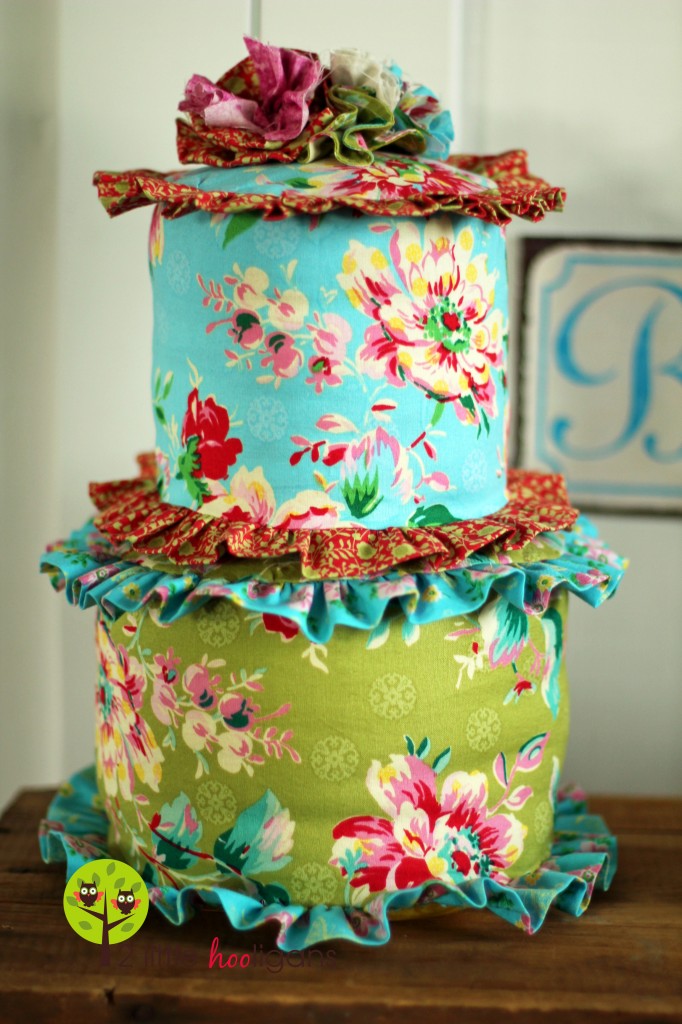 Tiered Cake Tutorial
I hope you have enjoyed our little handmade bakery as much as we have! If you have any questions or comments please contact me at twolittlehooligans@yahoo.com.


 Each cupcake consists of a rounded body with a removable cupcake top. You can mix and match these little cupcakes however you want. And to make them even cuter you could add some embellishments to the tops. How cute would some little fabric flowers look on top? And just like with the cakes these are machine washable. I would just recommend air drying them.


 Gather the 17" x 3" piece of fabric. On the right side of fabric measure and iron at 1" increments. You want the ironed points to be on the right side of fabric. You are doing this to make little pin-tucks. They will give the "cupcake wrapper" more detail. Pictured below is the wrong side of fabric. It shows you what the wrong side of the fabric will look like once ironed.
 Using the folded edge as your guide sew on each folded edge. I used a sew seam slightly smaller then a 1/2" but if you do use a 1/2" sew seam that is fine too. I made sure the piece of fabric is large enough for you to do so. Iron flat again. Make sure all of the edges are going in the same direction.
 Now sew the seams down so that they do not "flap."


 Turn right side out and iron. Working in small batches, fill the cupcake with batting. Hand stitch the cupcake closed.


