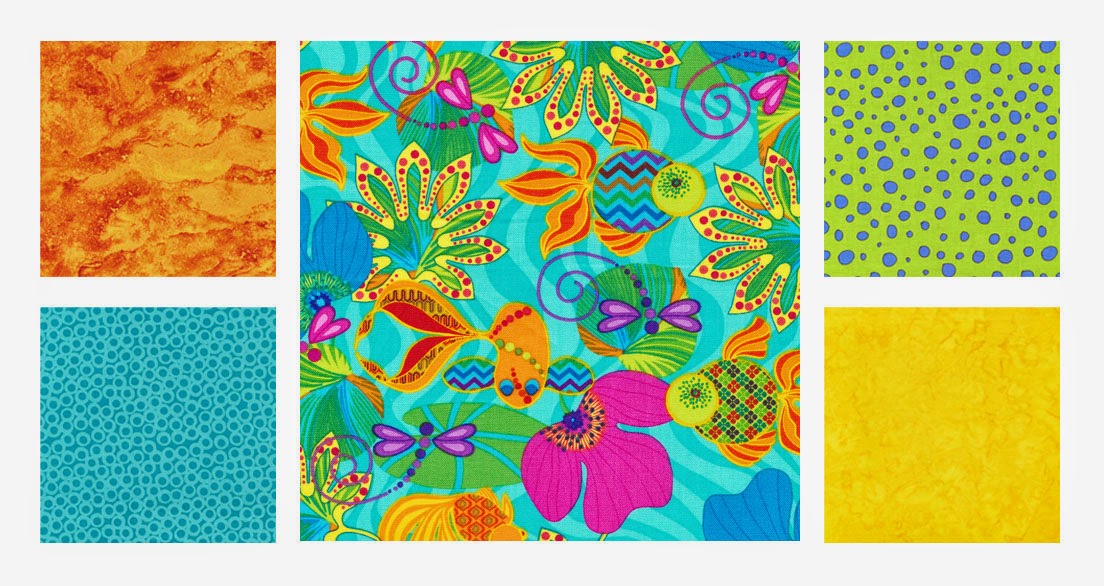
Mother's Day is Sunday...still struggling on what to get for your favorite mom? We've got two super-easy tutorials for you today--you can make them both in just a couple hours. (And if you already have a Mother's Day gift idea, then make these for yourself!)
This zip bag can be used for anything--make-up, toiletries, and more. The shirred strip adds a little extra sparkle to a basic design. The coordinating travel roll can hold brushes, combs, a toothbrush...you decide! For fabric, we used the aqua, coral and purple colorway from Ro Gregg's beautiful Marblehead Venetian Glass collection--great fabric makes a fun project even better!
Let's get started!
Materials:
1/2 yard large circle print
1/2 yard aqua spiral print
1/2 yard marble print
Batting
9" long zipper
Cutting:
Large circle print:
Cut one 12" x 42" strip; recut into two 10" x 12" pieces (for zip bag) and one 10-1/2" x 16" piece (for travel roll)
Aqua spiral print:
Cut one 3" x 42" strip (for zip bag), one 9" x 16" piece (for travel roll) and one 2" x 30" strip (for travel roll)
Marble print:
Cut one 12" x 42" strip; recut into two 10" x 12" pieces (for zip bag) and one 10-1/2" x 16" piece (for travel roll)
Batting:
Cut two 11" x 13" pieces (for zip bag...optional but recommended) and one 11" x 17" piece (for travel roll)
Make the Zip Bag
1. Set stitch length long for basting and stitch along both long sides of the 3" x 42" aqua strip using a 1/4" seam allowance. Leave thread tails long on both ends. The strip may start to gather itself as you stitch--no problem--that just saves you a little work later!
2. Gently pull on one thread on each side of each end to gather the strip so it looks like the photo below. Make sure the strip is at least 10" wide, but beyond that, you can decide how tight you want it to be shirred.
3. Cut one 10" x 12" large circle print piece into two pieces. Ours is cut exactly in half--two 10" x 6" pieces--but you can choose where to cut based on how far up or down the bag you'd like the shirred strip to be. Pin and sew the shirred strip to a half piece using a 3/8" seam allowance. Double check to make sure that your basting stitch doesn't show. Press.
4. Sew the remaining half piece to the opposite side of the shirred piece. For a bag with more substance, layer on a 11" x 13" batting piece. Topstitch on either side of the shirred section (this will secure the batting as well) and then trim off excess shirring on each side. Trim piece to measure 10" x 12". Note: If you'd like a shirred section on both sides of the bag, repeat these first few steps to make a second shirred bag side (you'll need to cut one more 3" x 42" aqua print strip).
5. Lay the zipper right side down on top a shirred side and pin in place as shown.
6. Layer a 10" x 12" marbled piece on top, right sides together, pin in place, and stitch along the zipper using a zipper foot. Fold fabrics back so zipper is visible, press, and topstitch 1/4" from zipper. Trim second batting piece to measure 10" x 12" and lay the 10" x 12" large circle print piece on top, wrong side facing the batting. Position the remaining zipper edge on top, right side down, pin, and then pin 10" x 12" marble piece on top, right sides together. Sew, press and topstitch in the same manner as for the first side. Your piece should look like this:
7. Holding the ends of the zipper together, stitch back and forth a few times near the end to secure as shown. Unzip the zipper about halfway.
8. Position the bag so the two outer bag pieces are on one side of the zipper, right sides together, and the two lining pieces are on the opposite side, right sides together. Align raw edges. Cut 2-1/2" squares out of the bottom corners of both the outer bag and lining. Note: Our bag doesn't have a batting layer in it. At this point, you'd be seeing the batting on top of the outer bag fabric, not just the fabric as in our photo.
9. Yours should look like this now (except you'll have batting showing on the right side). Pin around the edges and stitch using a 1/4" seam allowance. Leave a 3" opening for turning at the bottom of the lining piece. Do not sew in the cut out corners.
10. To box out corners, fold raw edges so the side and bottom seams match. Sew across with a 1/4" seam allowance. Box out all four corners.
11. Turn bag right side out through opening in lining. Slipstitch opening in lining closed and stuff lining inside the bag. You're done!
Make the Travel Roll
1. Fold the 9" x 16" aqua swirl piece in half wrong sides together so it measures 4-1/2" x 16". Press and then using chalk or a disappearing fabric pen to mark lines that will create pockets. We marked ours, starting at the left edge, at: 3", 1-1/2", 1-1/2", 1-1/2", 3" and 3". Layer the 10-1/2" x 16" marble piece wrong side down on the 11" x 17" batting piece down. Lay the marked aqua swirl piece on top, raw edges matching. Pin to secure layers. Stitch along each marked line, backstitching at the top folded edge of the aqua piece.
2. Trim piece to measure 10-1/2" x 16". Fold and press the short ends of the 2" x 30" aqua swirl strip in 1/2", wrong sides together. Fold strip in half lengthwise, wrong sides together. Unfold and fold each raw edge in to the center line and press. Refold on the center fold and topstitch the length to secure. Fold strip in half and pin folded edge to side of the marble piece as shown.
3. Lay the 10-1/2" x 16" large circle print piece right side up and lay the marble piece on top, right sides facing. Make sure the aqua swirl strip is tucked inside. Pin around the outer edge and stitch using a 1/4" seam allowance. Leave a 4" opening for turning along the top.
4. Turn right side out through opening. Fold raw edges of opening in, pin, and topstitch around the outer edge of the entire piece, closing the opening. You're done!